
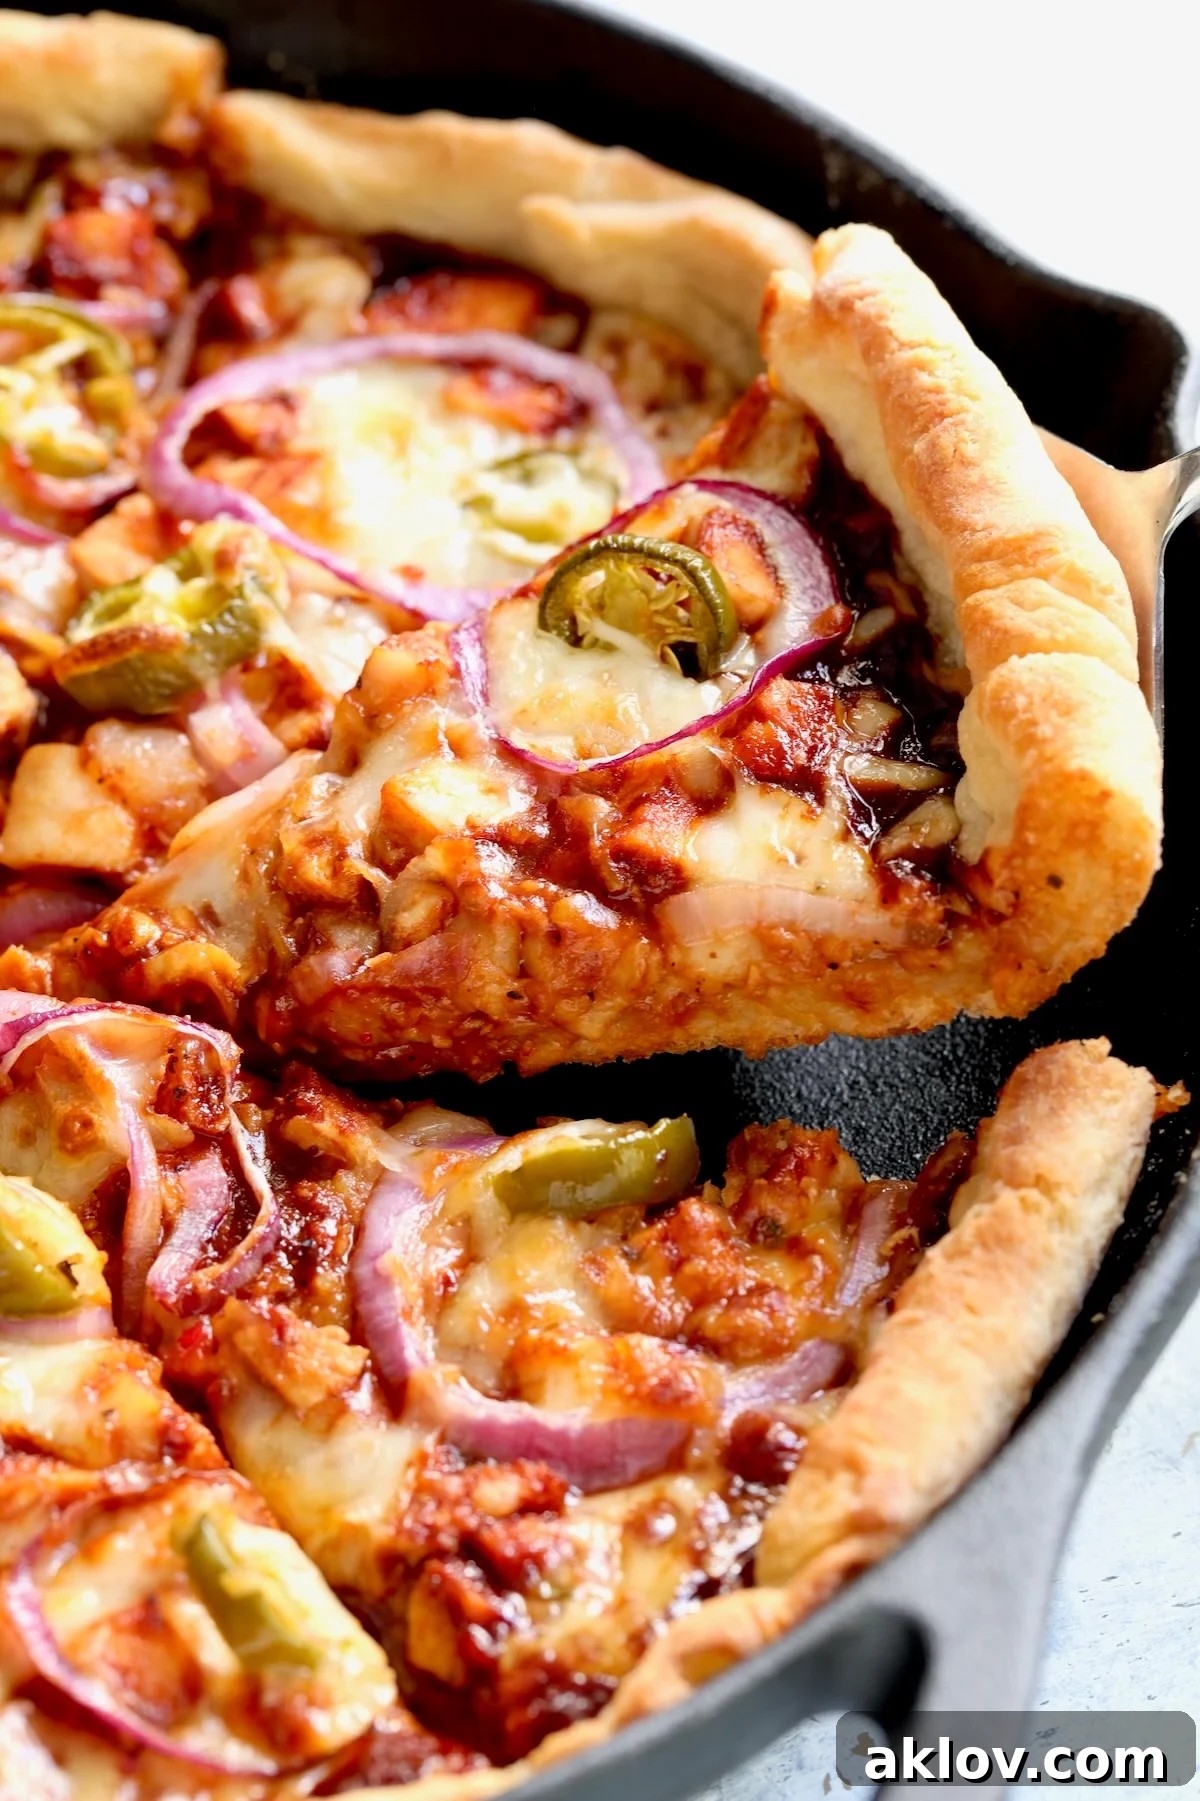
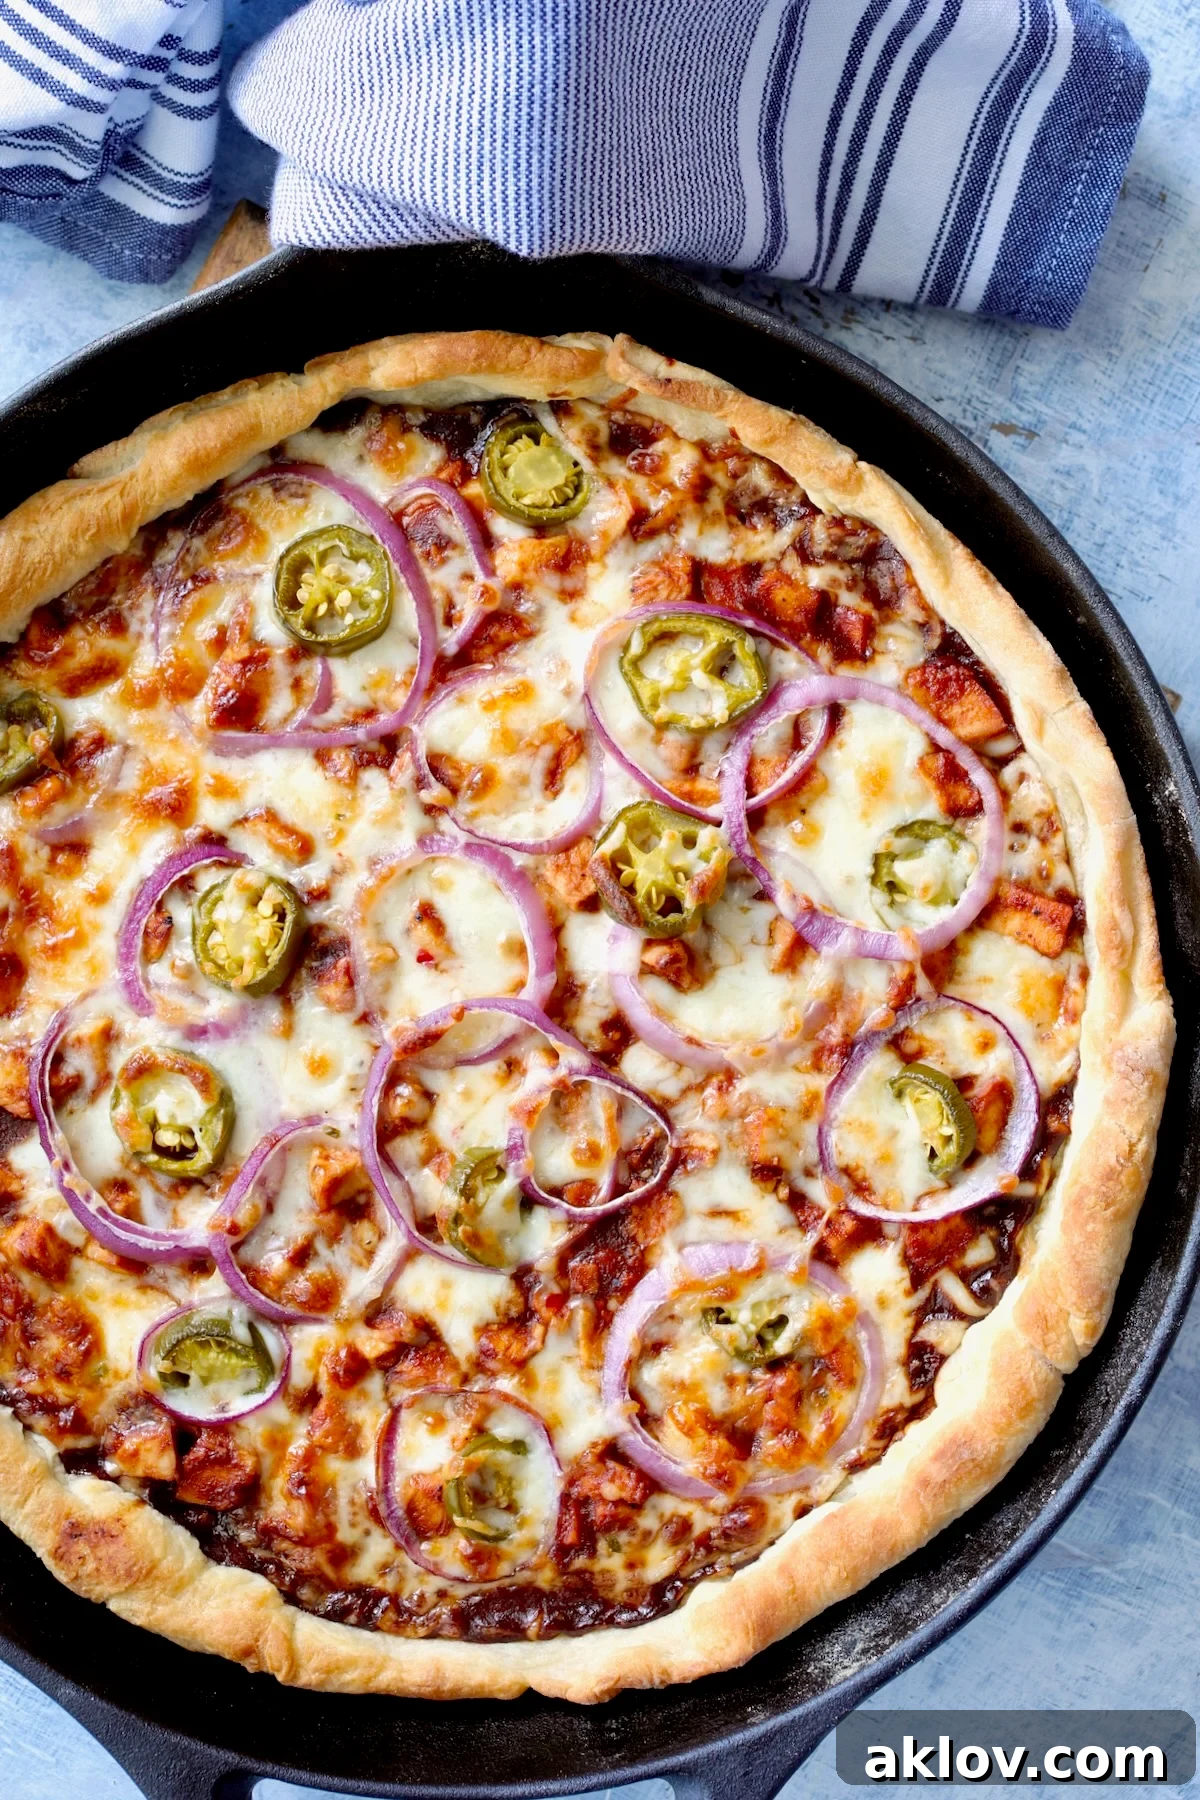
Experience a culinary delight with this incredible Cast Iron Skillet Barbecue Chicken Pizza – a dish that perfectly balances sweet, smoky, cheesy, and spicy flavors, embodying the vibrant spirit of Memphis cuisine. This recipe offers the ultimate at-home pizza night solution, allowing you to create something truly extraordinary yet surprisingly simple and universally loved. Forget the ordinary takeout; this skillet pizza promises a unique and satisfying experience for every palate.
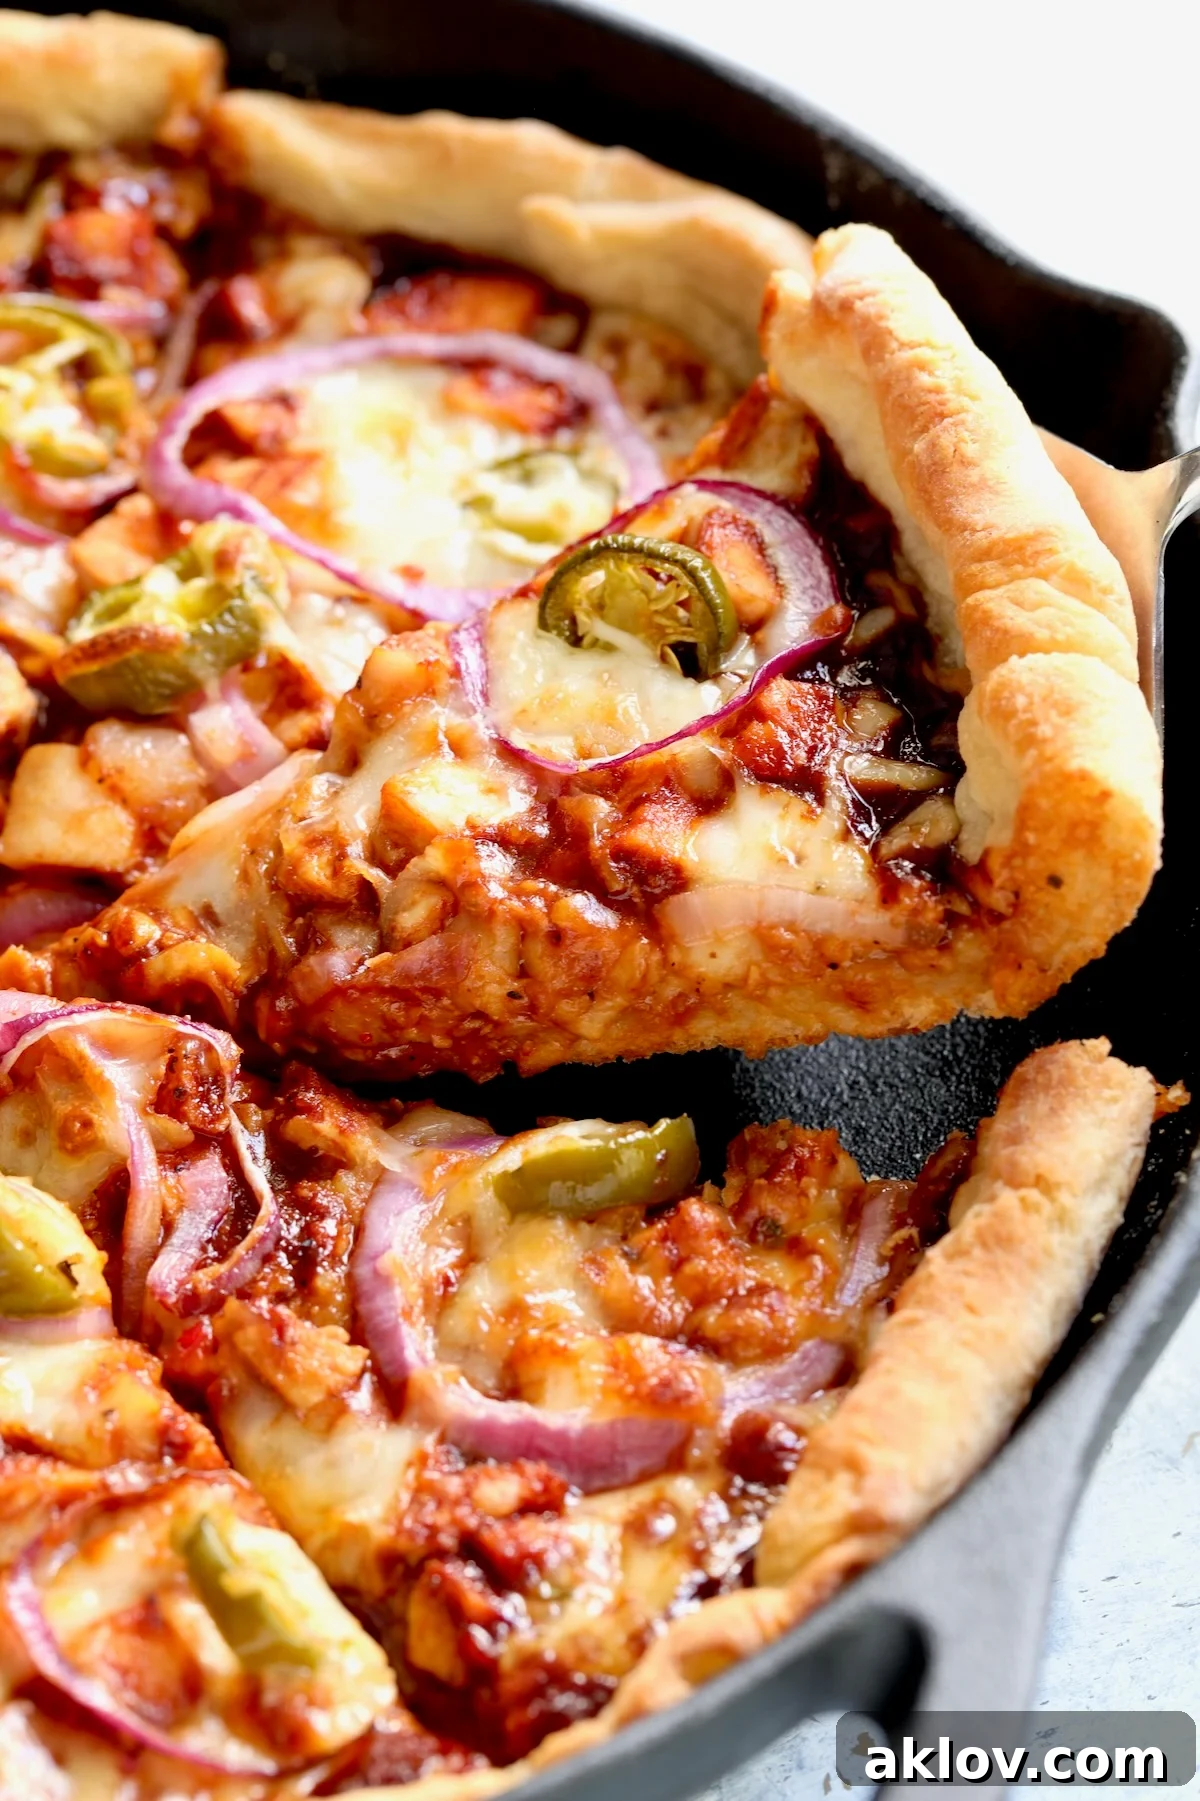
There’s a special magic that happens when a cast iron skillet meets pizza dough. These timeless pans, cherished for their exceptional heat retention and even cooking, are perfectly suited for crafting the ideal pizza crust – golden, crisp, and robust. And when it comes to topping that crust, few combinations are as irresistible as Barbecue Chicken, especially in a city renowned for its barbecue mastery like Memphis.
Transforming your kitchen into a pizzeria for family pizza night is a rewarding experience, especially when you pull a sizzling, freshly baked pizza from your oven, made with a crust crafted by your own hands. There’s an undeniable warmth and love infused into a homemade pizza that simply can’t be replicated by a quick pickup, delivery, or a store-bought box.
While convenient shortcuts like naan or flatbread pizzas offer a quick weeknight meal, nothing truly compares to the satisfaction and superior taste of a pizza built upon a homemade crust. The process itself is therapeutic, from the satisfying feel of flour on your hands to the rhythmic mixing, precise measuring, gentle pouring, and, most importantly, the meditative art of kneading. With the help of rapid-rise yeast, achieving a perfect, airy crust becomes an easy and quick endeavor, making homemade pizza more accessible than ever.
The Story Behind Barbecue Chicken Pizza: A Taste of Innovation
The delicious concept of Barbecue Chicken Pizza, though now a global sensation, didn’t originate in a traditional Italian kitchen. It was famously “invented” in the late 1980s by a creative pizza chain in California. This innovative fusion of American barbecue flavors with classic Italian pizza quickly captured the nation’s palate and spread like wildfire across the country.
However, in Memphis, a city deeply steeped in barbecue culture and renowned worldwide for its distinctive smoky flavors, Barbecue Chicken Pizza has taken on a life of its own. It has become a beloved regional staple, proudly claimed by the local community as if it were a native creation. Many Memphis restaurants serving this iconic pizza will playfully assert that they were the original innovators, a testament to how deeply this dish has integrated into the city’s culinary identity. This blend of tangy barbecue sauce, tender chicken, and melted cheese on a crispy crust perfectly complements Memphis’s rich food heritage, making it an essential experience for both locals and visitors alike.
Crafting Your Perfect Cast Iron Skillet Pizza: A Step-by-Step Guide
Making an extraordinary pizza at home, especially in a cast iron skillet, is simpler than you might imagine. The key lies in careful preparation and understanding the role each ingredient plays. Follow these steps to create a pizza that will impress everyone at your table.
Preparing Your Workspace and Oven:
- Begin by preheating your oven to a scorching 500 degrees Fahrenheit (260 degrees Celsius). This high temperature is crucial for achieving that authentic, crispy pizza crust.
- Simultaneously, place a large, dry, and unoiled cast-iron skillet on the lowest rack of your oven to preheat alongside it. A hot skillet is essential for an even, golden-brown crust.
Mixing the Dough: The Foundation of Flavor
- In a spacious mixing bowl, start combining your dry ingredients. It’s a fundamental rule of baking with yeast: always begin with a smaller quantity of flour than the recipe calls for. You can easily add more flour later if the dough is too wet, but if you start with too much, your dough will become stiff, dry, and difficult to work with.
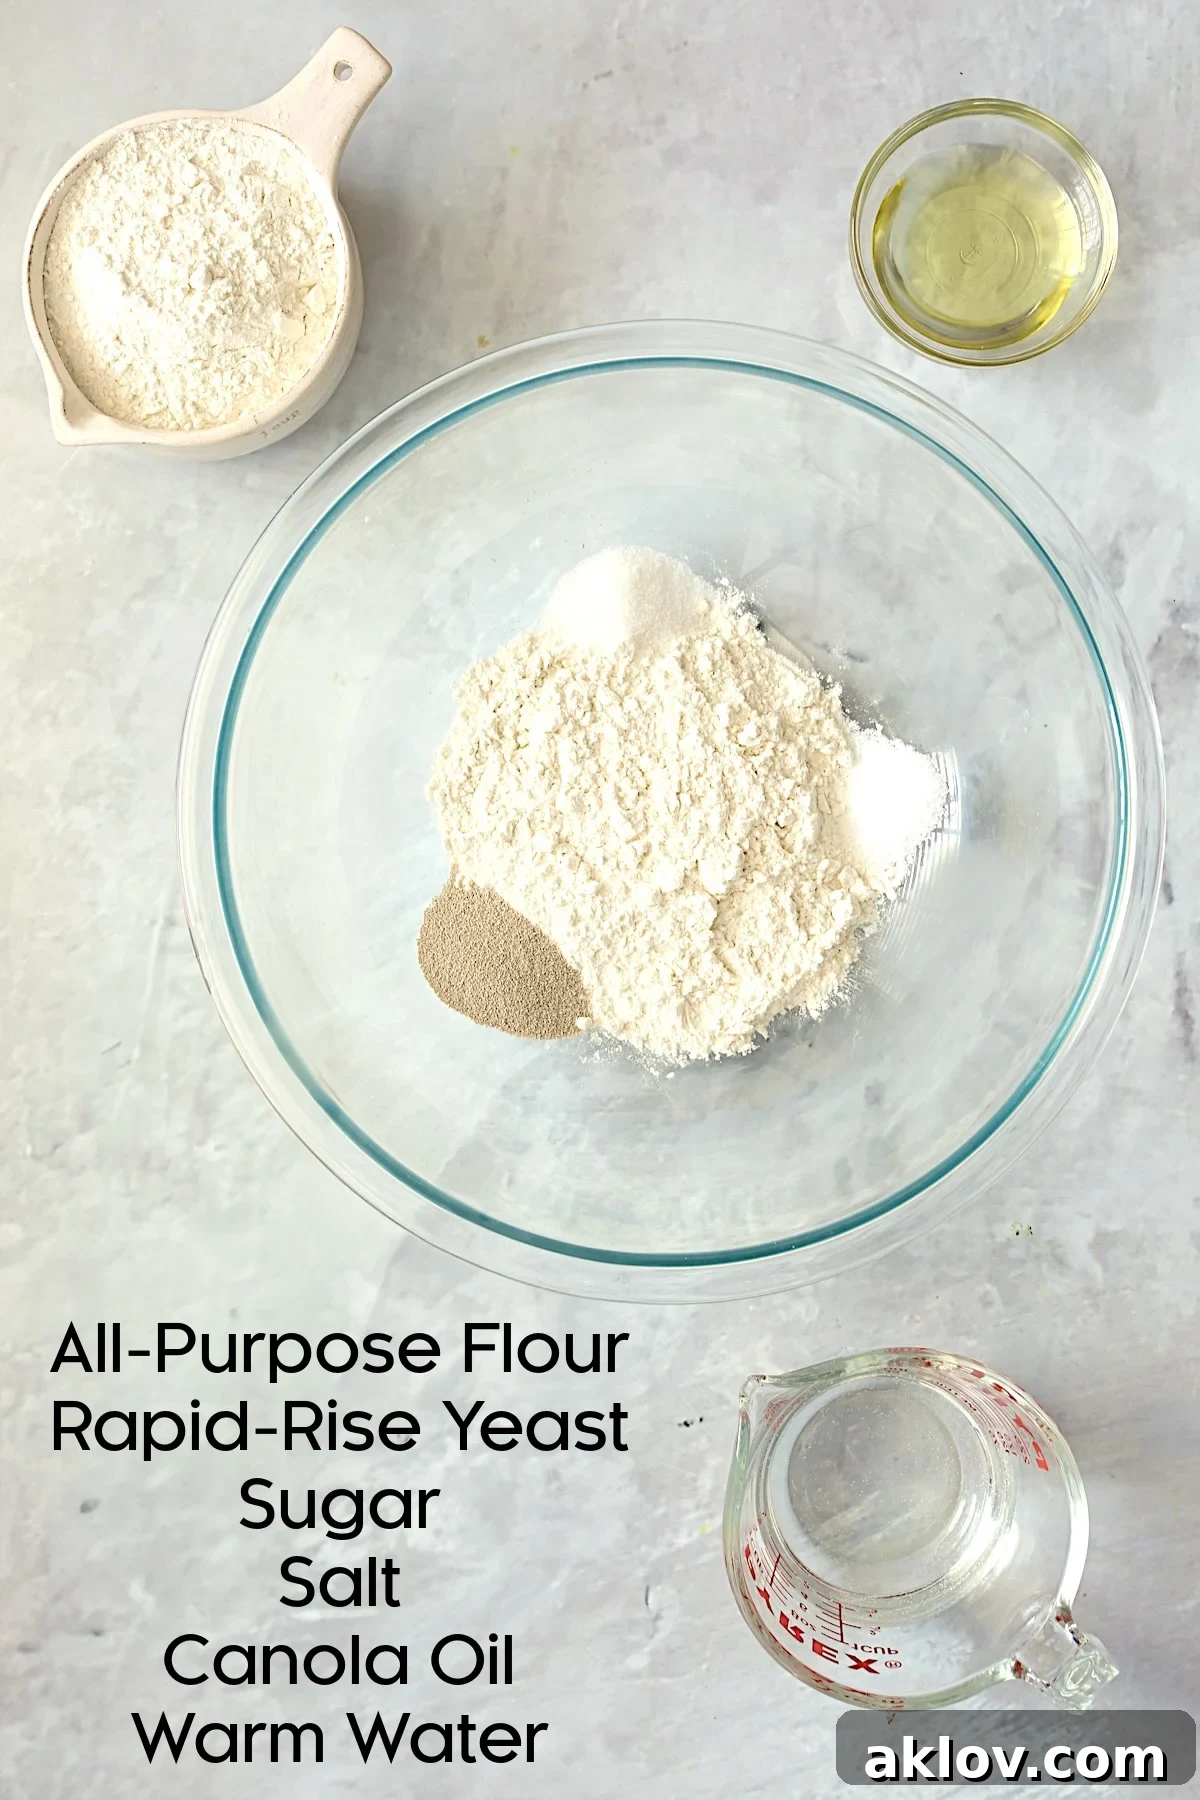
- Into the bowl, add 1 cup of all-purpose flour, followed by 1 envelope of rapid-rise yeast, sugar, and salt. Stir these ingredients thoroughly until they are well combined, as detailed in the full recipe instructions below.
Bringing the Dough to Life: Hydration and Kneading
- Carefully add 2/3 cup of very warm water to your dry mixture. The water temperature is critical – it should be between 120ºF and 130ºF (49ºC and 54ºC) to properly activate the rapid-rise yeast without killing it. Also, add 3 tablespoons of your chosen oil (canola, vegetable, or olive oil).
- After incorporating the liquids, your dough will initially appear quite shaggy and somewhat sticky, resembling the first photo in the series below. This is perfectly normal at this stage.
- Gradually add more flour, a tablespoon at a time, and begin to knead the dough. Continue kneading for approximately 4 minutes, or until the dough transforms into a smooth, elastic ball. It should feel pliable and slightly tacky, but not overly sticky. The dough’s appearance should now match the second photo below.
- Once kneaded, allow the dough to rest and rise for 10 minutes. This brief resting period allows the gluten to relax, making the dough easier to roll out, and gives the yeast a head start. After resting, the dough should be slightly plumper and softer, as shown in the third photo.
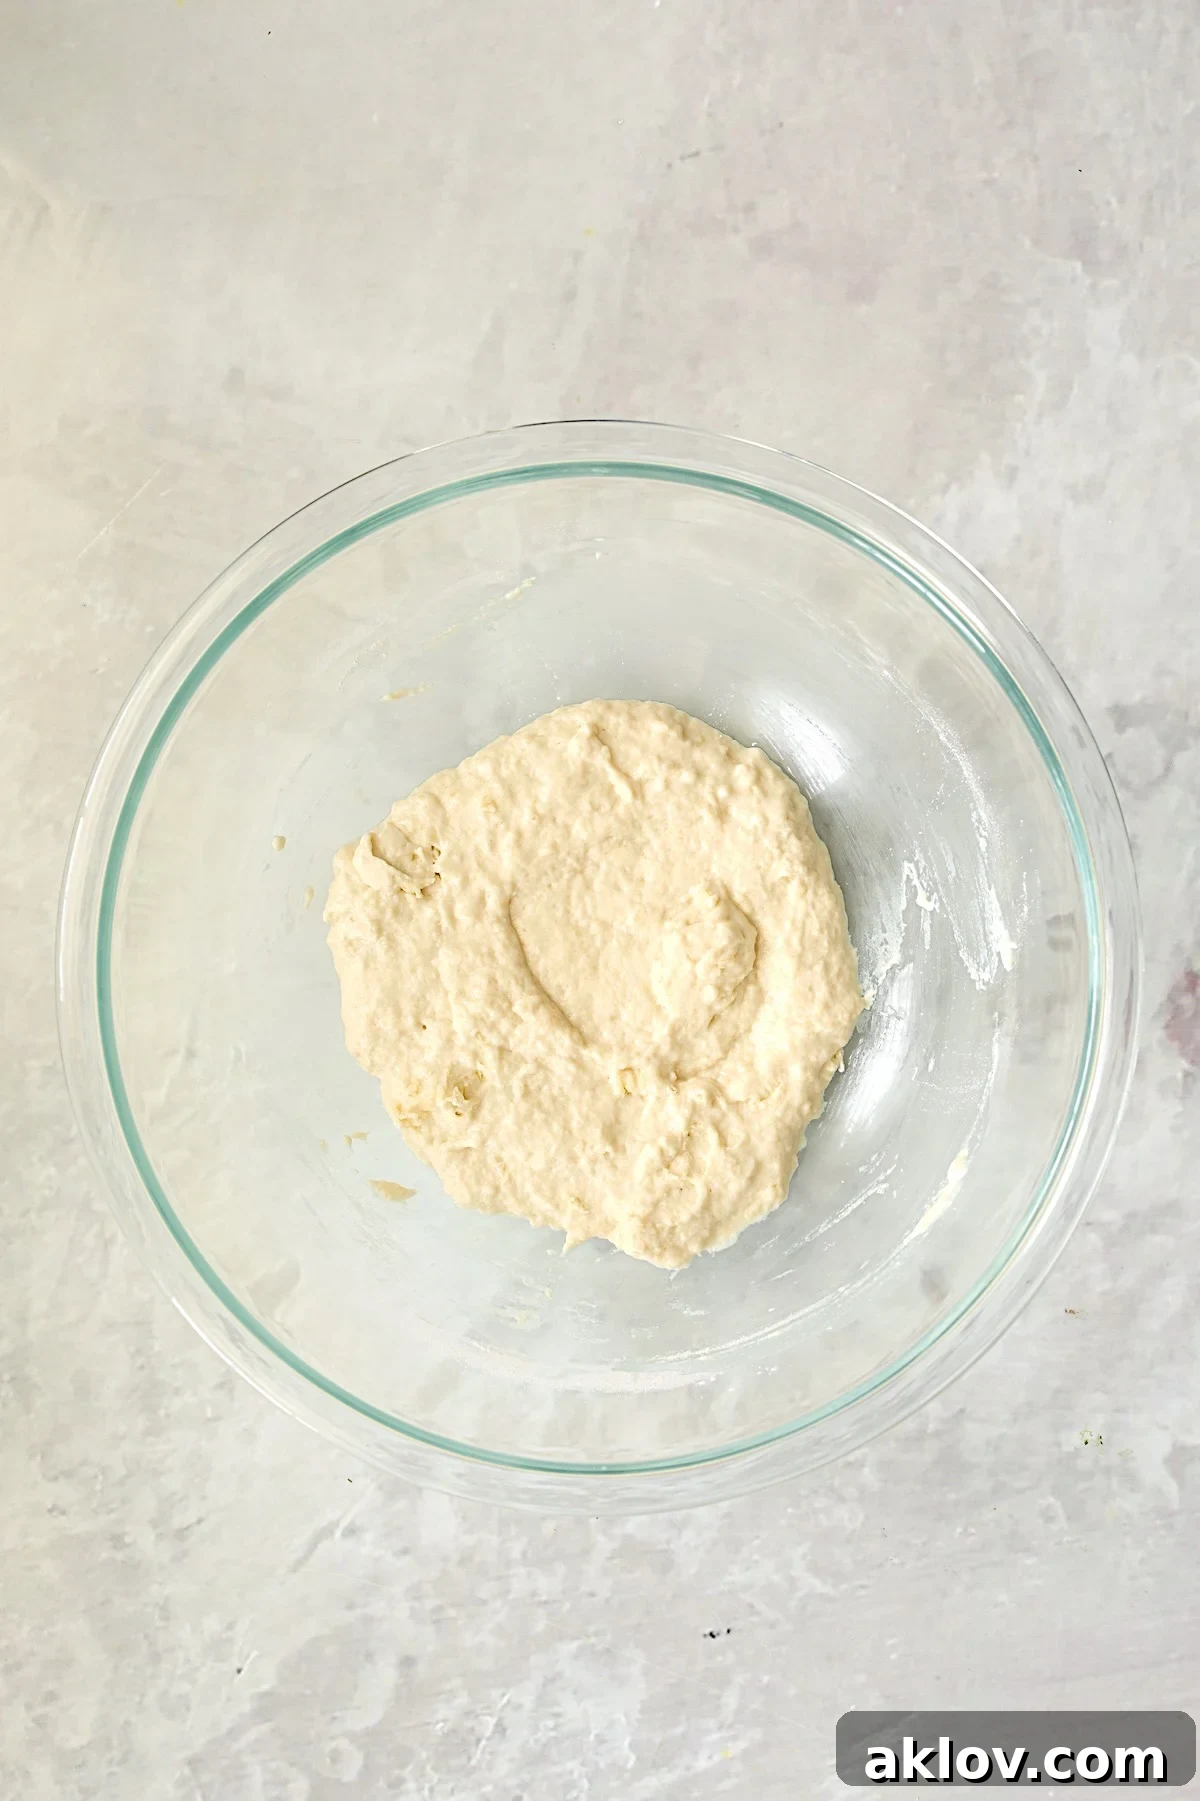
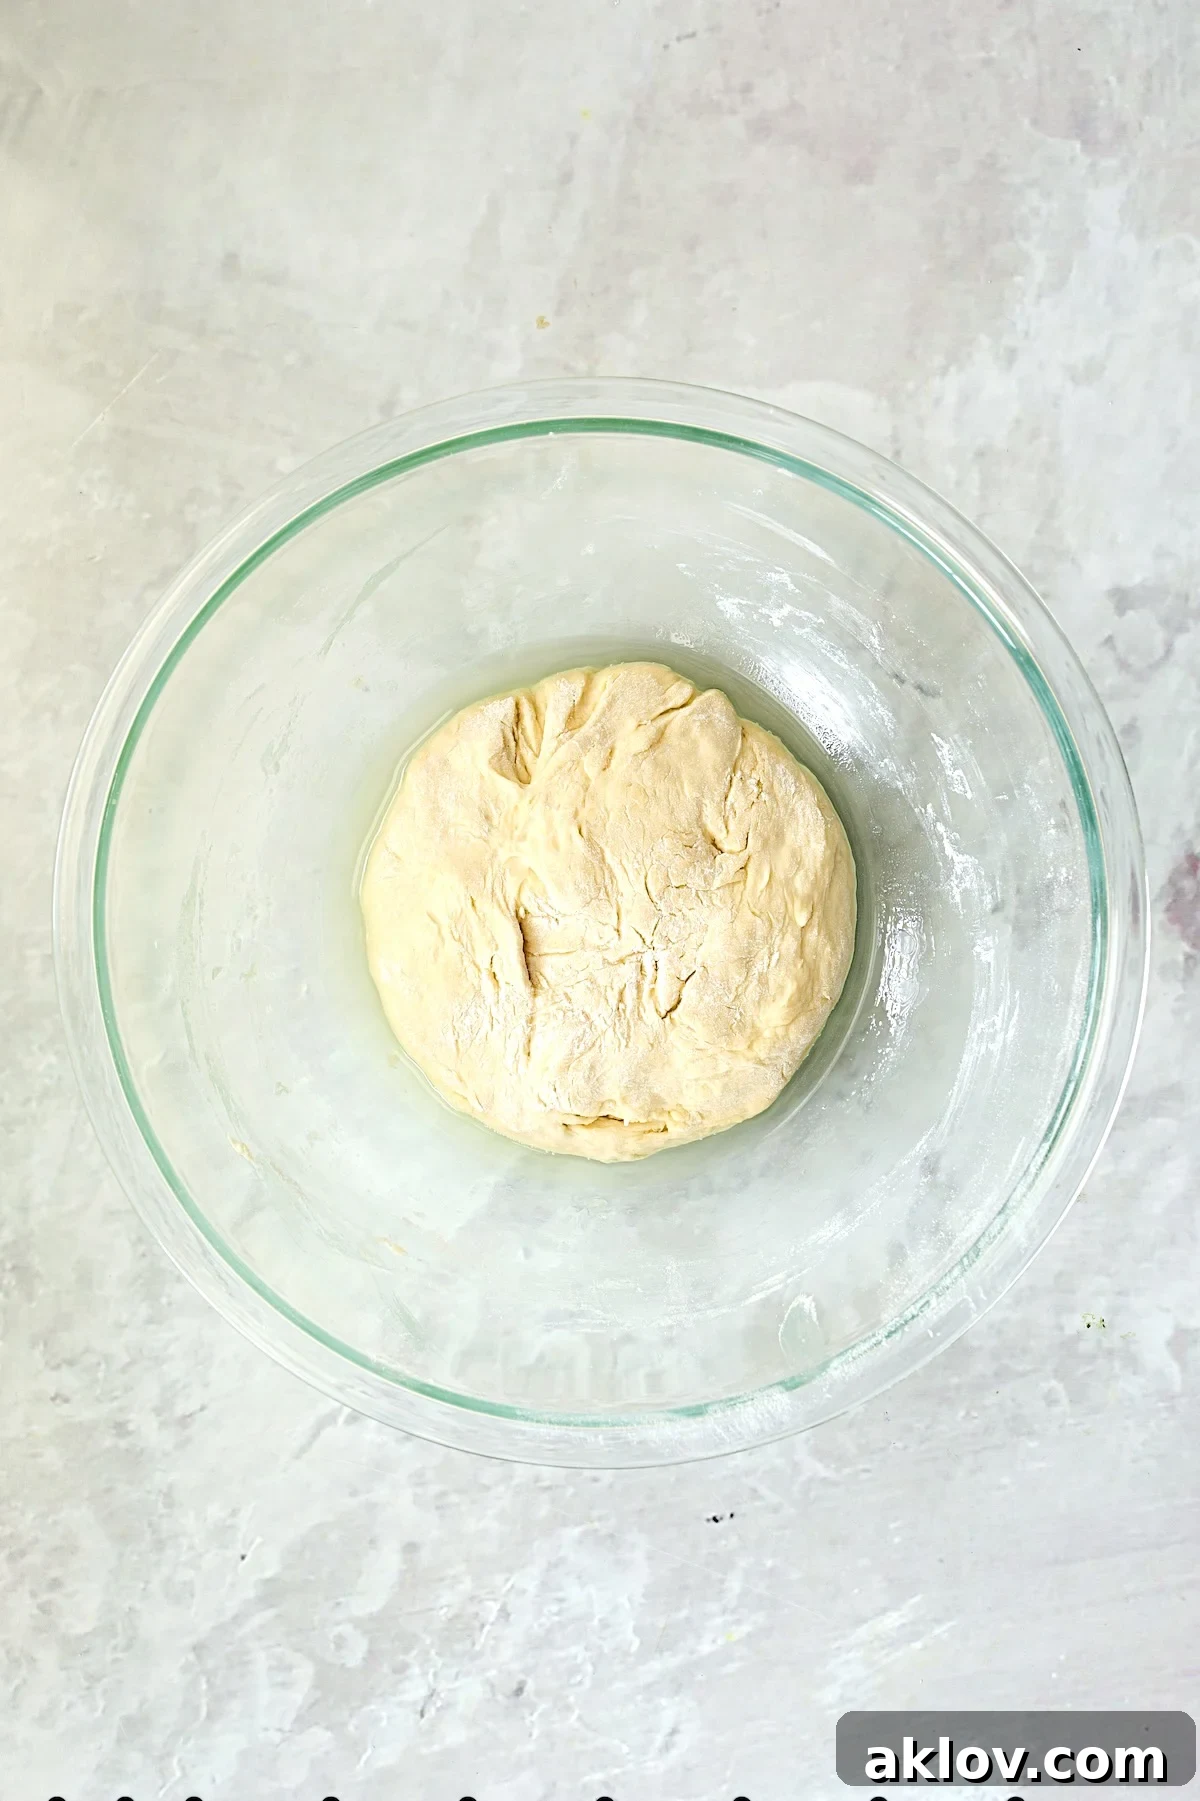
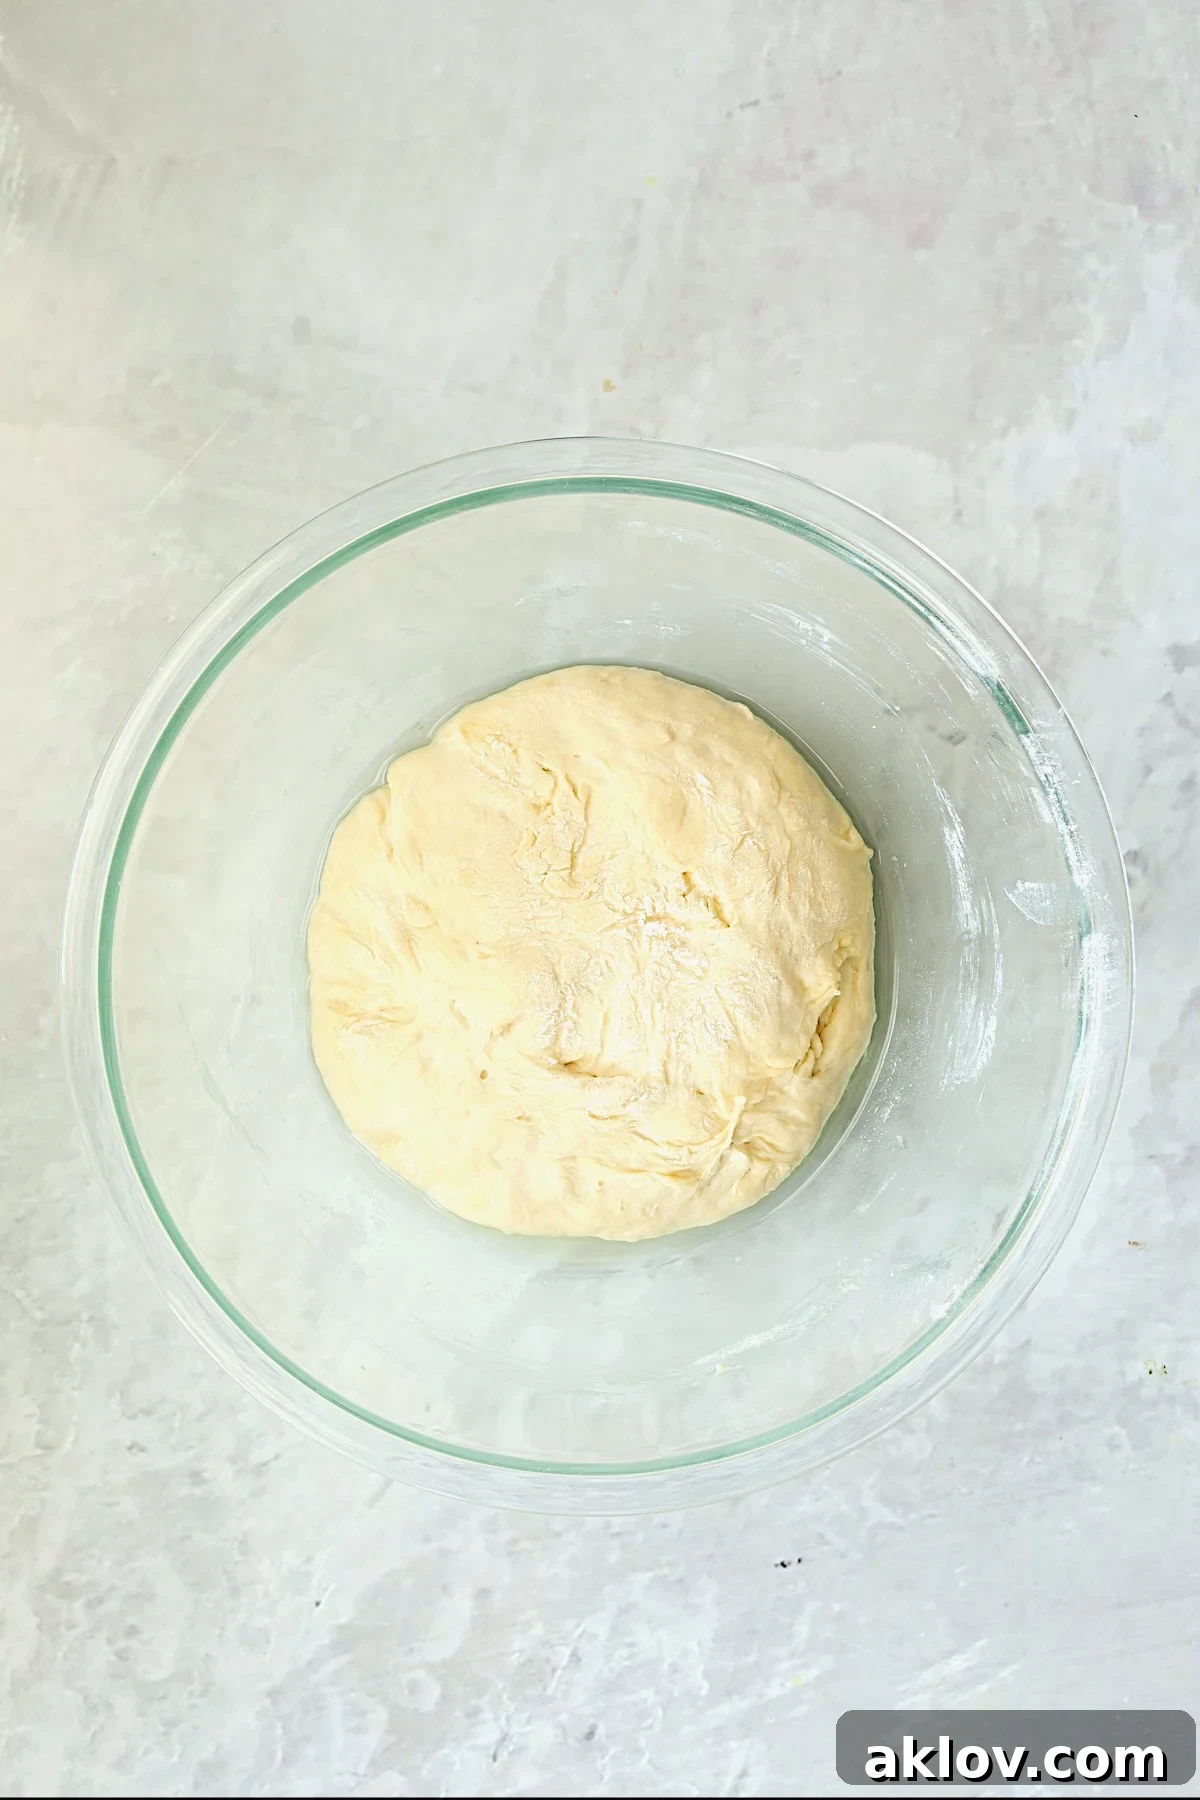
Assembling Your Toppings:
- While your dough rests, gather and prepare all your pizza toppings. Having everything ready beforehand makes assembly quick and efficient.
- Barbecue sauce: Choose a high-quality barbecue sauce. We highly recommend using a locally-made Memphis-style sauce for an authentic flavor profile, but your absolute favorite brand will work wonderfully.
- Cheeses: A blend of shredded Pepper Jack cheese for a subtle kick and classic Mozzarella for its meltability and stretch is ideal.
- Cooked chicken: Use pre-cooked and diced chicken breast. Leftover rotisserie chicken works perfectly here.
- Red onion: Thinly sliced red onion adds a sharp, sweet bite that complements the barbecue flavors.
- Pickled jalapeños: For those who love a bit of heat and tang, pickled jalapeño slices are a fantastic addition.
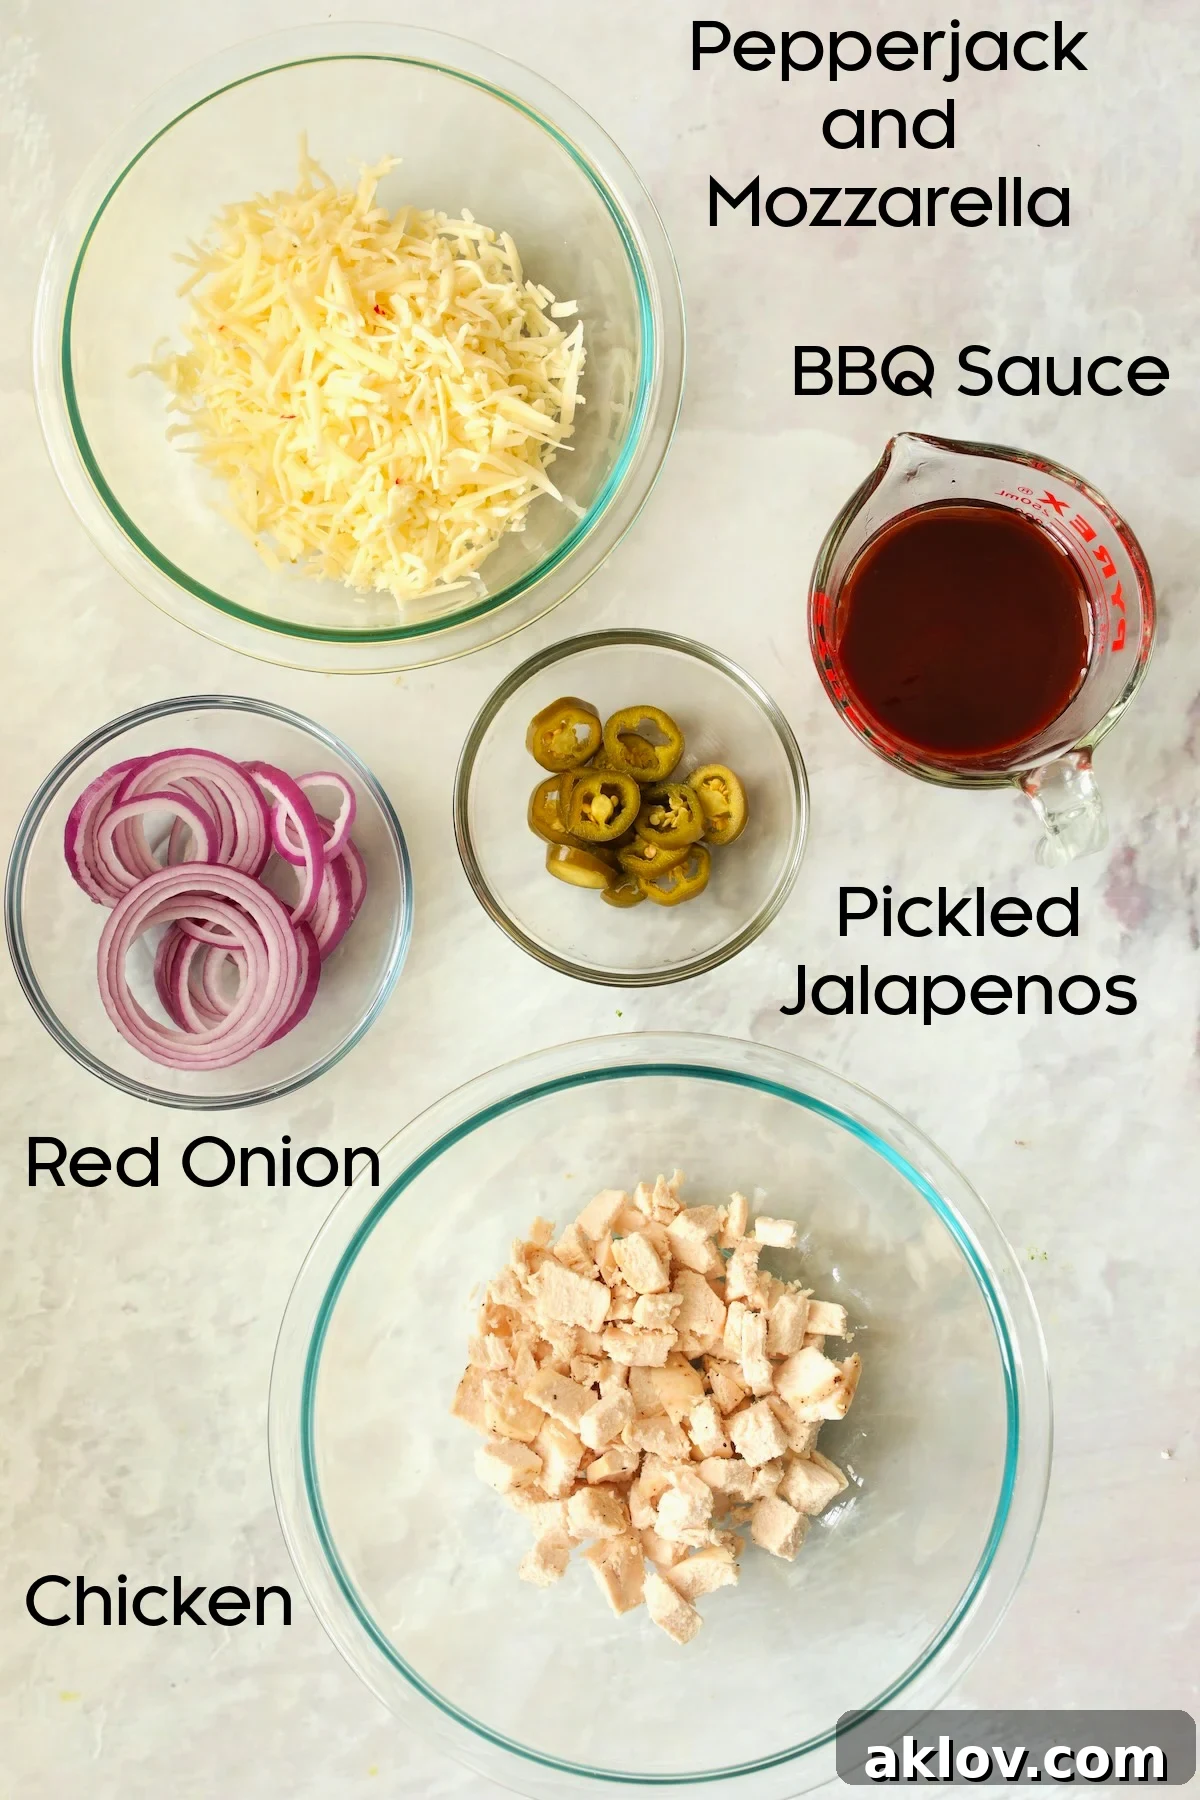
Rolling and Transferring the Dough:
- On a lightly floured surface, roll your rested dough out into a roughly 12-inch circle. Aim for an even thickness to ensure uniform cooking.
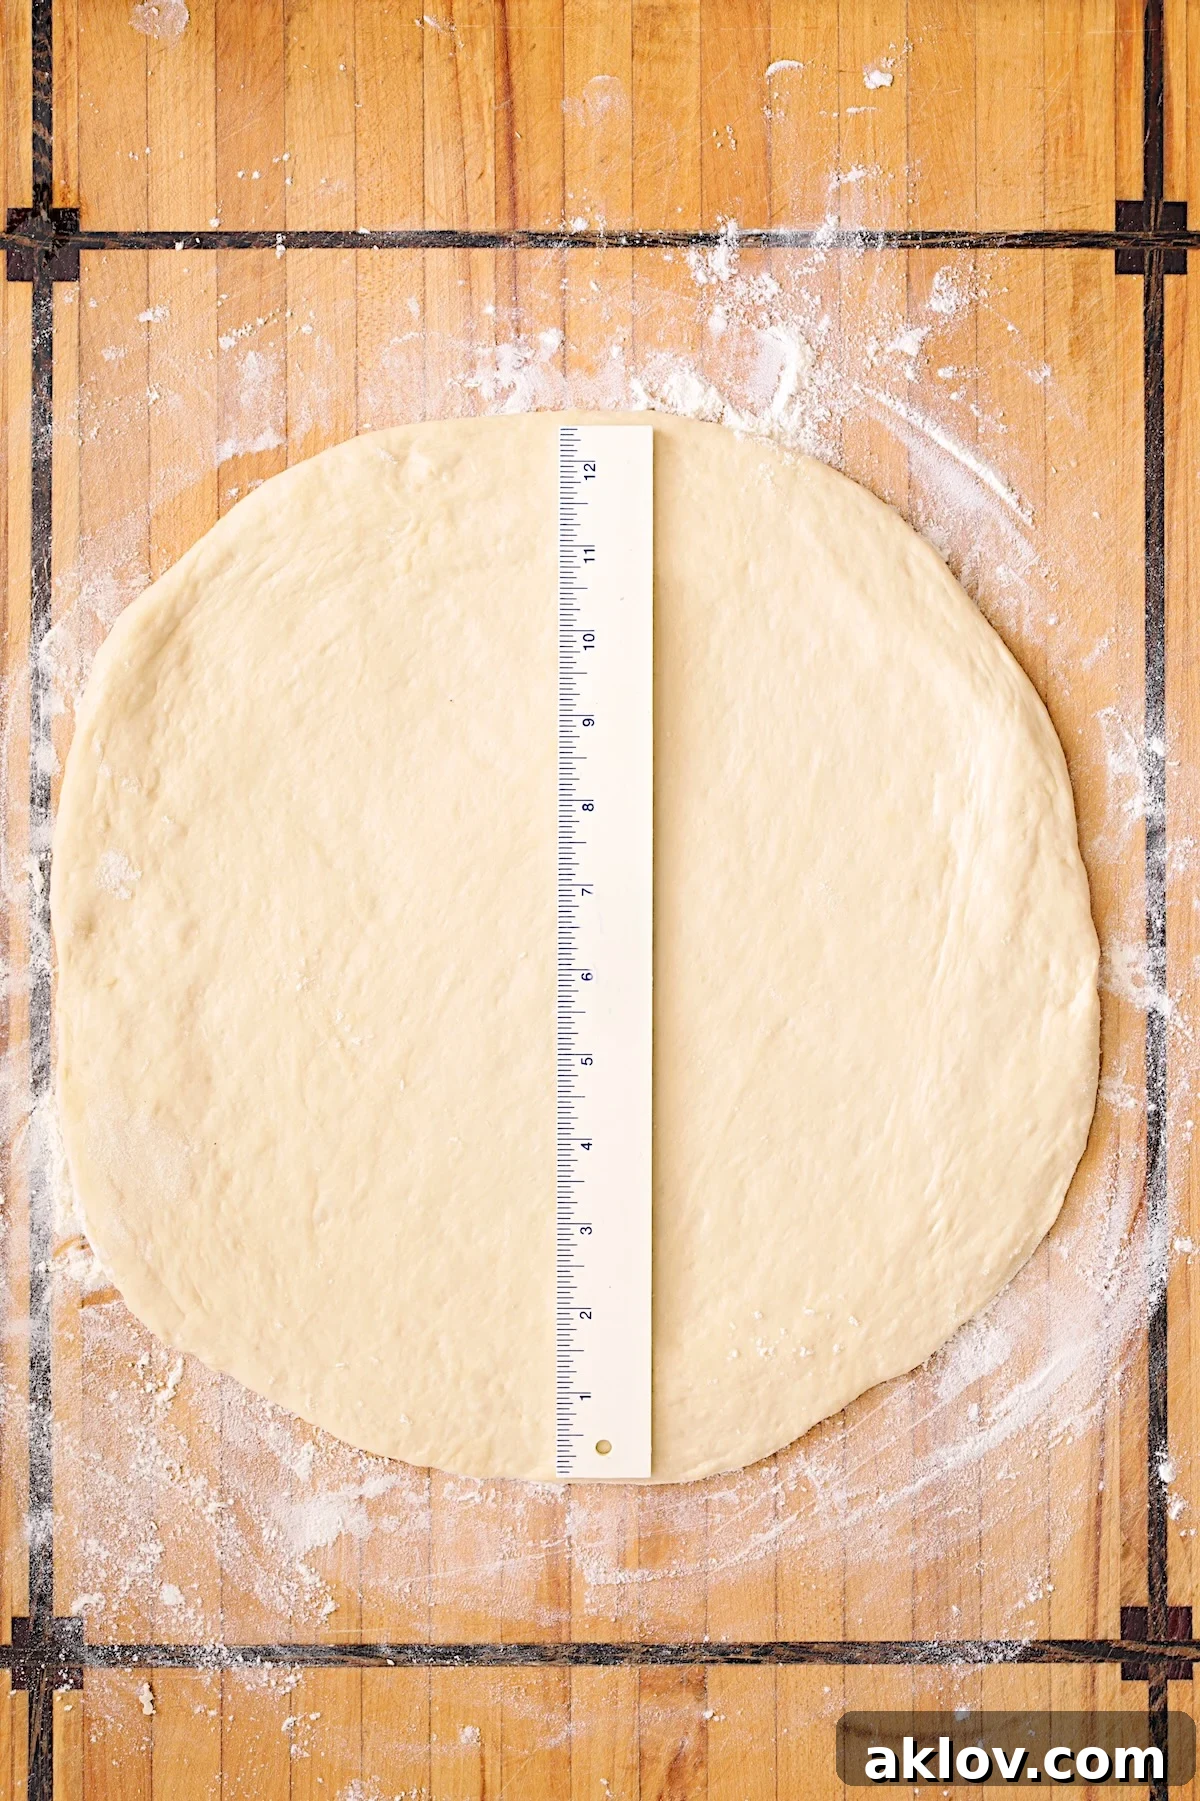
- Carefully remove the preheated skillet from the oven.
- CHEF SAFETY TIP: Always remember that a cast iron skillet, especially after being in a 500-degree oven, retains heat for an extended period. The handle will be EXTREMELY HOT. Immediately after removing the skillet from the oven and placing it on a heat-safe surface, wrap the handle securely with a thick kitchen towel or place an oven mitt over it as a constant reminder.
- Lightly brush the interior of the hot skillet with oil that has a high smoke point, such as canola or vegetable oil. This prevents sticking and contributes to a crispy crust.
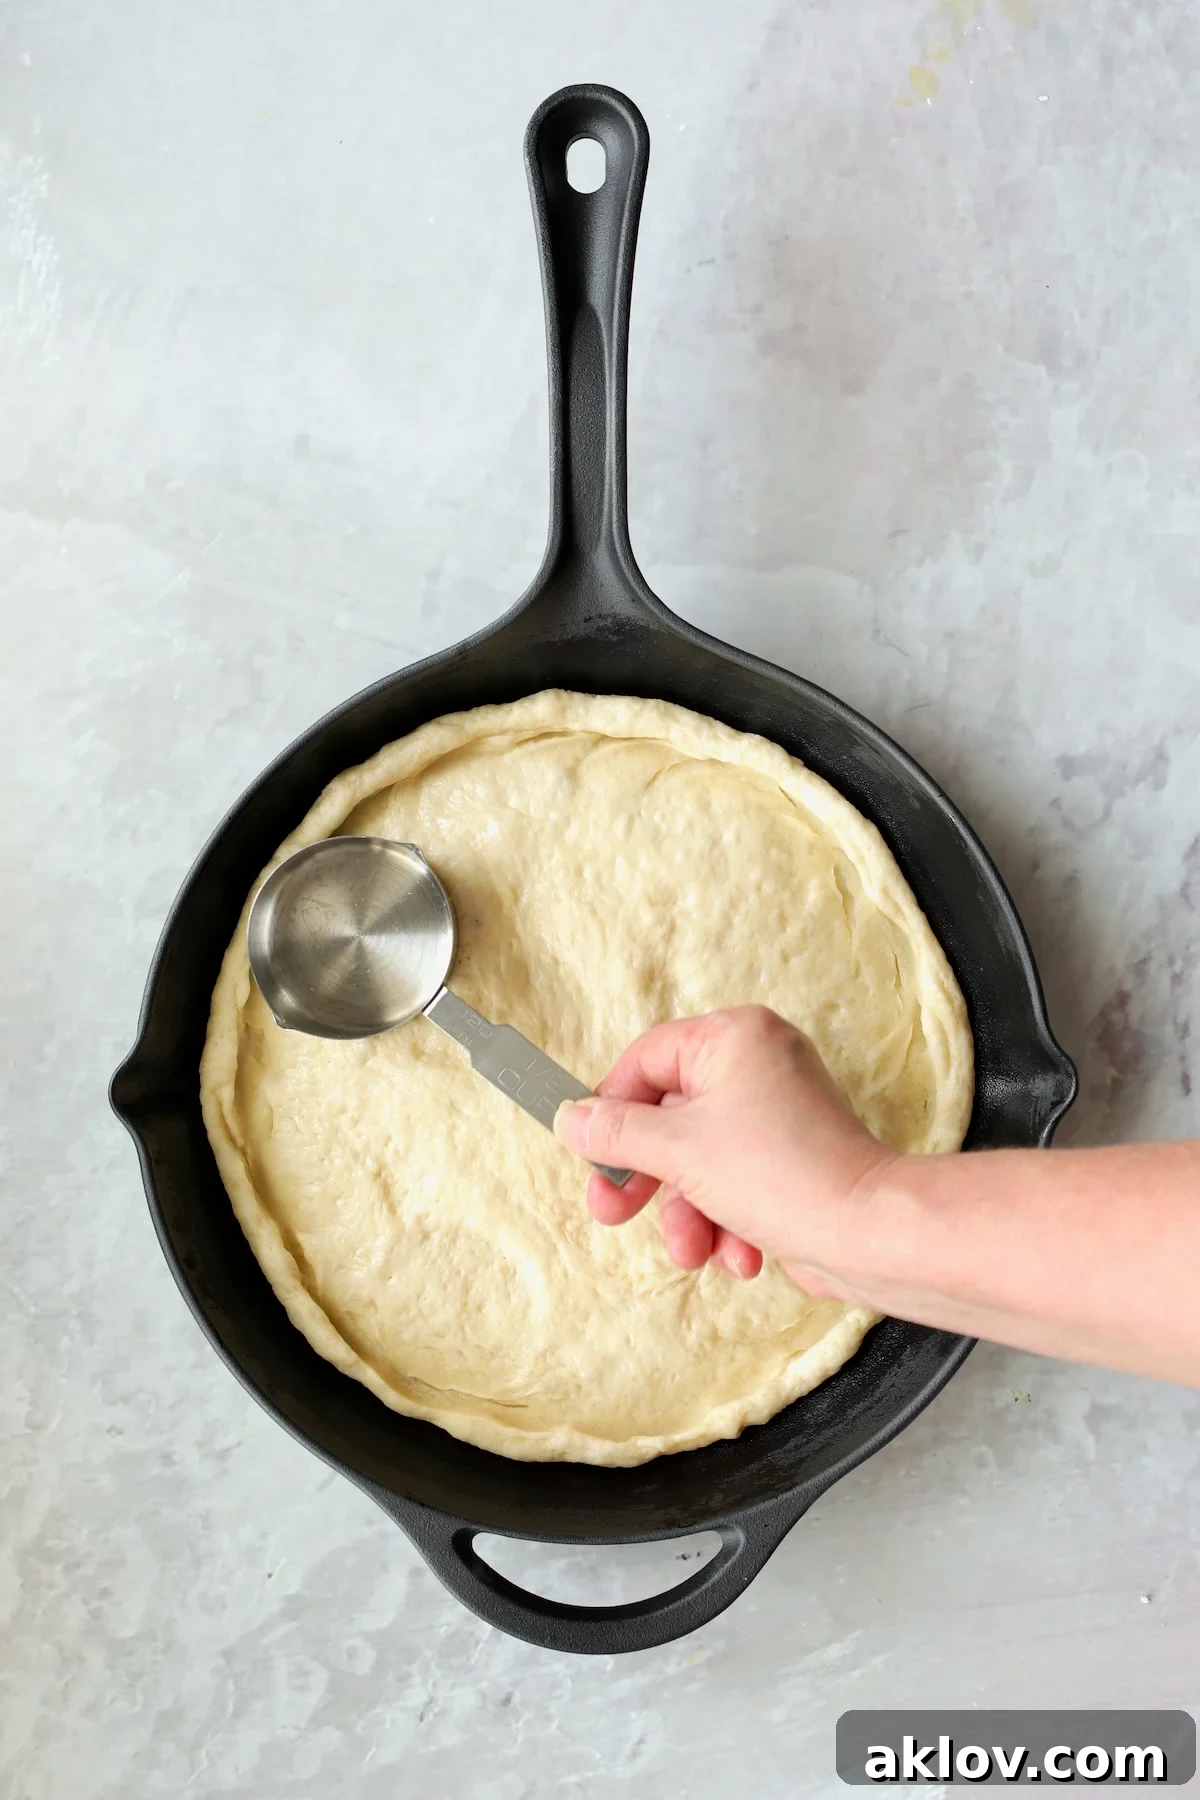
- With utmost care, place the rolled-out dough into the preheated skillet. Quickly and gently, press the dough up the sides of the skillet to form a slight rim. A 1-cup measuring cup can be helpful for this, as the skillet’s surface is EXTREMELY HOT! The heat from the skillet will immediately begin to crisp the bottom of the crust, laying the groundwork for a perfect base.
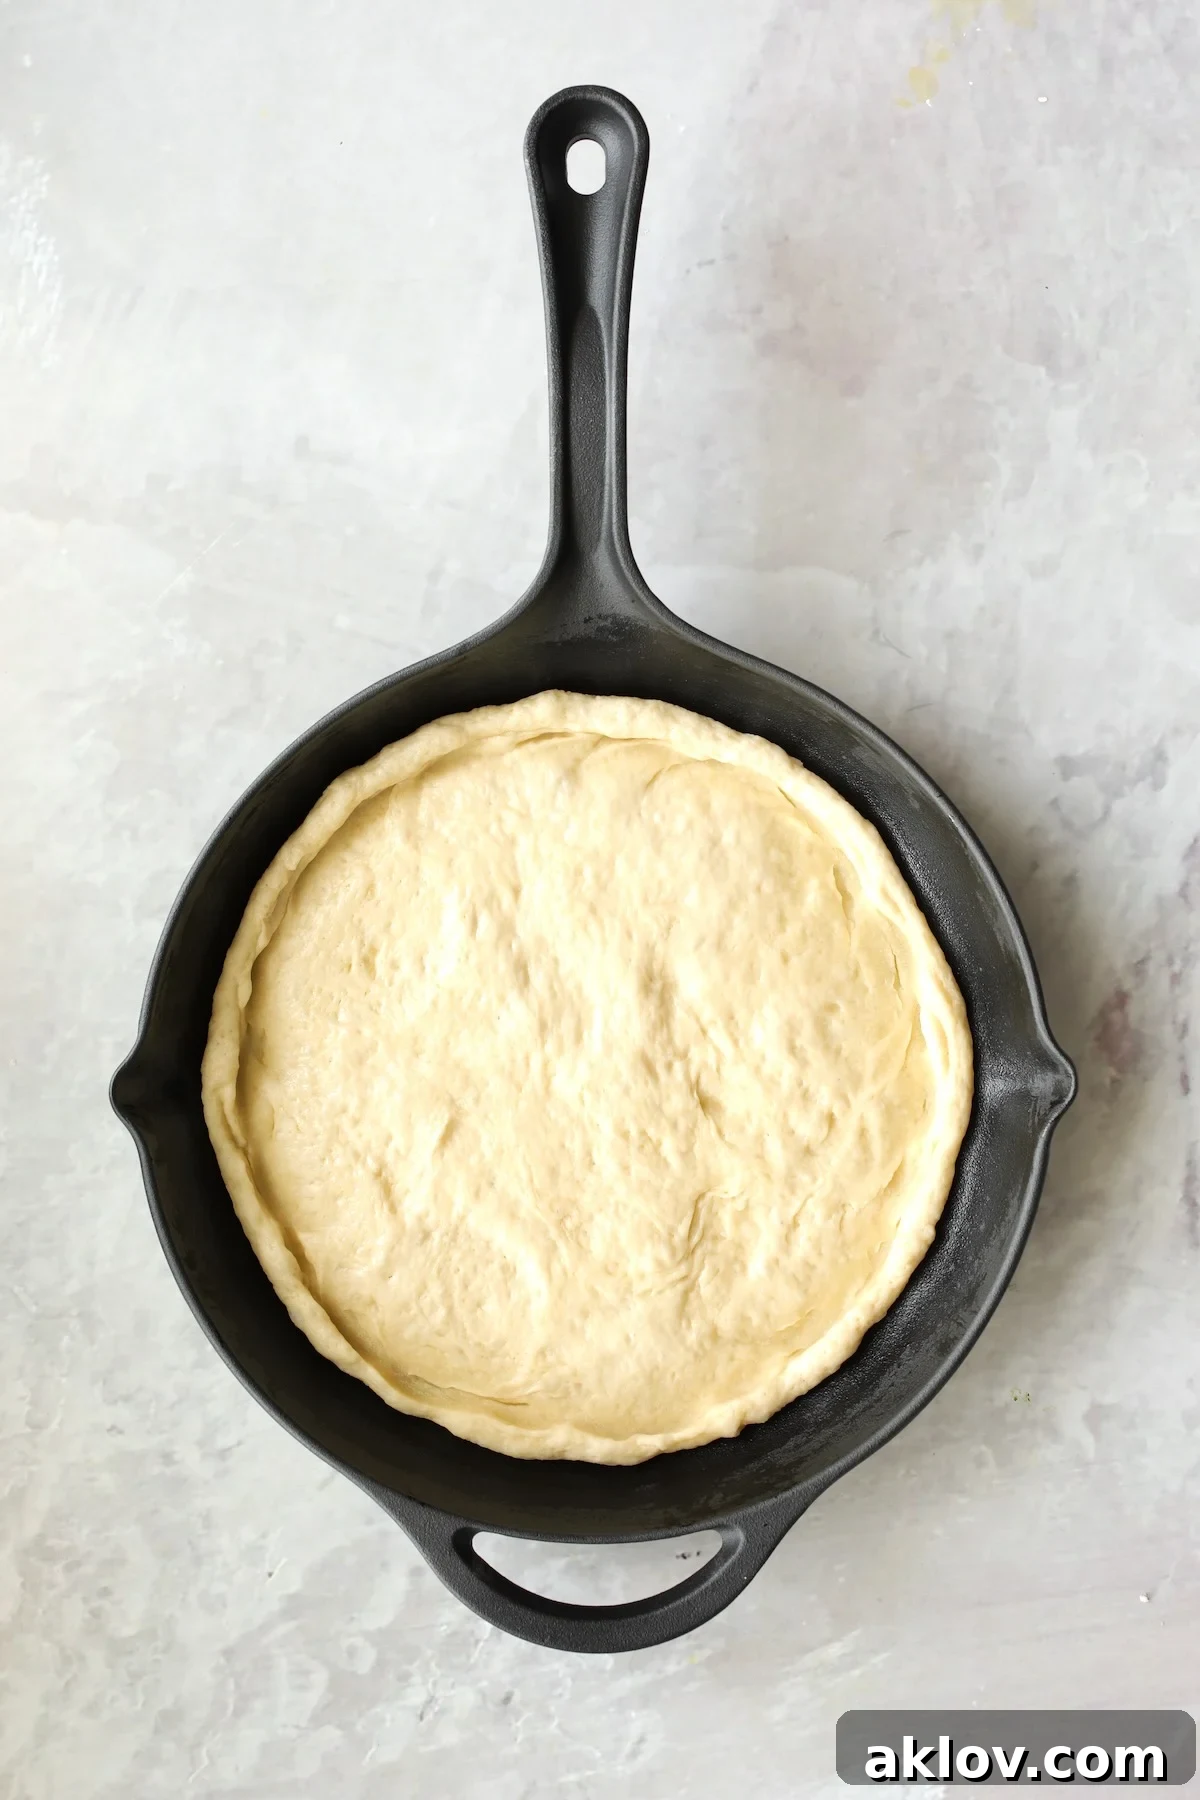
- Now, it’s time for the fun part: adding your delicious toppings! Evenly spread a generous layer of barbecue sauce over the crust, leaving a small border for the crust.
- Next, sprinkle a portion of your shredded Pepper Jack and Mozzarella cheeses.
- Toss your diced cooked chicken with a little more barbecue sauce to ensure every piece is flavorful, then scatter it over the cheese layer.
- Finally, artfully arrange the thinly sliced red onion rings and pickled jalapeño slices to your liking.
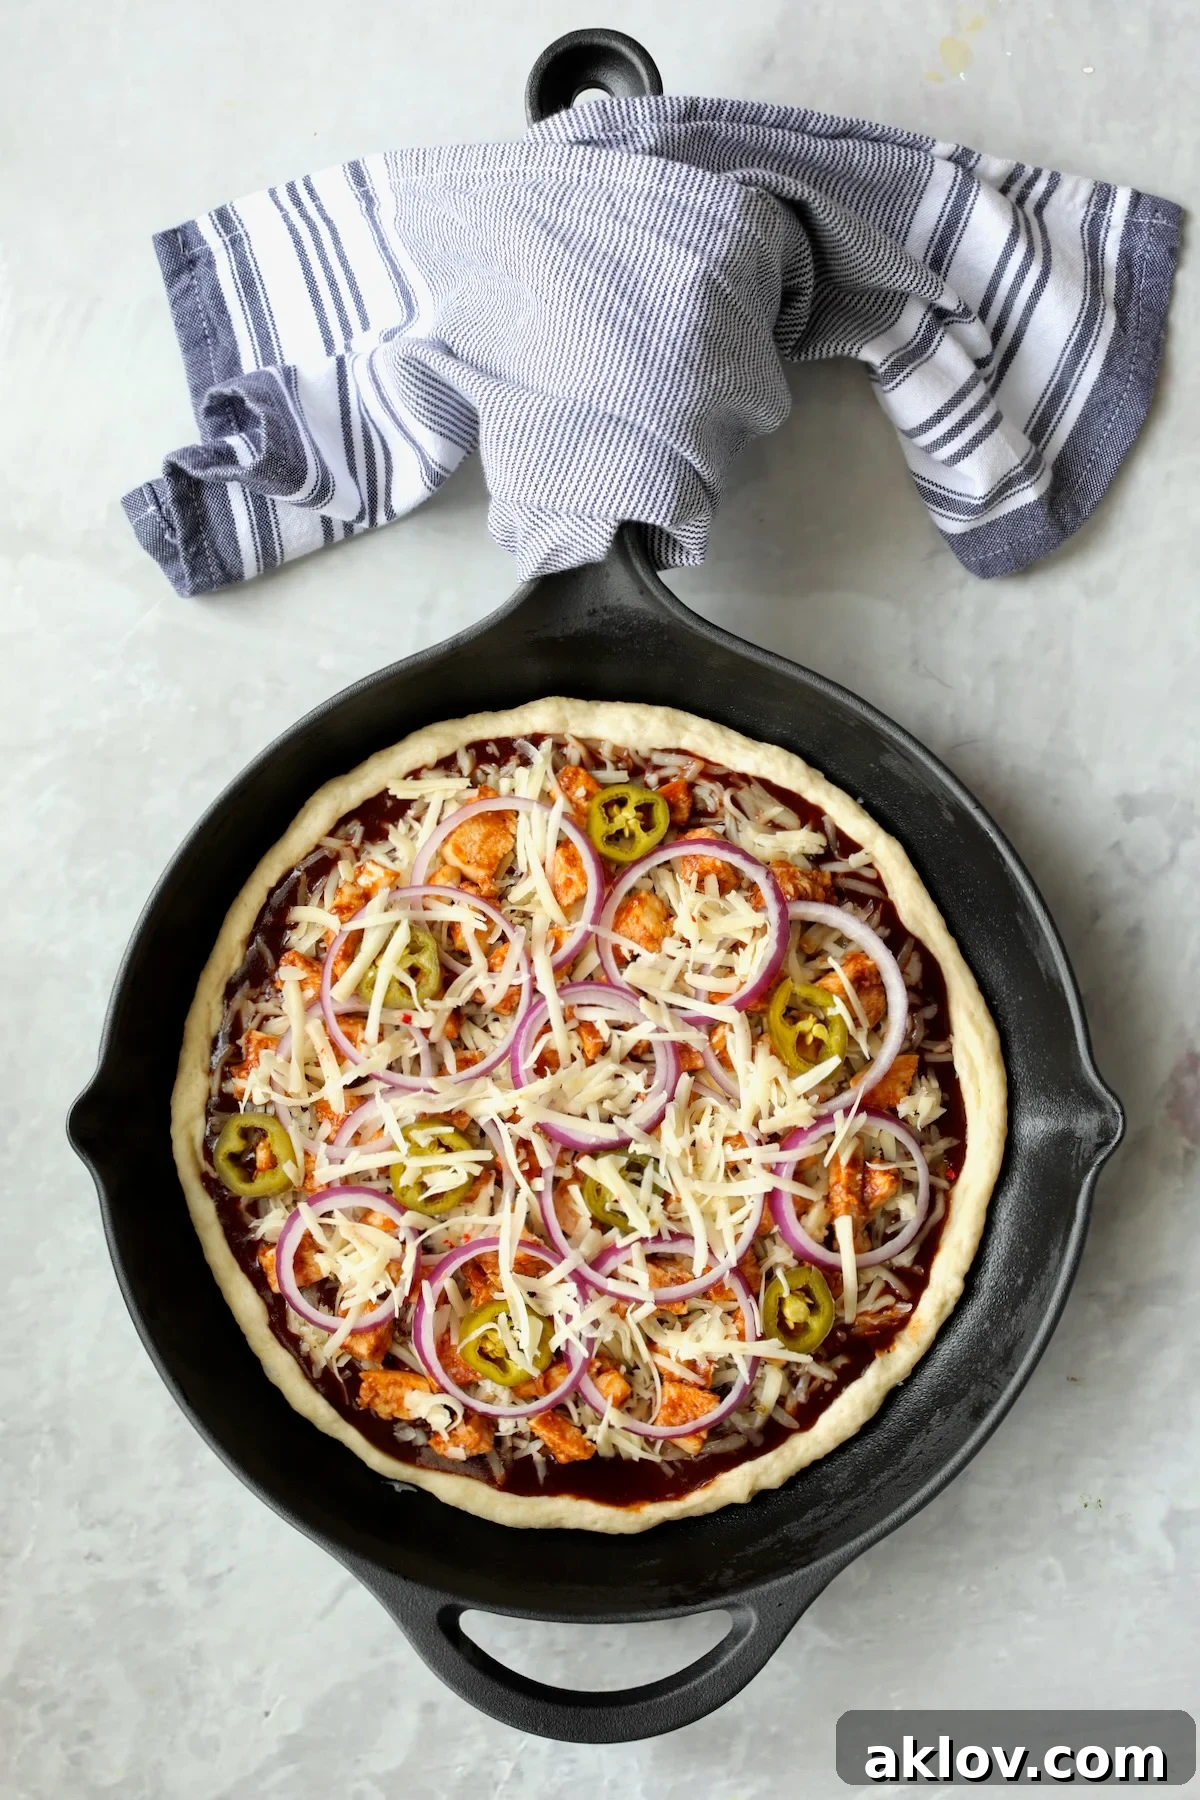
- Carefully transfer the topped skillet pizza back into the preheated oven. Bake for approximately 15 minutes, or until the cheese is beautifully melted and bubbly, and the crust has achieved a deep golden-brown hue and irresistible crispness.
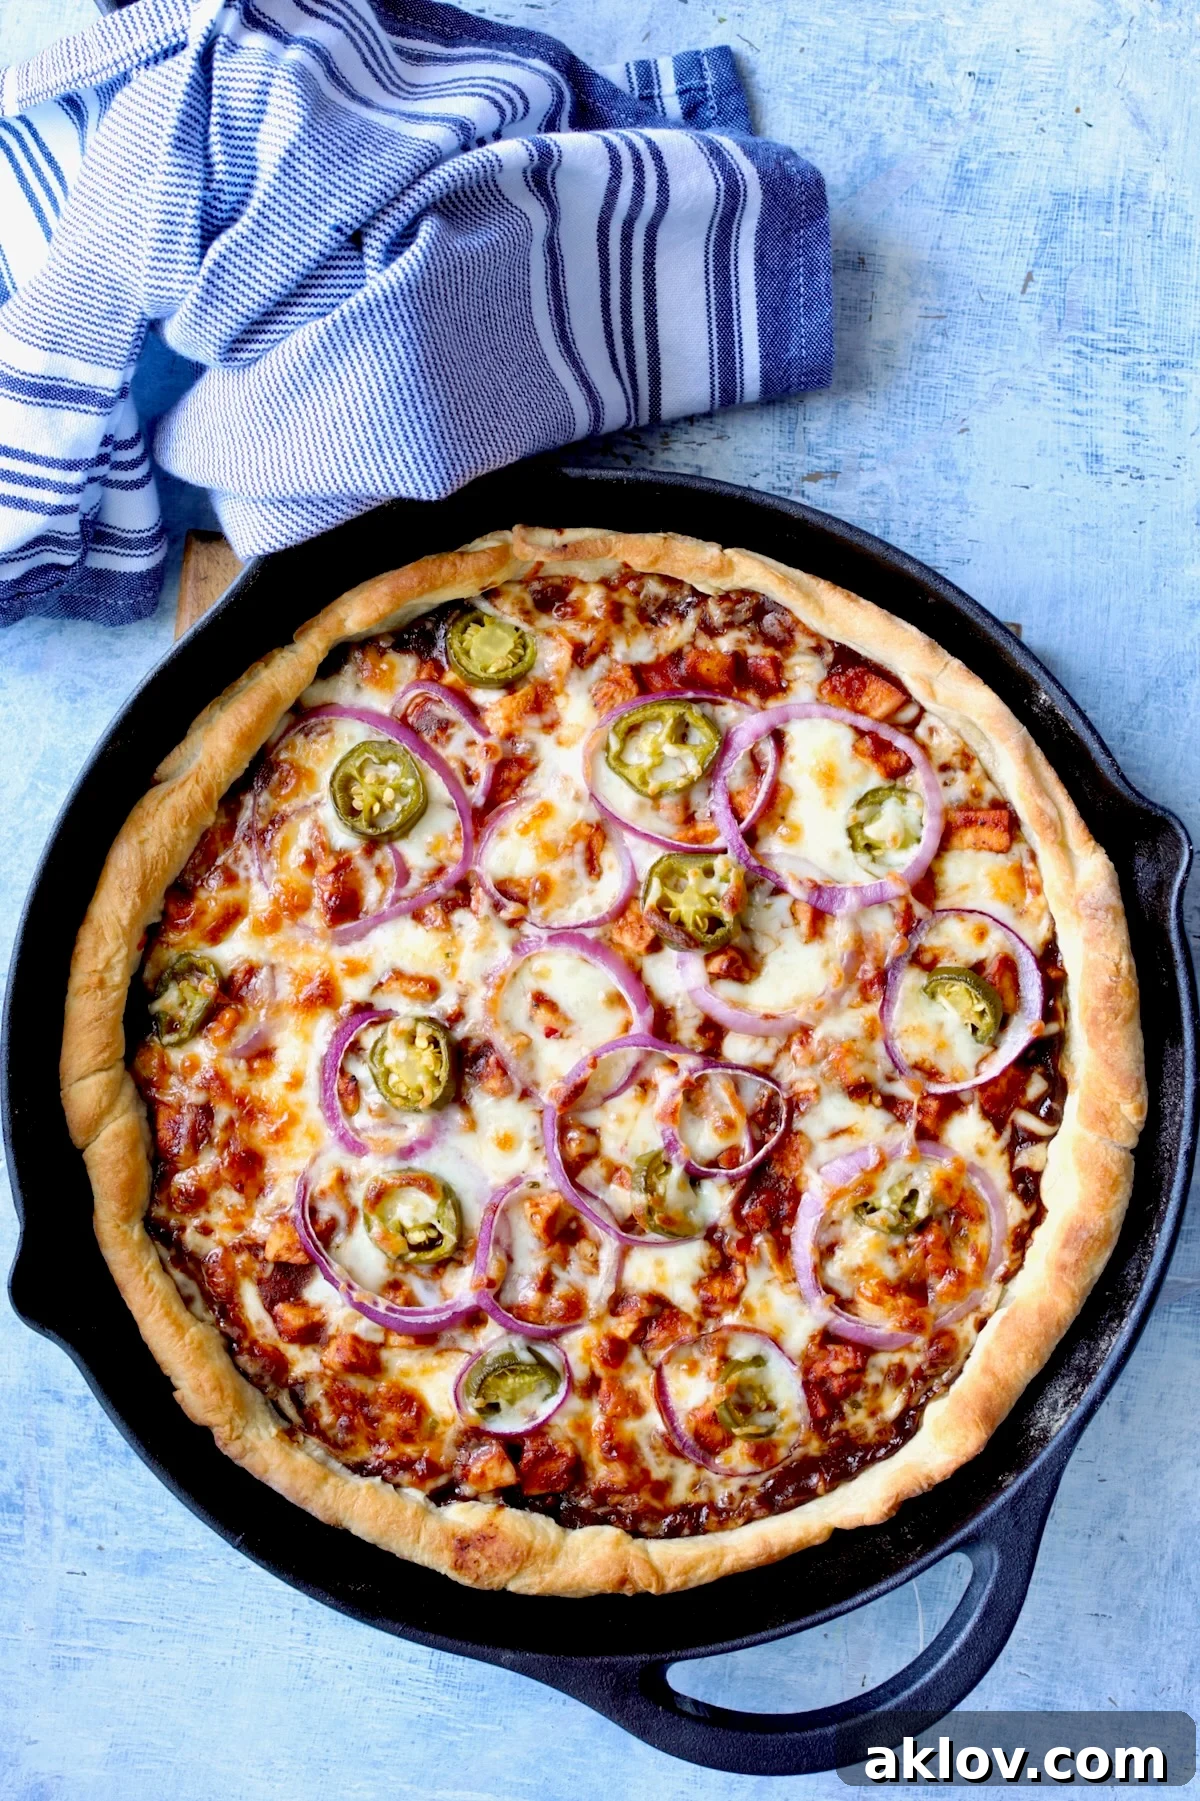
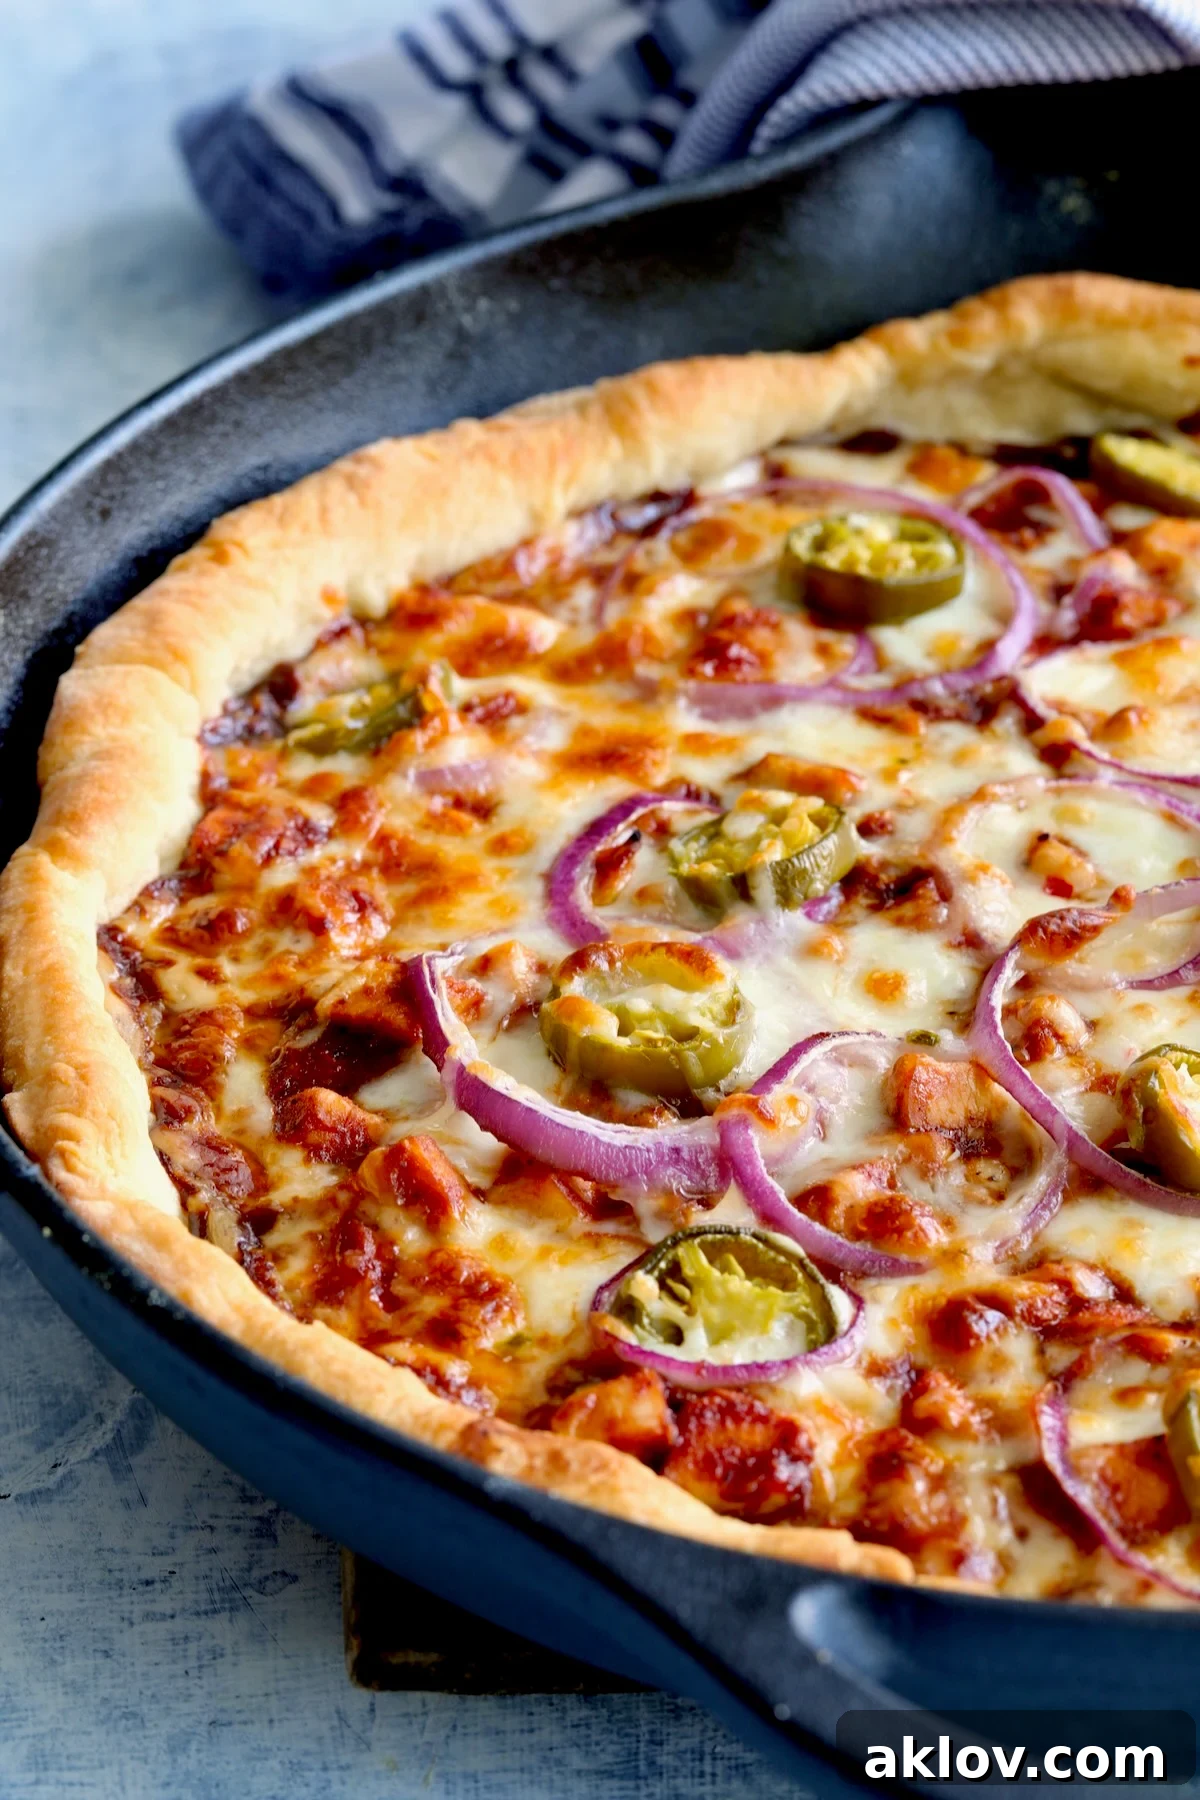
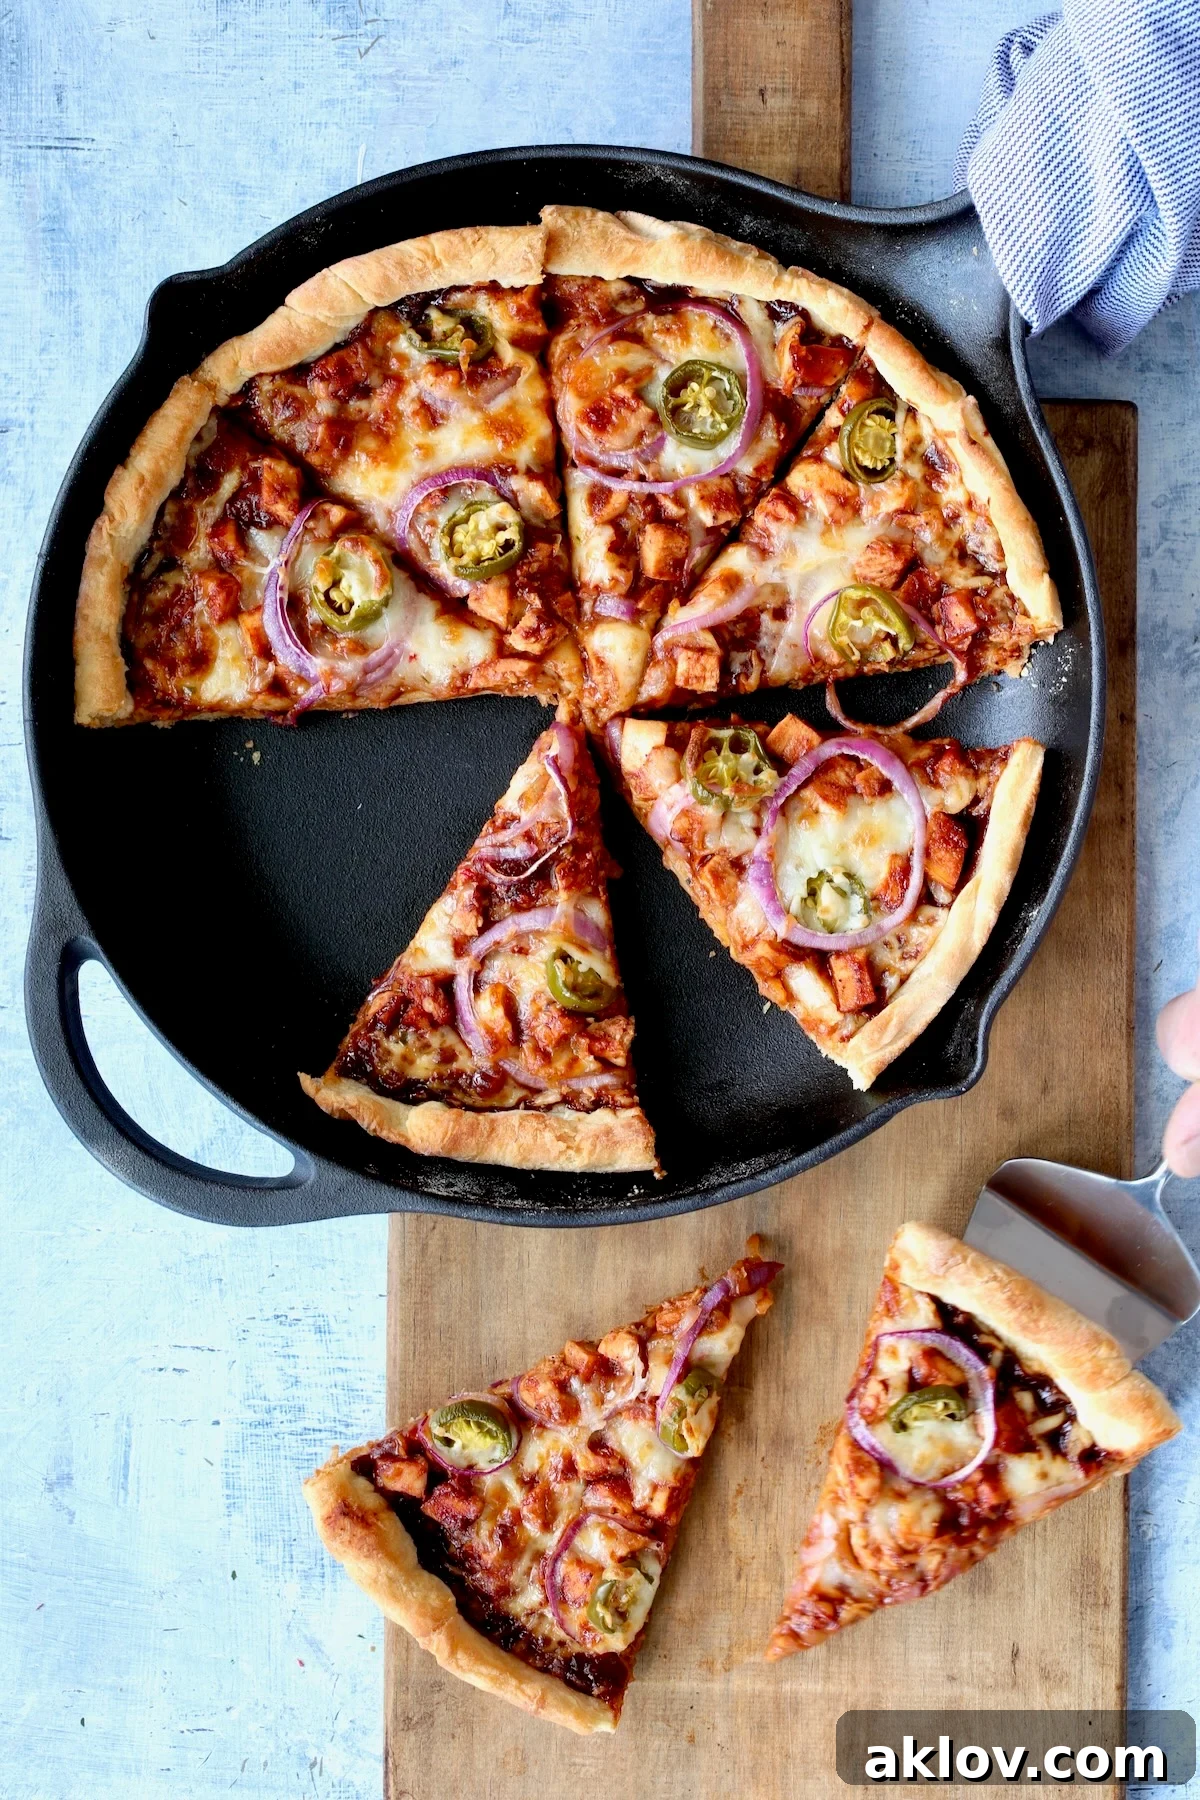
And there you have it – a lovely, beautiful, sizzling homemade cast iron skillet pizza, bursting with flavor and ready to be devoured! For more exciting dining experiences and unique activities in the Memphis area, be sure to check out Redfin’s guide to Exploring 6 Unique Things to do in Memphis, TN.
Essential Tips for Working with Yeast:
Yeast is a living organism, and its proper handling is crucial for a successful dough rise. Keep these pointers in mind for perfect results every time:
- **Check Expiration Dates:** Always verify the expiration date on your yeast package. Using expired yeast is one of the most common reasons why dough fails to rise properly, leading to dense or flat crusts. Fresh yeast is active yeast!
- **Temperature is Key:** The water you use to activate the yeast needs to be precisely warm – ideally between 120ºF and 130ºF (49ºC and 54ºC). If the water is too cold, the yeast won’t activate and bloom. Conversely, if it’s too hot or steaming, it will kill the yeast, preventing any rise. If you have an instant-read thermometer, it’s always best to use it to ensure you hit that sweet spot.
Mastering the Art of Kneading Dough:
Kneading is a fundamental step in developing gluten, which gives your pizza crust its structure and chewiness. Here’s how to knead effectively:
- **Flour as Needed:** When kneading on a surface, add just enough flour to the dough and your hands to prevent sticking. Too much flour will make the dough tough and dry.
- **The Fold and Push Technique:** Flatten the dough slightly, then fold the portion farthest from you towards yourself. Using the heel of your hands, push the folded dough away from you in a rolling motion.
- **Rotate and Repeat:** Rotate the dough a quarter turn each time. Add small amounts of flour if it starts to stick, and then repeat the fold, push, and turn steps.
- **Continue Until Smooth and Elastic:** Maintain this rhythm for approximately 4-5 minutes, or until the dough transforms into a smooth, supple, and elastic ball.
- **The Spring-Back Test:** A properly kneaded dough should spring back gently when you lightly press it with your finger. This indicates that the gluten has been sufficiently developed.
More Irresistible Pizza Creations You’ll Adore!
If you’ve enjoyed the adventure of making this Cast Iron Skillet Barbecue Chicken Pizza, you’ll be thrilled to explore more delicious pizza and pizza-inspired recipes that cater to various tastes and occasions. Expand your culinary repertoire with these fantastic options:
- **Chipotle Chicken Flatbread Pizzas With Avocado Sour Cream:** A vibrant and zesty twist on flatbread pizza, featuring smoky chipotle chicken and a cooling avocado sour cream. Perfect for a quick, flavorful meal.
- **Flatbread Potato Pizza with Pesto and Smoked Mozzarella:** An unexpectedly delicious combination of tender potato slices, aromatic pesto, and smoky mozzarella cheese all on a convenient flatbread crust.
- **Italian Sausage and Bell Pepper Polenta Bake:** While not strictly a pizza, this hearty bake offers similar comforting flavors with savory Italian sausage, sweet bell peppers, and creamy polenta, making it a wonderful alternative for a family dinner.
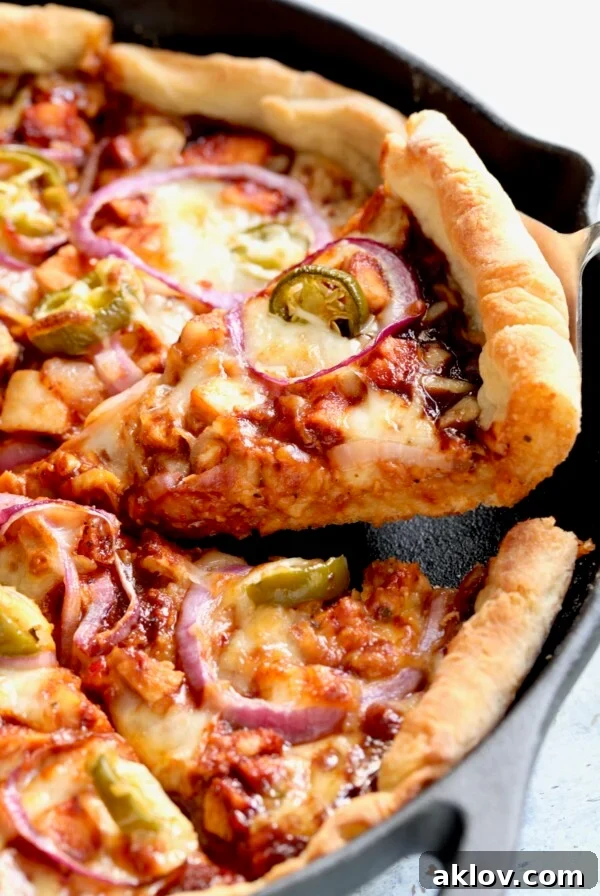
Cast Iron Skillet Pizza
Ingredients
Crust
- 2/3 cup very warm water, 120-130 degrees F
- 1 envelope rapid rise yeast
- 1 1/2 teaspoons sugar
- 3/4 teaspoon salt
- 3 tablespoons canola oil, or vegetable or olive oil, plus more for the bowl and skillet
- 1 3/4 to 2 1/4 cups all-purpose flour, as needed
Toppings
- 3/4 cup barbecue sauce, your favorite, divided
- 1 cup shredded Pepper Jack cheese, divided
- 1 cup shredded Mozzarella cheese, divided
- 1 (8-ounce) chicken breast, cooked and diced
- Thinly sliced red onion rings
- Pickled jalapeno slices
Instructions
Crust
-
Preheat oven to 500 degrees F (260 C). Place a dry, unoiled 12-inch cast-iron skillet on the bottom rack of the oven to preheat.
-
Combine water, yeast, sugar, and salt in a large bowl. Stir well to combine all ingredients thoroughly.
-
Add 3 tablespoons of oil and 1 cup of all-purpose flour to the mixture. Stir until everything is just combined.
-
Gradually add the remaining flour, a little at a time, until a soft dough forms. At this point, the dough should come together in a shaggy ball and be slightly sticky.
-
Turn the dough out onto a lightly floured surface. Knead, adding additional flour as necessary to prevent sticking, until the dough is smooth and elastic, approximately 4-5 minutes. The dough should spring back to the touch when lightly pressed.
-
Drizzle a small amount of oil (corn oil recommended) around the sides of the bowl you used to mix the dough.
-
Place the kneaded dough into the oiled bowl, flipping it once to ensure the entire surface of the dough is lightly coated with oil.
-
Let the dough rest and rise in the bowl for 10 minutes. This allows the gluten to relax, making it easier to roll.
-
After resting, transfer the dough to a floured surface and roll it out to a 12-inch circle.
-
Carefully remove the preheated skillet from the oven (remembering the handle is extremely hot). Lightly brush the skillet with additional corn oil.
-
Keeping in mind that the SKILLET IS EXTREMELY HOT, carefully place the 12-inch circle of dough into the skillet and gently press the dough up the edges to form a slight rim.
Toppings
-
Evenly spread 2/3 cup of your favorite barbecue sauce over the pizza crust, leaving a small border for the crust.
-
Generously top the sauce with 3/4 cup shredded Pepper Jack cheese and 3/4 cup shredded Mozzarella cheese.
-
In a separate small bowl, toss the diced cooked chicken with the remaining barbecue sauce to coat. Scatter the seasoned chicken evenly over the cheese layer on the pizza.
-
Finally, arrange the desired amount of thinly sliced red onion rings and pickled jalapeno slices over the toppings.
-
Place the skillet pizza back into the preheated oven and bake for 15 minutes, or until the cheese is gloriously bubbly and melted, and the crust is beautifully browned and crispy.
Notes
-
- Be sure to check the expiration date on the yeast package. Expired yeast is often the reason a dough doesn’t rise.
- The water needs to be VERY WARM, preferably between 120º F and 130º F for the highest degree of success. If it’s too cold, the yeast won’t activate. The water shouldn’t be extremely hot or steaming either as that will kill the yeast. It’s always best to check the temperature with an instant-read thermometer if you have one.
- Add just enough flour to the dough each time to keep the dough from sticking.
- Using the heel of your hands, push the dough away in a rolling motion.
- Rotate the dough a quarter turn each time, add flour as needed, and repeat the fold, push, and turn steps.
- Continue kneading the dough, adding small amounts of flour to each ball until it is smooth and elastic.
- The properly kneaded dough should spring back from the touch.
Nutrition
Nutritional values are automatically calculated using unbranded products and are estimates only. Actual results may vary based on ingredients used and portion sizes. Adjust as needed for dietary restrictions, allergies, or health concerns.
 Like this? Leave a comment below!