
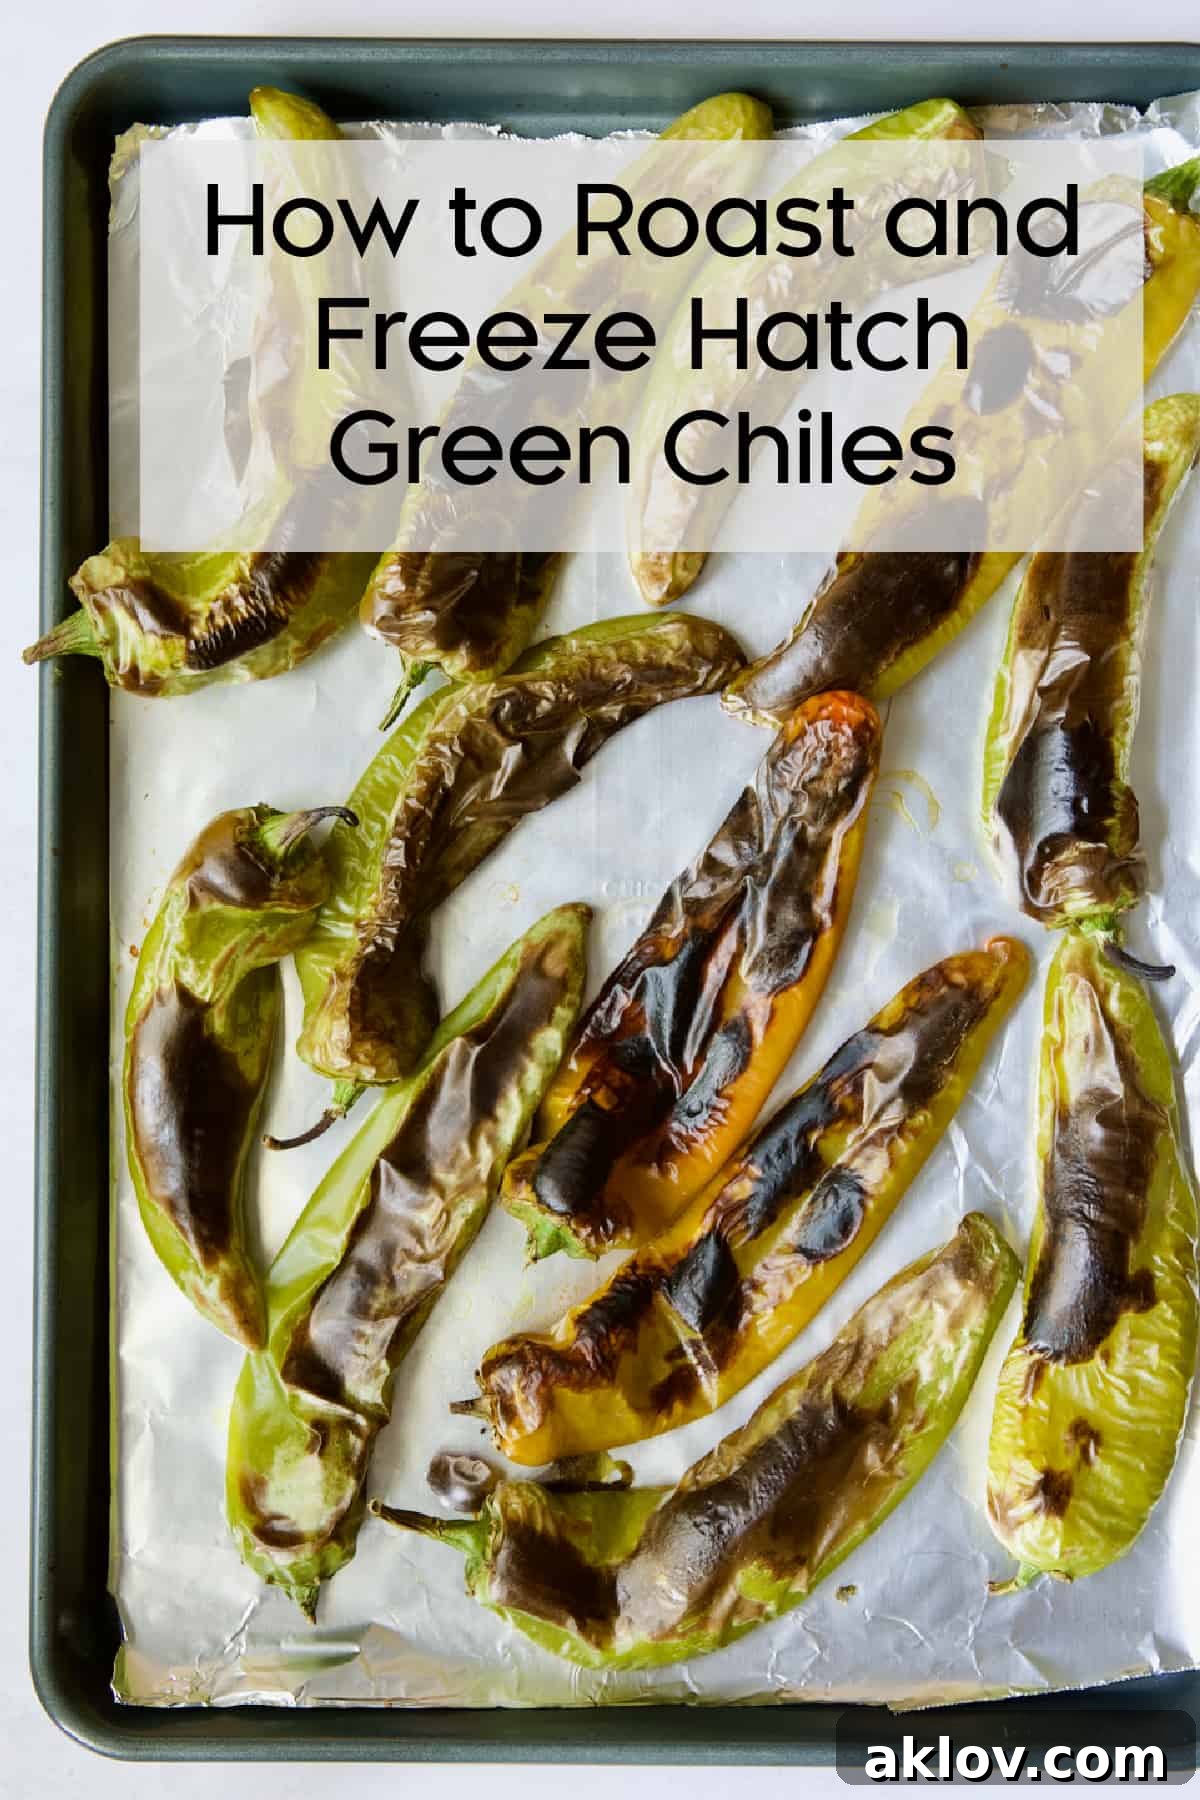
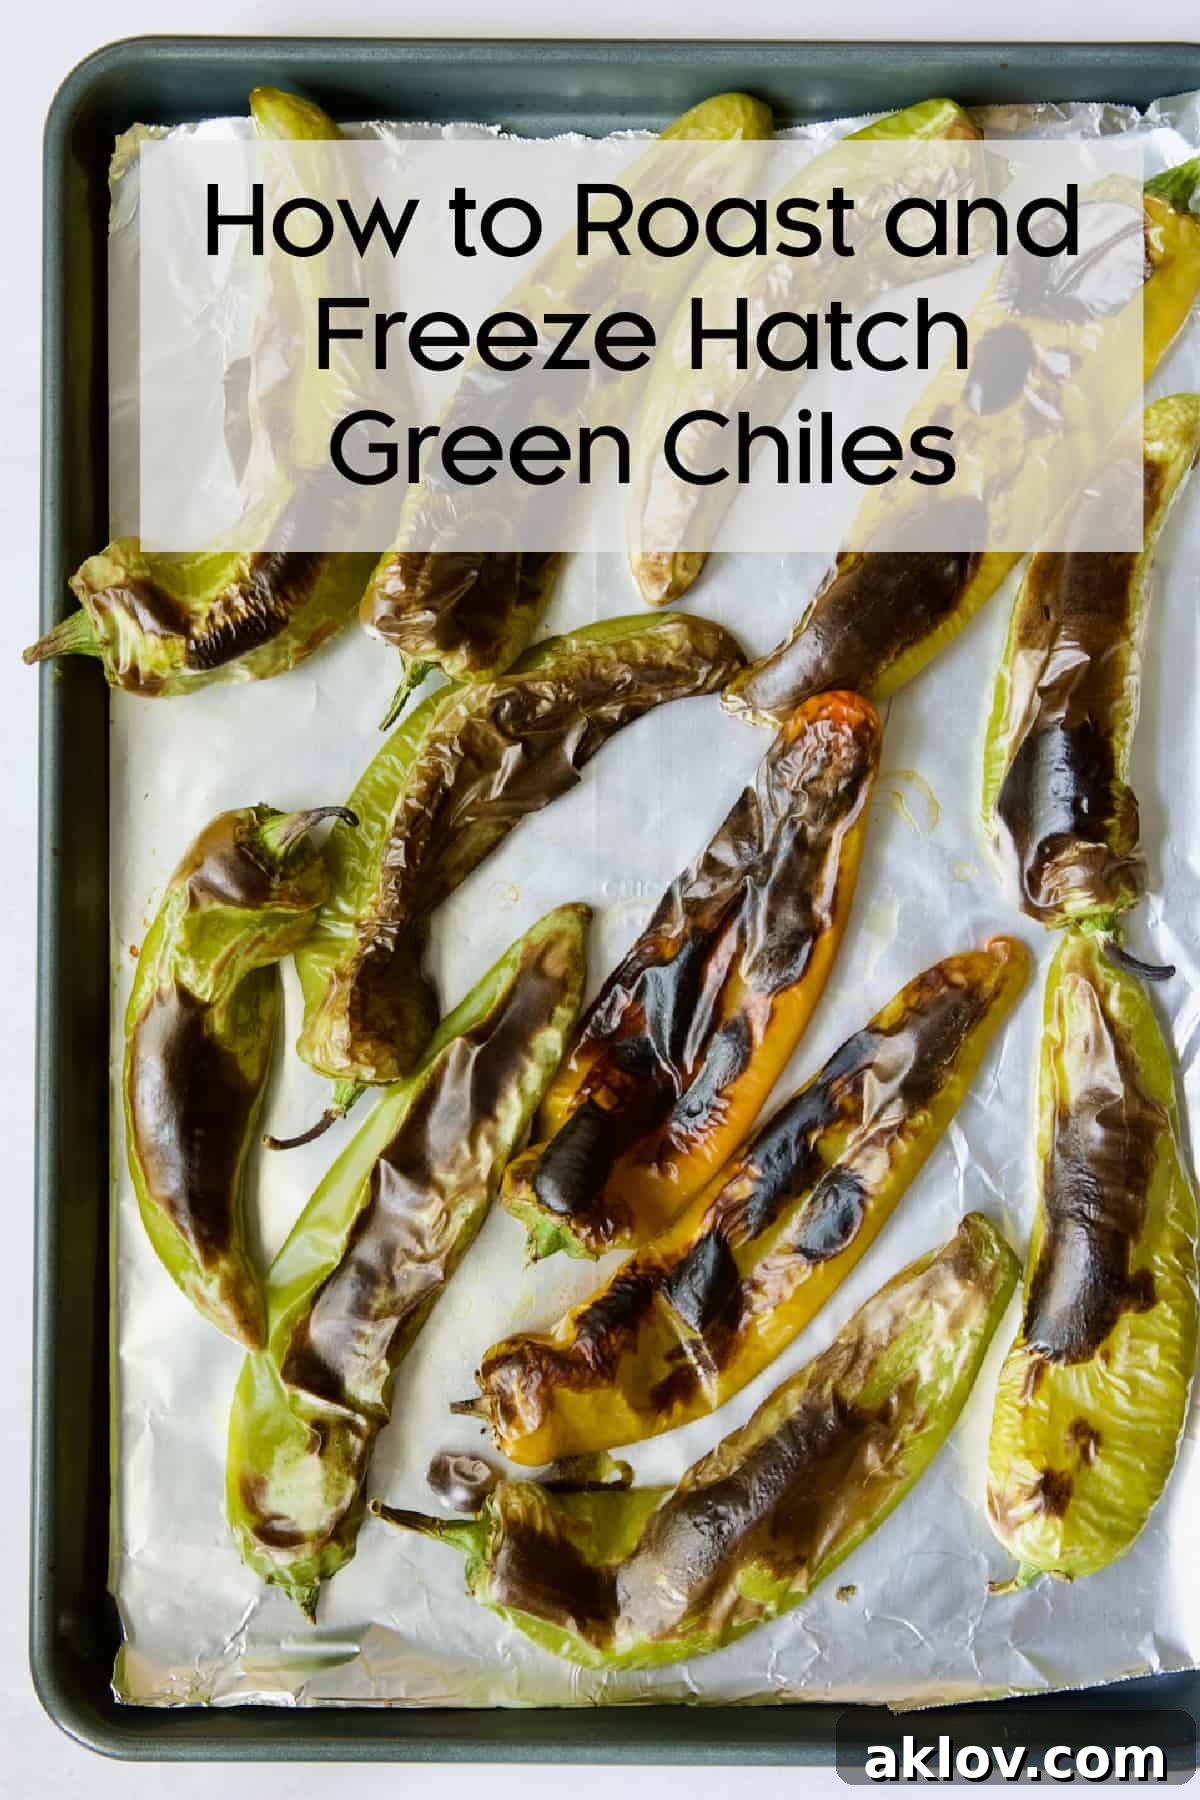
As summer wanes, a culinary phenomenon sweeps across kitchens and backyards: Hatch Green Chile Season. This highly anticipated annual event brings with it a limited window to savor one of nature’s most coveted peppers. Once these flavorful chiles are harvested and sold, they’re gone until the next season, making their timely preservation essential for any true Southwestern food enthusiast. Roasting these exceptional chiles in your own oven isn’t just remarkably easy; it transforms your home into an aromatic haven, filled with the uniquely smoky and piquant scent that only Hatch green chiles can produce.
This comprehensive guide will walk you through everything you need to know to perfectly roast, effectively freeze, and expertly preserve the distinct flavor of Hatch green chiles. Imagine having recipe-ready goodness available all year long, ready to elevate your favorite Southwestern-inspired dishes. From hearty enchiladas and comforting Cream Cheese Corn Casserole to robust soups, stews, and chili, the versatility of roasted Hatch chiles knows no bounds.
“This recipe is WONDERFUL! Worked beautifully, and the peppers were incredibly easy to peel using your method! Thanks for sharing!”
Unveiling the Legend: What Exactly are Hatch Green Chiles?
The term “Hatch green chile” refers to a specific variety of chile peppers cultivated exclusively within the renowned Hatch Valley of New Mexico. Nestled in the fertile Rio Grande agricultural region, this valley offers a unique confluence of soil composition, climate, and elevation that creates the perfect “terroir” for these extraordinary peppers. Much like Vidalia onions gain their unparalleled sweetness from the specific conditions of Vidalia, Georgia, Hatch chiles owe their distinctive flavor and balanced heat to their native New Mexico home.
The magic of the Hatch Valley lies in this perfect marriage of environment and earth, yielding peppers with an unparalleled depth of flavor and a satisfying, nuanced heat. On the Scoville heat unit scale, Hatch chiles typically range from a mild 2,000 to a spicier 8,000 units, placing them in a similar heat category to many varieties of jalapeño peppers. To put this in perspective, the milder poblano pepper usually measures between 1,000 and 2,000 Scoville units, while a cayenne pepper can pack a much more intense punch, ranging from 25,000 to 50,000 units. This wide range within Hatch chiles means you can often find varieties labeled “mild,” “medium,” or “hot,” allowing you to tailor your chile experience to your preferred spice level.
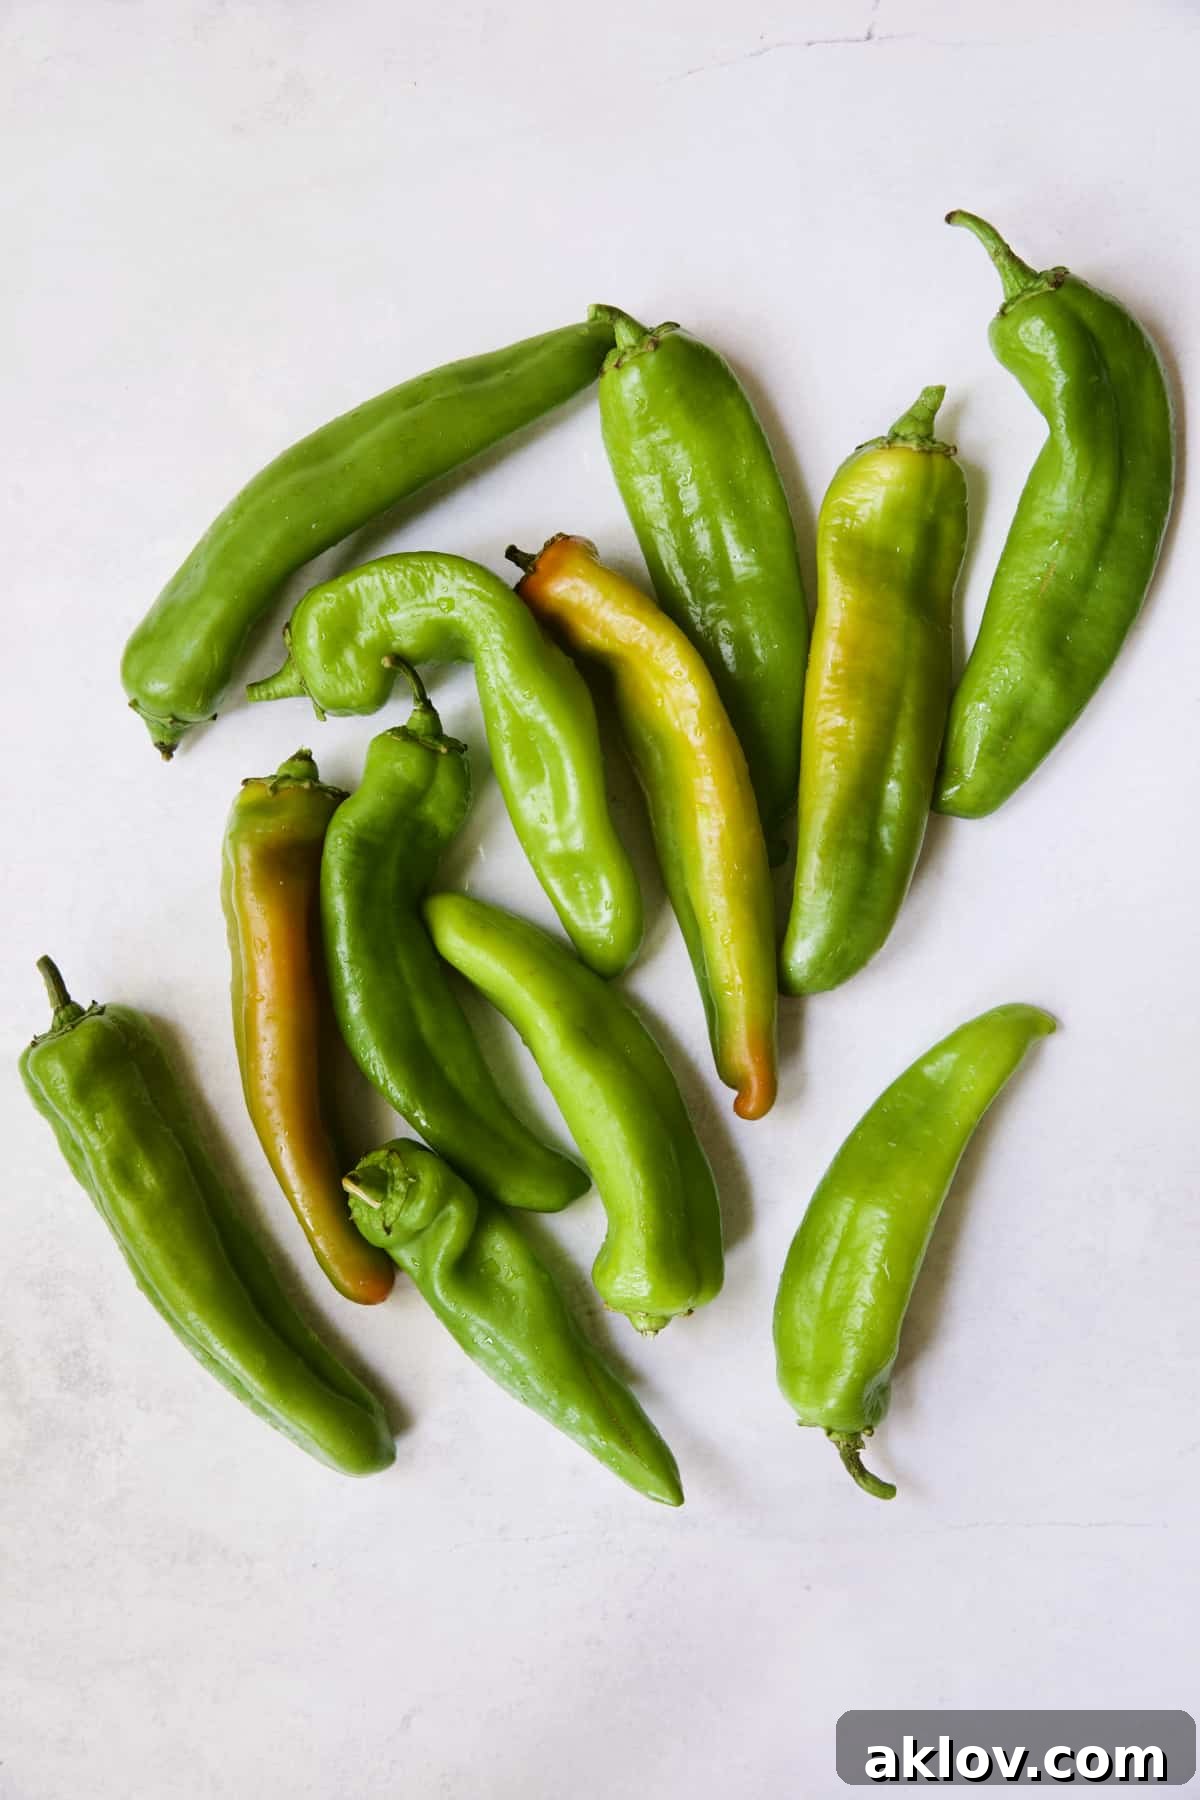
When you’re ready to select your Hatch green chiles, look for those that are firm and crisp to the touch, with a smooth, unblemished skin. While beauty isn’t everything, choosing peppers that are as straight as possible will ensure more even roasting and easier handling. Most importantly, seek out chiles that appear freshly picked, vibrant in color, and free from soft spots or signs of decay. A fresh chile is a flavorful chile, ready to unleash its culinary potential in your kitchen.
Why Roasting Hatch Chiles is a Culinary Must
The tradition of roasting Hatch chiles in their native New Mexico is a spectacle in itself, adding to their mystique and culinary allure. Locals gather around colossal barrel roasters, where immense quantities of chiles are tumbled over roaring propane-fueled flames. As the barrels slowly spin, they blacken the peppers and release their intoxicating, smoky aroma, filling the entire surrounding area with a scent that signals the height of chile season. This communal experience is not just about cooking; it’s a celebration of flavor and heritage.
Beyond the cultural significance, roasting Hatch green chiles is a critical step in unlocking their full flavor potential. When raw, these chiles possess a somewhat harsh and herbaceous taste. The intense, direct heat of roasting works to mellow this sharpness, transforming it into the signature tantalizing, smoky, and slightly sweet flavor that Hatch chiles are famous for. Furthermore, the roasting process causes the chile’s outer skin to blister and char, making it incredibly easy to remove. This is vital, as the skin can be tough and fibrous, detracting from the otherwise tender and flavorful flesh beneath.
While the large barrel roasters are a hallmark of New Mexico, you can achieve equally delicious results right in your own kitchen. Many enthusiasts blacken and blister their chiles on an outdoor grill, over an open flame on a gas stovetop, or even with a culinary torch. However, the simplest and often most convenient method for achieving that coveted roasted Hatch chile goodness is by using your oven’s broiler. This accessible technique allows you to enjoy the unparalleled taste and aroma without special equipment. So, let’s get ready to bring the essence of the Hatch Valley directly to your home kitchen!
Mastering the Art: Step-By-Step Instructions for Roasting and Freezing Hatch Chiles
Transforming fresh Hatch green chiles into freezer-ready, flavor-packed treasures is a straightforward process. Follow these detailed steps to ensure perfectly roasted chiles every time:
- Prepare Your Oven: Begin by preheating your oven’s broiler to its highest setting. Position an oven rack 6 to 8 inches away from the broiler element. This proximity ensures intense, direct heat for optimal blistering.
- Line Your Baking Sheet: For a hassle-free cleanup, line a large, rimmed baking sheet with heavy-duty aluminum foil. This will catch any drips and charred bits, making the post-roasting process much easier.
- Vent the Peppers: Using the sharp tip of a paring knife, carefully poke a small, shallow hole in each pepper. This crucial step allows steam to escape during roasting, preventing the chiles from bursting loudly and unevenly in the hot oven.
- Arrange the Chiles: Spread the Hatch green chiles out in a single layer on your prepared baking sheet. Ensure that as much surface area of each chile as possible is exposed to the direct heat source. Avoid overcrowding the pan, as this can lead to steaming rather than true roasting. If necessary, roast in batches.
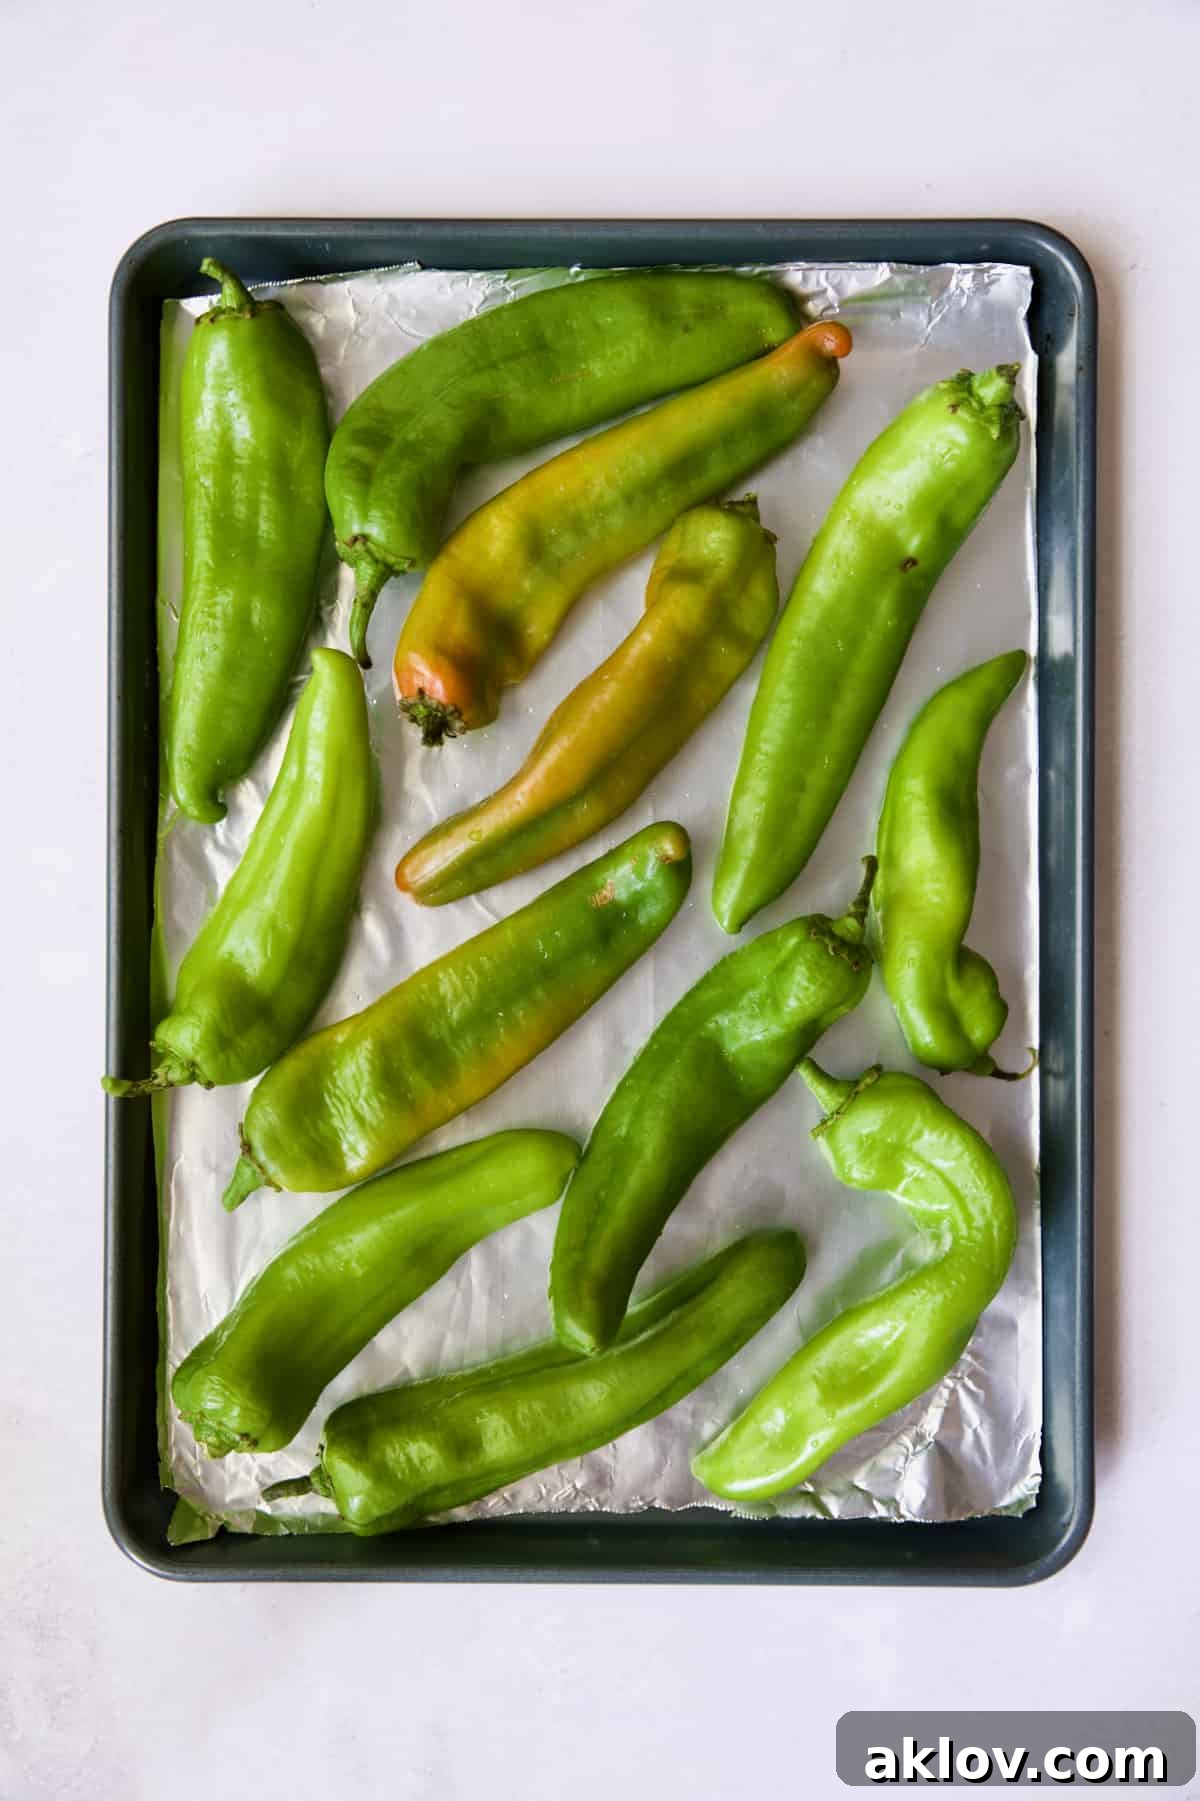
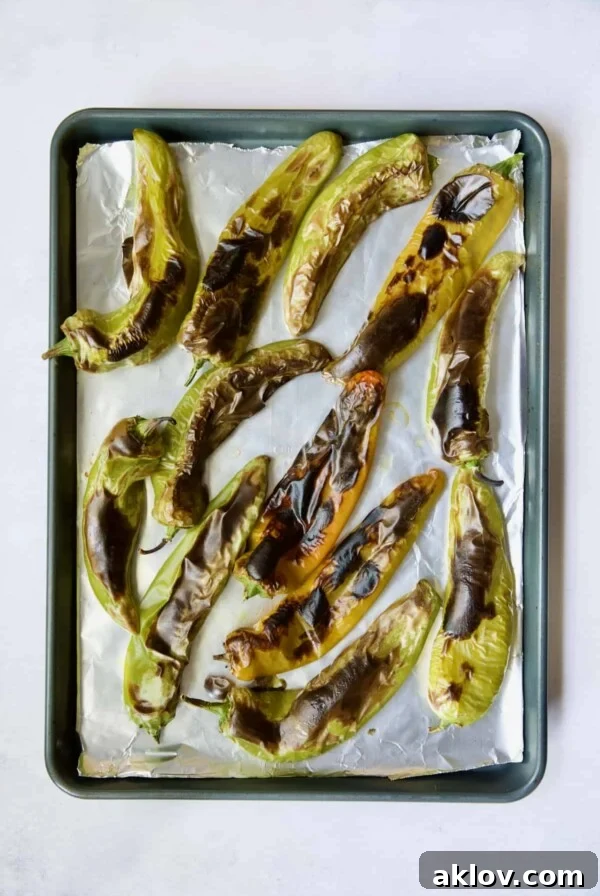
- First Side Roast: Carefully slide the baking sheet into the oven, directly under the preheated broiler. Allow the chiles to roast for approximately 5 to 8 minutes. It is absolutely essential to keep a very close eye on them during this stage, as broilers can vary significantly in intensity (mine reaches 550 degrees F, for example, and the process is quite rapid). The goal is to achieve significant blackening and blistering of the skin.
- Flip the Chiles: Once the first side is adequately charred and blistered, use a pair of long-handled tongs to carefully flip each chile over, ensuring even exposure to the heat.
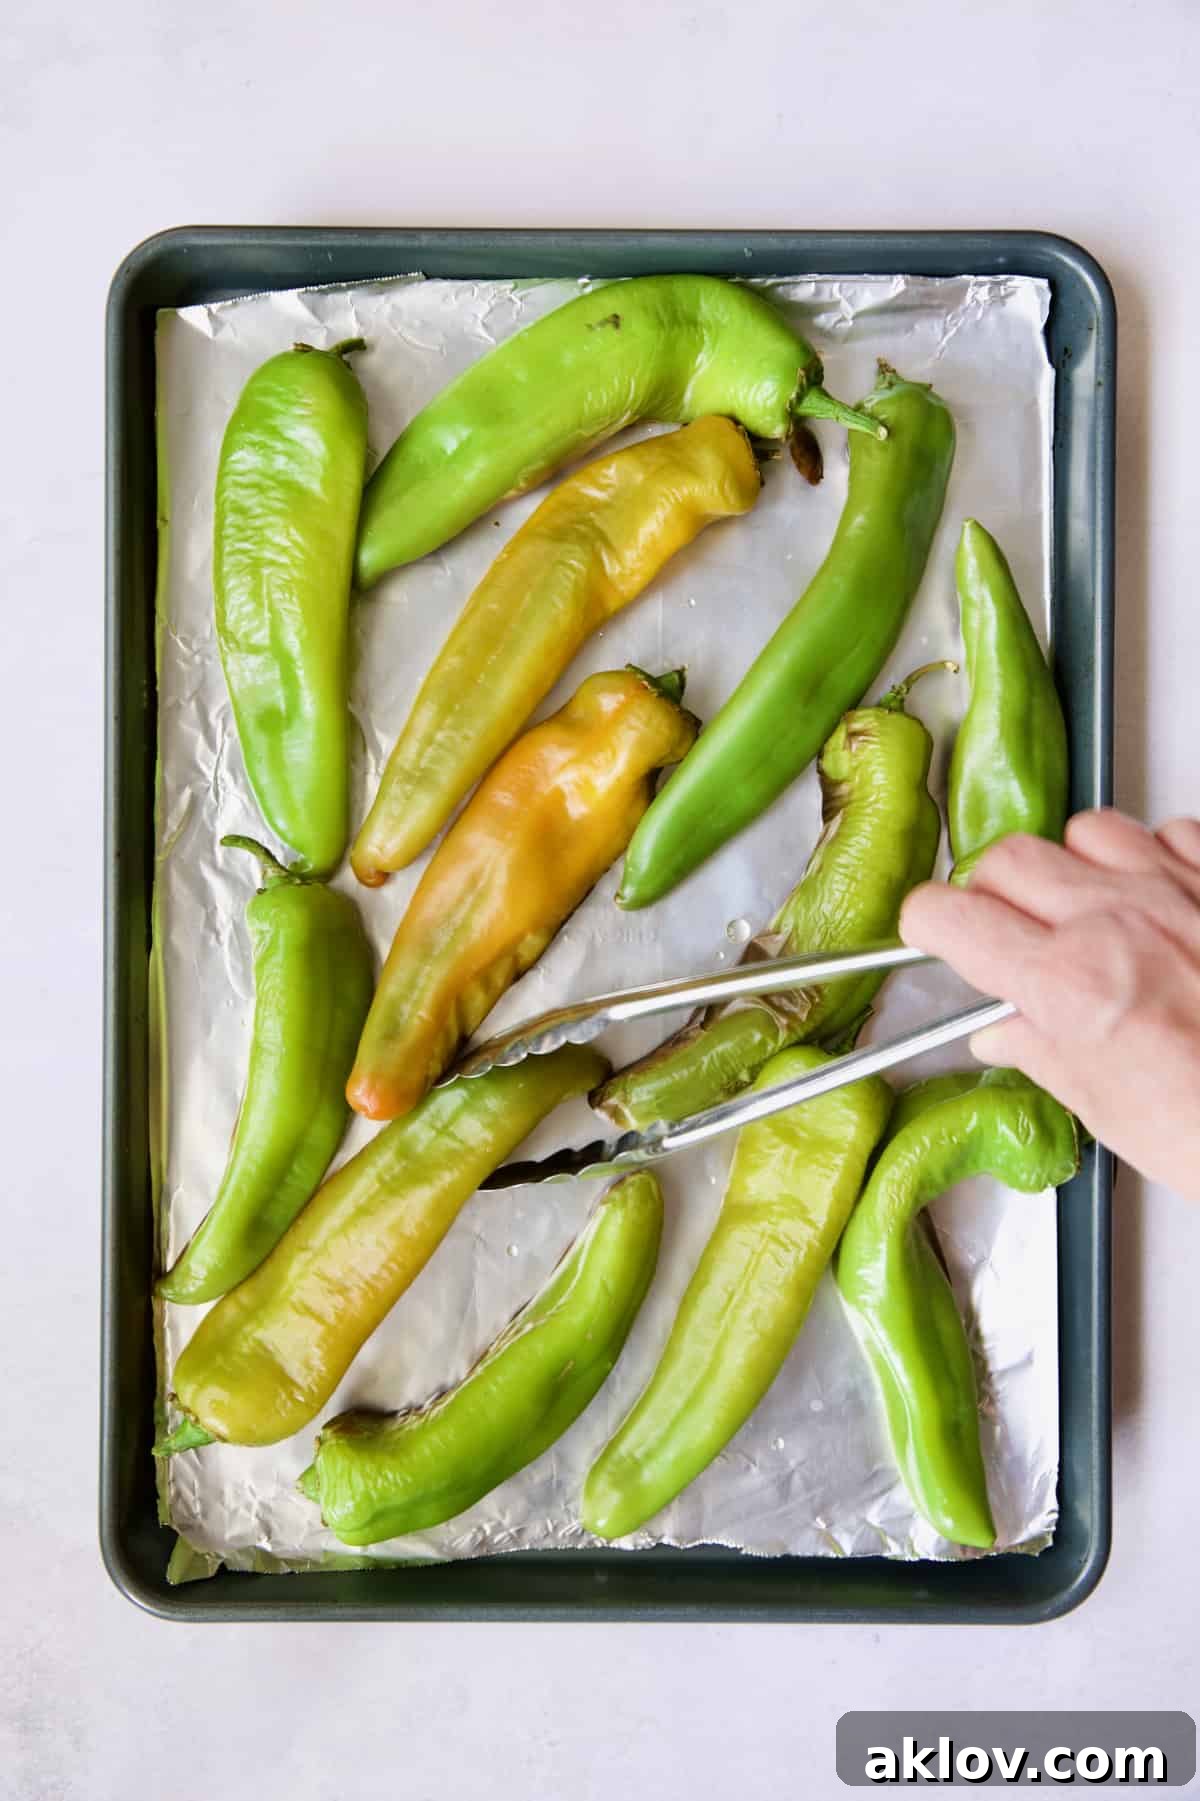
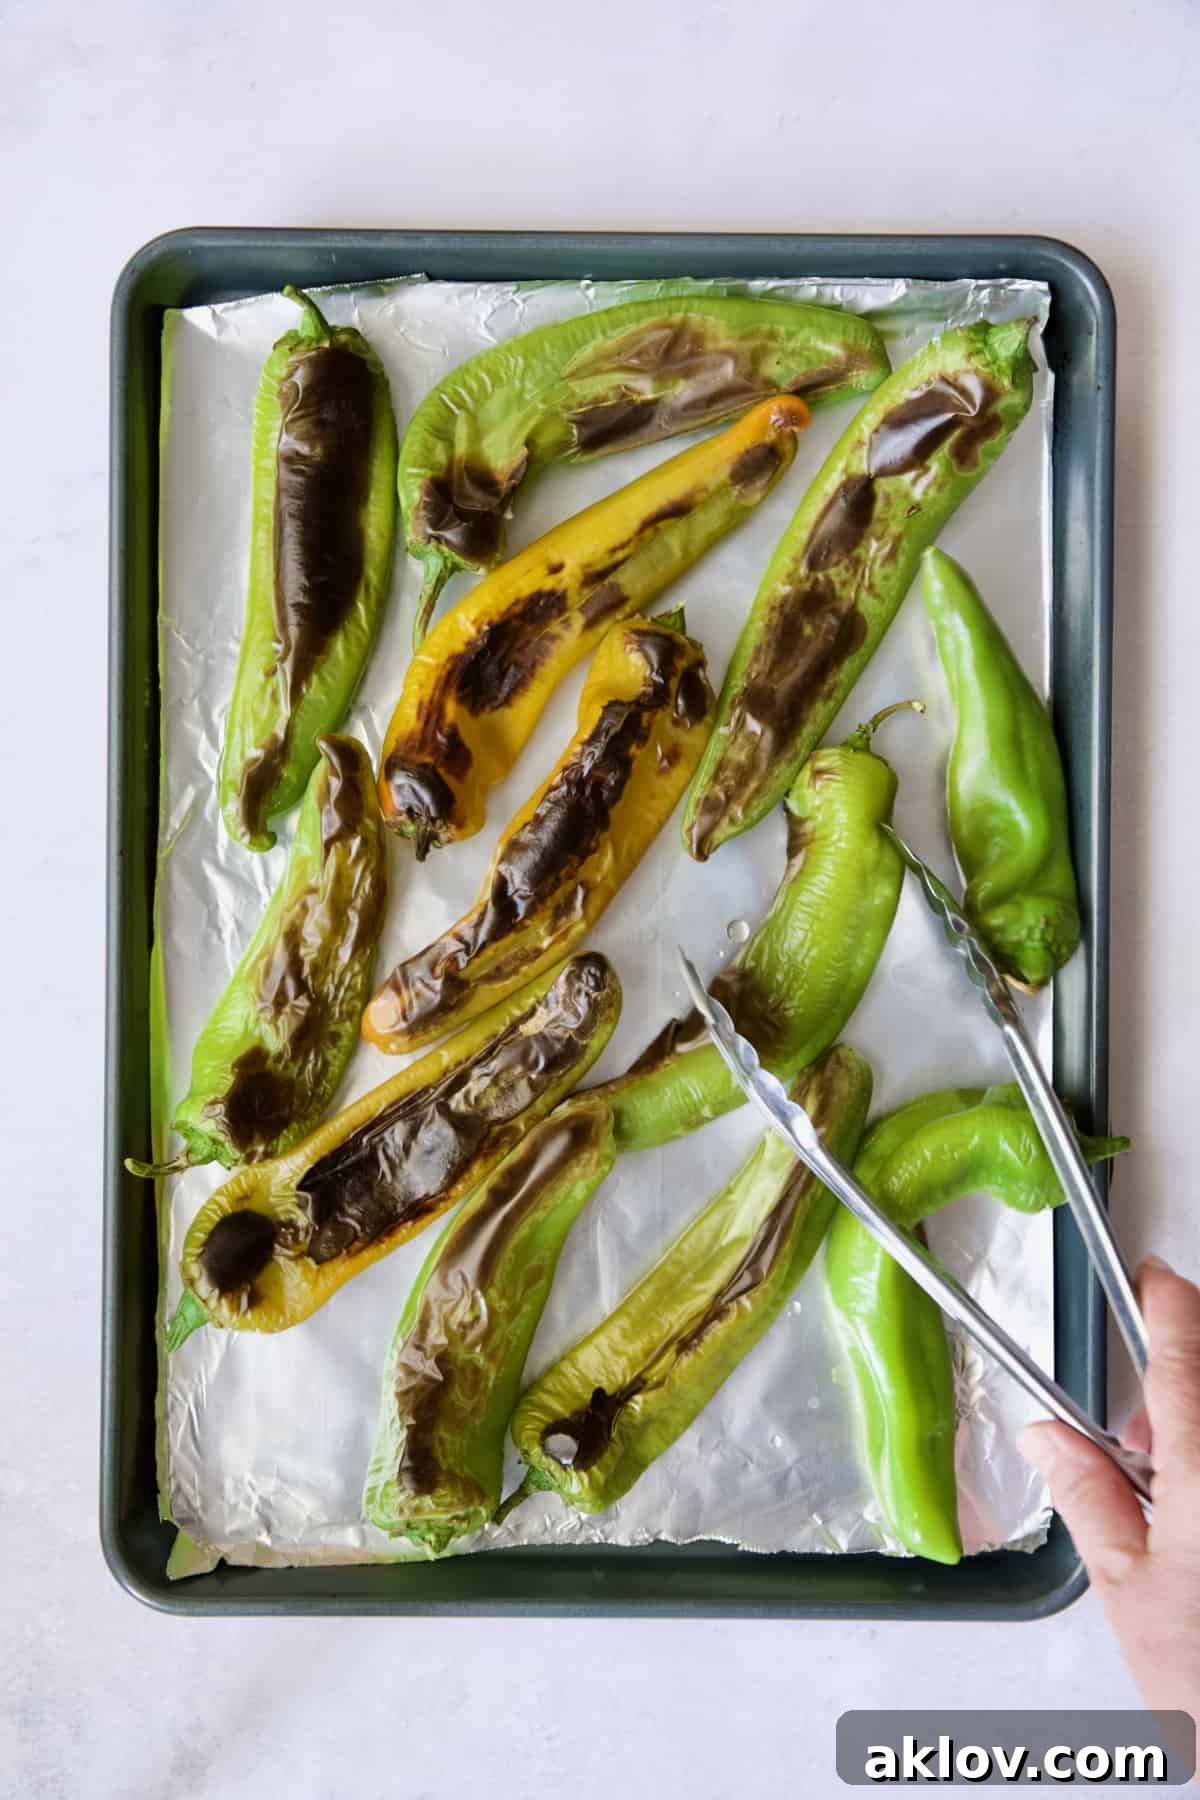
- Second Side Roast: Return the pan to the oven and continue broiling for another 5 to 8 minutes on the second side. Again, maintain vigilance, ensuring the chiles blacken and blister without burning completely. You’re looking for a mottled, charred appearance over most of the skin.
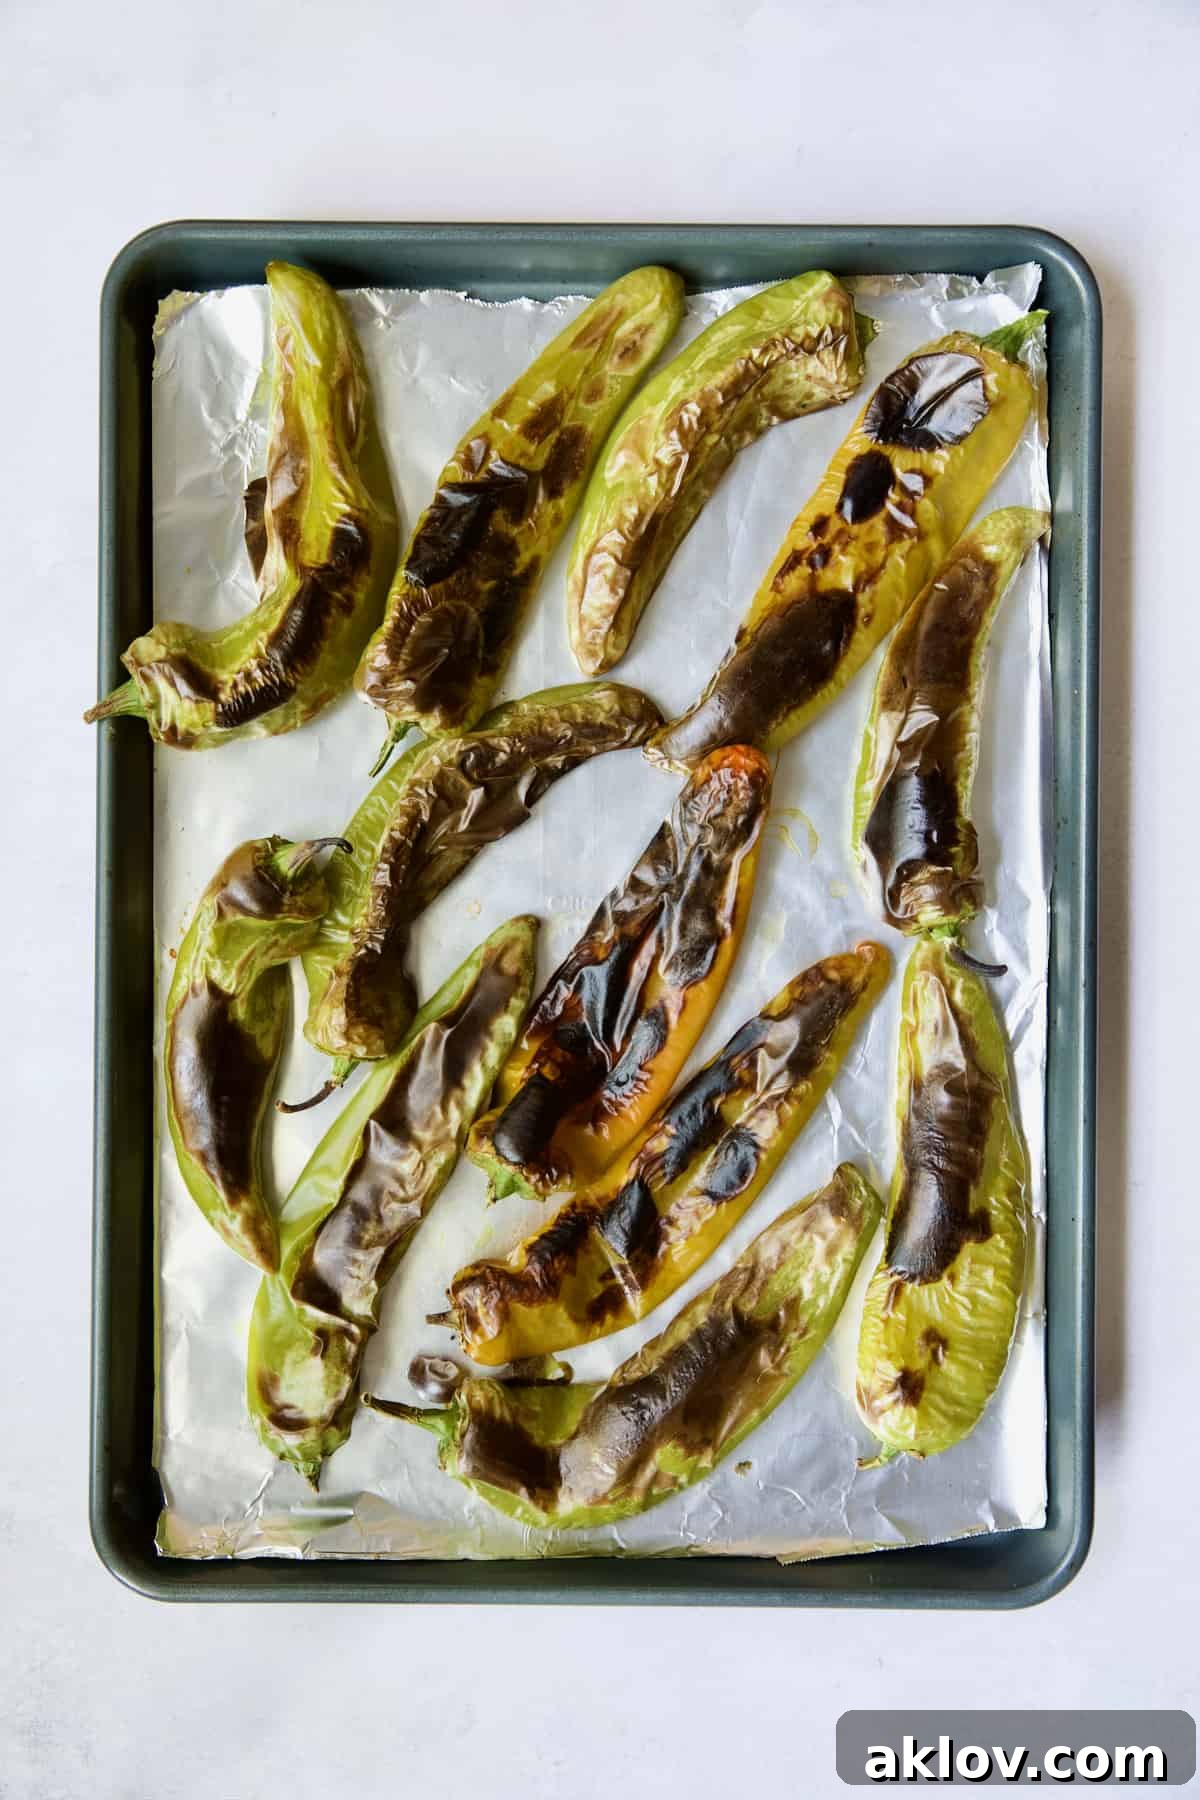
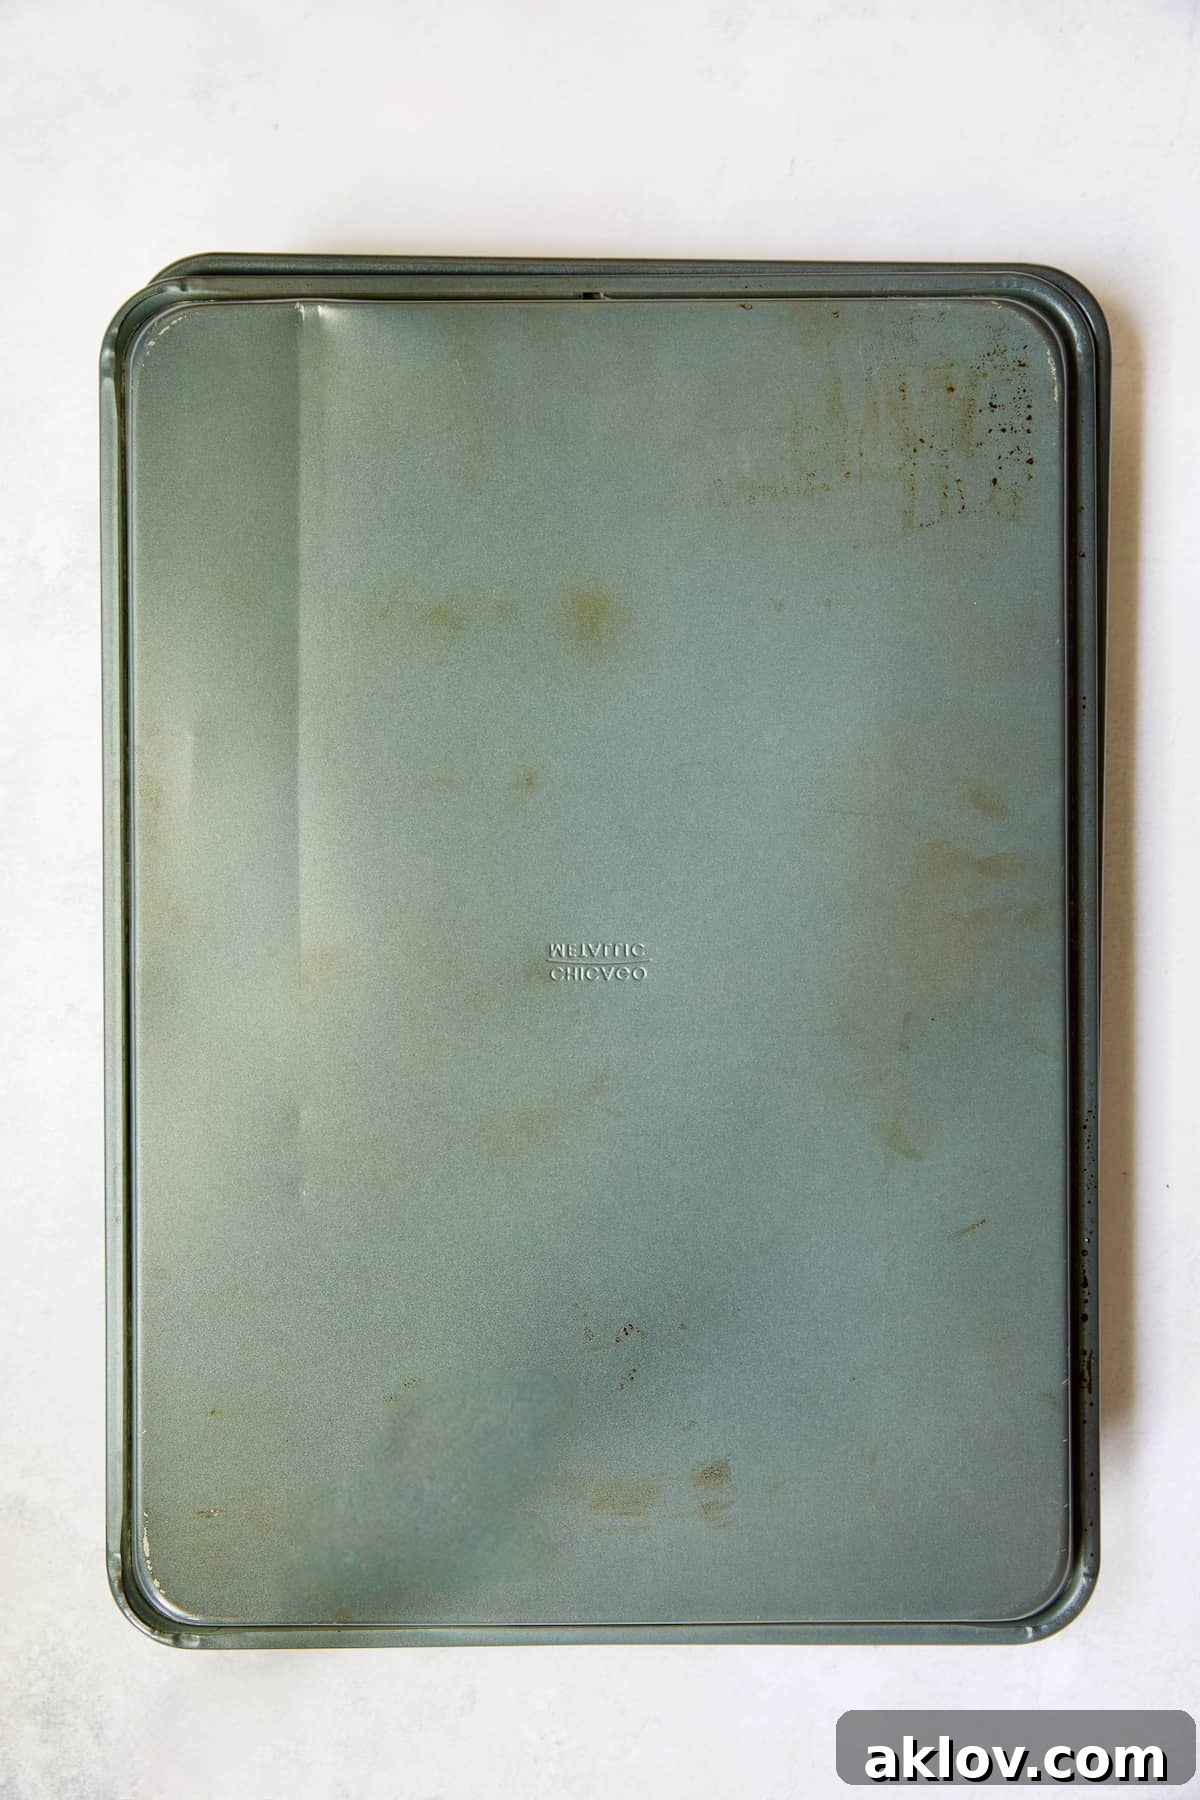
- The Steaming Process: Immediately after removing the baking sheet from the oven, place another sheet pan of the exact same size directly over the roasted chiles, creating a sealed dome. Allow this to sit undisturbed for approximately 15 to 20 minutes. Alternatively, you can loosely cover the peppers with aluminum foil, though the sheet pan method is often less wasteful and equally effective.
- Why We Steam: Because the chiles are piping hot, they are actively producing steam. Trapping this steam between the two sheet pans or under foil creates a moist environment. This trapped steam is crucial because it helps to separate the charred outer skin from the tender flesh of the pepper, making the peeling process significantly easier and quicker.
- Peeling and Seeding: Once cooled enough to handle, it’s time to peel and seed your chiles. With all your might, resist the common urge to peel and seed the peppers under running water! While rinsing might seem efficient for removing seeds, it unfortunately washes away a significant amount of the delicious, smoky flavor you just worked so hard to create. A few stray seeds won’t hurt, unless you have specific medical reasons to avoid them.
- Seeding Techniques: You can simply use your hands to peel away the loosened skin. For seeding, you can either gently tear the pepper open and scrape out the seeds with your fingers, or for a more refined approach, place the pepper on a cutting board, hold the stem end, and use a soup spoon to effectively scrape out the seeds and any membranes. Remember, the membranes and seeds are where most of the heat resides, so adjust based on your preference.
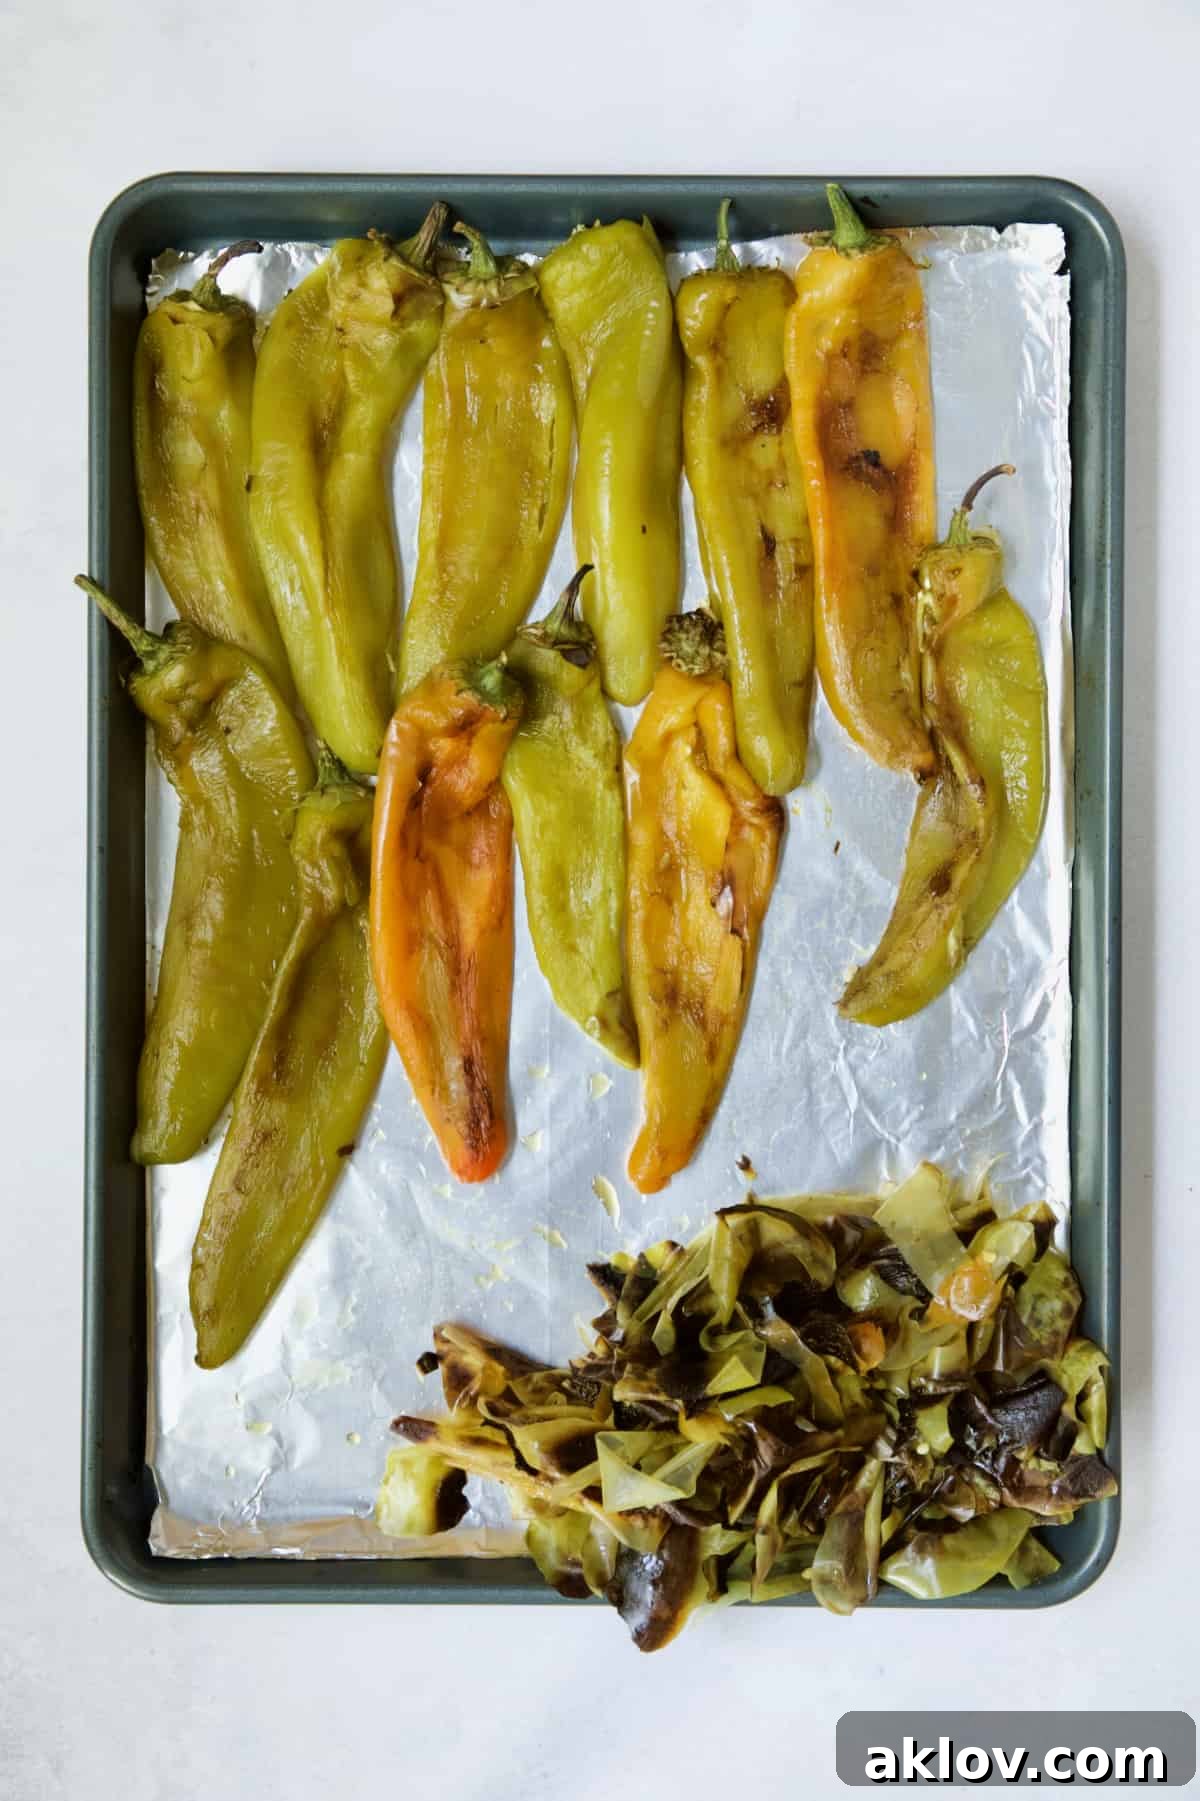
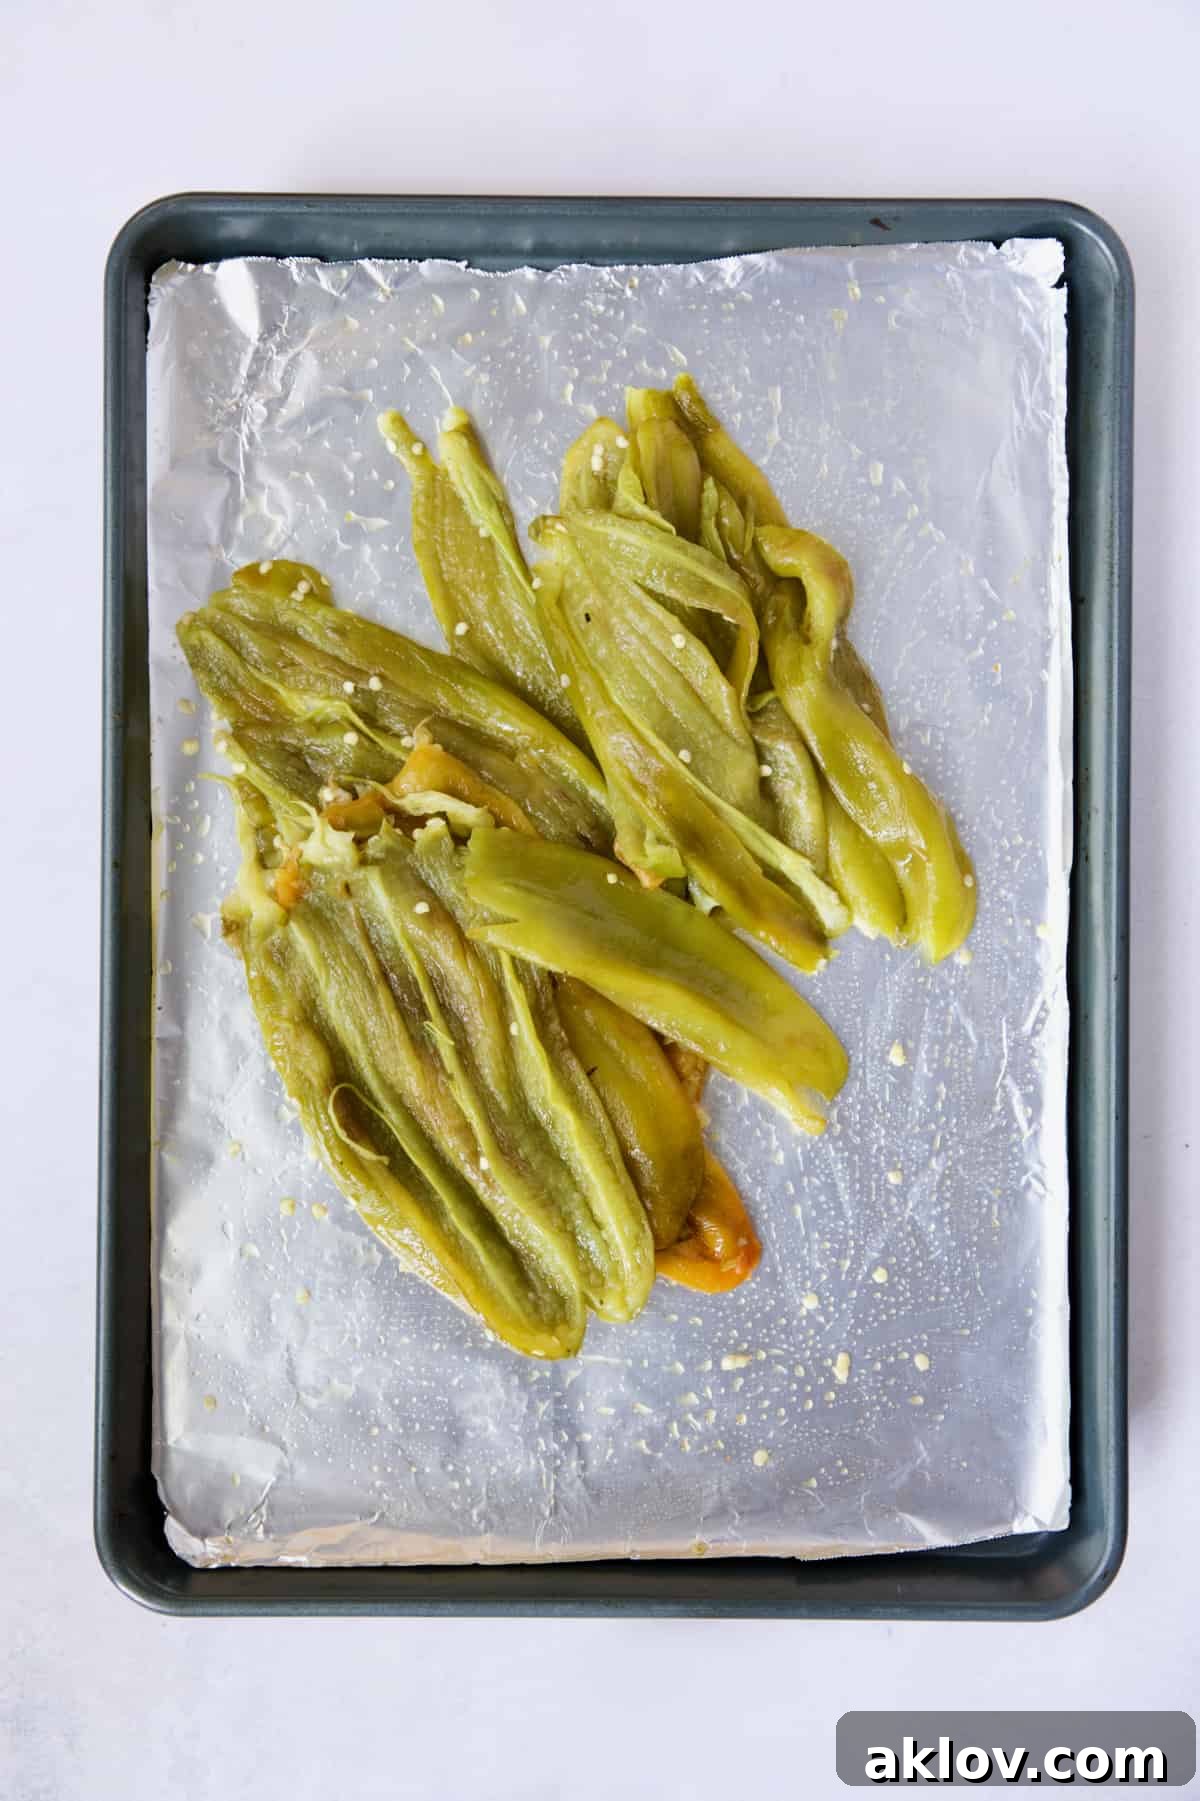
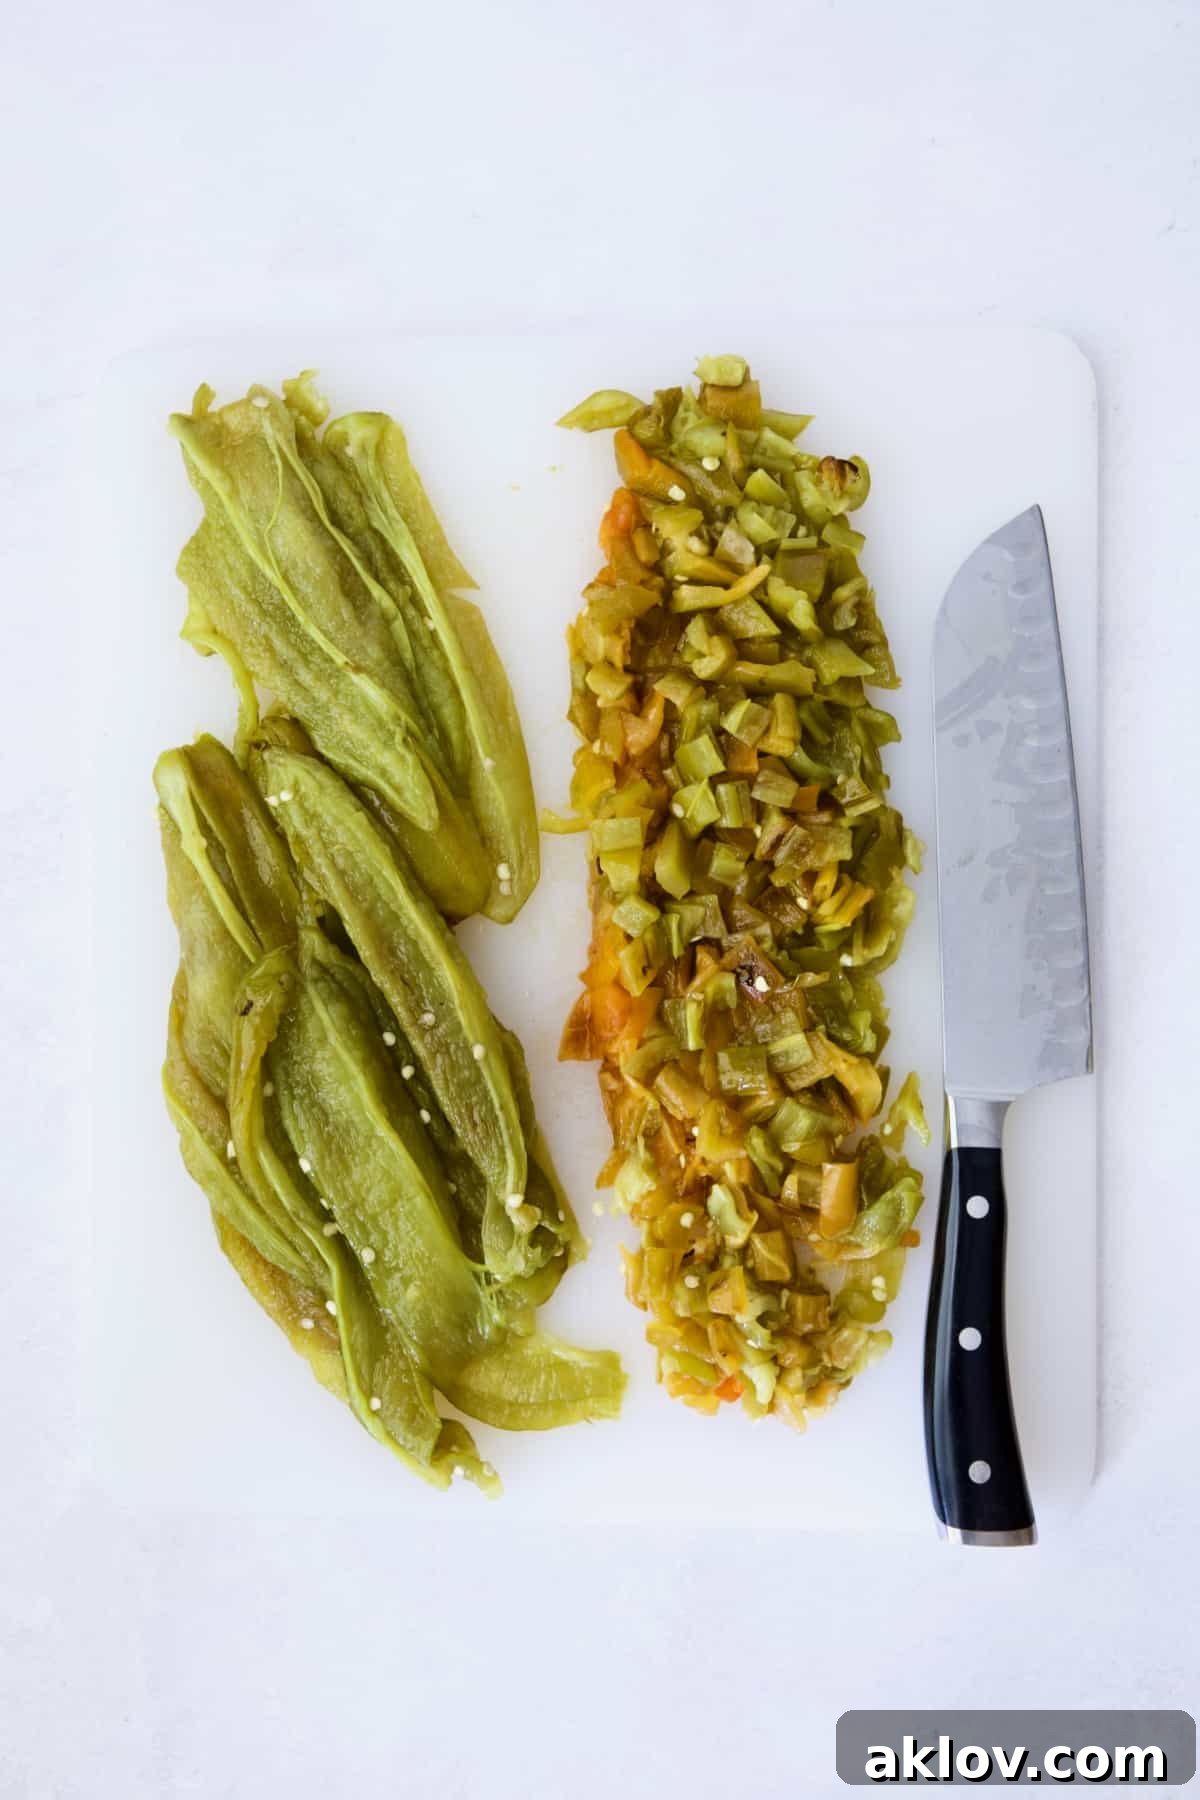
- Preparing for Freezing: You have the option to freeze the chiles whole or chopped. For maximum convenience and recipe-readiness, I highly recommend chopping them before freezing. This means they’ll be perfectly prepped and ready to toss into your favorite dishes without any extra steps later on.
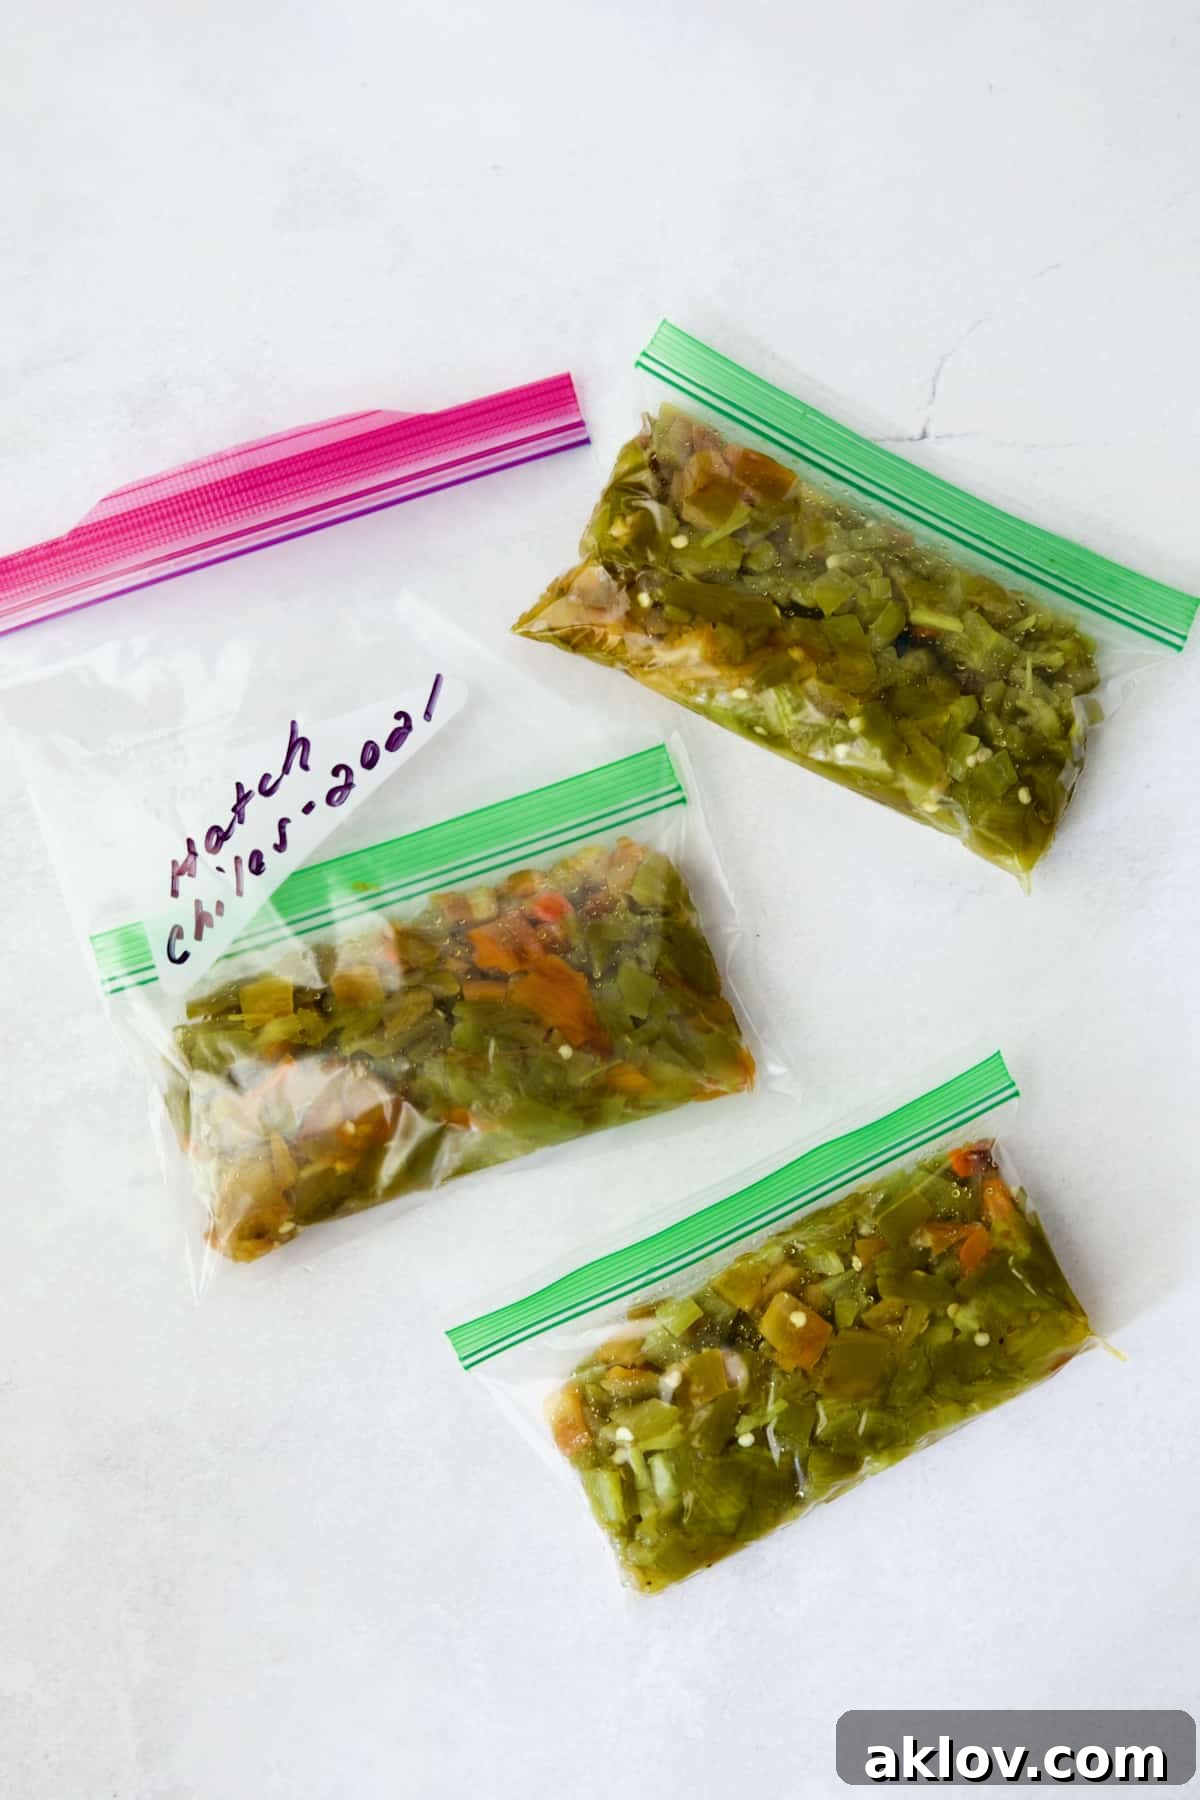
- Smart Storage: Place the chopped (or whole) chiles into high-quality zipper-top freezer bags. Don’t forget to label each bag with the date and contents. I find that small, snack-size bags are ideal for portioning. This way, you’ll always have the perfect amount ready to go for a single recipe, minimizing waste and making meal prep a breeze.
- Avoid the “Chile Brick”: Freezing chiles in smaller, recipe-ready portions is far superior to using one large bag. If you freeze a large quantity together, you’ll end up with a solid “Hatch green chile brick” that’s difficult to break apart, requiring you to thaw more than you need. Smaller portions offer flexibility and convenience throughout the year.
Frequently Asked Questions About Roasting Hatch Chiles
Absolutely! This versatile roasting and steaming technique is effective for almost any pepper or chile you wish to prepare. Feel free to use it for sweet red, yellow, or orange bell peppers to enhance their natural sweetness, or apply it to spicier varieties like poblano peppers or jalapeño peppers to mellow their raw bite and develop their smoky notes.
Peeling the roasted Hatch chiles is highly recommended for a superior culinary experience. If the skin is left on, it can be tough, fibrous, and somewhat unappetizing, often resulting in black, papery flecks throughout your finished dish. While not harmful, it certainly impacts the texture and aesthetic appeal. Fortunately, once roasted and properly steamed, the skin becomes remarkably easy to remove, revealing the tender, flavorful flesh beneath.
Wearing gloves, especially disposable kitchen gloves, is a very good idea when handling Hatch chiles, particularly during the seeding stage. While you might get away with bare hands for peeling the skin, the majority of the capsaicin (the compound responsible for the heat) is concentrated in the seeds and internal membranes. If you happen to encounter chiles closer to the 8,000 Scoville heat unit range, direct skin contact can lead to a burning sensation. If you choose not to wear gloves, wash your hands thoroughly with soap several times immediately after handling the chiles, and be extremely careful not to touch any sensitive areas, especially your eyes or face, as the capsaicin can cause intense irritation.
For optimal flavor and texture, roasted Hatch chiles are best when used within four to six months of freezing. However, their quality can extend beyond this timeframe. It’s not uncommon for many home cooks to discover leftover chiles from the previous year’s season still in their freezer when the new Hatch chile season rolls around. While their peak freshness might have slightly diminished, they are generally still perfectly fine to use, especially in cooked dishes like stews or sauces where slight changes in texture are less noticeable.
Savor the Flavor: Delicious Recipes Featuring Hatch Green Chiles!
Once you’ve expertly roasted and preserved your batch of Hatch green chiles, a world of culinary possibilities opens up. Their unique smoky, earthy, and spicy profile adds incredible depth to a wide array of dishes. Here are some fantastic recipes where your frozen Hatch chiles will truly shine:
- Green Chile au Gratin Potatoes: A comforting side dish with layers of cheesy potatoes and a vibrant kick from the chiles.
- Lima Bean and Potato Enchiladas with Hatch Green Chile Sauce: A hearty and flavorful vegetarian enchilada dish, elevated by a rich Hatch green chile sauce.
- Hatch Green Chile Mac and Cheese: Elevate a classic comfort food with the smoky warmth of Hatch chiles for an unforgettable twist.
- Green Chile Goat Cheese Stuffed Chicken Breasts with Cornmeal Pecan Crust: An elegant main course where the tangy goat cheese and zesty chiles create a harmonious flavor profile within a crispy crust.
Saved
Pin
How to Roast and Freeze Hatch Green Chiles
Equipment
-
Rimmed Sheet Pan
-
Tongs
Ingredients
- 12 Hatch green chiles
Instructions
-
Preheat your broiler to HIGH and position the oven rack 6-8 inches from the heating element for optimal heat exposure.
-
Line a rimmed baking sheet with aluminum foil to ensure easy cleanup after roasting.
-
Using the tip of a paring knife, poke a small hole in each chile to prevent them from bursting during the high-heat roasting process.
-
Spread the prepared Hatch green chiles evenly in a single layer on the baking sheet, ensuring adequate space for even blackening.
-
Place the baking sheet under the preheated broiler and roast for 6-8 minutes, or until the chiles are significantly blackened and blistered on the first side. Monitor them closely to prevent burning.
-
Using tongs, carefully flip each chile over to expose the unroasted side to the broiler’s heat.
-
Return the pan to the oven and broil for an additional 5-7 minutes on the second side, until it too is blackened and blistered. Keep a close watch to avoid overcooking.
-
Immediately after removing the chiles from the oven, place a second baking sheet of the same size directly over them, sealing in the steam. Let rest for approximately 15-20 minutes; this crucial step aids in loosening the skins for easy peeling.
-
Once cooled, carefully peel and seed the chiles. Chop them to your desired size and place into snack-size zipper-top bags for convenient freezing, or use them immediately in your favorite recipes within 3-4 days.
Notes
For the freshest taste, plan to use your roasted chiles within 3-4 days when stored in the refrigerator. For longer preservation, freeze them in small, airtight bags or containers, where they will retain their quality for up to 4 months.
Recipe updated 8-10-25 to include a helpful reader tip: poking a small hole in each pepper before roasting effectively prevents them from bursting in the oven, ensuring a smoother roasting process and better-looking chiles.
Nutrition
Nutritional values are automatically calculated using unbranded products and are estimates only. Actual results may vary based on ingredients used and portion sizes. Adjust as needed for dietary restrictions, allergies, or health concerns.
 Enjoyed this guide? Leave a comment below and share your Hatch chile adventures!