
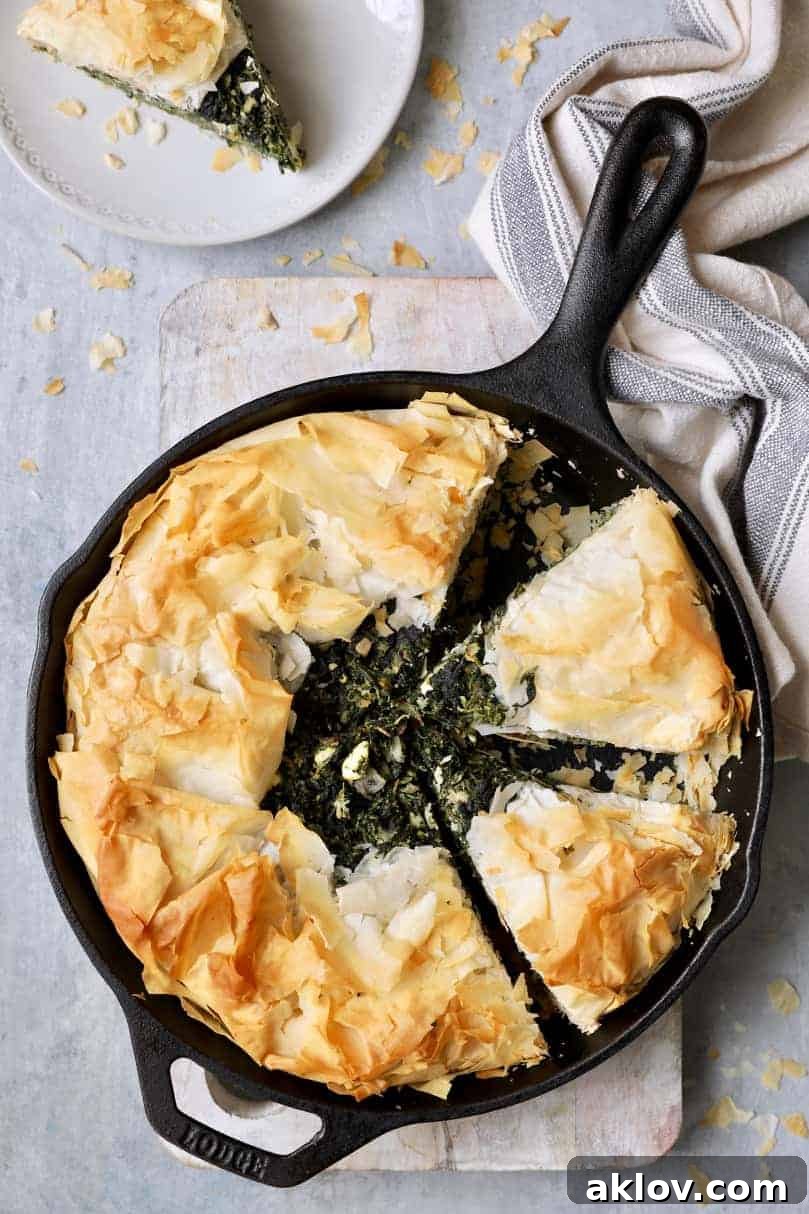
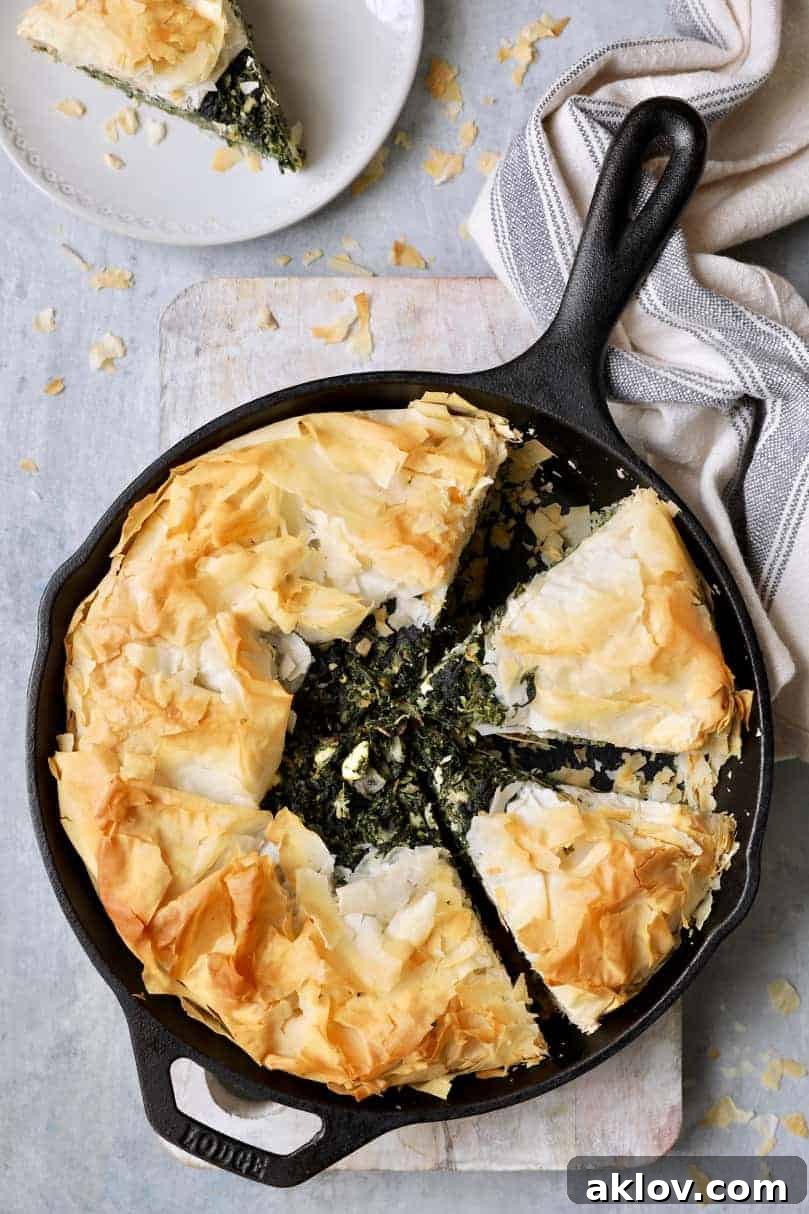
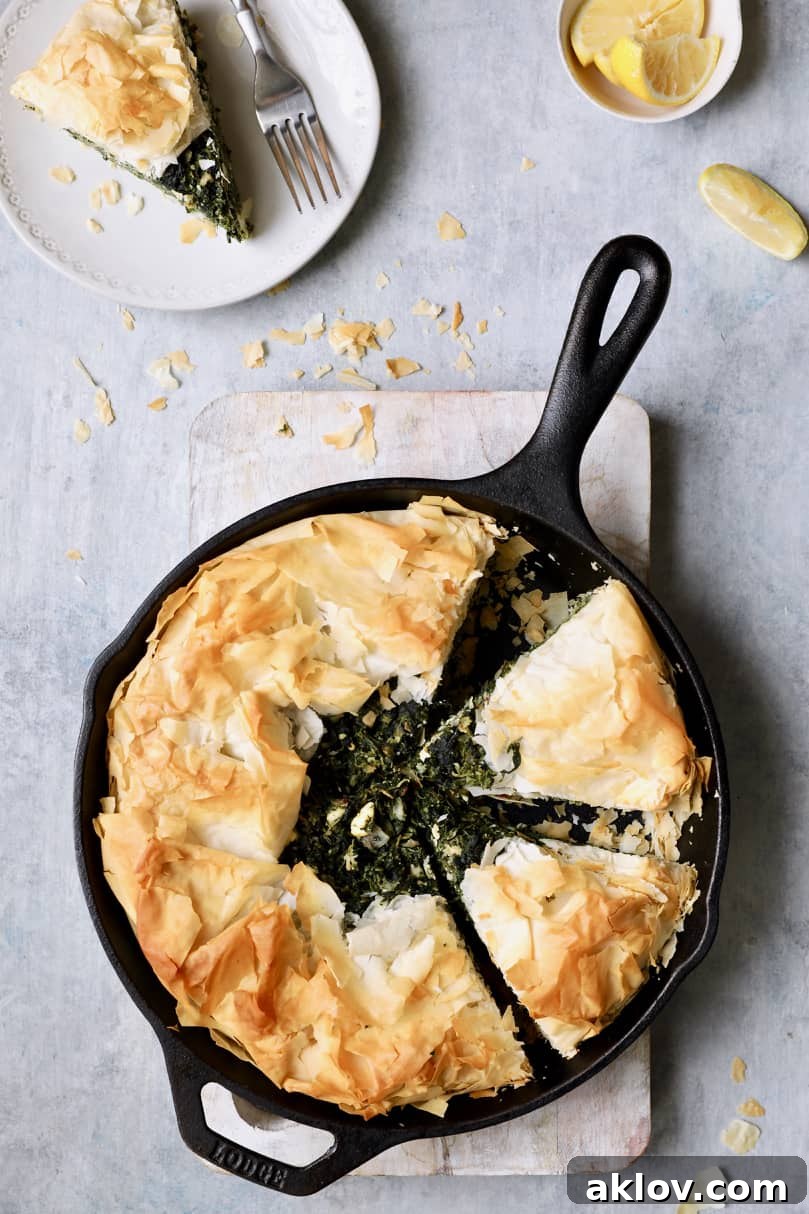
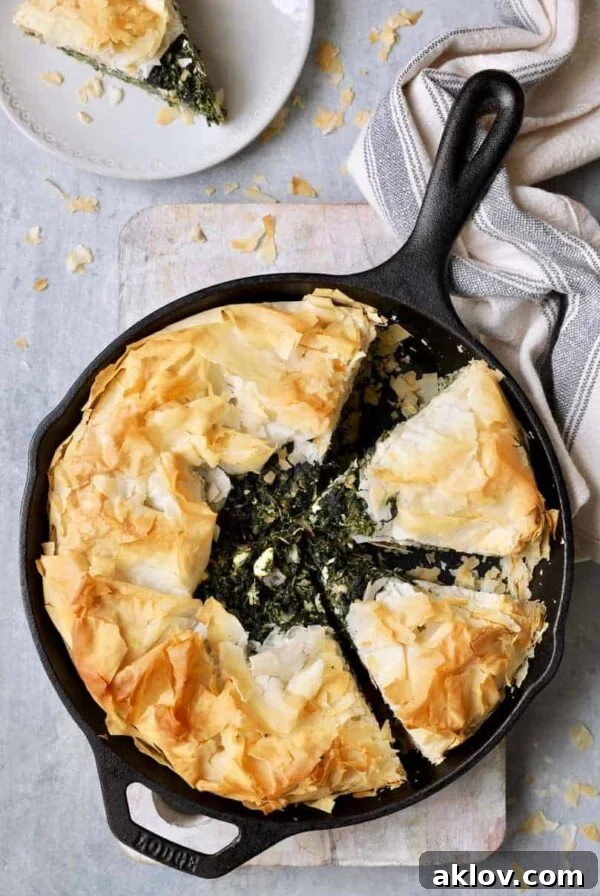
Welcome to the ultimate guide for creating a truly sensational Skillet Spanakopita! This recipe transforms the classic Greek Spinach and Feta Pie into an effortlessly elegant dish, perfect for any occasion. Imagine layers of golden, crisp phyllo pastry encasing a rich, savory filling of seasoned spinach and creamy feta cheese—all prepared conveniently in a single skillet. It’s a show-stopping vegetarian masterpiece that promises both incredible flavor and a visually impressive presentation. Whether you’re a seasoned chef or a home cook looking to explore Greek cuisine, our easy Skillet Spanakopita recipe is designed to deliver delicious results every time. Pair it with a refreshing Classic Greek Salad for a complete Mediterranean meal that will transport your taste buds straight to Greece!
Why This Easy Skillet Spanakopita Recipe is a Must-Try!
Spanakopita, the beloved Greek spinach and feta pie, is a dish cherished for its flaky pastry and savory filling. However, traditional preparations, often involving multiple layers of delicate phyllo dough for both the top and bottom crusts, can sometimes feel a bit daunting for the home cook. That’s precisely why this Skillet Spanakopita recipe is a game-changer!
My culinary journey with Spanakopita began years ago during my vegetarian phase, when it was a constant delight on Greek restaurant menus. While I adored its flavors, replicating the intricate phyllo work at home often felt like a meticulous task. The brilliance of this skillet version lies in its simplified approach to the phyllo crust. By creating a single, beautiful phyllo layer that drapes into and over the skillet, we significantly cut down on prep time and complexity without sacrificing any of the authentic taste or delightful texture. It’s an innovative method that ensures a perfectly golden, crispy crust every time, with a rustic charm that’s inherently appealing. Plus, baking and serving directly from a cast iron skillet not only looks stunning but also keeps your pie warm longer, making it ideal for entertaining or a cozy family dinner.
What Exactly is Spanakopita? A Greek Culinary Gem
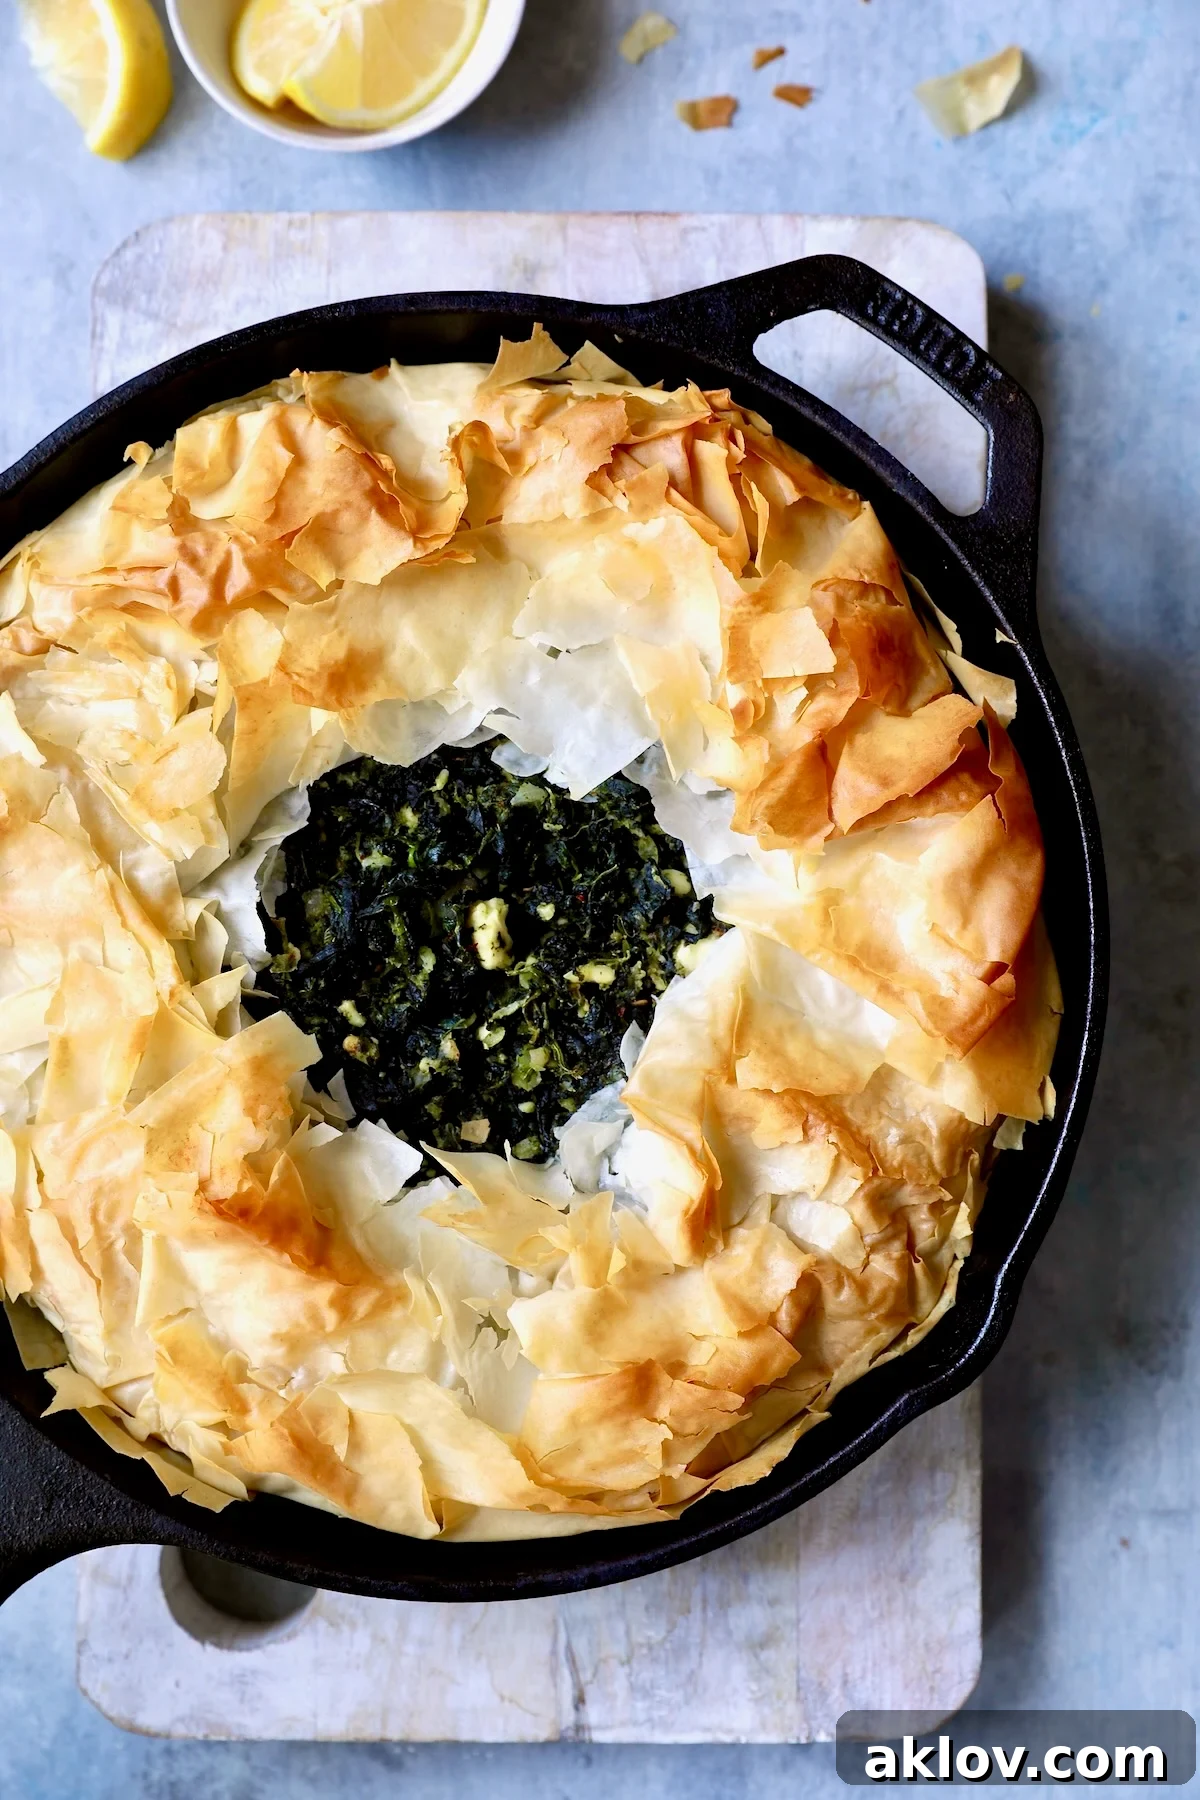
Spanakopita, pronounced span-ah-KO-pi-ta, translates simply to “spinach pie” in Greek, but it’s much more than just a pie—it’s a celebration of Mediterranean flavors and a staple of Greek cuisine. This savory pastry is characterized by its delicate layers of phyllo (also spelled fillo or filo) dough, which become incredibly crisp and buttery when baked. The heart of Spanakopita lies in its rich, aromatic filling, primarily composed of fresh spinach, crumbled feta cheese, onions, and a medley of fresh herbs, traditionally dill and parsley.
While feta is the quintessential cheese for Spanakopita, lending its distinct salty tang, some regional variations might incorporate other Greek cheeses like kefalotiri or even a blend of cheeses for added depth. The filling is usually bound together with eggs, which help set it beautifully when baked, creating a creamy yet firm texture. Beyond its ingredients, Spanakopita holds a special place in Greek culture, often prepared for special occasions, family gatherings, or simply enjoyed as a wholesome vegetarian main course or a flavorful appetizer. Its versatility and widespread appeal have made it a beloved dish across the globe, synonymous with the vibrant and healthy flavors of Greece.
Mastering Skillet Spanakopita: Your Guide to a Perfect Greek Spinach and Feta Pie
Creating this magnificent Skillet Spanakopita is an enjoyable and straightforward process. Follow these steps to bring this Greek culinary delight to your kitchen. Before you begin, ensure you have all your ingredients measured and prepared, as this will make the assembly much smoother.
Gather Your Essential Recipe Ingredients:
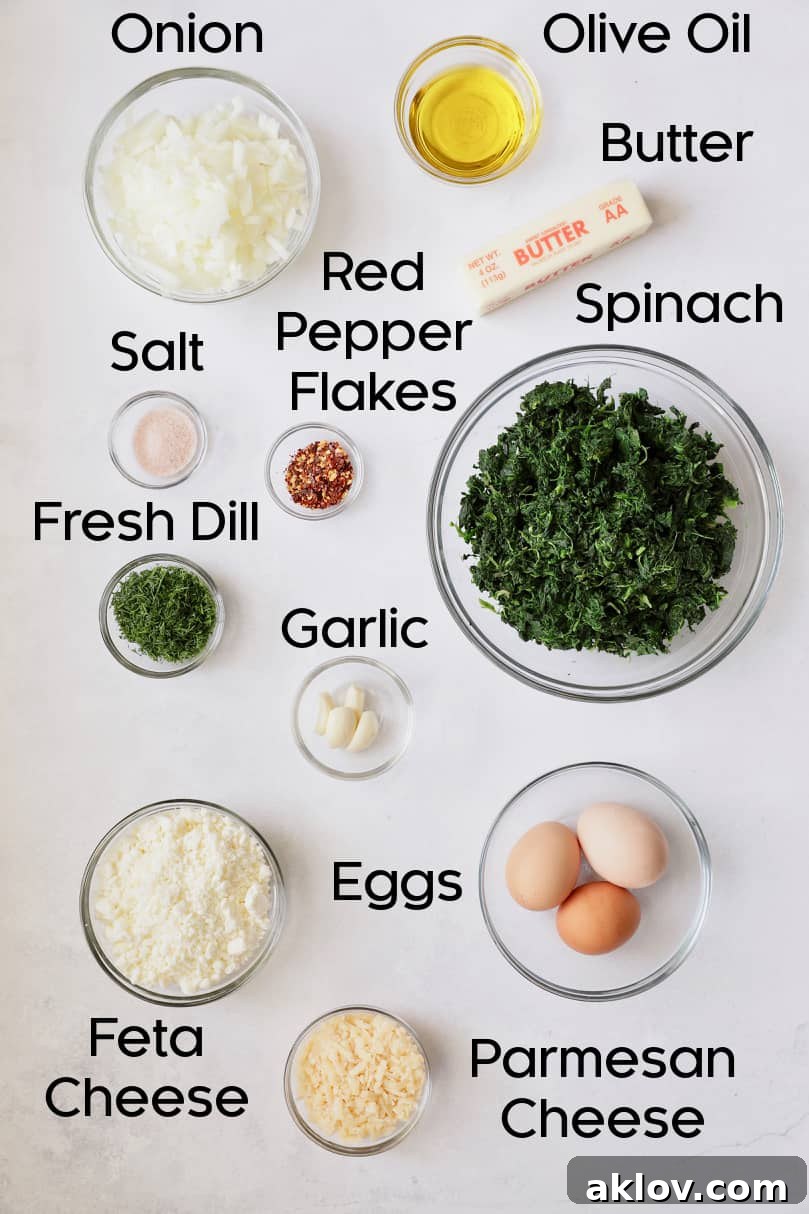
Here’s a comprehensive list of everything you’ll need to create this delicious skillet spanakopita. For precise measurements, please refer to the detailed recipe card at the end of this post.
Key Ingredient Notes and Smart Substitutions:
- Frozen Chopped Spinach: Frozen chopped spinach is a fantastic, cost-effective, and convenient option for this recipe. Its main advantage is that it’s already blanched and cooked, giving you a clear idea of the final volume. The most crucial step is to thoroughly thaw and squeeze out as much excess moisture as possible. This isn’t just a suggestion—it’s essential for preventing a soggy pie! Use your hands to really wring it out; a clean kitchen towel can also assist in this process. If you prefer to use fresh spinach, you’ll need approximately 2-3 pounds (about 1.5-2 kg) to yield the same amount as three 10-ounce boxes of frozen spinach. Wash, wilt it in a hot pan, then cool and squeeze out all the water.
- Fresh Dill: The bright, fresh, and slightly anisy flavor of fresh dill is absolutely unparalleled in Spanakopita, giving it that authentic Greek taste. However, if fresh dill isn’t available, you can substitute it with dried dill. Remember that dried herbs are more concentrated, so use about one-third of the amount of fresh dill (e.g., 2 teaspoons dried dill for 2 tablespoons fresh). Other herbs like fresh parsley, mint, or even a touch of oregano can complement the spinach and feta beautifully, offering slight variations in flavor.
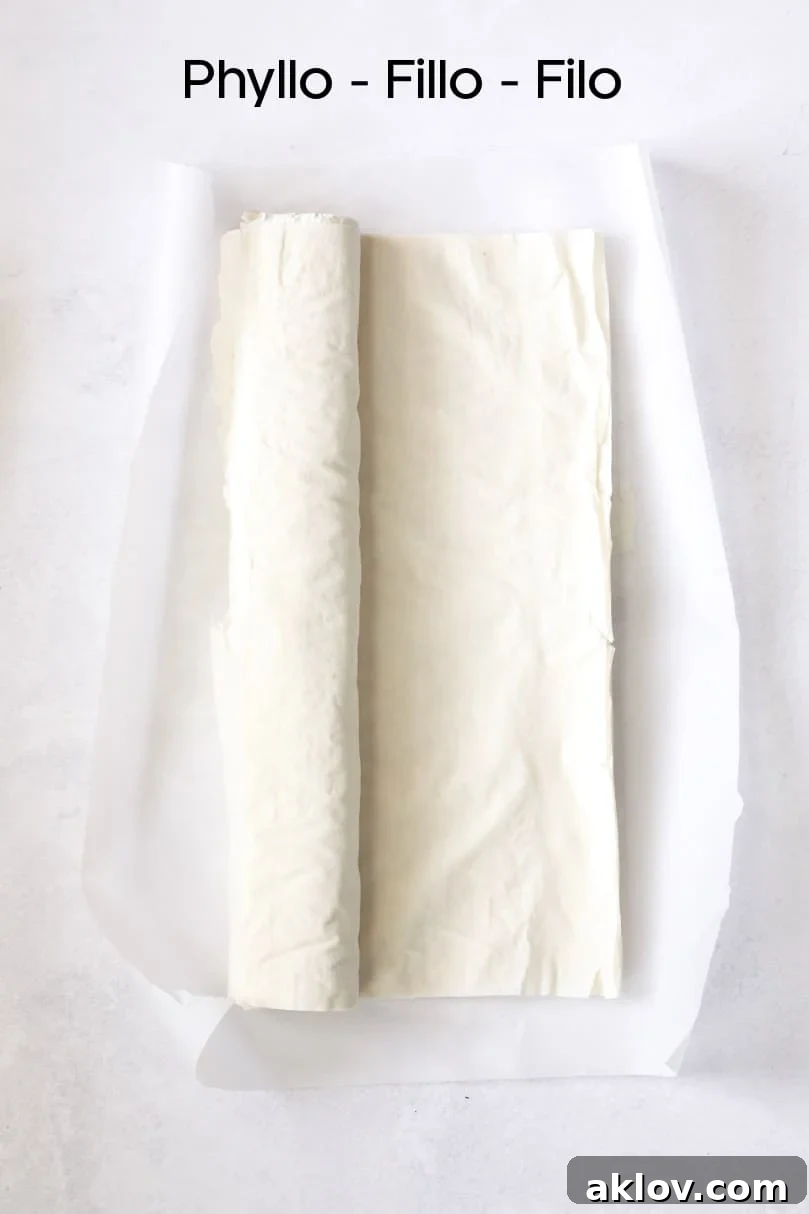
- Phyllo / Fillo / Filo Dough: Phyllo, meaning “leaf” in Greek, refers to the paper-thin, unleavened dough made from flour, water, and a touch of oil. Its magic lies in layering multiple sheets, brushed with butter or olive oil, which puff up into incredibly flaky, golden layers when baked. While making phyllo from scratch is a labor of love, high-quality frozen phyllo dough is readily available in the freezer section of most grocery stores, usually near frozen desserts or specialty items. Proper handling of phyllo is key:
- **Thawing:** Always thaw phyllo overnight in the refrigerator, then let it come to room temperature for about an hour before using. This makes it more pliable and less likely to crack.
- **Keeping it Moist:** Phyllo dries out incredibly quickly when exposed to air, becoming brittle and prone to tearing. To prevent this, keep the unused sheets covered with a lightly damp kitchen towel while you work.
- **Working Quickly:** Try to work efficiently when layering and buttering each sheet. Don’t worry if a sheet tears; subsequent layers will cover any imperfections.
- Feta Cheese: Opt for good quality, authentic Greek feta cheese, preferably made from sheep’s or goat’s milk, which offers a richer, tangier flavor and creamier texture than cow’s milk feta. Crumbled feta is convenient, but a block of feta that you crumble yourself often has superior flavor and texture.
- Olive Oil & Butter: The combination of olive oil and butter provides richness and helps the phyllo turn golden and crisp. Don’t skimp on brushing the phyllo layers; generous application ensures that coveted flaky texture.
- Eggs: Large eggs are essential for binding the spinach and feta filling together, giving it a cohesive texture that holds its shape when sliced.
- Parmesan Cheese: A layer of grated Parmesan cheese beneath the spinach filling acts as a protective barrier, preventing the bottom phyllo crust from becoming soggy and adding another layer of savory depth.
Detailed Step-By-Step Instructions for a Flawless Pie:
- **Prepare Your Ingredients & Oven:** Begin by preheating your oven to a precise 375 degrees Fahrenheit (190°C). This ensures the oven is at the correct temperature when your pie is ready to bake, leading to perfectly cooked phyllo. Melt 6 tablespoons of unsalted butter in a small microwave-safe bowl or saucepan and set it aside for brushing the phyllo. Remember to have your thawed spinach thoroughly squeezed of moisture.
- **Sauté the Aromatics:** In your 10-inch cast-iron skillet, heat 2 tablespoons of olive oil and the remaining 2 tablespoons of butter over medium-high heat. Once the butter is melted and shimmering, add the finely chopped medium onion. Reduce the heat to medium and cook for 5-7 minutes, stirring occasionally, until the onion softens beautifully and begins to take on a golden hue. This caramelization process builds a fantastic flavor base for your filling.
- **Incorporate Spinach and Garlic:** Add the minced garlic to the skillet with the softened onions and cook for just 1-2 minutes, stirring constantly, until the garlic becomes fragrant but not browned. Immediately stir in the thoroughly squeezed chopped spinach. Cook for another 1-2 minutes to allow any remaining moisture from the spinach to evaporate and for the flavors to meld.
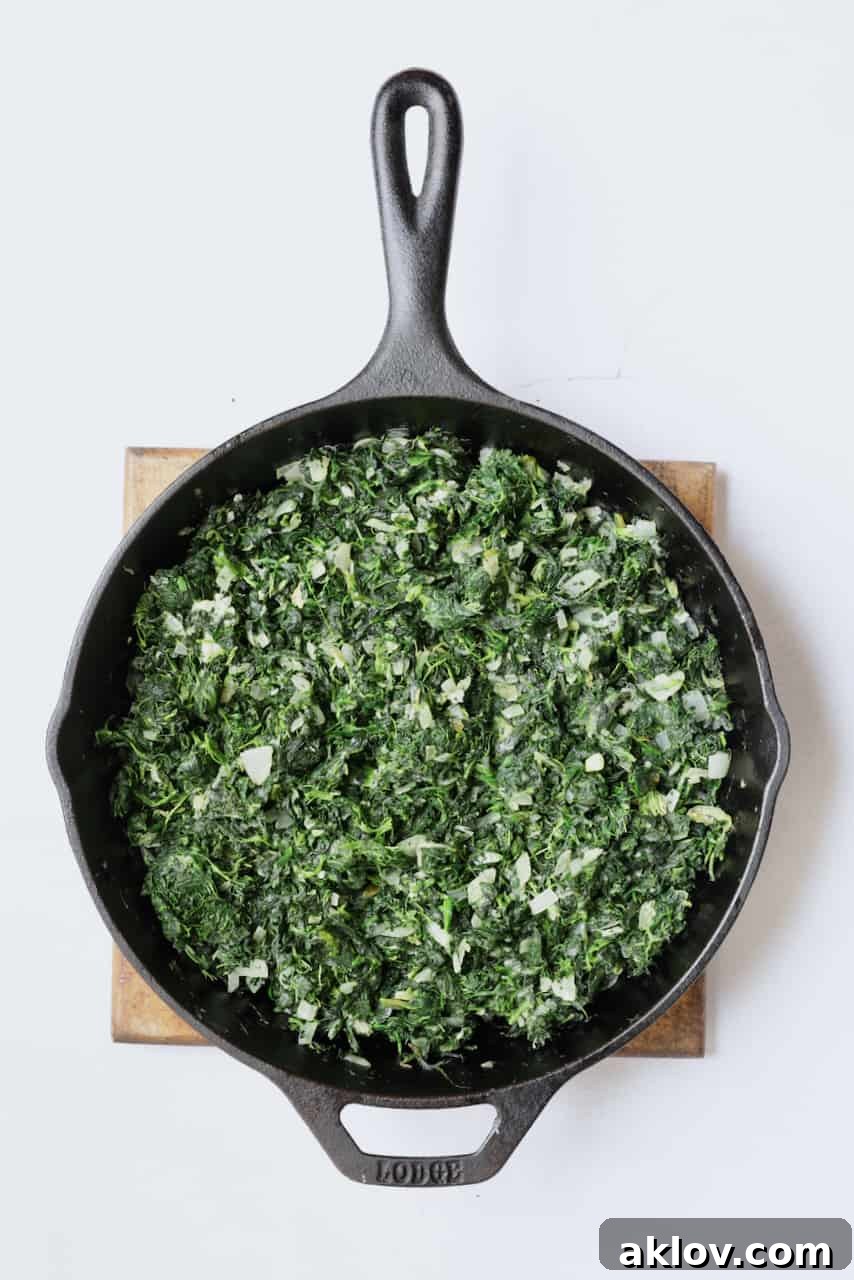
- **Create the Savory Filling:** Transfer the cooked onion, garlic, and spinach mixture from the skillet to a large mixing bowl. Let it cool for about 10 minutes; this prevents the eggs from scrambling when added. Once slightly cooled, add the three large eggs, chopped fresh dill (or dried dill substitute), salt, and crushed red pepper flakes (adjust to your preferred level of spice). Finally, gently fold in the crumbled feta cheese.
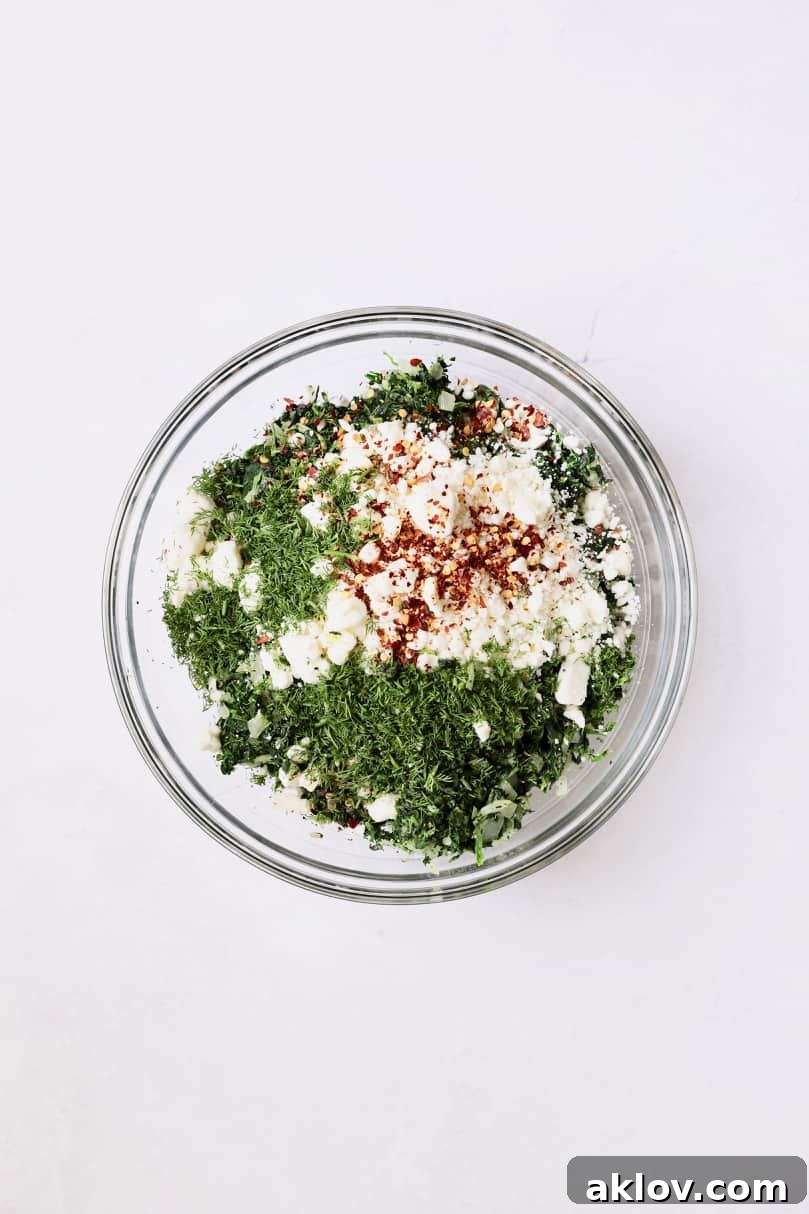
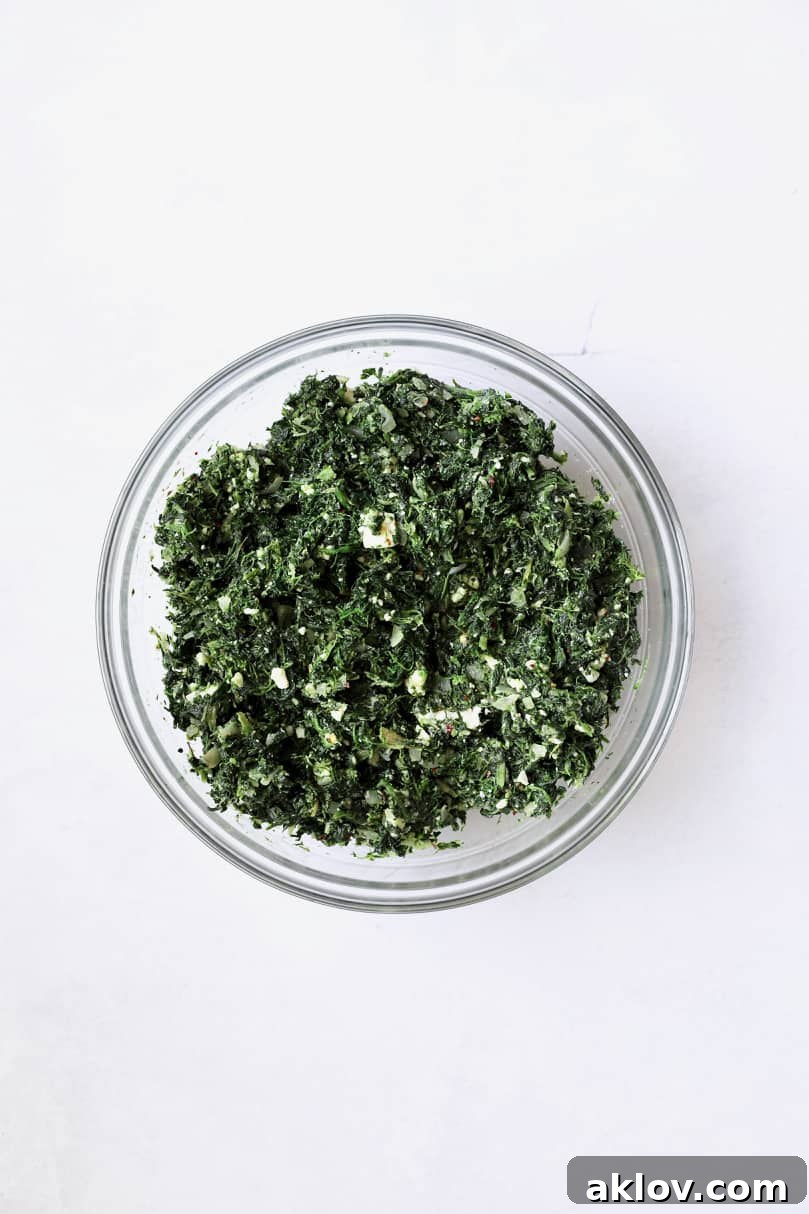
- **Combine the Filling Ingredients:** Give the mixture a good stir until all the ingredients are evenly combined and the feta is distributed throughout. This ensures every bite of your spanakopita is packed with flavor.
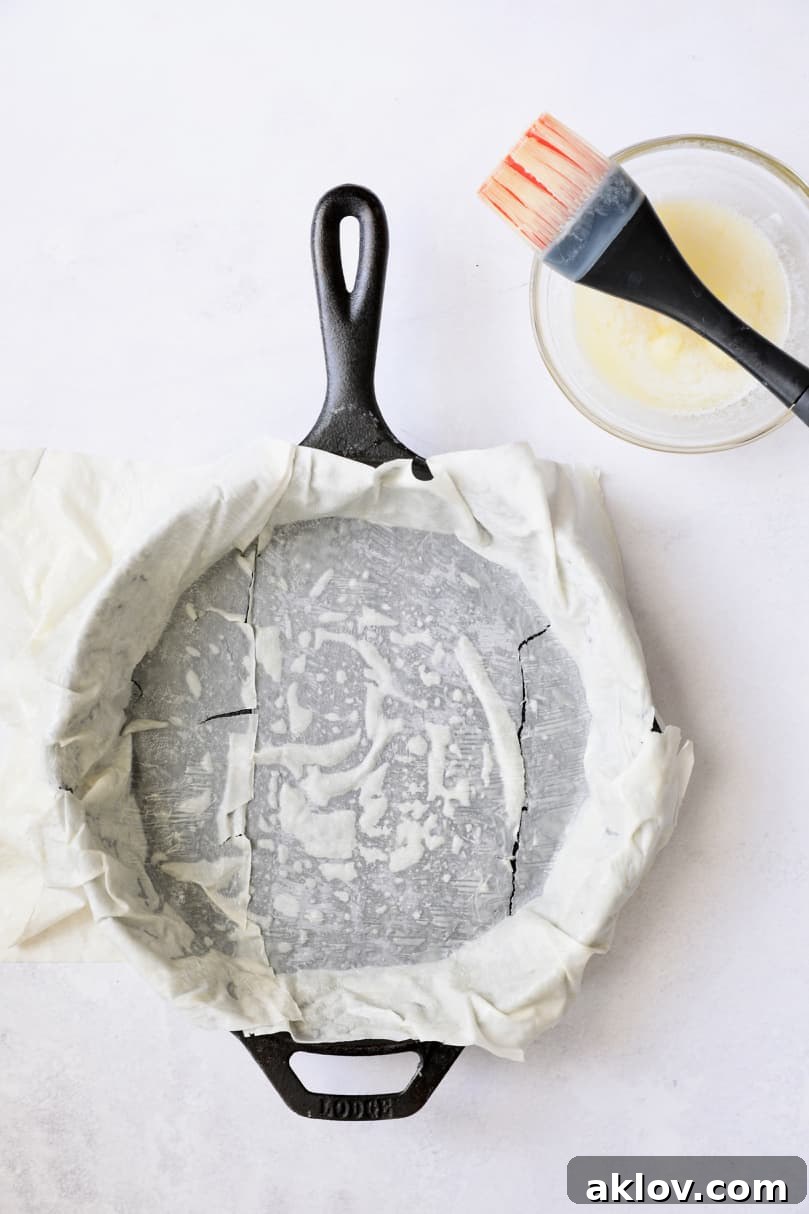
- **Prepare Your Skillet:** Wipe out the cast-iron skillet (no need to wash it) and generously brush the entire interior—bottom and sides—with olive oil. This not only prevents sticking but also helps the phyllo crisp up beautifully on the edges.
- **Begin the Phyllo Layering (The Single-Crust Method):** Lay one sheet of thawed phyllo dough flat on a clean work surface. Lightly brush it with some of the melted butter. Carefully place this buttered phyllo sheet horizontally into the prepared cast-iron skillet, gently pressing it down into the bottom and allowing the excess to overhang the sides. Don’t worry if it tears a little; the multiple layers will hide any imperfections.
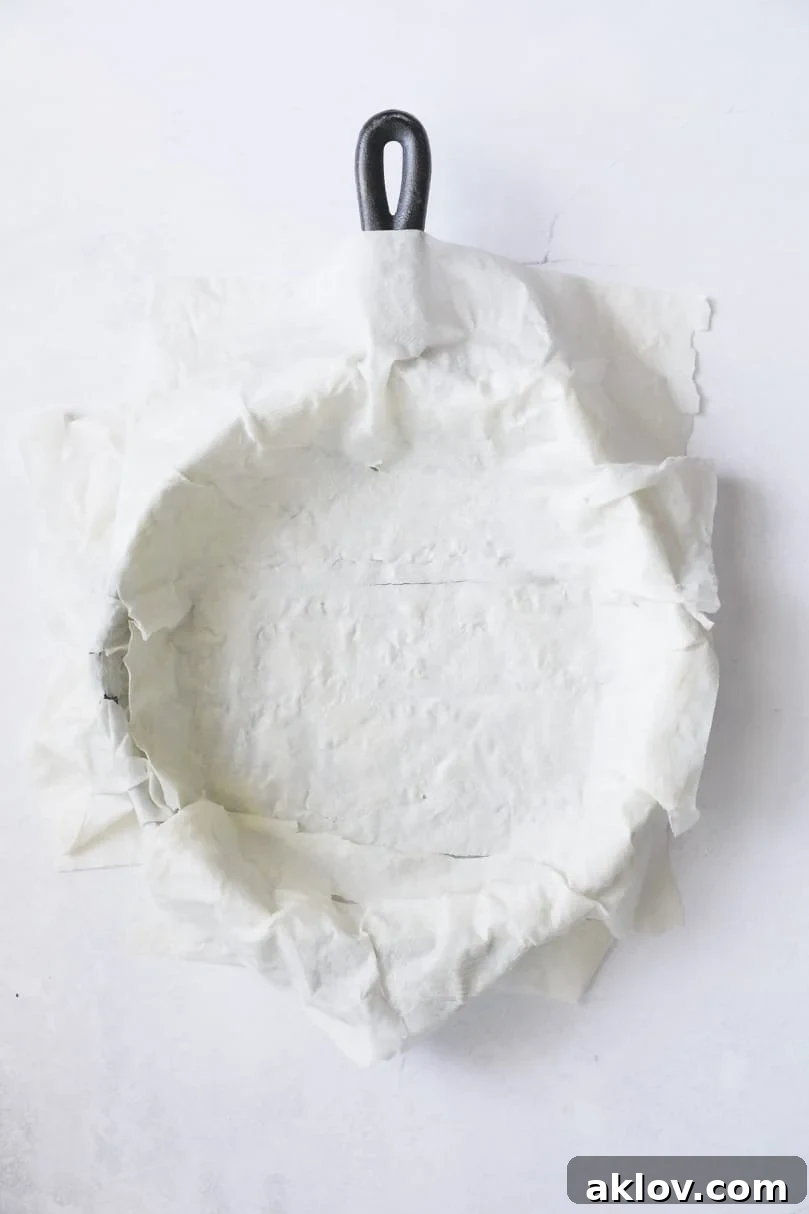
- **Continue Layering for a Flaky Crust:** Continue this layering process with the remaining seven sheets of phyllo dough. For each subsequent layer, brush it with melted butter and place it in a different direction. For instance, the second layer perpendicular to the first, the third at a 45-degree angle, and the fourth at a 45-degree angle in the opposite direction. Repeat this pattern with the remaining four sheets. This strategic layering creates a robust, multi-directional crust that provides stability and maximizes flakiness, ensuring a gorgeously textured pie.
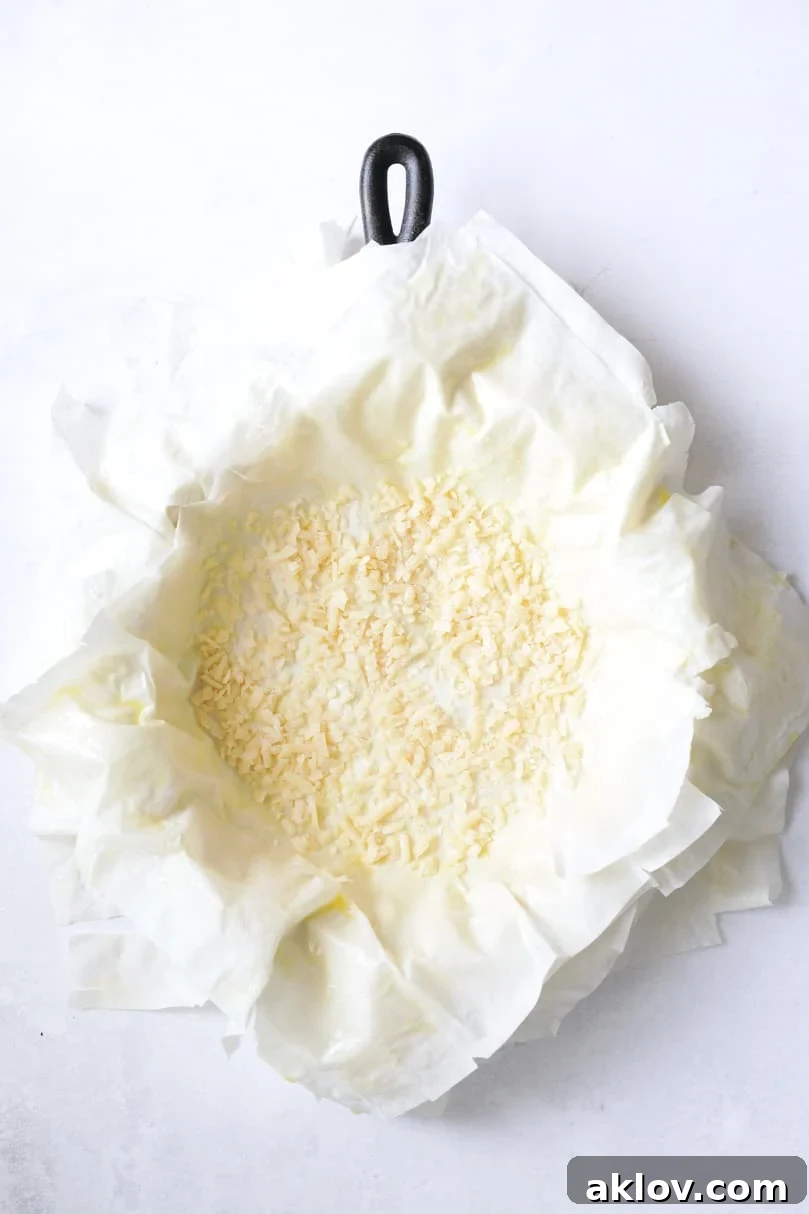
- **Add the Parmesan Barrier:** Evenly sprinkle the freshly grated Parmesan cheese over the layered phyllo crust at the bottom of the skillet. This crucial step creates a protective barrier, helping to prevent the crust from becoming soggy due to the moist spinach filling.
- **Spoon in the Spinach Filling:** Carefully spoon the prepared spinach, feta, and egg mixture over the Parmesan cheese layer, spreading it evenly across the phyllo crust.
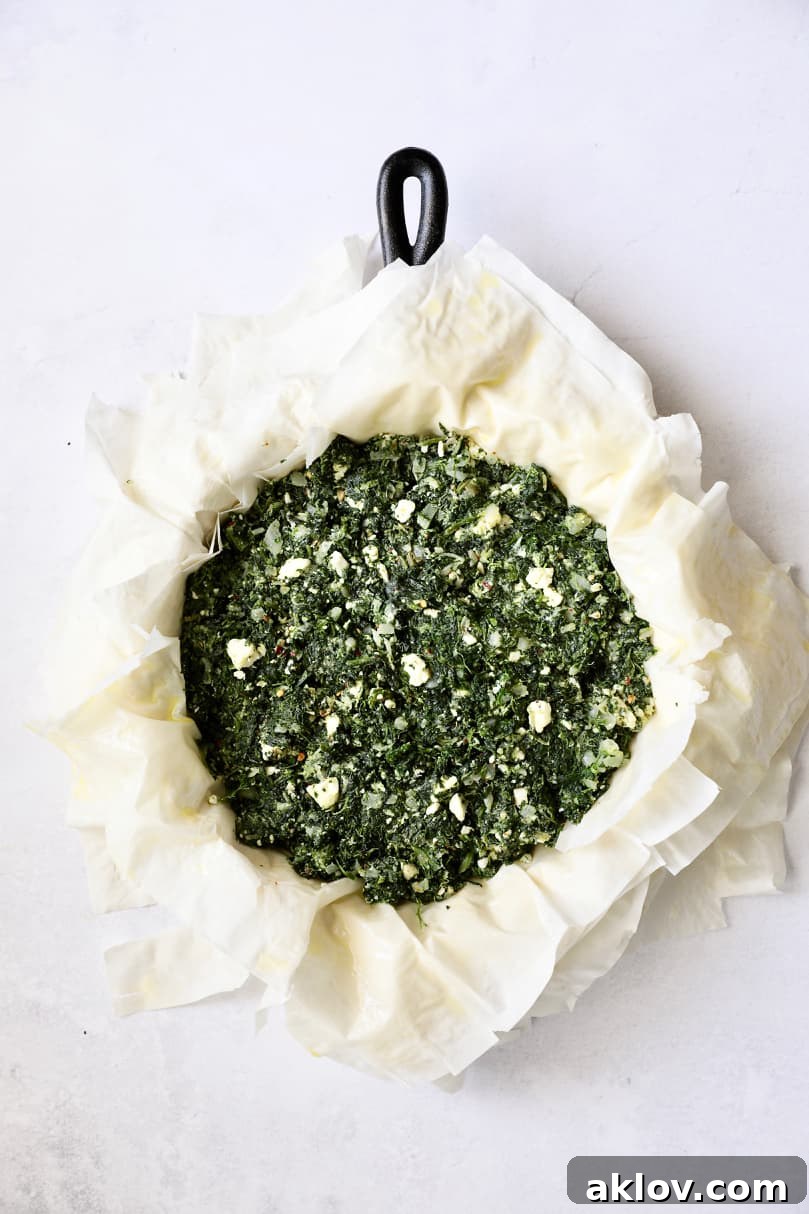
- **Fold and Seal:** Gently fold the overhanging edges of the phyllo dough up and over the filling, working your way around the skillet to create a rustic, enclosed top. The edges will naturally overlap in the center.
- **Final Brush and Bake:** Dab any remaining melted butter or a little extra olive oil over the folded phyllo edges and any exposed top layers. This will ensure a beautiful golden-brown finish.
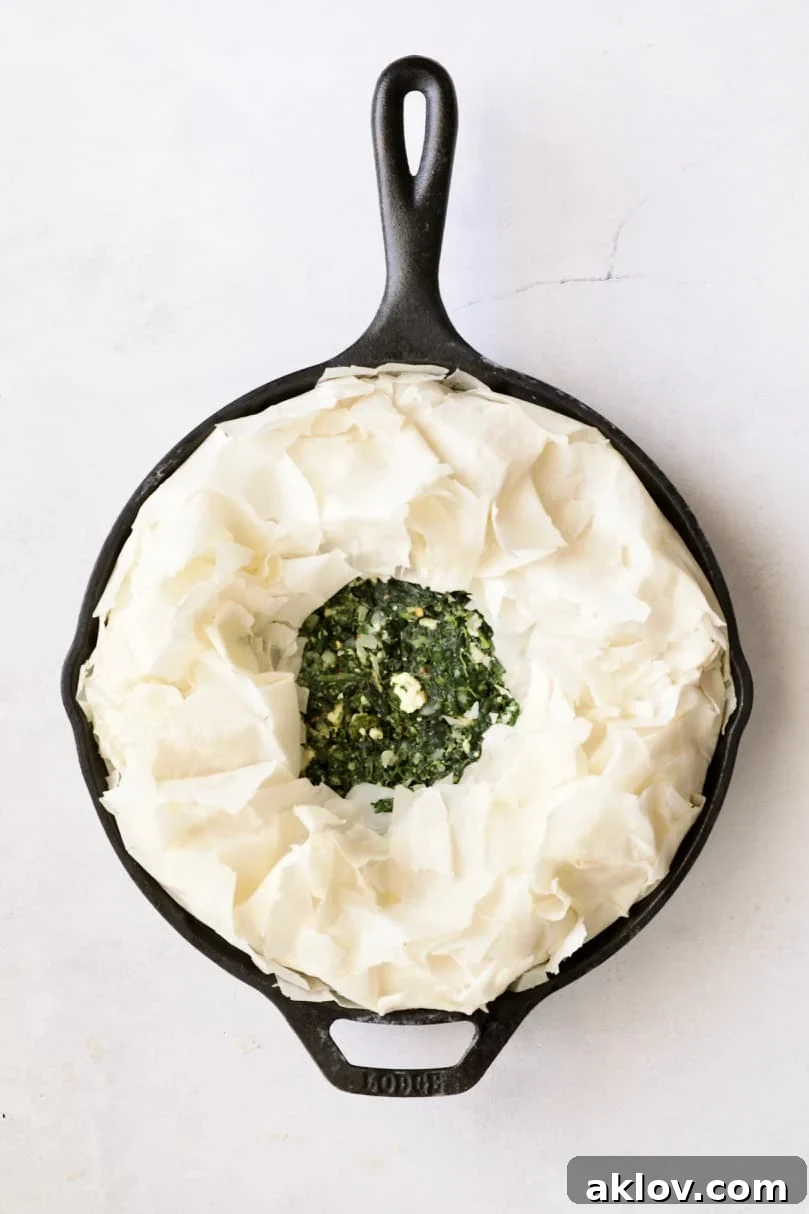
- **Bake to Golden Perfection:** Place the skillet in your preheated oven and bake for 40-45 minutes, or until the center of the pie is firm to the touch and the phyllo crust is a rich, inviting golden brown and wonderfully crisp.
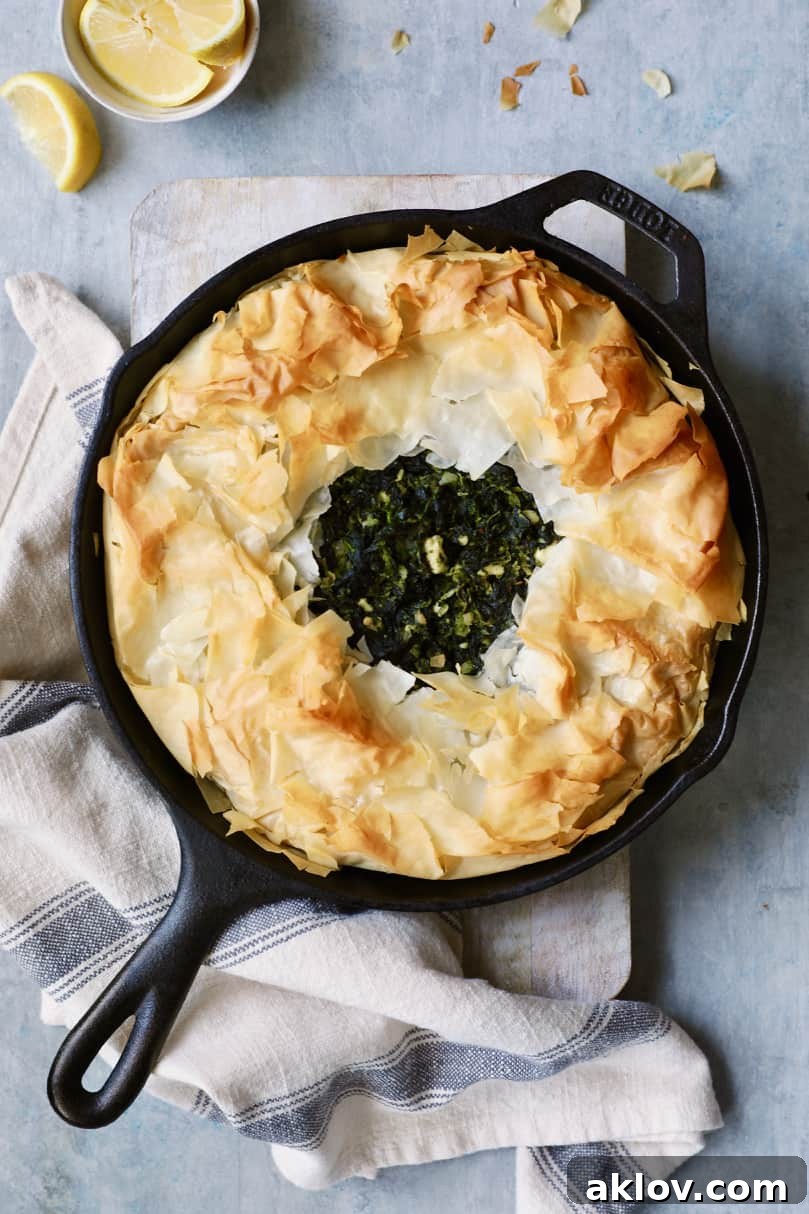
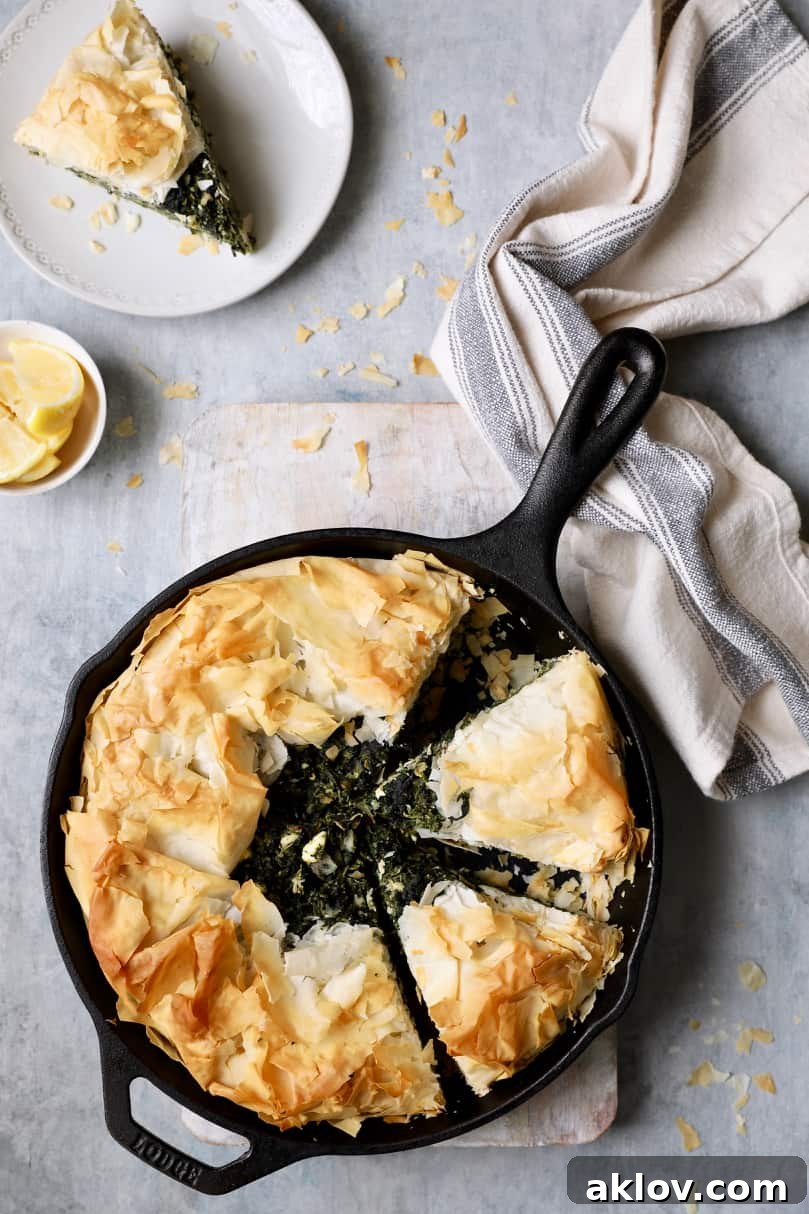
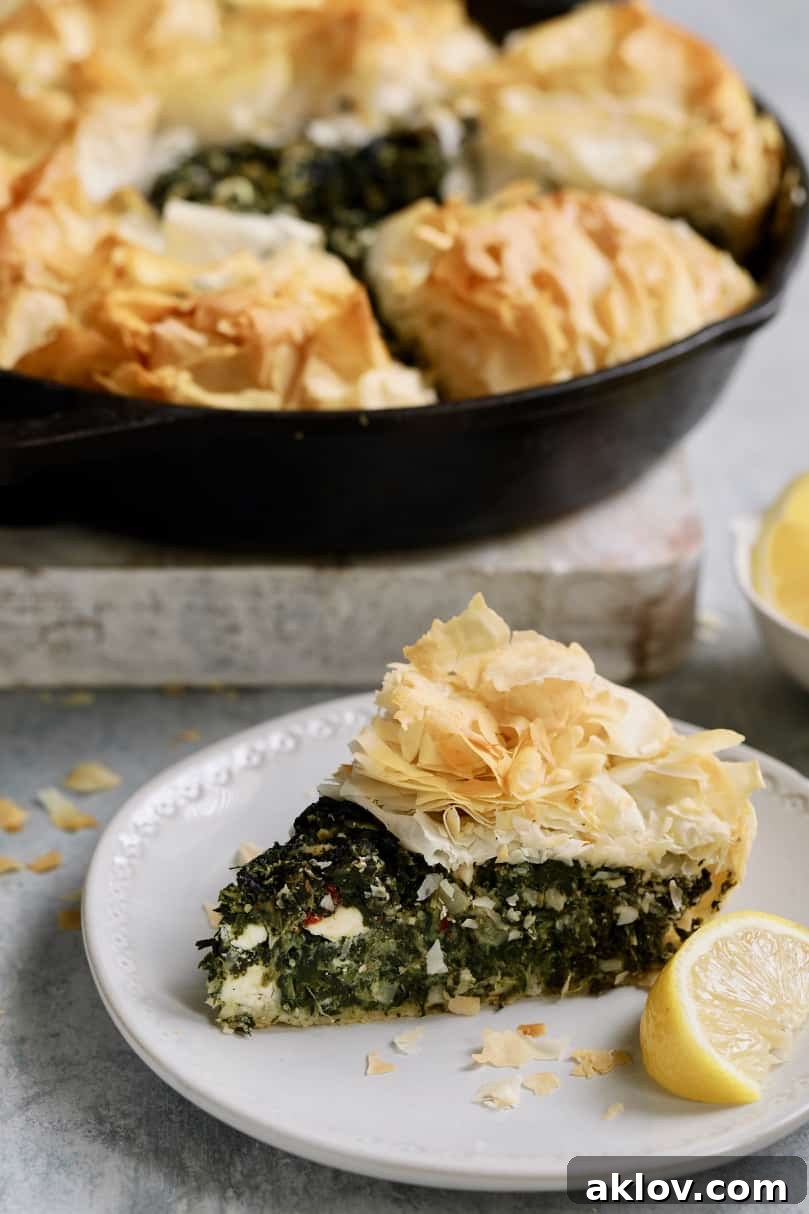
- **Serve and Enjoy:** Carefully remove the skillet from the oven. Allow the Skillet Spanakopita to cool for a few minutes before slicing into generous wedges. This allows the filling to set completely, making for cleaner cuts. Serve warm, accompanied by fresh lemon wedges if desired—a squeeze of lemon adds a delightful brightness that perfectly complements the savory pie!
Chef’s Secret for Perfect Phyllo: Master the Art of Handling Delicate Dough
- Working with phyllo dough can seem intimidating at first, but with a few professional tips, you’ll master it in no time! As mentioned earlier, phyllo is notoriously paper-thin and can tear easily. The key to success is keeping it moist and working quickly. Always keep any unused phyllo sheets carefully tucked between two lightly damp, clean kitchen towels. This creates a humid environment that prevents the dough from drying out and becoming brittle. When brushing each sheet with melted butter, be generous but efficient. You don’t need to drench it, but ensure an even, thin coat across the entire surface. This butter is what creates those desirable crispy layers. If a sheet does tear, don’t panic! Simply layer another buttered sheet over it, or patch the tear with a small piece of phyllo. The multiple layers will beautifully conceal any imperfections, and your Skillet Spanakopita will still turn out magnificent and delicious. Embrace the process, and remember that practice makes perfect!
Frequently Asked Questions About Skillet Spanakopita
Overall, spanakopita is a wholesome and nutritious dish, packed with vitamins and minerals thanks to its primary ingredients: spinach and feta. Spinach is a powerhouse of nutrients, rich in Vitamin A, Vitamin C, Vitamin K, and iron. Feta cheese contributes calcium and protein. While the phyllo pastry and butter add calories and fats, Spanakopita remains a balanced meal option, especially when enjoyed in moderation and paired with a fresh salad. It’s a fantastic way to incorporate more leafy greens into your diet!
Yes, Skillet Spanakopita is a fantastic make-ahead dish, which is perfect for meal prep or entertaining! If you plan to assemble it ahead of time, it’s crucial to NOT use conventional cast iron for extended refrigeration, as the acidity from the spinach and cheese can react with the iron over time. Instead, opt for an enameled cast iron skillet or a stainless steel baking dish if you are making it ahead. You can assemble the entire pie up to one day in advance. Once assembled, cover it securely with plastic wrap or aluminum foil and refrigerate. When ready to bake, allow it to sit at room temperature for about 20-30 minutes while your oven preheats, then bake as directed. This ensures the phyllo crisps up beautifully.
Absolutely! While frozen spinach offers convenience, fresh spinach can certainly be used. You’ll need about 2-3 pounds of fresh spinach to yield the equivalent amount of three 10-ounce boxes of frozen spinach. To prepare fresh spinach, thoroughly wash it, then wilt it in a large skillet or pot over medium heat, working in batches if necessary. Once wilted, allow it to cool, and then, just like with frozen spinach, squeeze out as much moisture as possible. This step is critical for preventing a watery filling and a soggy crust.
Leftover Skillet Spanakopita stores beautifully. Once cooled, cover the skillet tightly with plastic wrap or transfer individual slices to an airtight container. It can be refrigerated for up to 3-4 days. To reheat, the best method is to use your oven or a toaster oven. Place slices on a baking sheet and reheat at 300-325°F (150-160°C) for 10-15 minutes, or until warmed through and the phyllo has re-crisped. Avoid reheating in the microwave, as it tends to make the phyllo soggy.
Perfect Pairings: What to Serve with Your Skillet Spanakopita
Skillet Spanakopita is a versatile dish that can be served as a delightful main course or a flavorful side dish. Its rich and savory profile pairs wonderfully with a variety of light and fresh accompaniments that complement its Greek heritage. Here are some fantastic suggestions to complete your meal:
- Mediterranean Braised Green Beans with Tomatoes: A tender and flavorful vegetable side that offers a fresh, rustic counterpoint.
- Roasted Green Beans with Tomato Caper Relish: The tanginess of the relish cuts through the richness of the pie beautifully.
- Moroccan-Spiced Caponata: For an adventurous twist, this eggplant relish brings exotic spices and a sweet-savory balance.
- Mediterranean Chopped Salad with Chickpeas: A hearty and fresh salad that adds texture and protein, perfect for a complete vegetarian feast.
- Creamy Cucumber Salad with Yogurt: A cool and refreshing side, reminiscent of tzatziki, that balances the savory pie.
- Greek Village Salad with Marinated Feta Cheese: The quintessential Greek side dish, offering crisp vegetables and briny feta.
- Greek Orzo Pasta Salad: A light pasta salad with Mediterranean flavors, ideal for a more filling side.
- Briam (Greek Roasted Vegetables): A medley of tender, oven-roasted vegetables seasoned with herbs and olive oil, bringing more authentic Greek flavors to your table.
Discover More Easy and Delicious Vegetarian Recipes You’ll Adore!
If you’re looking for more delightful meatless meals, you’ve come to the right place. These recipes are perfect for expanding your vegetarian repertoire, offering a blend of comforting classics and exciting new flavors:
- Turkish Eggplant Casserole – Imam Bayildi: A rich and flavorful stuffed eggplant dish that’s incredibly satisfying.
- Black Bean and Yellow Squash Enchilada Casserole: A comforting and hearty Mexican-inspired casserole with vibrant flavors.
- Cheesy Brown Rice Casserole with Kale: A wholesome and cheesy bake, perfect for a nutritious family dinner.
- Cheesy Brussels Sprouts and Wild Rice Casserole: A surprising combination that creates a deeply flavorful and satisfying dish.
- Fasolakia: A traditional Greek stew of fresh green beans simmered in a savory tomato sauce.
Explore all my fantastic vegetarian, vegan, and meatless recipes by visiting the dedicated category: Vegetarian / Vegan Entrees – From A Chef’s Kitchen.
Average Rating: 4.75 from 12 votes
Skillet Spanakopita (Greek Spinach Feta Pie)
Equipment
-
Wusthof Chef Knife
-
Cutting Board
-
Glass Mixing Bowls
-
Pastry Brush
-
10-inch Cast Iron Skillet
Ingredients
- 2 tablespoons olive oil, plus more for brushing the skillet
- 1 stick unsalted butter, divided
- 1 medium onion, finely chopped
- 4 cloves garlic, minced
- 3 boxes (10-ounce each) frozen chopped spinach, thawed and squeezed of excess moisture
- 3 large eggs
- 2 tablespoons chopped fresh dill, or 2 teaspoons dried dill
- 1 teaspoon salt
- 1 teaspoon crushed red pepper flakes, or to taste
- 1 1/2 cups crumbled feta cheese
- 1/4 cup freshly grated Parmesan cheese
- 8 sheets phyllo dough, (fillo dough) thawed
- Lemon wedges, for serving (optional)
Instructions
-
Preheat oven to 375 degrees F (190°C).
-
Melt 6 tablespoons of the butter in a small bowl and set aside. This will be used for brushing the phyllo dough.
-
Heat 2 tablespoons olive oil and the remaining 2 tablespoons butter in a 10-inch cast-iron skillet over medium-high heat.
-
Add the finely chopped onion, reduce heat to medium, and cook for 5-7 minutes or until softened and beginning to turn golden.
-
Add the minced garlic and the thoroughly squeezed spinach. Cook for 1-2 minutes, stirring, until the garlic is fragrant and any remaining moisture has evaporated.
-
Transfer the spinach mixture to a mixing bowl and let cool for 10 minutes. Once slightly cooled, add the eggs, dill, salt, crushed red pepper flakes, and crumbled feta cheese. Stir well until evenly combined.
-
Wipe out the skillet (no need to wash) and generously brush the entire interior of the skillet with olive oil.
-
Place one sheet of phyllo dough on a work surface. Lightly brush it with some of the melted butter. Carefully place this buttered phyllo sheet horizontally into the prepared skillet, gently working it into the bottom and up the sides of the pan, allowing the excess to overhang.
-
Brush the second piece of phyllo with melted butter and place it perpendicular to the first, again allowing the edges to overhang.
-
Repeat with the remaining six pieces of phyllo, brushing each with melted butter and placing them in alternating 45-degree angles until all 8 sheets have been used, forming a layered base and overhanging edges.
-
Sprinkle the grated Parmesan cheese evenly over the bottom phyllo crust. This creates a barrier to prevent sogginess. Spoon the spinach and feta filling over the Parmesan cheese, spreading it evenly.
-
Fold the overhanging edges of phyllo dough up and over the filling, towards the center of the pan, creating a rustic top crust.
-
Brush the top folded phyllo edges and any exposed areas with any remaining melted butter or a little extra olive oil for a golden finish.
-
Bake for 40-45 minutes, or until the center is firm and the crust is beautifully golden brown and crispy.
-
Let the Skillet Spanakopita cool for a few minutes before slicing into wedges. Serve warm, with lemon wedges on the side if desired.
Notes
- Phyllo dough is paper-thin and can tear easily when worked with. For the best results and to prevent it from drying out, always keep unused phyllo sheets between two slightly damp kitchen towels. Work quickly and efficiently when brushing them with melted butter. And don’t be shy with the butter – a generous application is key to achieving that wonderfully flaky, golden crust!
**MAKE-AHEAD Instructions:**
- If you wish to assemble this Skillet Spanakopita ahead of time for future baking, it is highly recommended to NOT use a conventional cast iron skillet for overnight refrigeration. The acidity from the spinach and cheese can react with plain cast iron over an extended period. Instead, opt for an enameled cast iron skillet or a stainless steel baking dish.
- The pie can be fully assembled up to 1 day in advance. Once assembled, wrap it securely with plastic wrap or aluminum foil and refrigerate. Before baking, let it sit at room temperature for about 20-30 minutes while your oven preheats, then proceed with the baking instructions.
Nutrition
Nutritional values are automatically calculated using unbranded products and are estimates only. Actual results may vary based on ingredients used and portion sizes. Adjust as needed for dietary restrictions, allergies, or health concerns.
 Like this? Leave a comment below!