
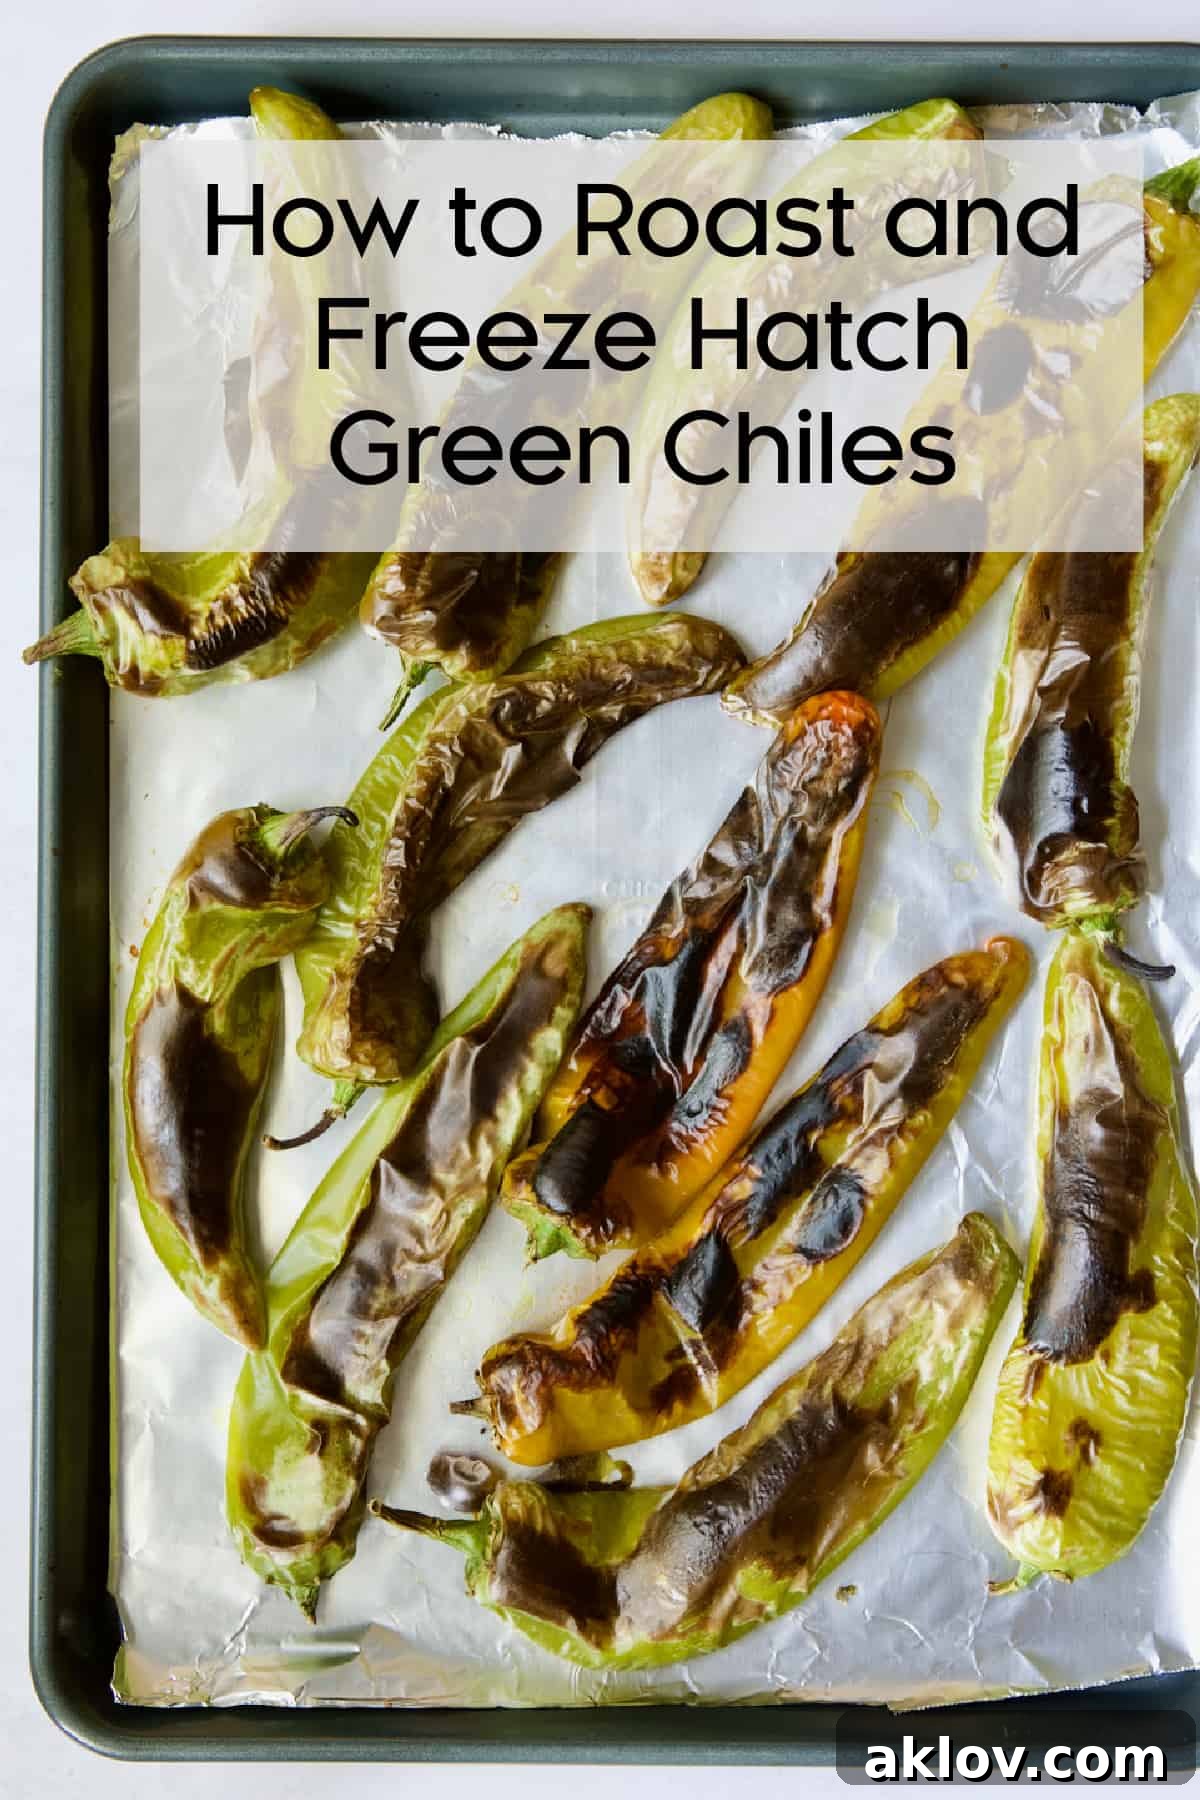
The arrival of Hatch green chile season in late summer is a culinary event eagerly anticipated by food enthusiasts. These exceptional chiles, harvested exclusively from the fertile Hatch Valley in New Mexico, offer a flavor profile unlike any other. Once the season ends, these prized peppers are gone, making it essential to preserve their distinctive taste. Roasting Hatch green chiles in your own oven is not only surprisingly easy but also fills your home with an unparalleled, enticing aroma that hints at the deliciousness to come.
This comprehensive guide provides everything you need to know about roasting, freezing, and preserving the unique flavor of Hatch green chiles. With these methods, you can enjoy their recipe-ready goodness all year long, elevating your favorite Southwestern-inspired dishes. Imagine savoring them in hearty soups, comforting stews, rich chili, flavorful enchiladas, or a luscious Cream Cheese Corn Casserole, among countless other possibilities.
“This recipe is WONDERFUL! Worked beautifully, and the peppers were incredibly easy to peel using your method! Thanks for sharing!”
What are Hatch Green Chiles? Discovering the Taste of New Mexico
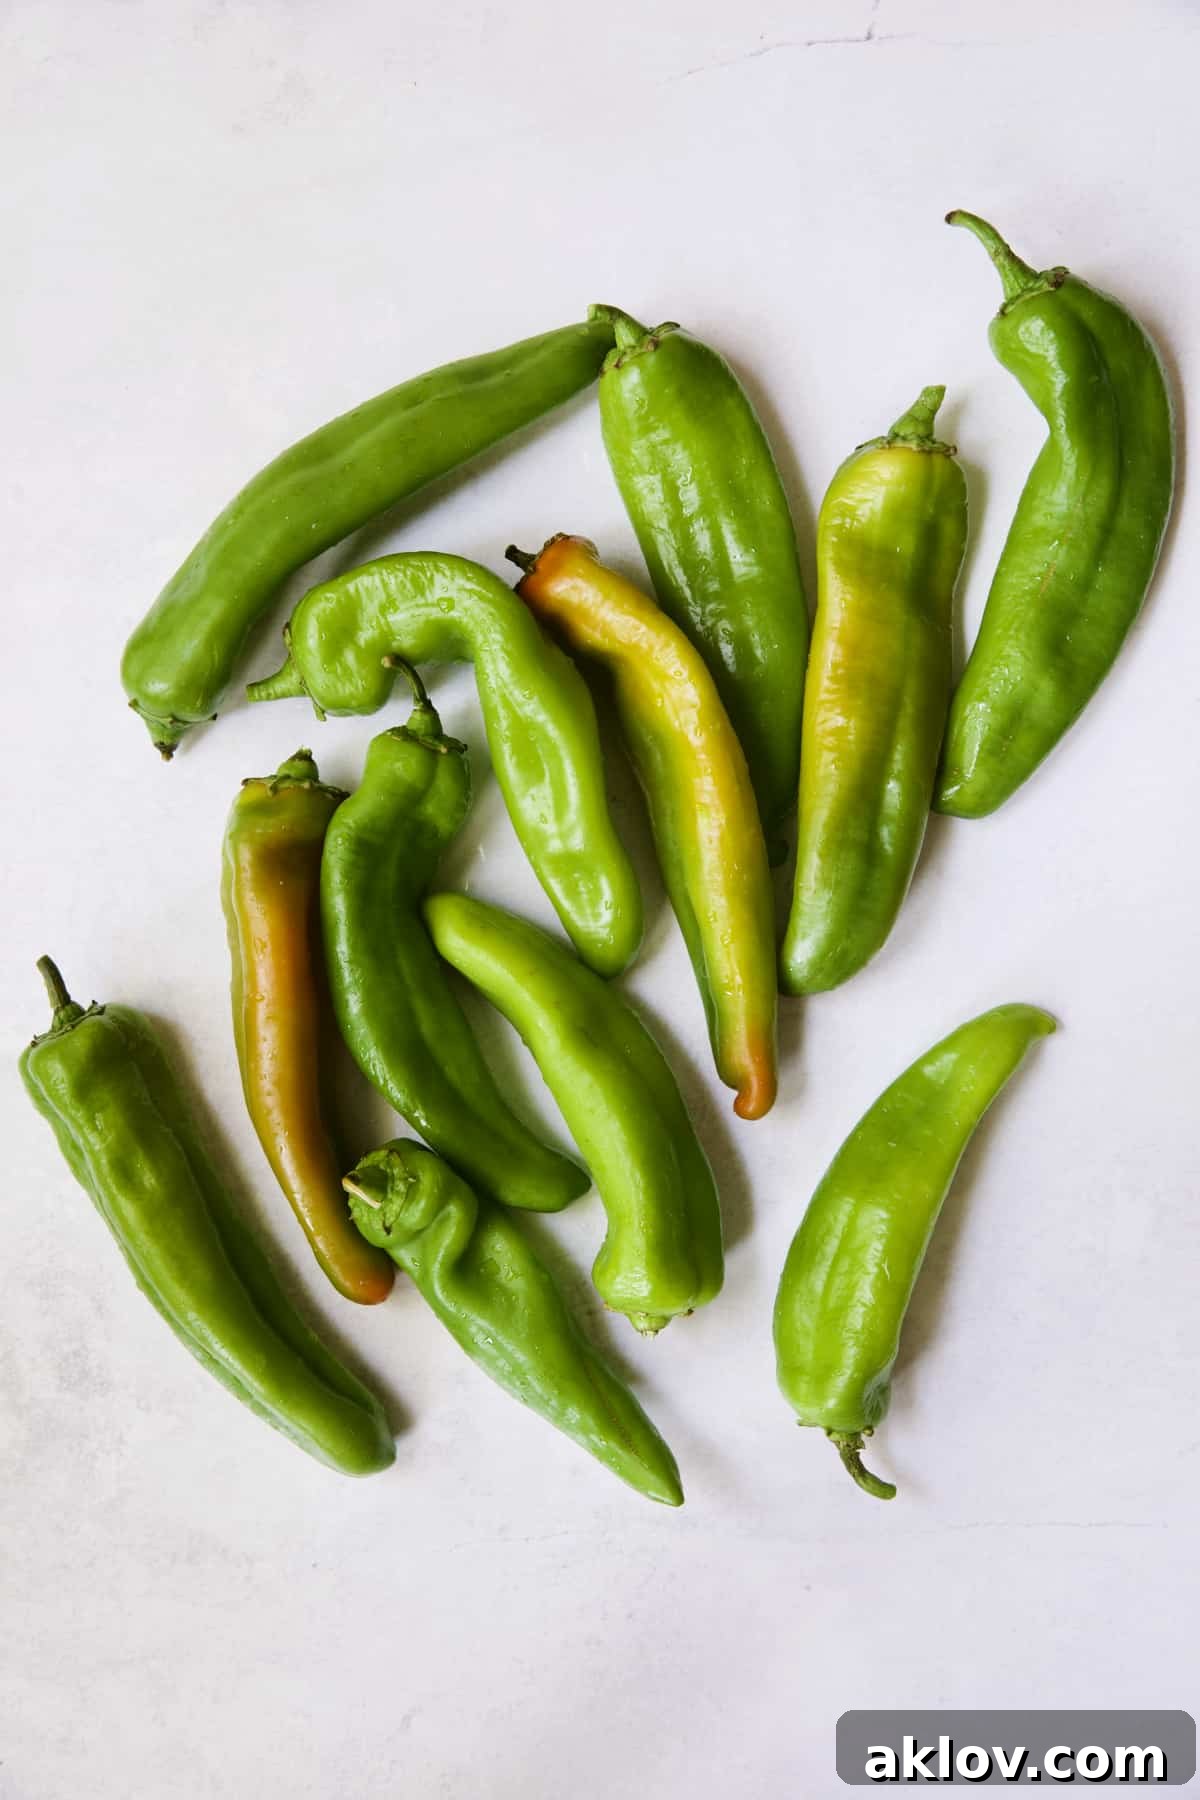
Hatch green chile is more than just a pepper; it’s a legacy. This generic name specifically refers to chiles cultivated solely within the revered Hatch Valley in New Mexico, nestled in the heart of the fertile Rio Grande agricultural region. This geographical exclusivity is what grants these chiles their coveted status, much like Vidalia onions are synonymous with Vidalia, Georgia, or Champagne with its namesake region in France. The specific soil composition and unique environmental conditions of the Hatch Valley create an ideal microclimate for growing this exceptional pepper, resulting in a flavor profile that cannot be replicated elsewhere.
This perfect synergy of soil, climate, and generations of farming expertise yields a chile with an exquisite balance of rich flavor and satisfying heat. When measured on the Scoville Heat Unit (SHU) scale, Hatch green chiles typically range from 2,000 to 8,000 heat units, which is comparable to many varieties of jalapeño peppers. To put this in perspective, milder poblano peppers usually fall between 1,000 and 2,000 SHU, while a fiery cayenne pepper can soar to a much higher range of 25,000 to 50,000 SHU. This moderate heat level makes Hatch chiles versatile enough for a wide array of palates, offering a pleasant warmth without overwhelming the dish.
When selecting your Hatch chiles, look for those that are crisp to the touch, indicating freshness. Their skin should appear smooth and unblemished, and if possible, choose chiles that are relatively straight. This uniform shape ensures more even roasting, leading to perfectly charred skin and tender, flavorful flesh. A vibrant green color is also a good indicator of quality and ripeness, promising the distinctive taste that makes Hatch chiles so celebrated.
The Magic of Roasting: Why Hatch Chiles Demand Heat
The roasting process is integral to unlocking the true essence of Hatch green chiles and is deeply embedded in their native New Mexico culture. The captivating aroma of Hatch chiles being roasted in large, propane-fueled barrel roasters, slowly spinning and filling the air with their intoxicating scent, is a cherished experience in the region. This traditional method, while impressive, serves a crucial purpose that can be replicated in your home kitchen.
Raw Hatch green chiles possess a somewhat harsh, grassy flavor that can be overpowering. Roasting them under high heat, whether in a barrel roaster, over an open flame, or in your oven, initiates a transformative chemical process. The intense heat mellows this initial harshness, allowing the chile’s inherent sweetness and complex, earthy notes to emerge. More importantly, it develops that signature smoky flavor that Hatch chiles are famous for, adding depth and character to any dish.
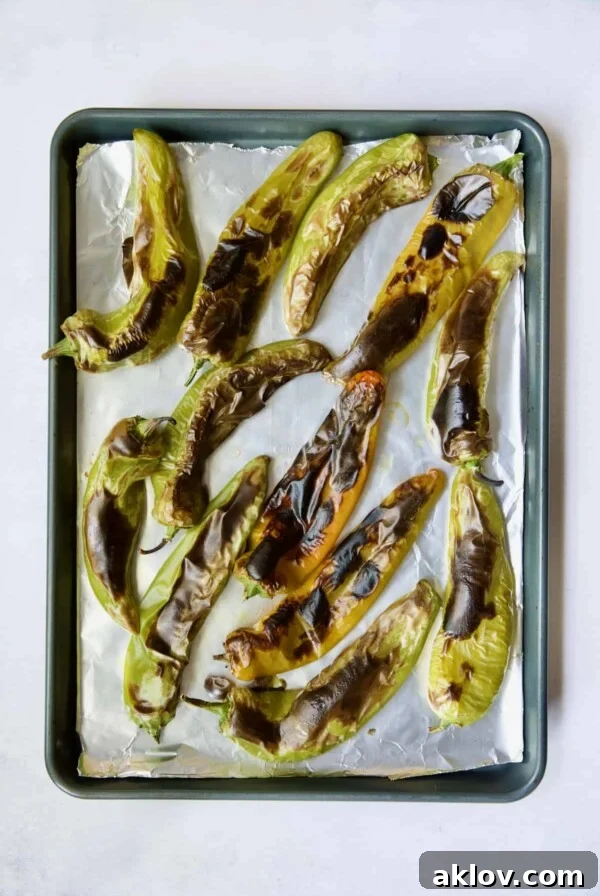
Beyond flavor development, roasting serves a practical purpose: it blackens and blisters the outer skin of the chiles. This charring makes the skin incredibly easy to remove, a vital step since the skin itself is tough and unpalatable. While you can achieve this charring on an outdoor grill, over a gas burner, or even with a kitchen torch, roasting Hatch chiles in your oven offers a convenient, hands-off approach that yields equally delicious results. It’s a simple process that brings the authentic taste of New Mexico right into your home. Let’s get ready to transform these green gems!
Step-By-Step Instructions: Roasting Hatch Green Chiles in Your Oven
Achieving perfectly roasted Hatch green chiles at home is simpler than you might think. Follow these detailed instructions to prepare your chiles for a year of flavorful meals.
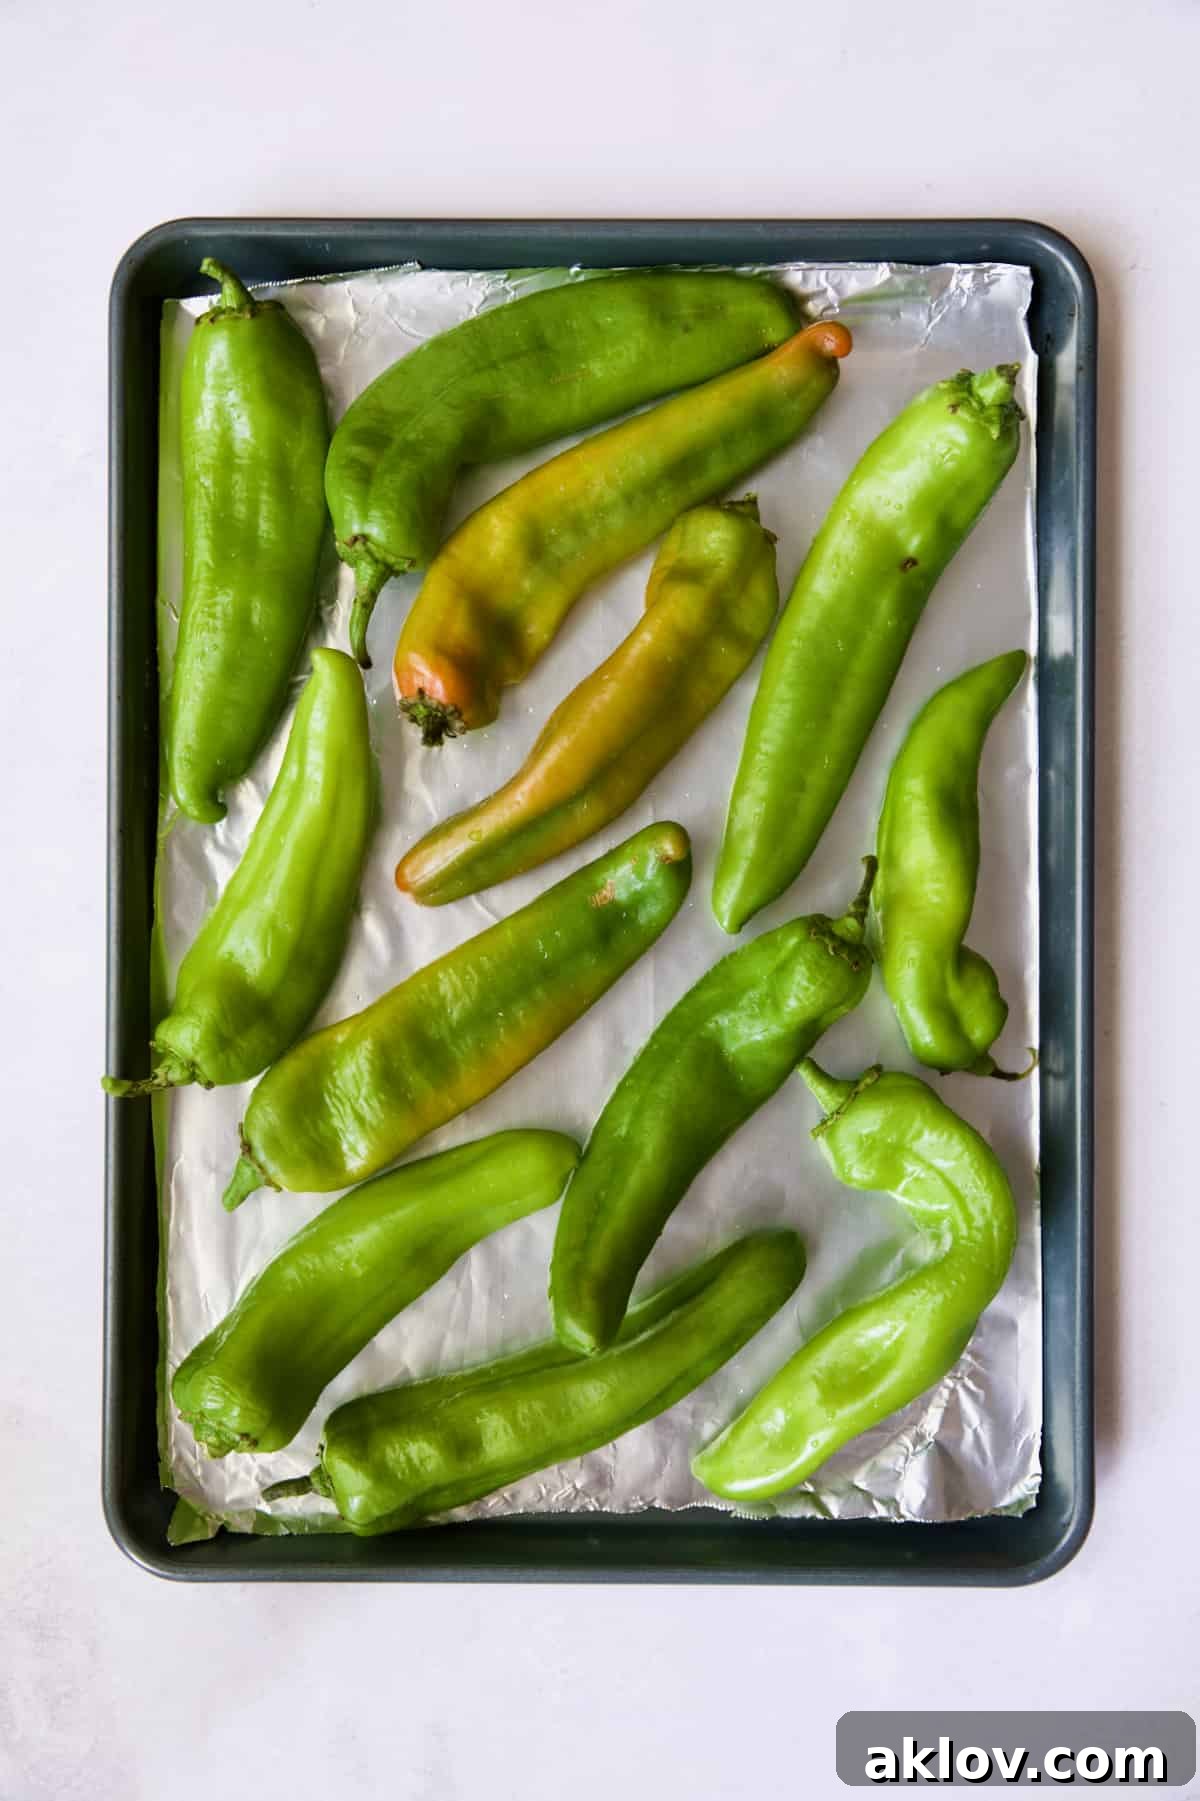
- Prepare Your Oven: Begin by preheating your oven broiler to its highest setting. Position an oven rack 6 to 8 inches away from the broiler element. This proximity is crucial for achieving the intense heat needed to properly char the chiles.
- Line Your Baking Sheet: Line a large, rimmed baking sheet with aluminum foil. This simple step is a game-changer for cleanup, catching any juices or charred bits and making post-roasting tidying up super easy.
- Vent the Peppers: Using the tip of a small paring knife, carefully poke a small hole in each chile pepper. This prevents them from bursting open during the high-heat roasting process, which can make a mess and cause uneven cooking.
- Arrange the Chiles: Spread the Hatch green chiles out in a single layer on the prepared baking sheet. Ensure that as much surface area of each chile as possible is exposed directly to the heat source. Do not overcrowd the pan; if necessary, roast in batches to ensure proper charring.
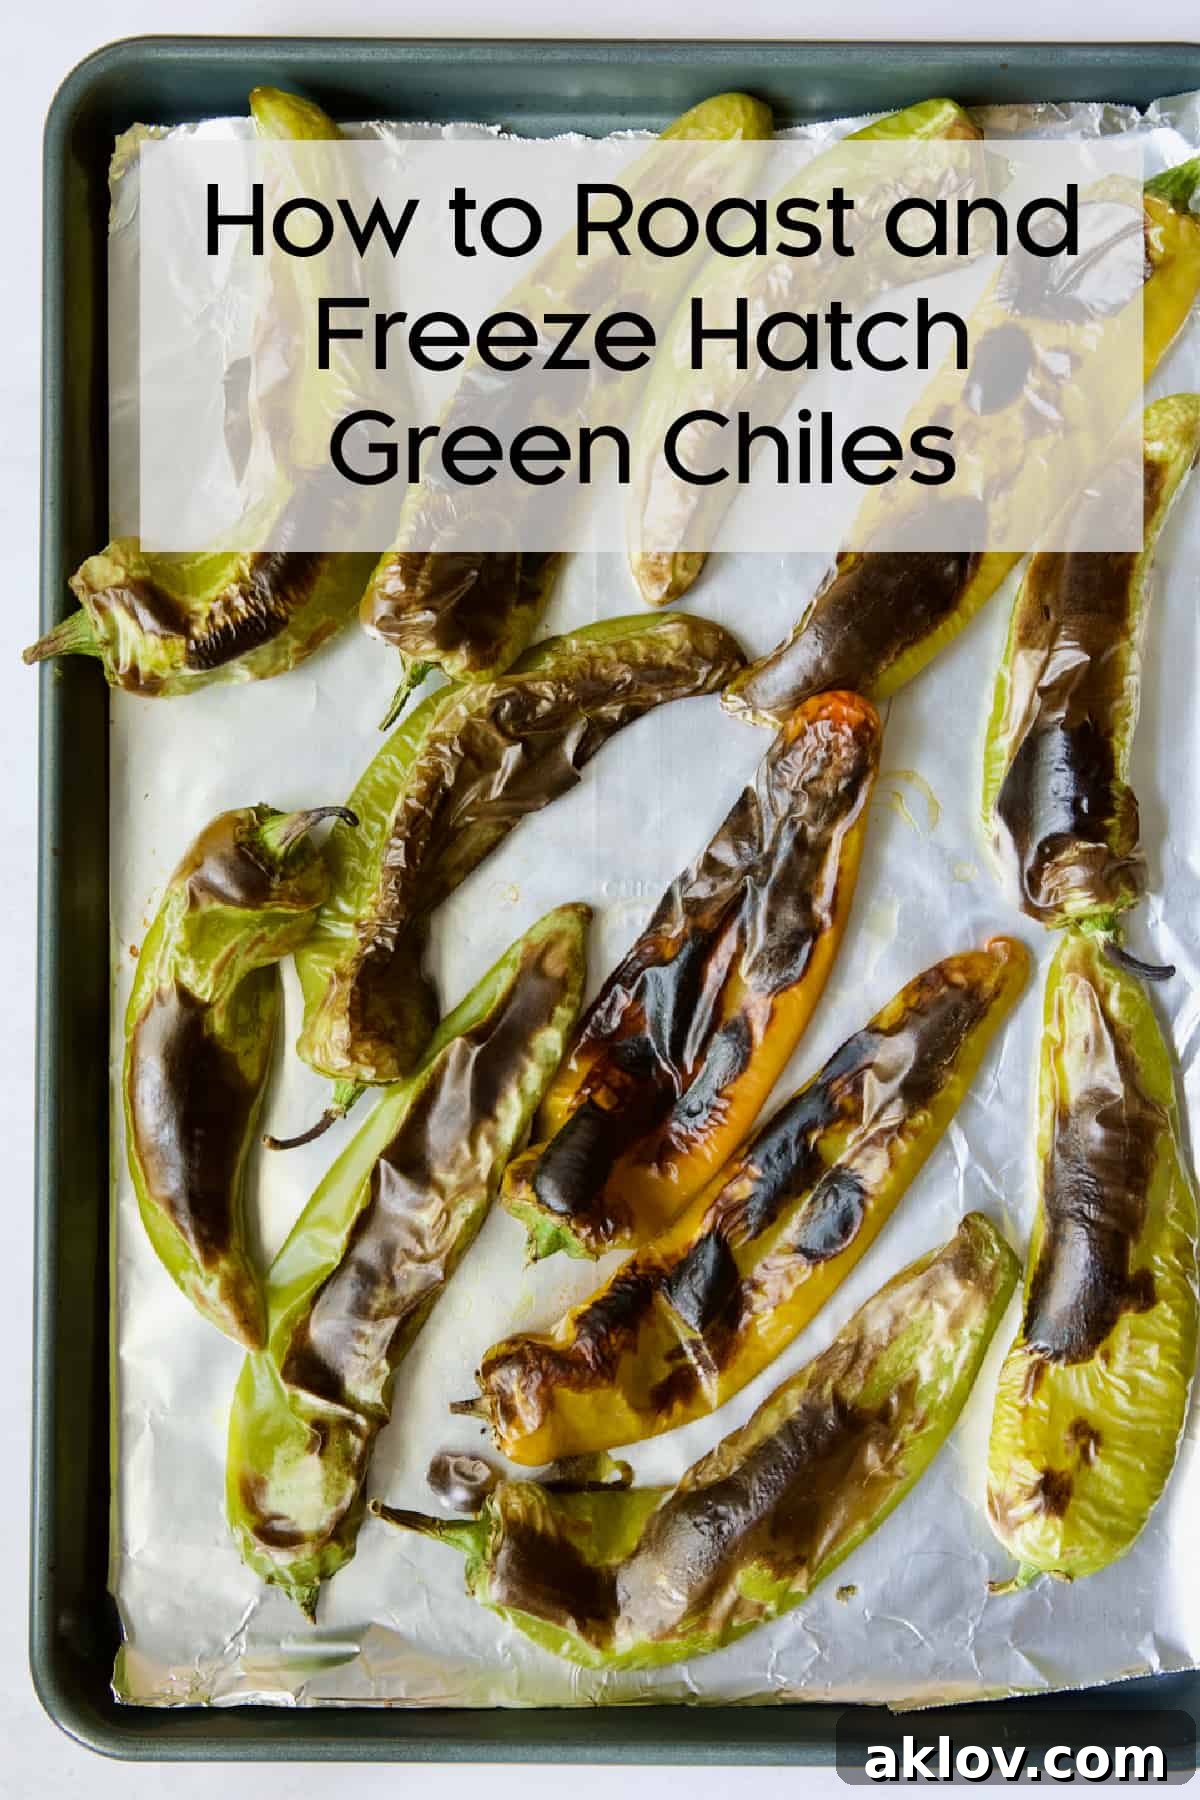
- Initial Broiling: Place the baking sheet with the chiles underneath the preheated broiler. Broil for approximately 5 to 8 minutes. It is absolutely essential to **keep a very close eye on them** during this stage. Broilers can vary greatly in intensity; mine, for example, reaches 550 degrees Fahrenheit, and the charring process is very quick. The goal is for the skin to blacken and blister, not to turn to ash.
- Flip the Chiles: Once the first side of the chiles is thoroughly blackened and blistered, use a pair of tongs to carefully flip each chile over to expose the unroasted side to the broiler.
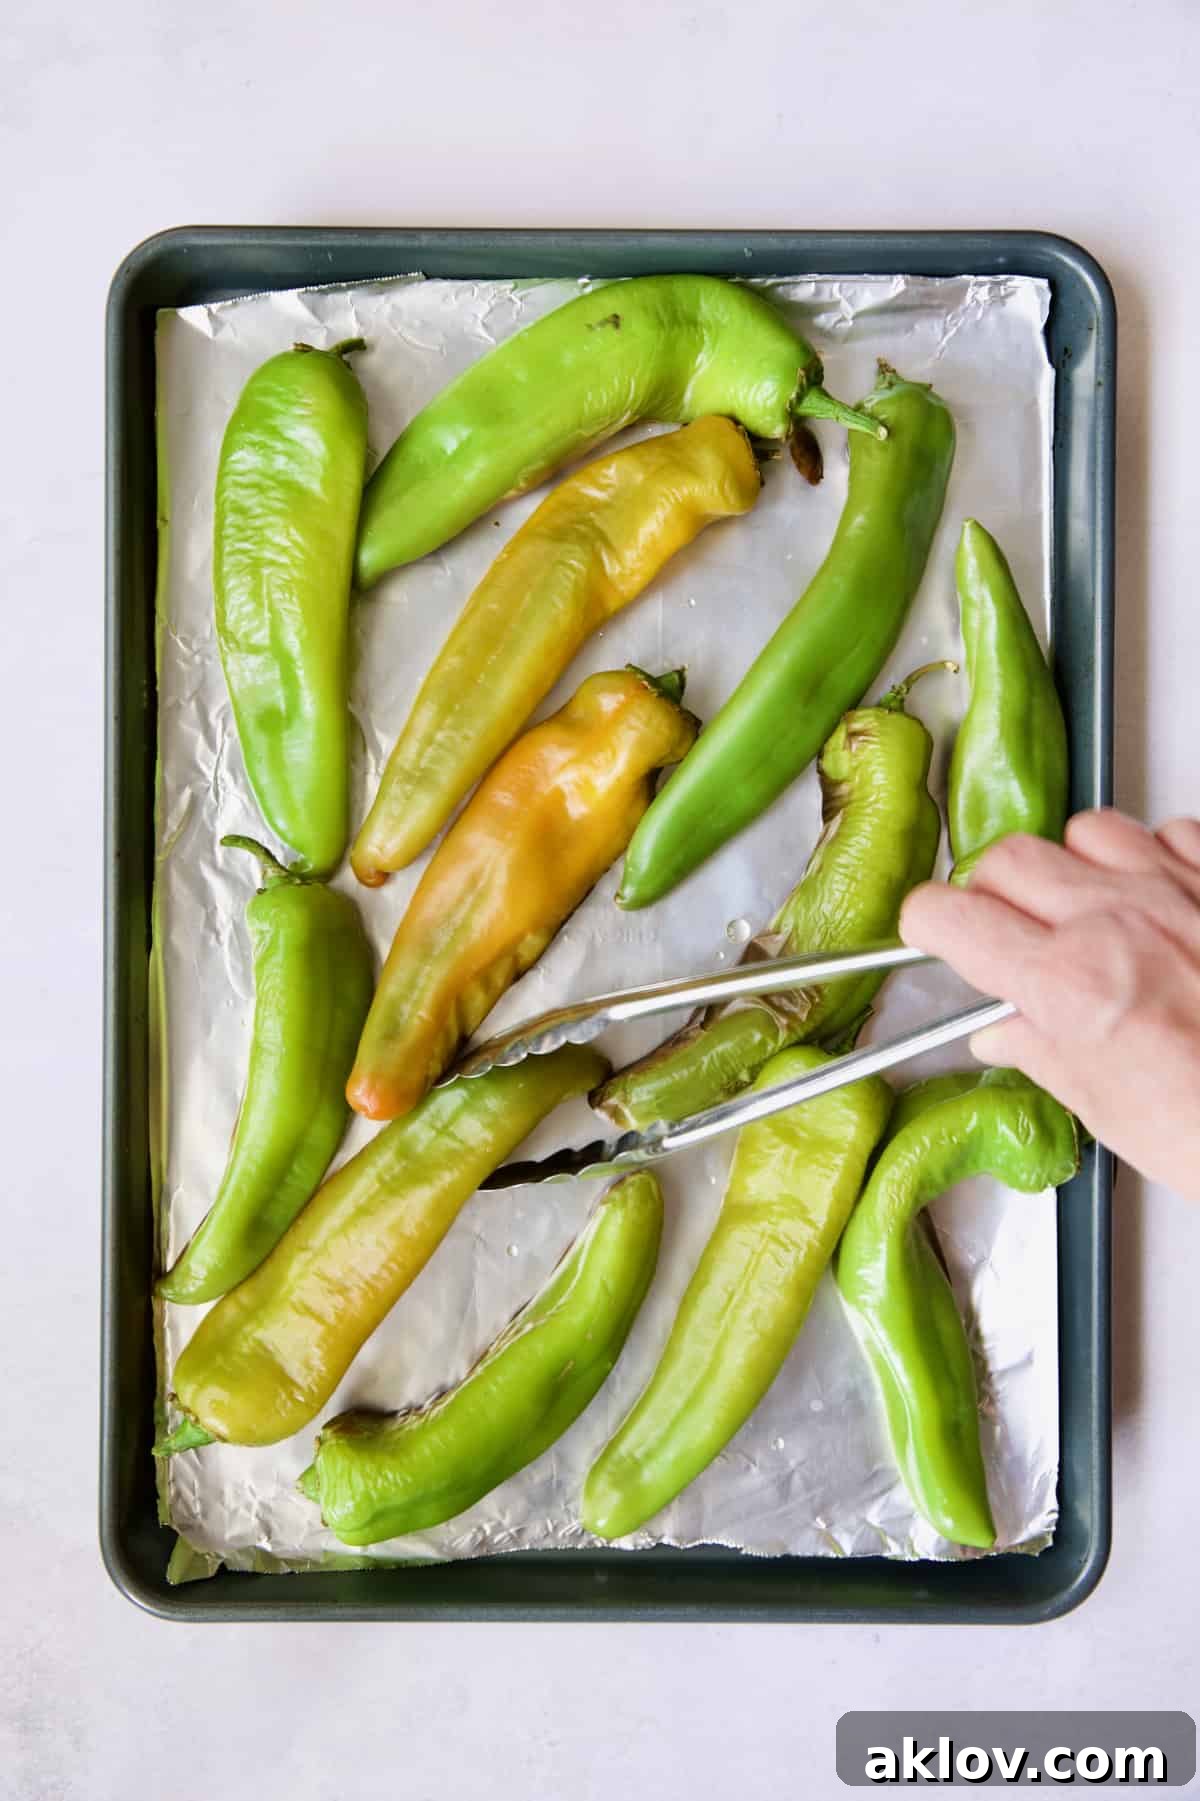
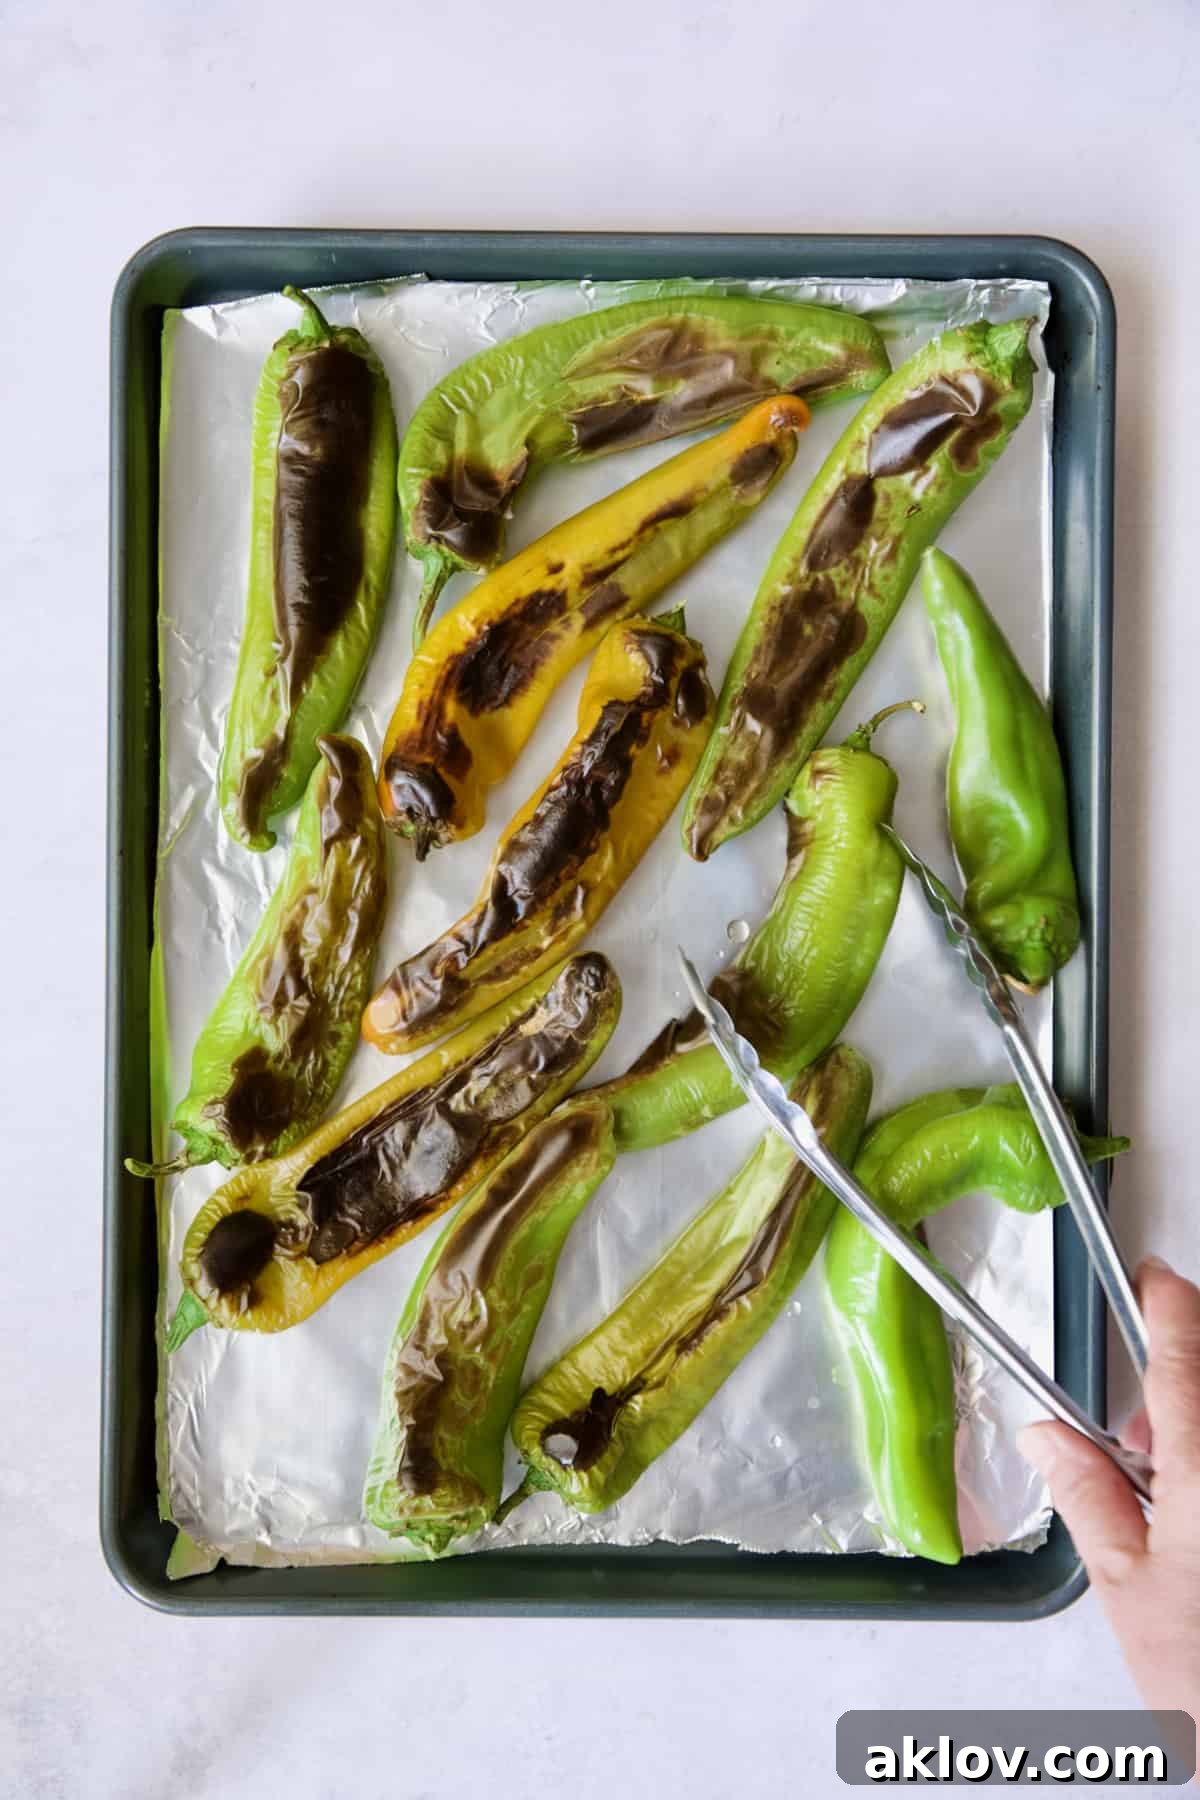
- Second Broiling: Return the pan to the oven for another 5 to 8 minutes, allowing the second side to blacken and blister. Again, monitor the chiles continuously to prevent burning. Different peppers may char at different rates, so some might need a little more or less time.
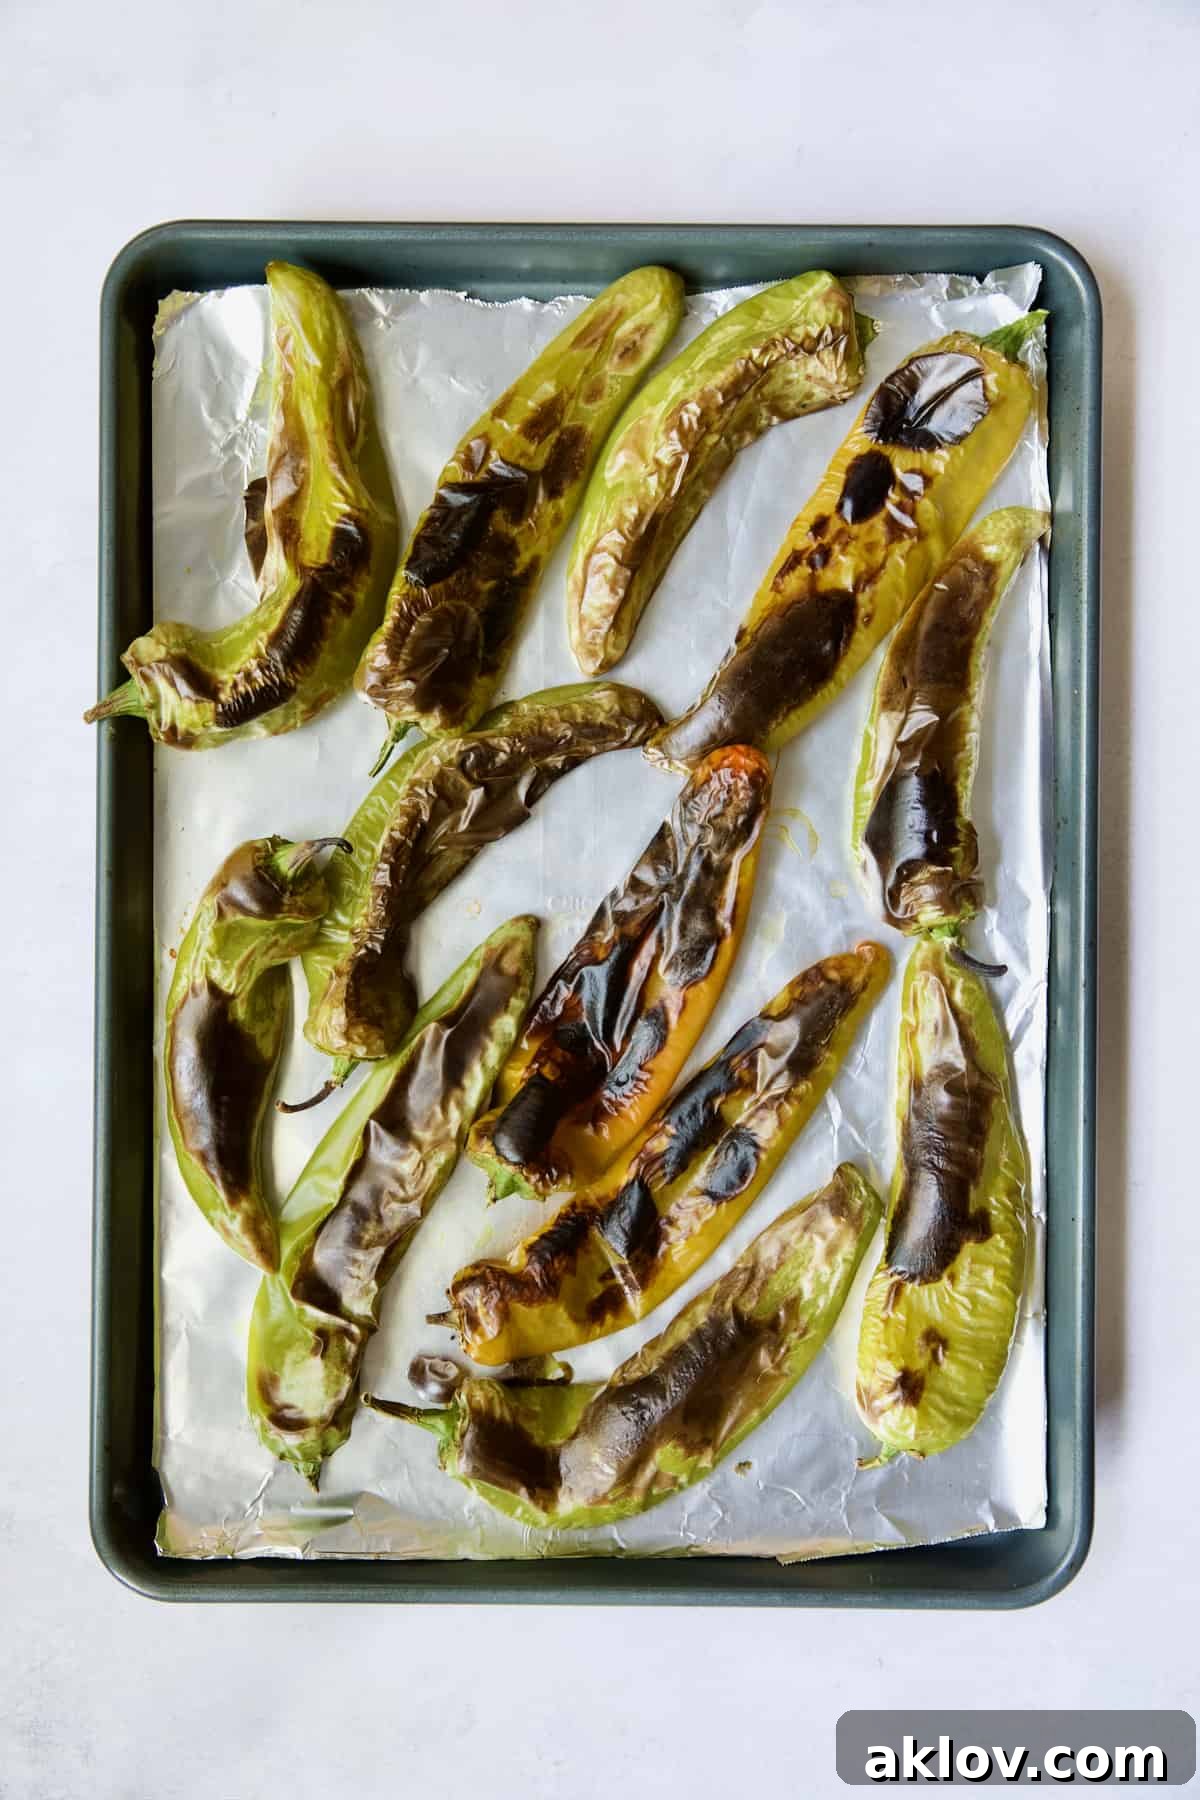
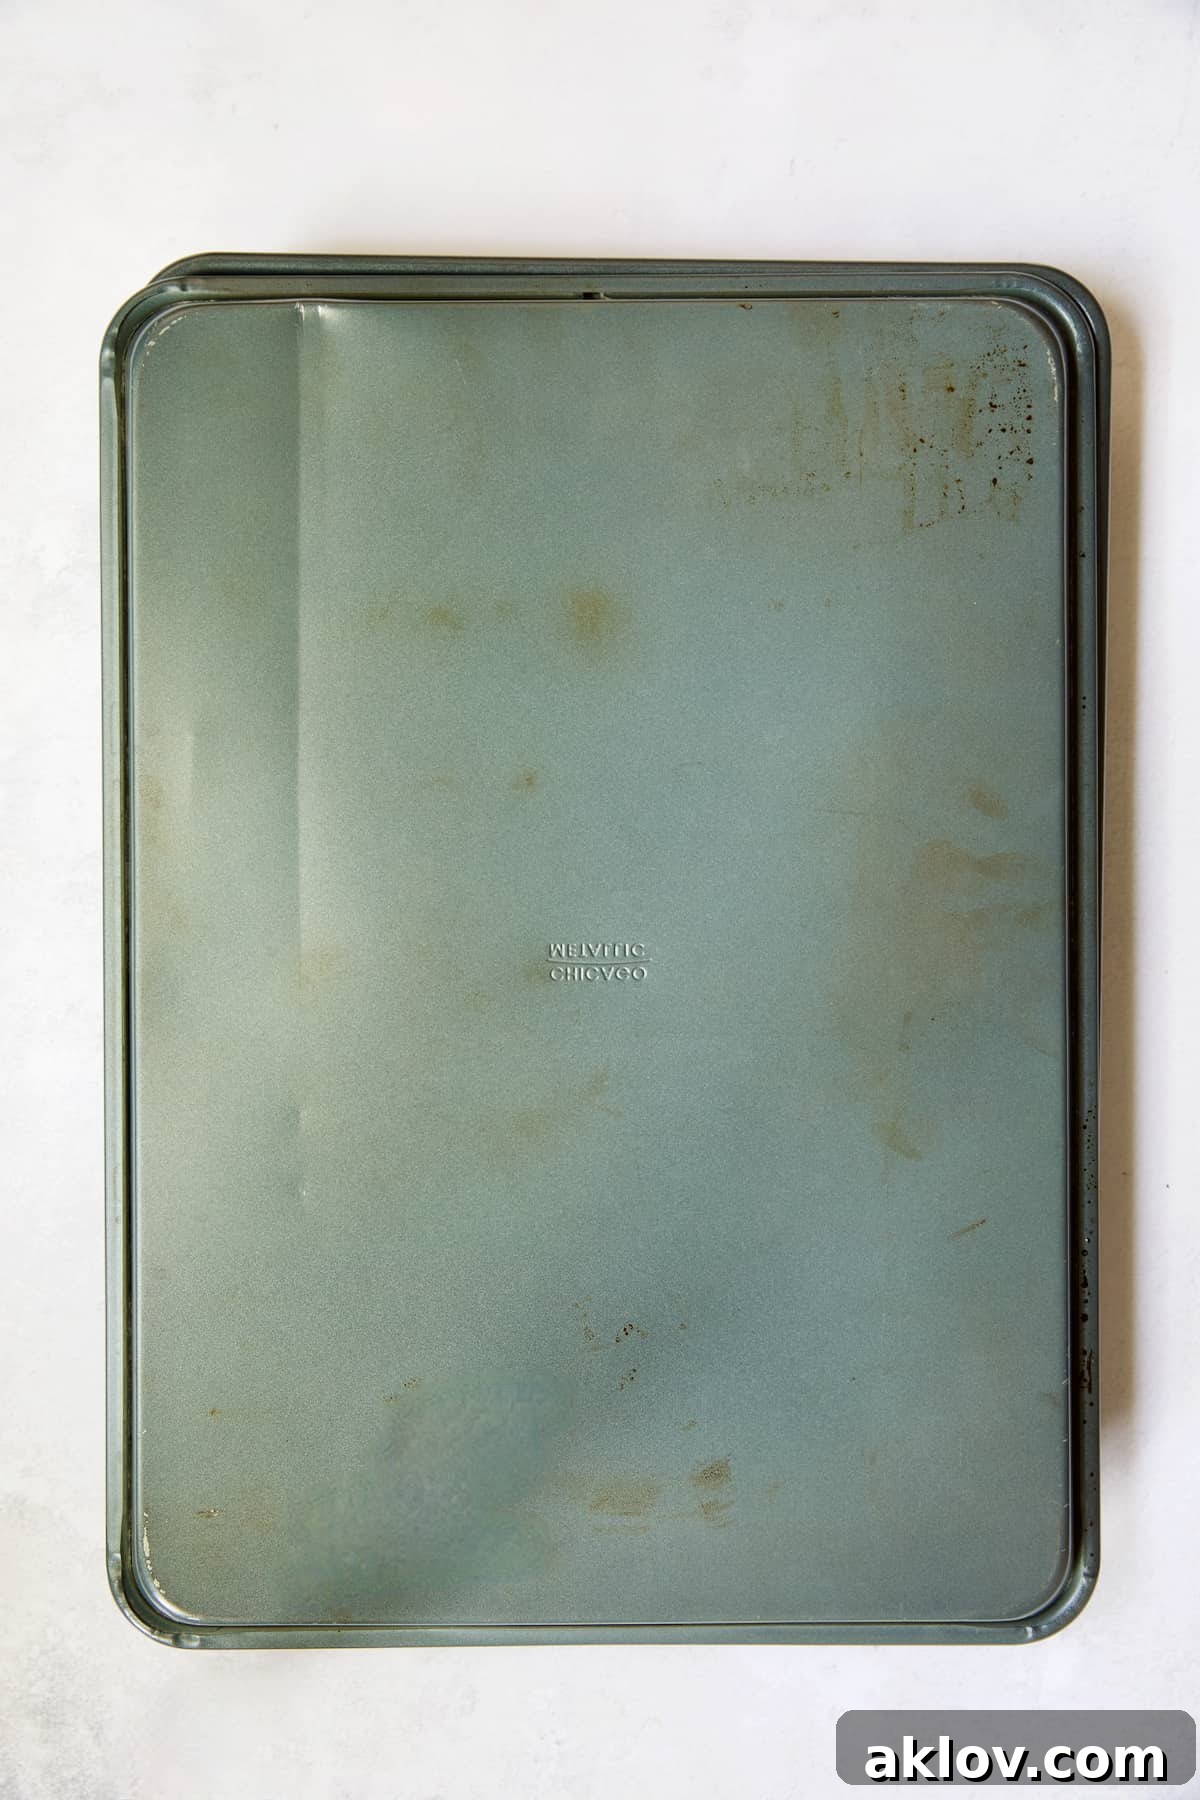
- Steam for Easy Peeling: As soon as the chiles are fully roasted, immediately place another baking sheet of the same size directly over the roasted chiles, effectively creating a sealed dome. Let this sit for approximately 15 to 20 minutes. Alternatively, you can cover the chiles tightly with aluminum foil, but the inverted sheet pan method is often more environmentally friendly and less wasteful.
- Why Steam? Because the chiles are piping hot, they will generate steam when covered. Trapping this steam between the two sheet pans or under the foil creates a moist environment that helps to separate the charred skin from the tender flesh. This process is crucial for making the chiles much easier to peel.
- Peel and Seed: Once sufficiently steamed and cooled enough to handle, proceed to peel and seed the peppers.
- Avoid Rinsing! With every fiber of your being, resist the urge to peel and seed the peppers under running water! While rinsing might seem like an easy way to remove seeds, it also washes away much of the rich, smoky flavor you worked so hard to develop. A few remaining seeds won’t hurt, unless you have specific medical reasons to avoid them entirely.
- Seeding Techniques: You can peel the skin off with your hands, and then, to remove the seeds, you can either gently scrape them out with your fingers or place the pepper on a cutting board, hold the stem end, and use a soup spoon to effectively scoop and scrape out the seeds and inner membranes. The spoon method is often preferred for efficiency and cleanliness.
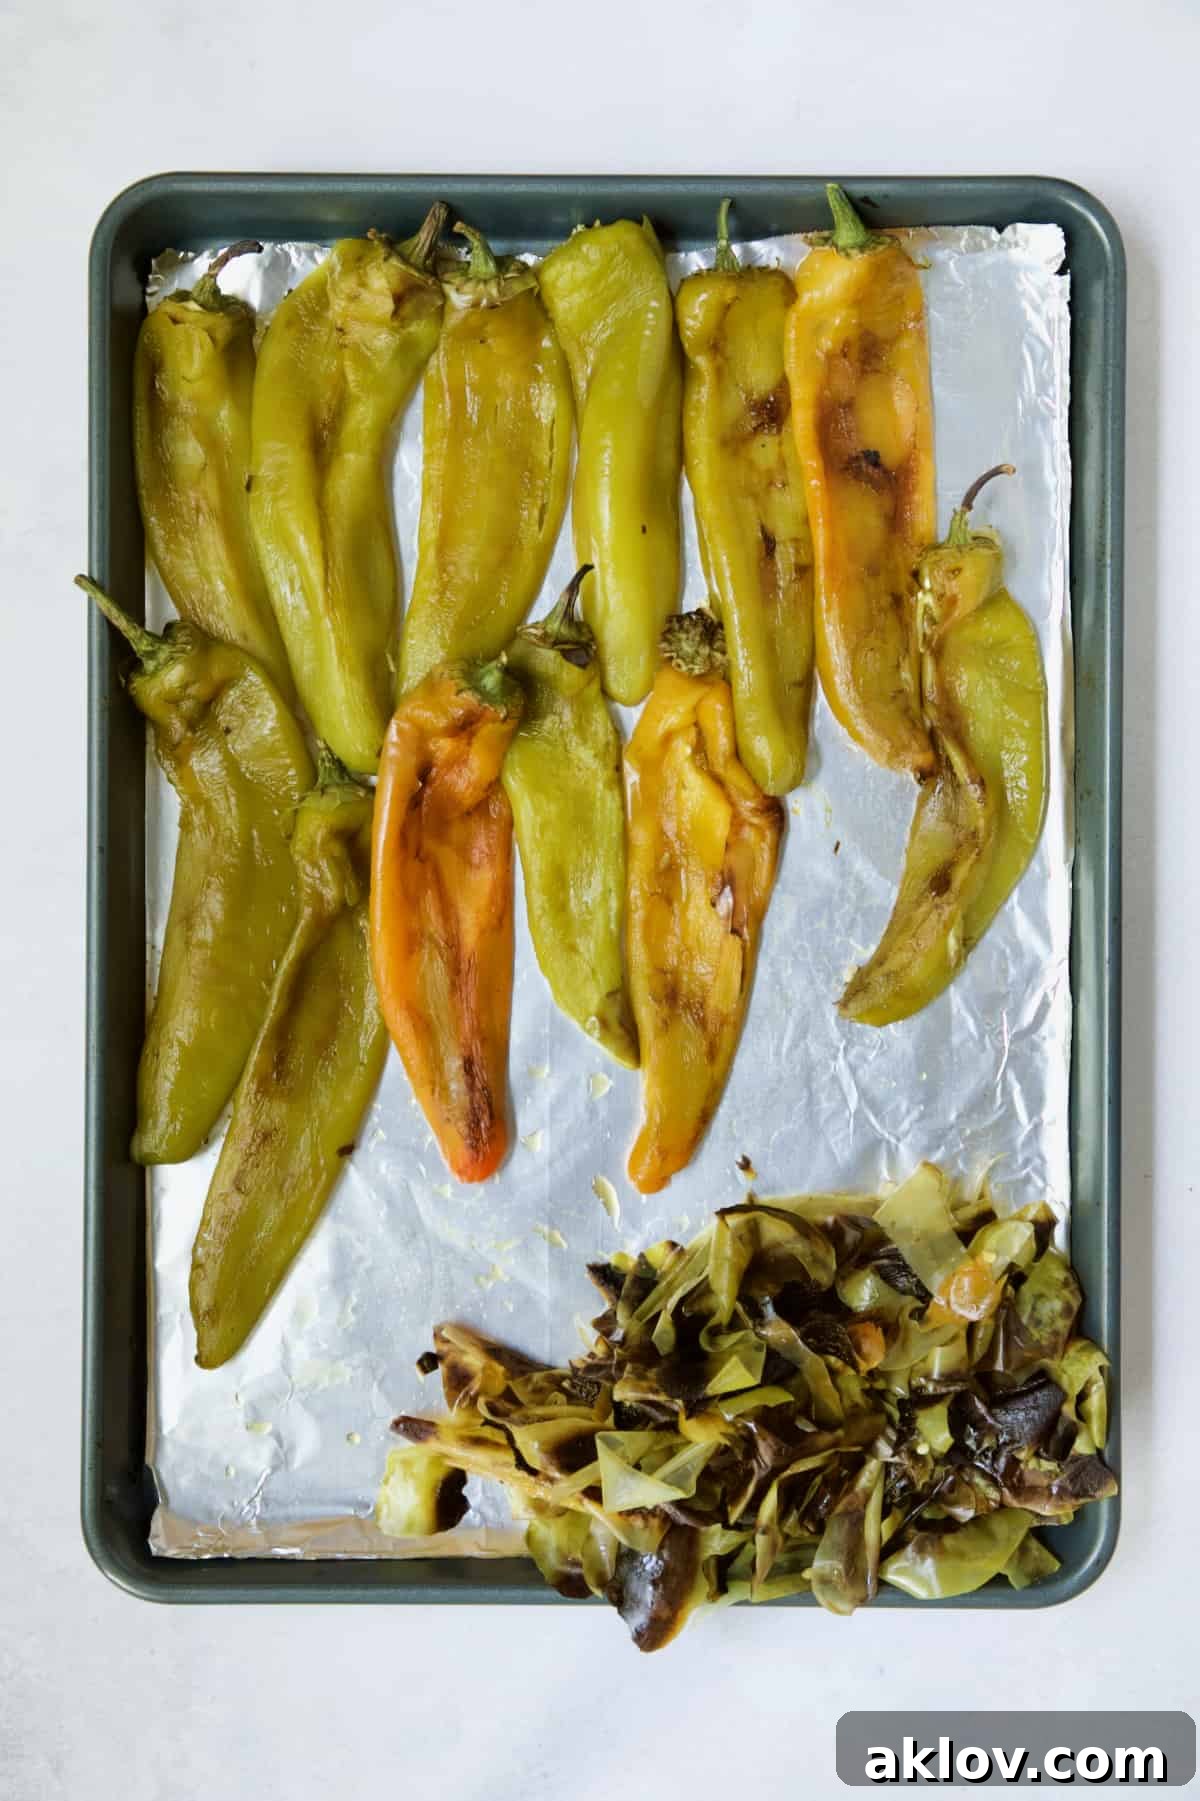
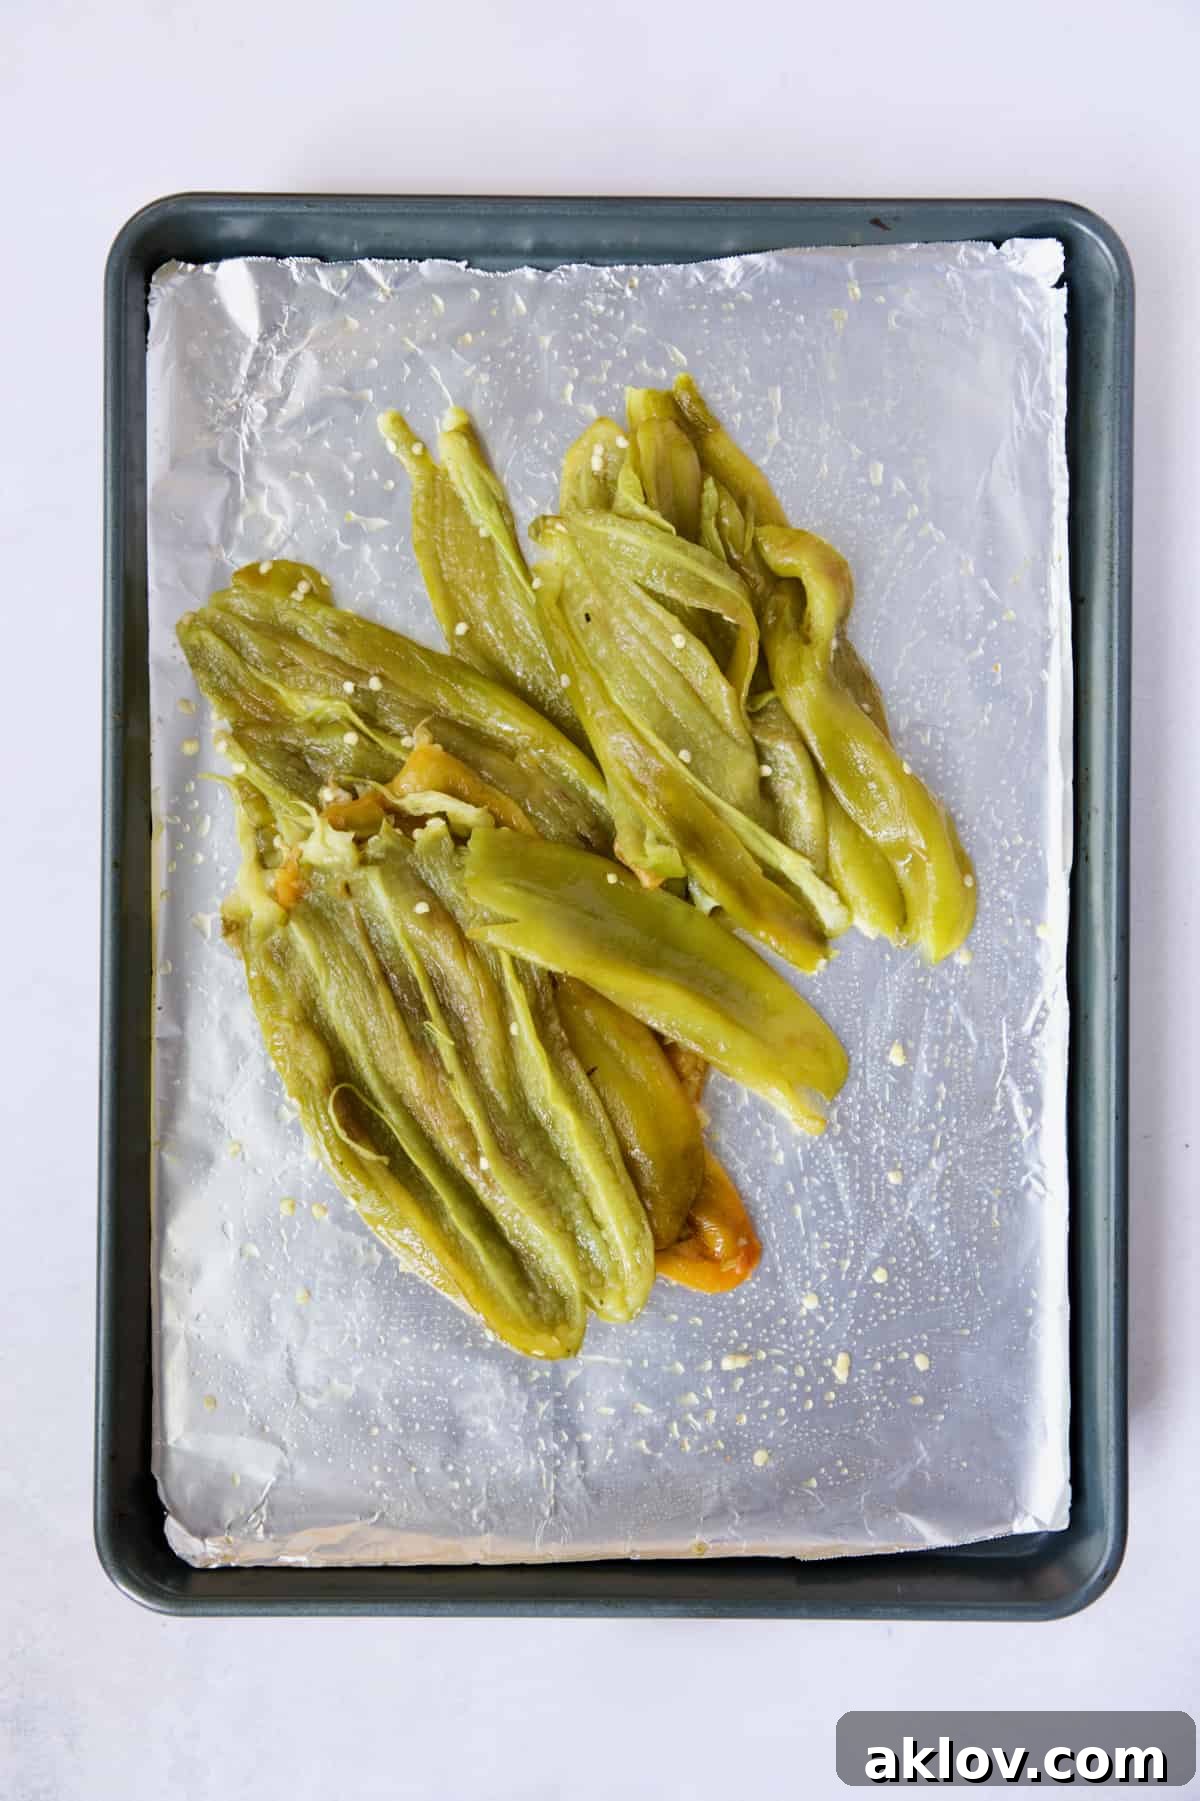
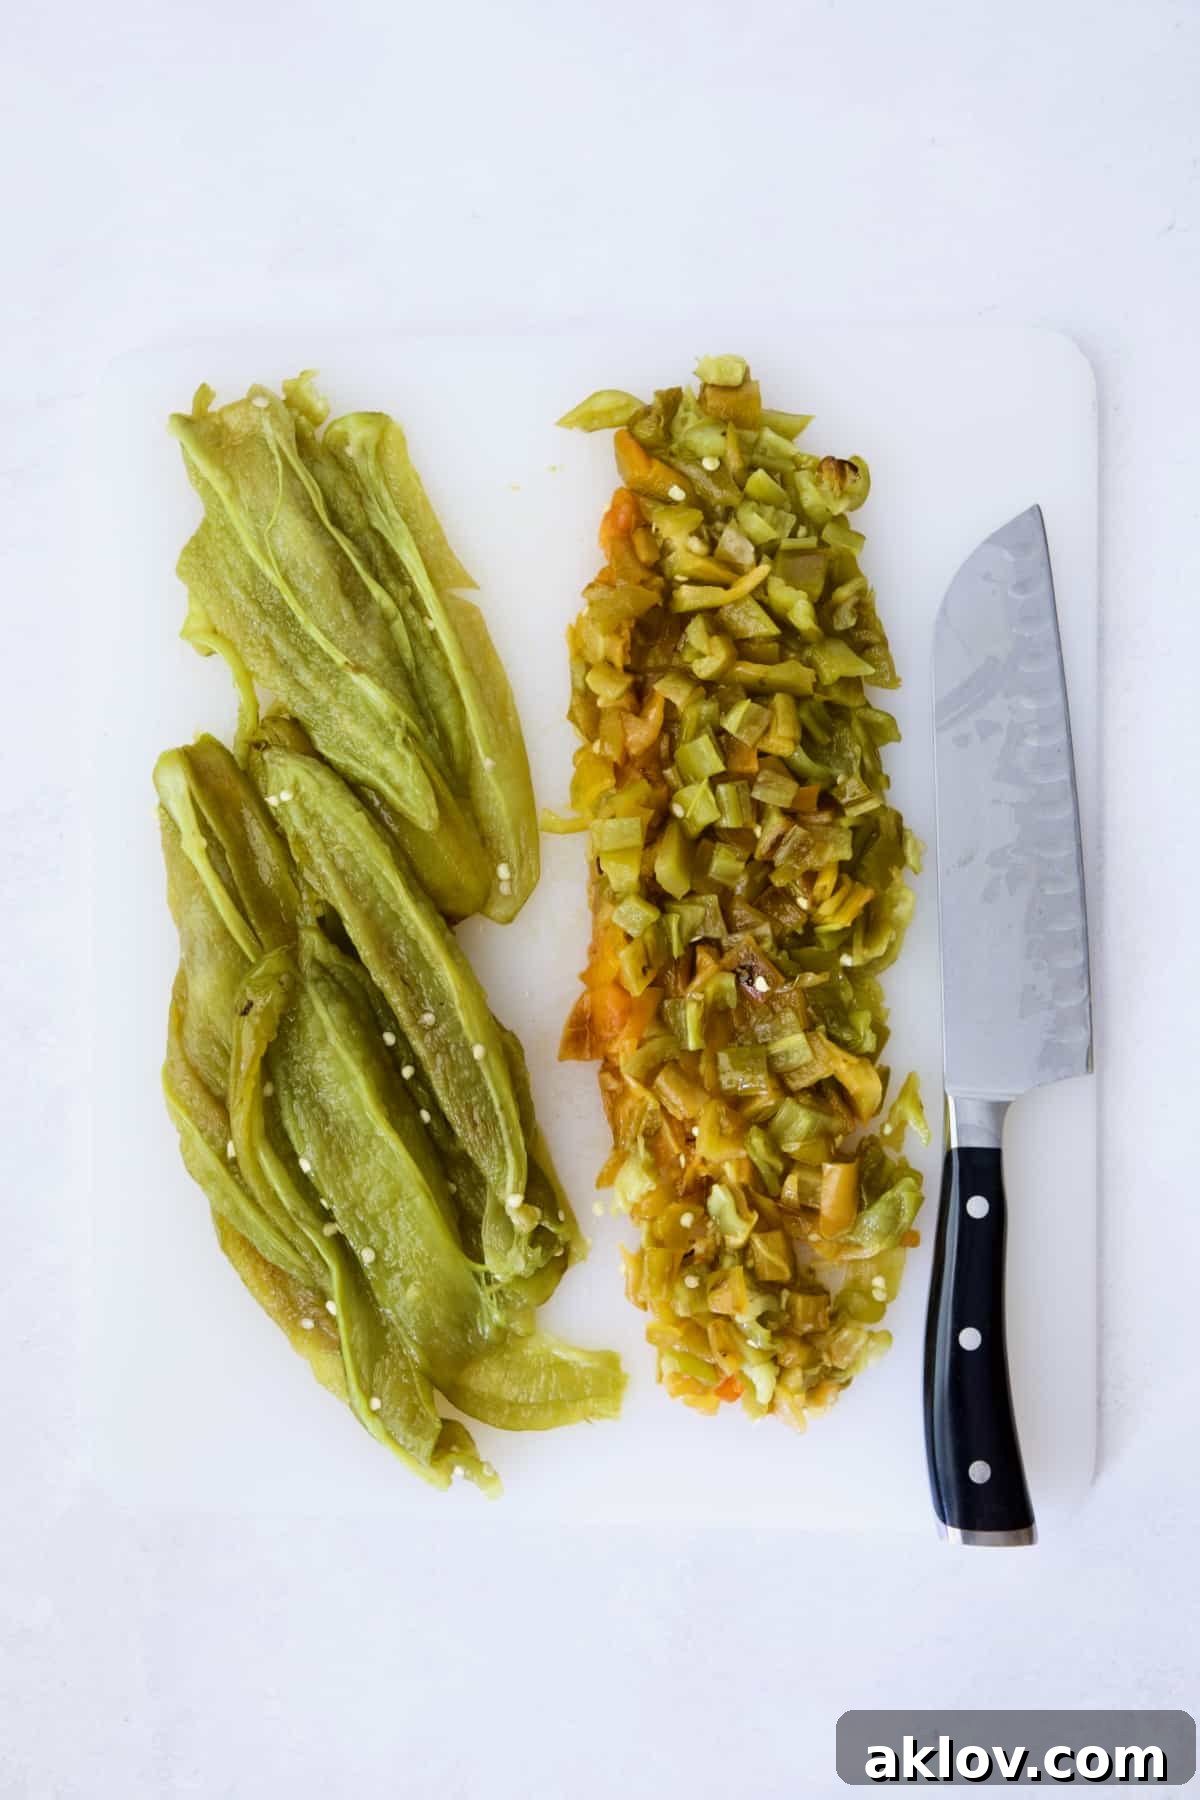
- Prepare for Storage: You have the option to freeze the chiles whole or chopped. For maximum convenience and recipe-readiness, I highly recommend chopping them before freezing. This way, you can grab exactly the amount you need for your recipe without having to thaw and chop a larger block.
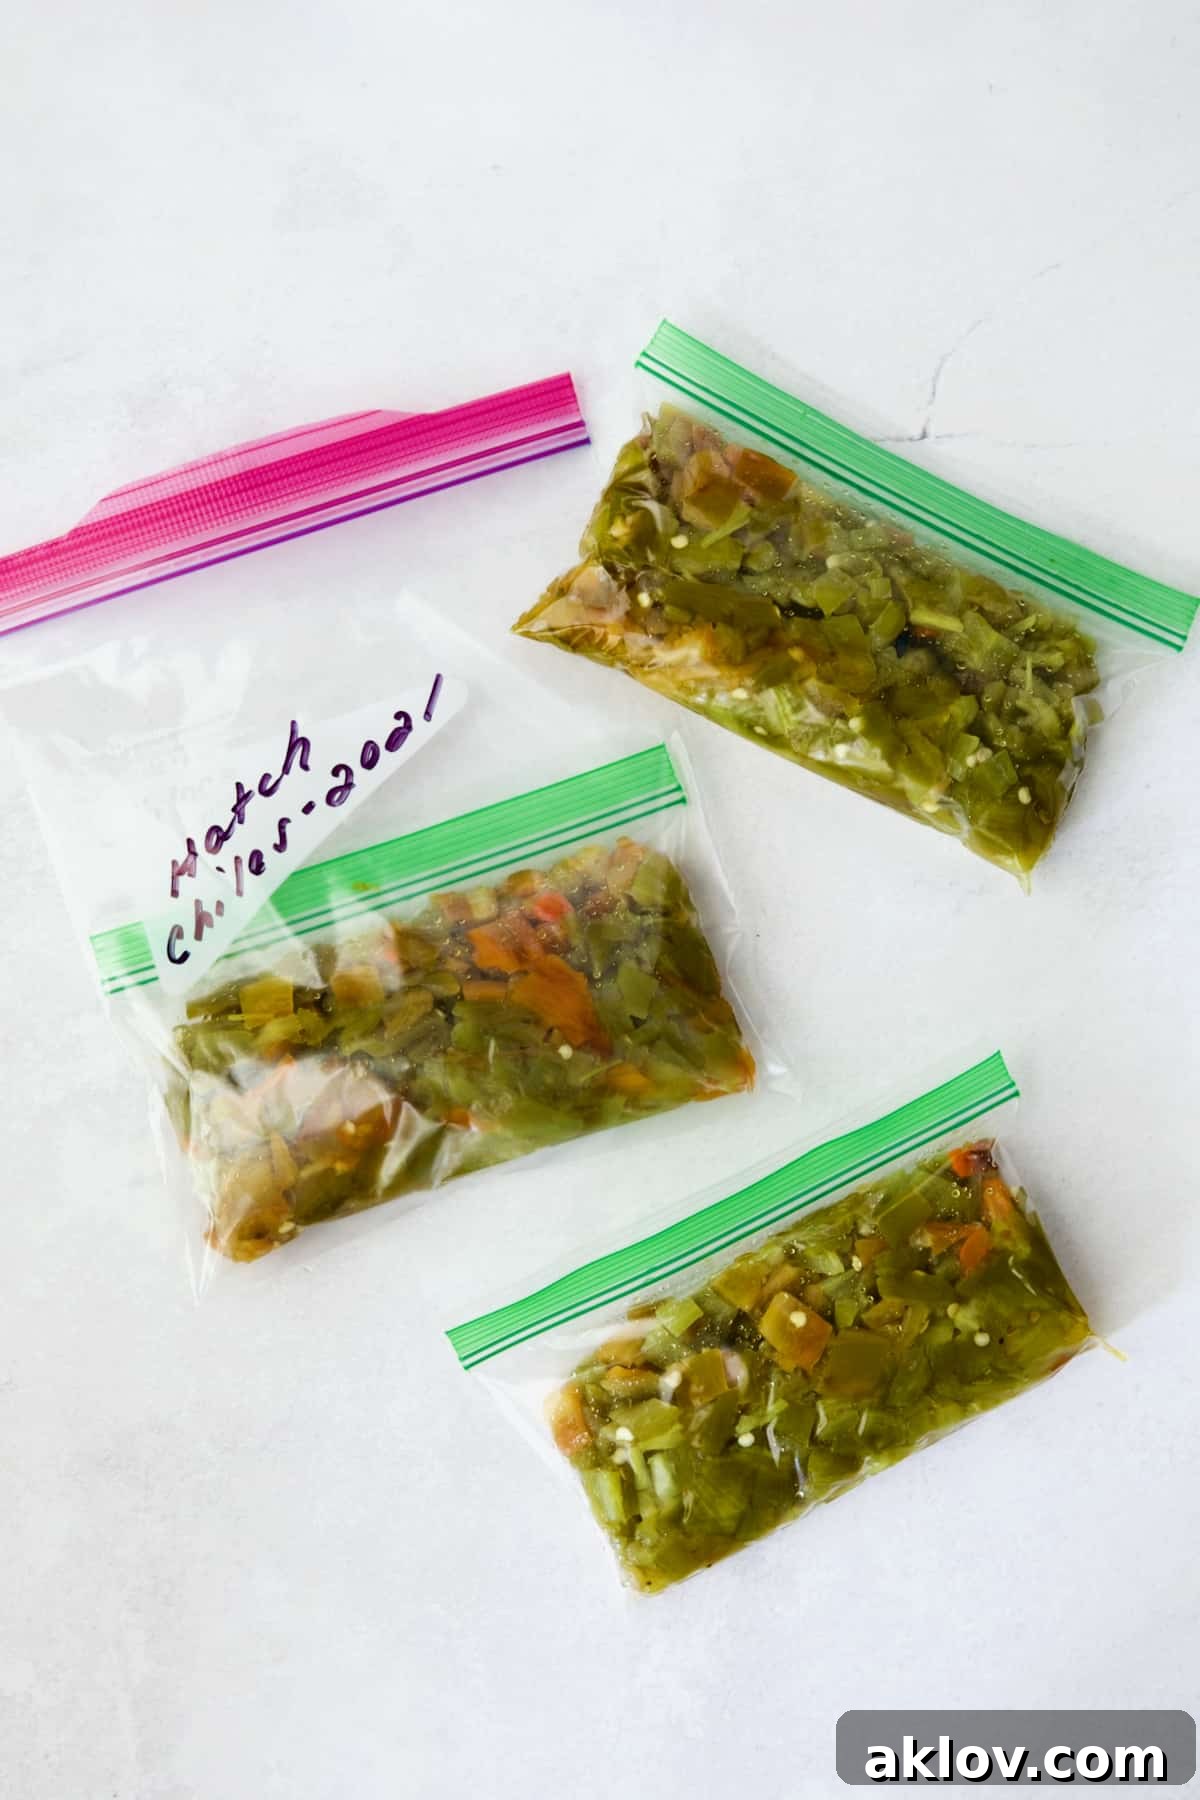
- Package and Freeze: Place the chopped or whole chiles into zipper-top freezer bags. Be sure to press out as much air as possible before sealing to prevent freezer burn. Label each bag with the date and contents. I find that using small, snack-size bags is ideal because they provide perfectly portioned amounts for most recipes, making them ready to go whenever inspiration strikes.
- Portioning is Key: Freezing chiles in smaller portions is far more practical than using large bags. If you freeze a large quantity together, you might end up with a solid “Hatch green chile brick” that requires thawing the entire amount, even if you only need a small portion. Smaller bags allow for flexibility and minimize waste.
Frequently Asked Questions About Roasting Hatch Green Chiles
Absolutely! This roasting and peeling method is highly versatile and can be effectively used for a variety of other peppers and chiles. Whether you’re working with sweet bell peppers (red, yellow, or orange), medium-heat poblano peppers, or even other types of jalapeños, the principles remain the same. The goal is to char the skin to enhance flavor and make it easy to remove, leaving you with tender, flavorful pepper flesh.
While leaving the skin on a roasted chile won’t harm you, it’s highly recommended to peel it for several reasons. The skin of a chile, especially after roasting, can be quite tough and papery in texture, which can be unpleasant to eat. If left on, it can create small, black, papery flecks throughout your dish, affecting its appearance and mouthfeel. More importantly, the steaming process after roasting makes the skin incredibly easy to remove, revealing the silky, tender flesh beneath that is much more enjoyable and integrates seamlessly into recipes.
Wearing gloves, especially disposable kitchen gloves, is a very good idea, particularly if you’re handling a batch of Hatch chiles closer to the 8,000 Scoville heat units mark. The capsaicin, the compound responsible for the heat, can irritate your skin, and touching sensitive areas like your eyes or nose after handling chiles can cause significant discomfort. While you might get away with not wearing gloves for just peeling the skin, when it comes to removing the seeds and membranes (where most of the capsaicin resides), gloves are highly recommended. If you choose to brave it without gloves, make sure to wash your hands thoroughly with soap and water multiple times immediately after handling the chiles, and be extremely careful not to touch your face or any sensitive skin until you are certain your hands are clean.
Roasted Hatch green chiles maintain their best quality and flavor for up to four months when stored properly in the freezer. Beyond this period, they are still safe to eat, but their texture and vibrancy might diminish slightly. Many enthusiasts, myself included, often find ourselves still using chiles from the previous year’s harvest when the new Hatch green chile season rolls around. They are typically still perfectly fine for cooking, perhaps just a little softer. To ensure optimal quality, always store them in airtight freezer bags or containers, pressing out as much air as possible to prevent freezer burn.
Unlock Flavor: Delicious Recipes to Make with Hatch Green Chiles!
Now that you’ve mastered the art of roasting and freezing Hatch green chiles, it’s time to put your culinary treasures to good use! Their unique smoky, earthy flavor with a kick of heat makes them an incredible addition to a wide range of dishes. Explore these fantastic recipes to experience the full versatility and deliciousness of your preserved Hatch chiles:
- Green Chile au Gratin Potatoes: A comforting classic with a spicy, Southwestern twist.
- Lima Bean and Potato Enchiladas with Hatch Green Chile Sauce: A hearty and flavorful vegetarian main course.
- Hatch Green Chile Mac and Cheese: Elevate your favorite comfort food with a smoky, cheesy kick.
- Green Chile Goat Cheese Stuffed Chicken Breasts with Cornmeal Pecan Crust: An elegant and flavorful dish perfect for entertaining.
How to Roast and Freeze Hatch Green Chiles
Carol | From A Chef’s Kitchen
20
40
1
3 portions
Equipment
-
Rimmed Sheet Pan
-
Tongs
Ingredients
- 12 Hatch green chiles
Instructions
-
Preheat broiler on HIGH and place a rack 6-8 inches from the element.
-
Line a rimmed baking sheet with aluminum foil.
-
Using the tip of a paring knife, poke a small hole in each pepper to prevent them from bursting.
-
Spread the Hatch green chiles out on the prepared baking sheet.
-
Place in the oven and broil 6-8 minutes or until blackened, keeping an eye on the chiles.
-
Flip the chiles over with tongs.
-
Return to the oven and broil 5-7 minutes on the second side until blackened.
-
Immediately place a baking sheet of the same size over the chiles and let rest for approximately 15-20 minutes.
-
Peel and seed the chiles. Chop and place into snack-size zipper-top bags and freeze or use in your favorite recipe within 3-4 days.
Notes
For best results, use within 3-4 days in your favorite recipe or freeze in small bags or containers for up to 4 months.
Recipe updated 8-10-25 to include a reader tip to poke a small hole in each pepper to prevent them from bursting.
Nutrition
Calories: 49kcal
Carbohydrates: 12g
Sodium: 599mg
Fiber: 6g
Sugar: 6g
Vitamin C: 22mg
Nutritional values are automatically calculated using unbranded products and are estimates only. Actual results may vary based on ingredients used and portion sizes. Adjust as needed for dietary restrictions, allergies, or health concerns.
 Like this? Leave a comment below!