
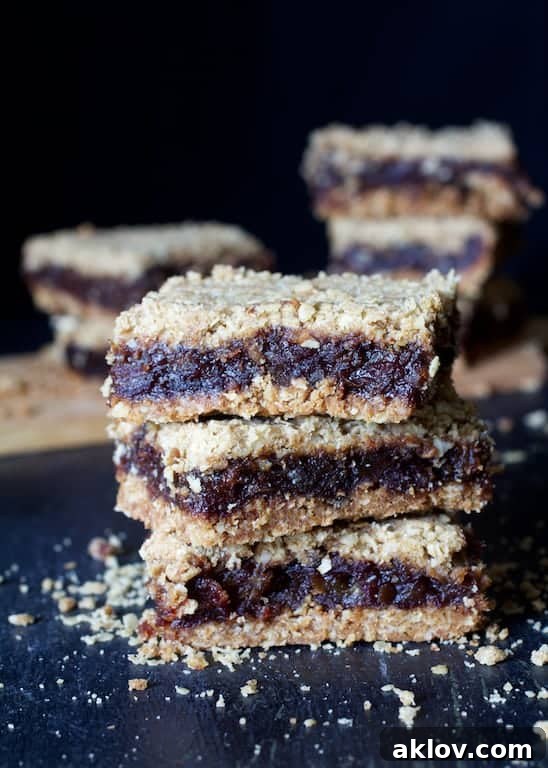
Step into a world of timeless flavor with our Healthier Date Bars, a delightful reinterpretation of a beloved classic. These chewy, sweet, and utterly satisfying bars have charmed generations, and our updated recipe brings them into the modern kitchen with a focus on wholesome ingredients without sacrificing that irresistible taste. If you’re searching for a treat that feels both nostalgic and refreshingly good for you, look no further than these healthier date bars.
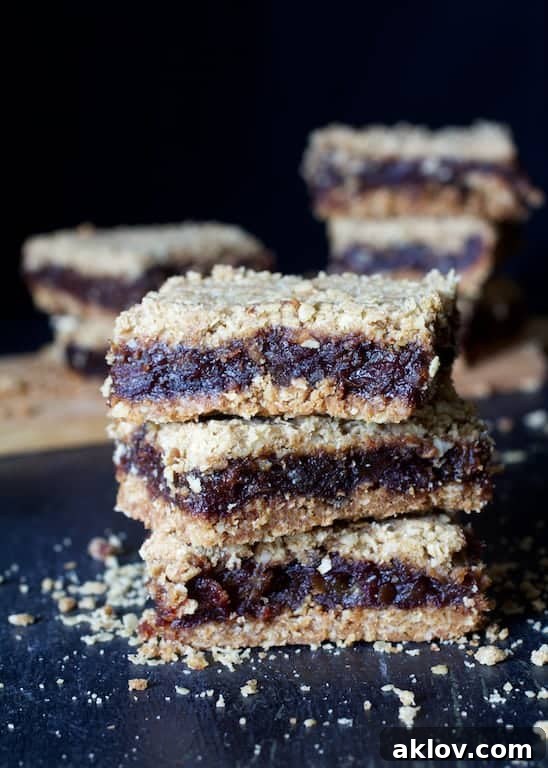
The Heartfelt Inspiration: A Legacy of Flavor and Family Love
Every great recipe often carries a story, and for these date bars, the story begins with a truly special woman: Grandma Langhoff, affectionately known as Viola. Though I never had the pleasure of meeting her, her spirit lives on through the delicious traditions she left behind. Imagine a love so profound that even after a lifetime together, Grandpa Louie would embrace her so tightly her glasses would get pushed up – a testament to a goddess in human form, as I’m told. Grandpa Louie himself was quite a character, full of life and zest, much like the vibrant memories they shared.
My first encounter with Grandma Langhoff’s date bars wasn’t directly from her kitchen, but from my husband’s. He’s an exceptional baker, a talent I deeply appreciate given my own lack of enthusiasm for it. He was busy preparing a medley of baked goods for his employees during Christmas, and among them were these unassuming date bars. Initially, my reaction was a less-than-enthusiastic “Eww.” Dried fruits, in general, weren’t my culinary passion. Raisins, prunes, even sun-dried tomatoes often gave me pause. Fruitcake? Don’t even start.

But something magical happened with Grandma Langhoff’s date bars. After my husband’s baking spree, a few pieces remained, and curiosity (or perhaps the tantalizing aroma) got the better of me. I tried one, then another, and found myself utterly captivated. I couldn’t stop eating them! This unexpected love affair with dates deepened when I later tasted Medjool dates, which struck me as pure, natural candy. For someone who isn’t usually drawn to baking or elaborate desserts, I adore a sweet finish to a meal. Dates quickly became my go-to, allowing me to satisfy that craving while feeling like I was making a genuinely good choice for myself.
It was on a recent trip to Costco that the inspiration truly solidified. Spotting large, 3-pound bags of organic dried, pitted dates, I knew it was time to recreate Grandma Langhoff’s legendary chewy date bars. However, as is often my nature, I couldn’t simply follow a recipe to the letter. I wanted to pay homage to Viola’s original while infusing it with a modern, more healthful twist. The goal was to update these timeless treats, making them a touch more nourishing without compromising their classic charm.
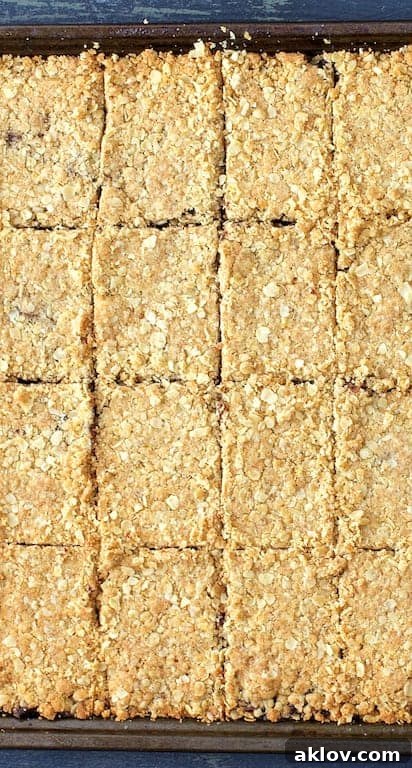
Embracing a Healthier Twist: Thoughtful Ingredient Swaps
Our journey to “healthier” doesn’t mean a complete dietary overhaul, but rather a series of thoughtful, impactful ingredient swaps. It’s about making small, sustainable changes that collectively contribute to a more wholesome experience without sacrificing flavor or texture. These date bars are a perfect example of how minor adjustments can elevate a beloved treat.
- **Coconut Sugar for Refined White Sugar:** In Viola’s original date filling, regular white sugar was the sweetener of choice. For our healthier version, we opted for coconut sugar. This natural alternative offers a nuanced, less intensely sweet flavor, and importantly, boasts a lower glycemic index. This means it causes a slower, steadier rise in blood sugar compared to traditional white sugar, making it a more mindful choice for managing energy levels.
- **Whole Wheat Flour for All-Purpose Flour:** While we retained the comforting richness of brown sugar in the crust and topping, we made a significant nutritional upgrade by substituting a cup of whole wheat flour for a cup of white flour. Whole wheat flour retains the entire grain – the bran, germ, and endosperm – providing more fiber, protein, and essential nutrients than refined white flour. This simple swap boosts the fiber content, which aids digestion and helps you feel fuller longer, transforming a simple bar into a more substantive snack.
These Healthier Date Bars aren’t claiming to be a miracle health food, but they perfectly embody the philosophy that small, conscious changes in our everyday diet can lead to significant long-term benefits. They offer a more nutrient-dense profile, making each bite a little less guilt-inducing and a lot more satisfying.
Crafting Your Date Bars: Essential Tips for Perfect Results
Making date bars is a straightforward process, but a few expert tips can elevate your experience and ensure a consistently delicious outcome:
- **The Art of Chopping Dates:** Grandma Langhoff, I imagine, chopped her dates by hand, a laborious but loving exercise. Back in her day, food processors were likely non-existent or financially out of reach. While a food processor can certainly speed up the process today, hand-chopping remains a perfectly viable option. Be warned: it’s a sticky business! However, the effort is well worth it for the rustic texture it creates in the filling.
- **Always Double-Check “Pitted” Dates:** A crucial piece of advice for any recipe calling for pitted dates: never fully trust the label. Despite packages stating “pitted,” it’s incredibly common to find an errant pit or two. Always take the time to quickly check each date before chopping or adding it to your saucepan. This simple step prevents an unpleasant surprise and potential dental woes!
- **Room Temperature Butter:** For the crust and topping, ensure your butter is at room temperature, but not overly soft or melted. It should be pliable enough to mix easily but still hold its shape. This consistency is key to achieving that perfectly crumbly yet cohesive texture.
- **Even Spreading:** When spreading the date filling, take your time to ensure an even layer over the bottom crust. This guarantees that every bite of your date bar has a balanced ratio of chewy date goodness and crumbly topping.
- **Don’t Overbake:** Keep a close eye on your date bars during the last few minutes of baking. You’re looking for a light golden color, not a deep brown. Overbaking can dry out the filling and make the crust too hard, diminishing the bars’ signature chewy texture.
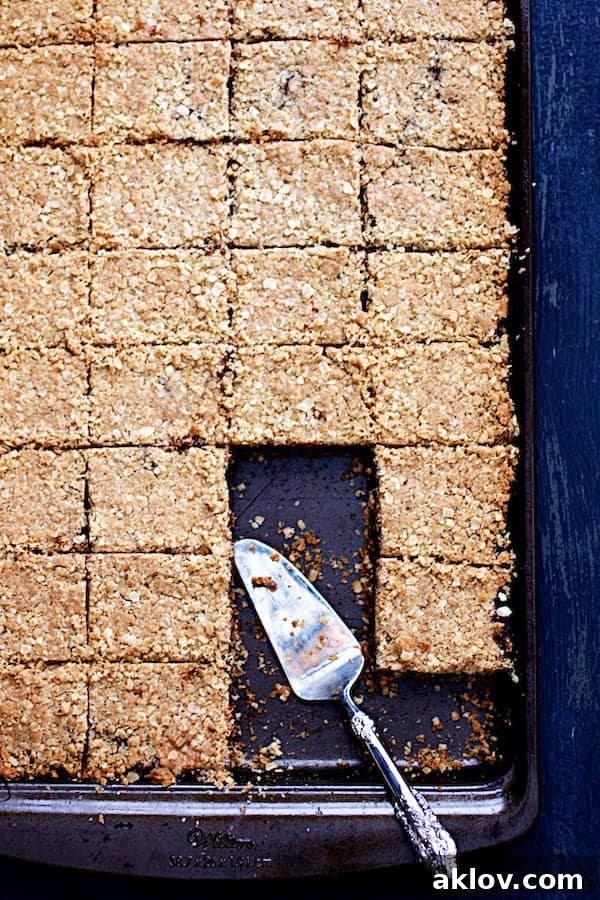
Serving and Storage Suggestions
These Healthier Date Bars are incredibly versatile. They make a wonderful addition to a brunch spread, a comforting afternoon snack with coffee or tea, or a lighter dessert after any meal. For an extra touch of indulgence, consider serving them with a dollop of Greek yogurt or a sprinkle of cinnamon. The bars are also wonderfully freezer-friendly, making them perfect for meal prepping your treats! Once cooled, cut them into individual portions and store them in an airtight container in the freezer for up to three months. Thaw at room temperature or gently warm for a quick, wholesome bite.
More Dessert Recipes You’re Sure to Love!
If you enjoyed crafting these healthier date bars, explore our other delightful dessert creations that blend flavor with thoughtful ingredients:
- Raspberry Ricotta Cake with Almonds
- Easy Raspberry Coffee Cake
- Whole Wheat Ancho Chili Brownies
- Grilled Pound Cake with Balsamic-Macerated Strawberries and Mascarpone Cream
- Blueberry Crumble Bars
- Chocolate Avocado Mousse
- Personal Pumpkin Pies
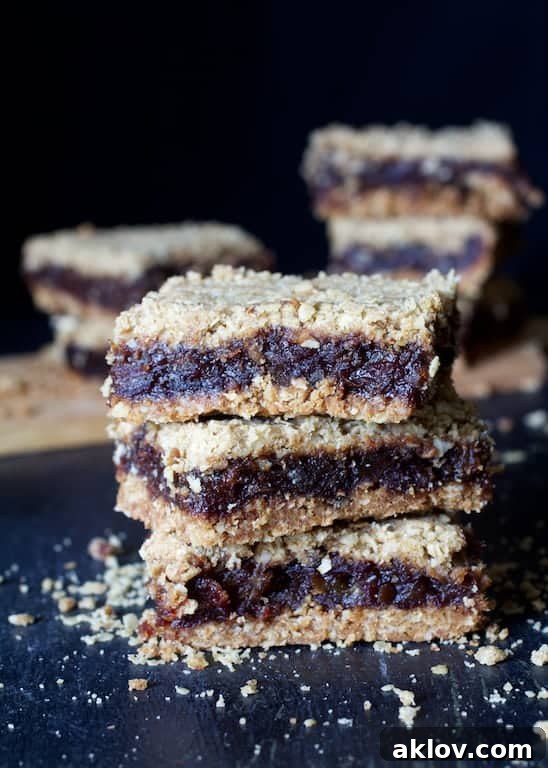
Healthier Date Bars
Equipment
-
Wusthof Chef Knife
-
Cutting Board
-
Saucepan
-
Glass Mixing Bowls
-
Rimmed Sheet Pan
Ingredients
- 2 pounds unsulfured pitted dates, 5 1/2 to 6 cups, finely chopped
- 1 cup water
- 1 cup coconut sugar
- 2 1/2 cups quick oatmeal
- 2 sticks salted butter, room temperature but not soft
- 1 cup all-purpose flour
- 1 cup whole wheat flour
- 1 cup brown sugar
- 1 teaspoon baking soda
Instructions
-
Preheat oven to 350 degrees Fahrenheit (175 degrees Celsius).
-
Using the wrappers from the butter, lightly butter a 15 x 11-inch (approximately) rimmed baking sheet. Set aside.
-
Combine chopped dates, water, and coconut sugar in a medium saucepan.
-
Bring the mixture to a boil, then reduce the heat to low and simmer for 5-7 minutes, or until the dates break down into a soft, spreadable consistency. Remove from heat and let cool completely to room temperature.
-
In a large mixing bowl, combine the quick oatmeal, room temperature butter, all-purpose flour, whole wheat flour, brown sugar, and baking soda. Mix these ingredients together with your hands until the mixture forms a coarse, crumbly texture.
-
Press half of the crumbly crust mixture firmly and evenly into the bottom of the prepared baking sheet.
-
Carefully spread the cooled date filling evenly over the pressed bottom crust. Then, sprinkle the remaining half of the crumb mixture over the top of the date filling. Gently press the topping onto the date mixture so it adheres well.
-
Bake for 25 to 30 minutes, or until the top crust achieves a beautiful light golden-brown color. Allow the bars to cool completely in the pan before cutting into squares or rectangles.
Notes
TIPS:
- Chopping dates can be sticky but ensures a great texture.
- Always double-check “pitted” dates for stray pits before use.
Nutrition
Nutritional values are automatically calculated using unbranded products and are estimates only. Actual results may vary based on ingredients used and portion sizes. Adjust as needed for dietary restrictions, allergies, or health concerns.
 Like this? Leave a comment below!