
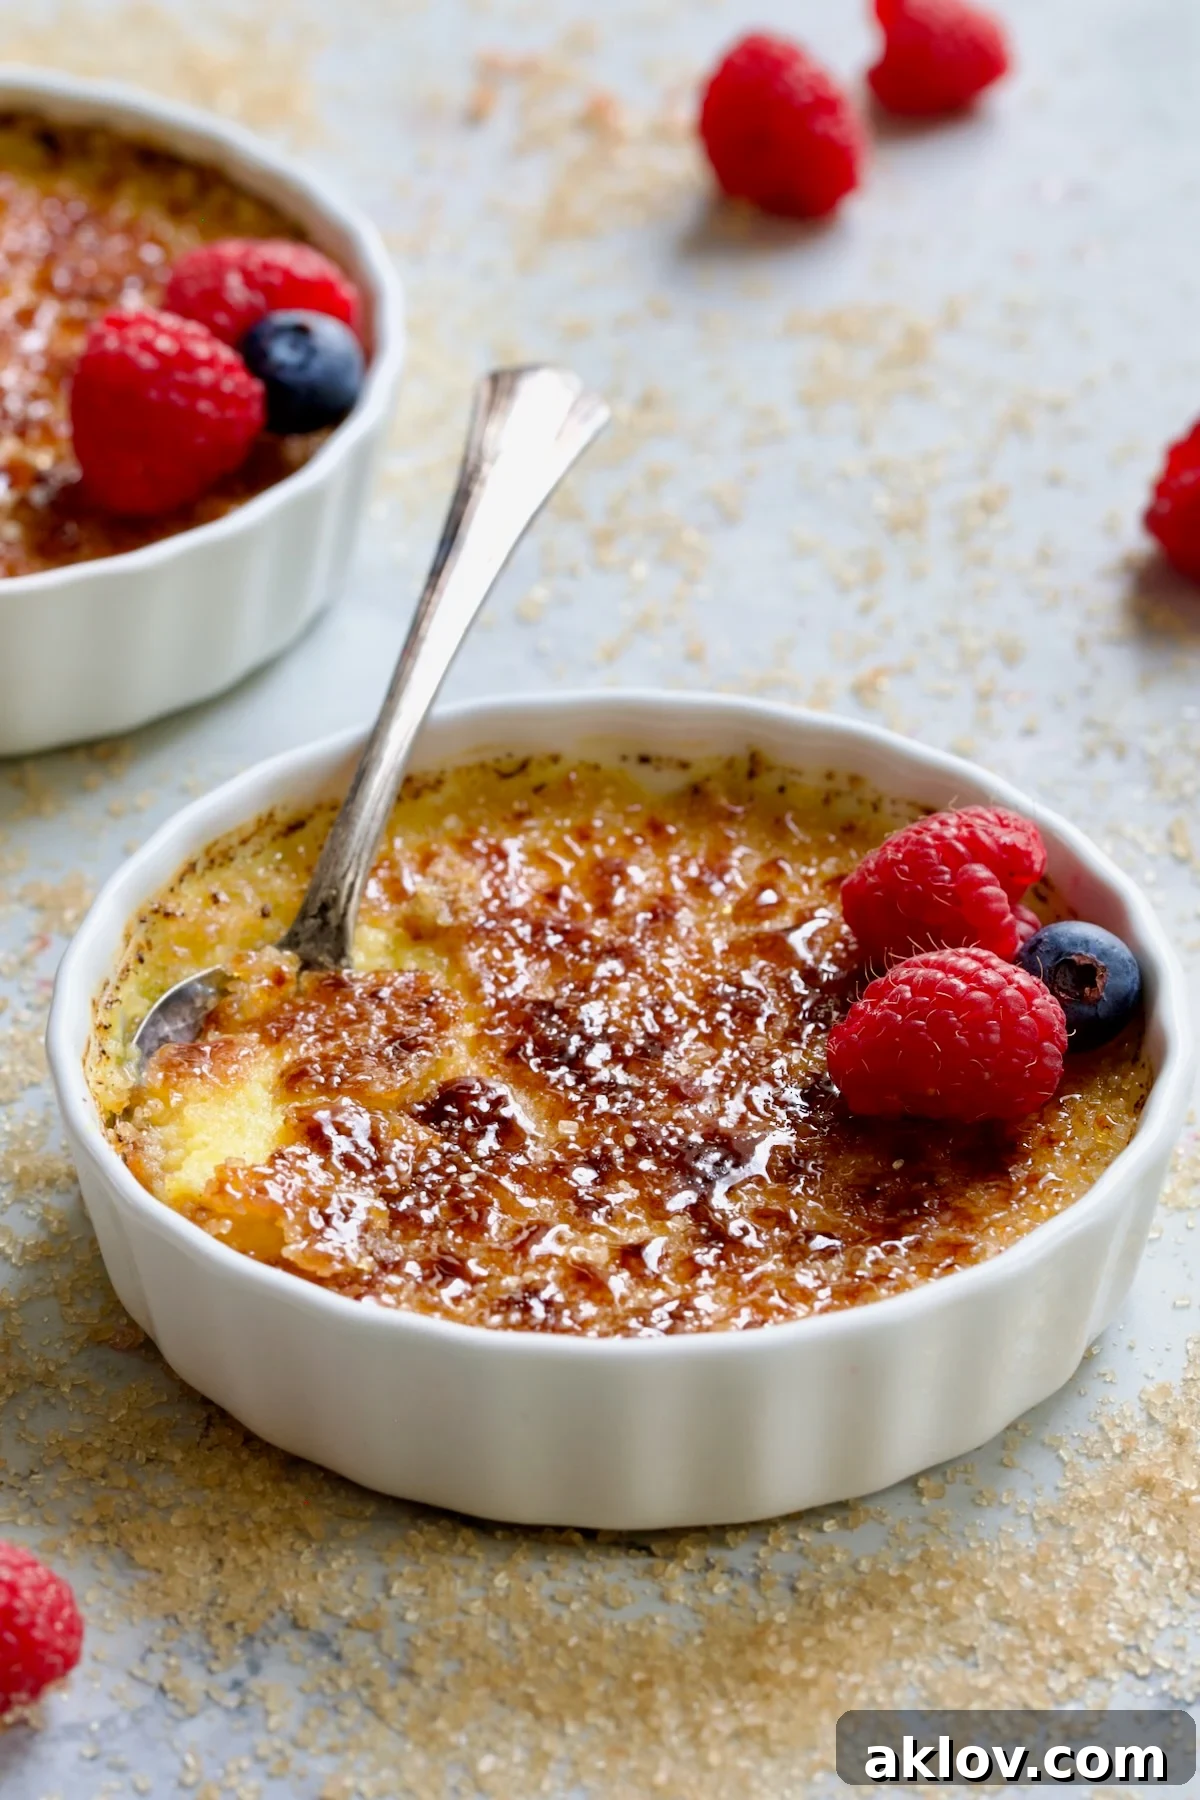
Indulge in the sublime pleasure of a classic **Vanilla Crème Brûlée for Two**, the perfect sophisticated yet surprisingly simple dessert to crown any special meal prepared in the comfort of your home. This heavenly delight, with its rich, velvety custard and irresistible caramelized sugar crust, offers an elegant finish that will leave a lasting impression. Best of all, it’s a dessert that can be prepared well in advance, freeing you to savor every moment of your special occasion.
“I made your crème brûlée recipe a couple of years ago and it’s by far the best crème brûlée I’ve EVER eaten! I’m spoiled because restaurants don’t compare to this!”
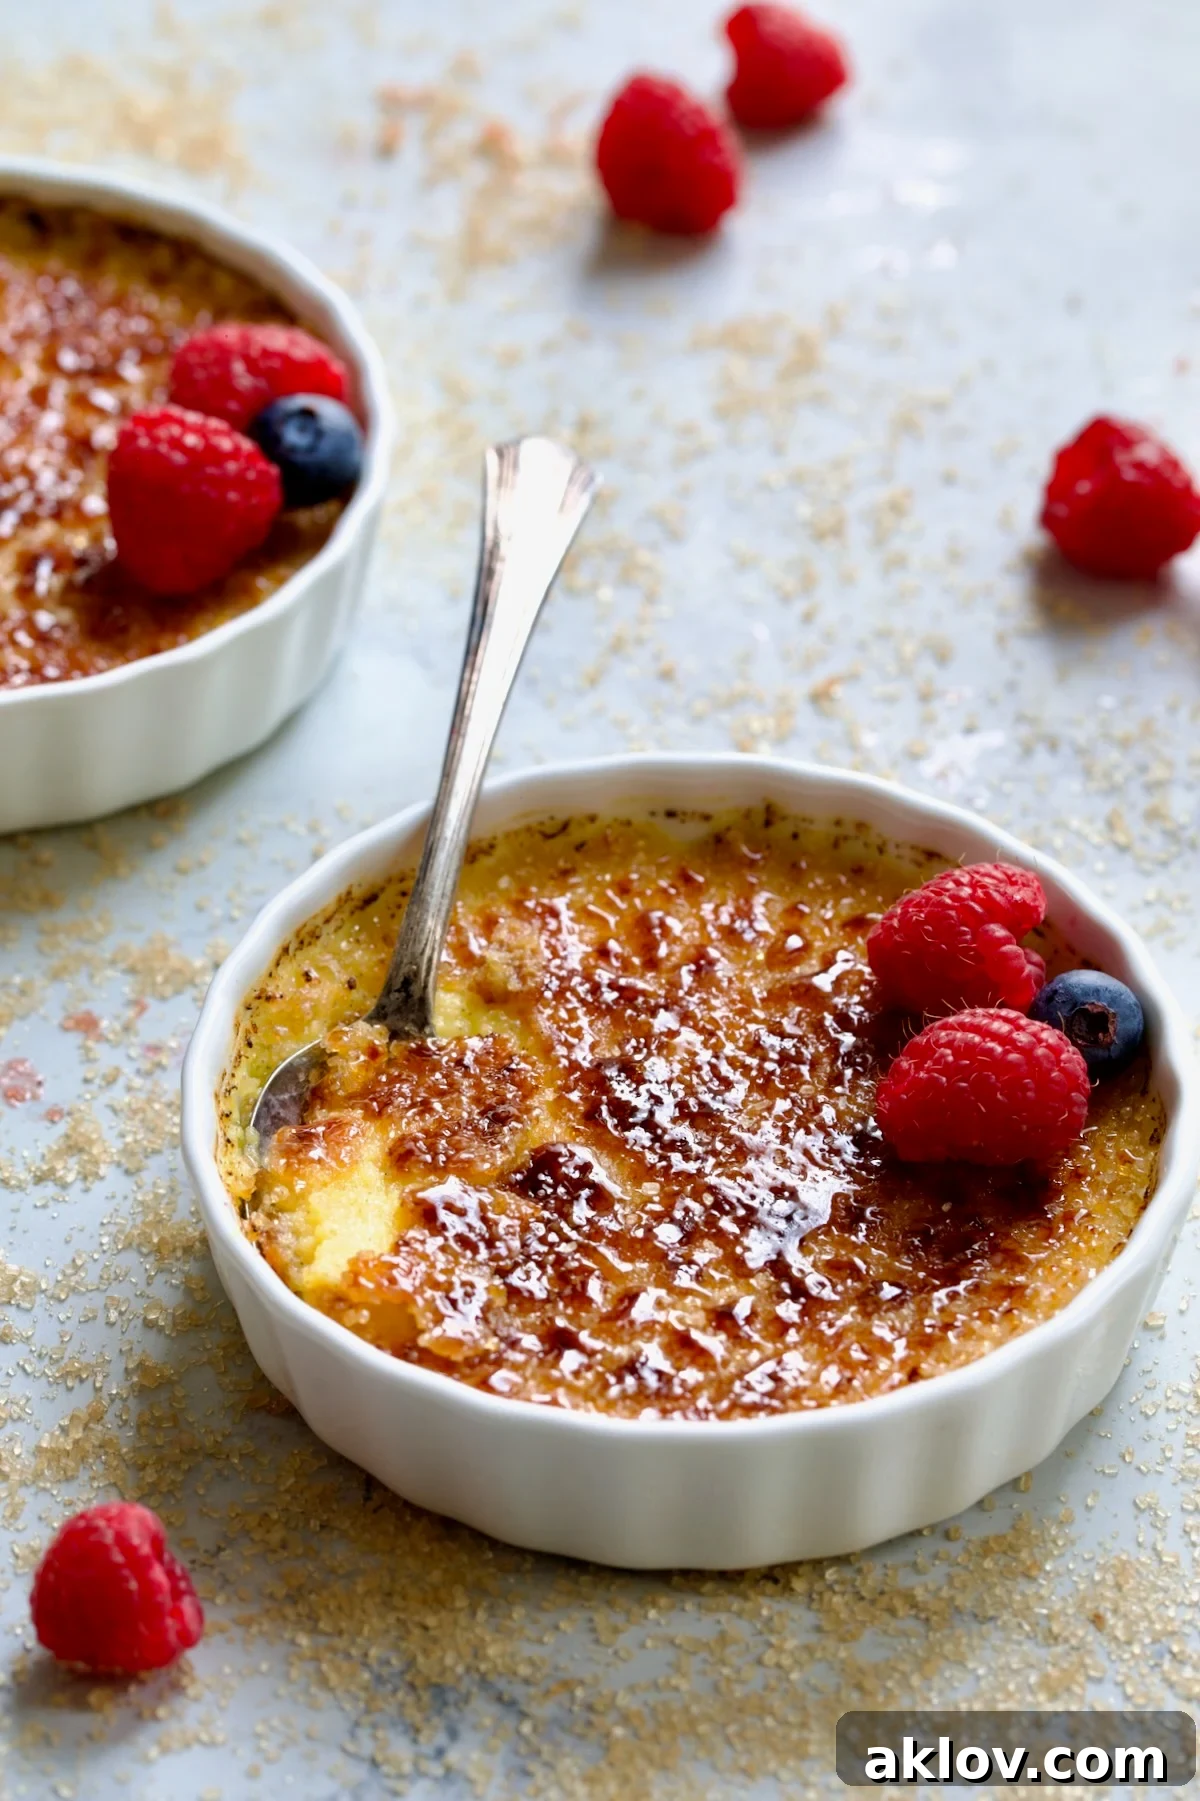
The Allure of Classic Vanilla Crème Brûlée for Two
Crème brûlée, a quintessential French dessert meaning “burnt cream,” is renowned for its delightful contrast: a silky-smooth, creamy vanilla custard base hidden beneath a crisp, glass-like layer of caramelized sugar. While its elegant appearance might suggest a complex culinary endeavor, this timeless dessert is surprisingly accessible for home cooks. Preparing it for two transforms an ordinary evening into an intimate, romantic dining experience, offering a touch of gourmet sophistication without the fuss.
This particular Classic Vanilla Crème Brûlée recipe stands out for several reasons, making it an absolute keeper for your culinary repertoire:
- Effortlessly Elegant: Despite its impressive presentation and decadent flavor, this recipe is straightforward to follow, requiring only five fundamental ingredients. Once you master the technique, you’ll be eager to showcase your skills at dinner parties and special celebrations. The dramatic moment of torching the sugar topping at the table often becomes a highlight, offering both theatre and entertainment!
- Perfect for Planning Ahead: Crème brûlée is an ideal make-ahead dessert. After baking and cooling completely, the custards can be refrigerated for up to two days before you caramelize the sugar. This flexibility allows you to focus on other aspects of your meal, reducing stress on the day of your event.
- Unforgettable Indulgence: With its luscious texture and rich vanilla aroma, this dessert is guaranteed to impress. It’s the perfect way to convey thoughtfulness and culinary flair to your sweetheart or any special guest.
Essential Equipment for Perfect Crème Brûlée
Achieving crème brûlée perfection relies on a few specialized tools. While some substitutes exist, investing in the right equipment will make the process smoother and yield superior results.
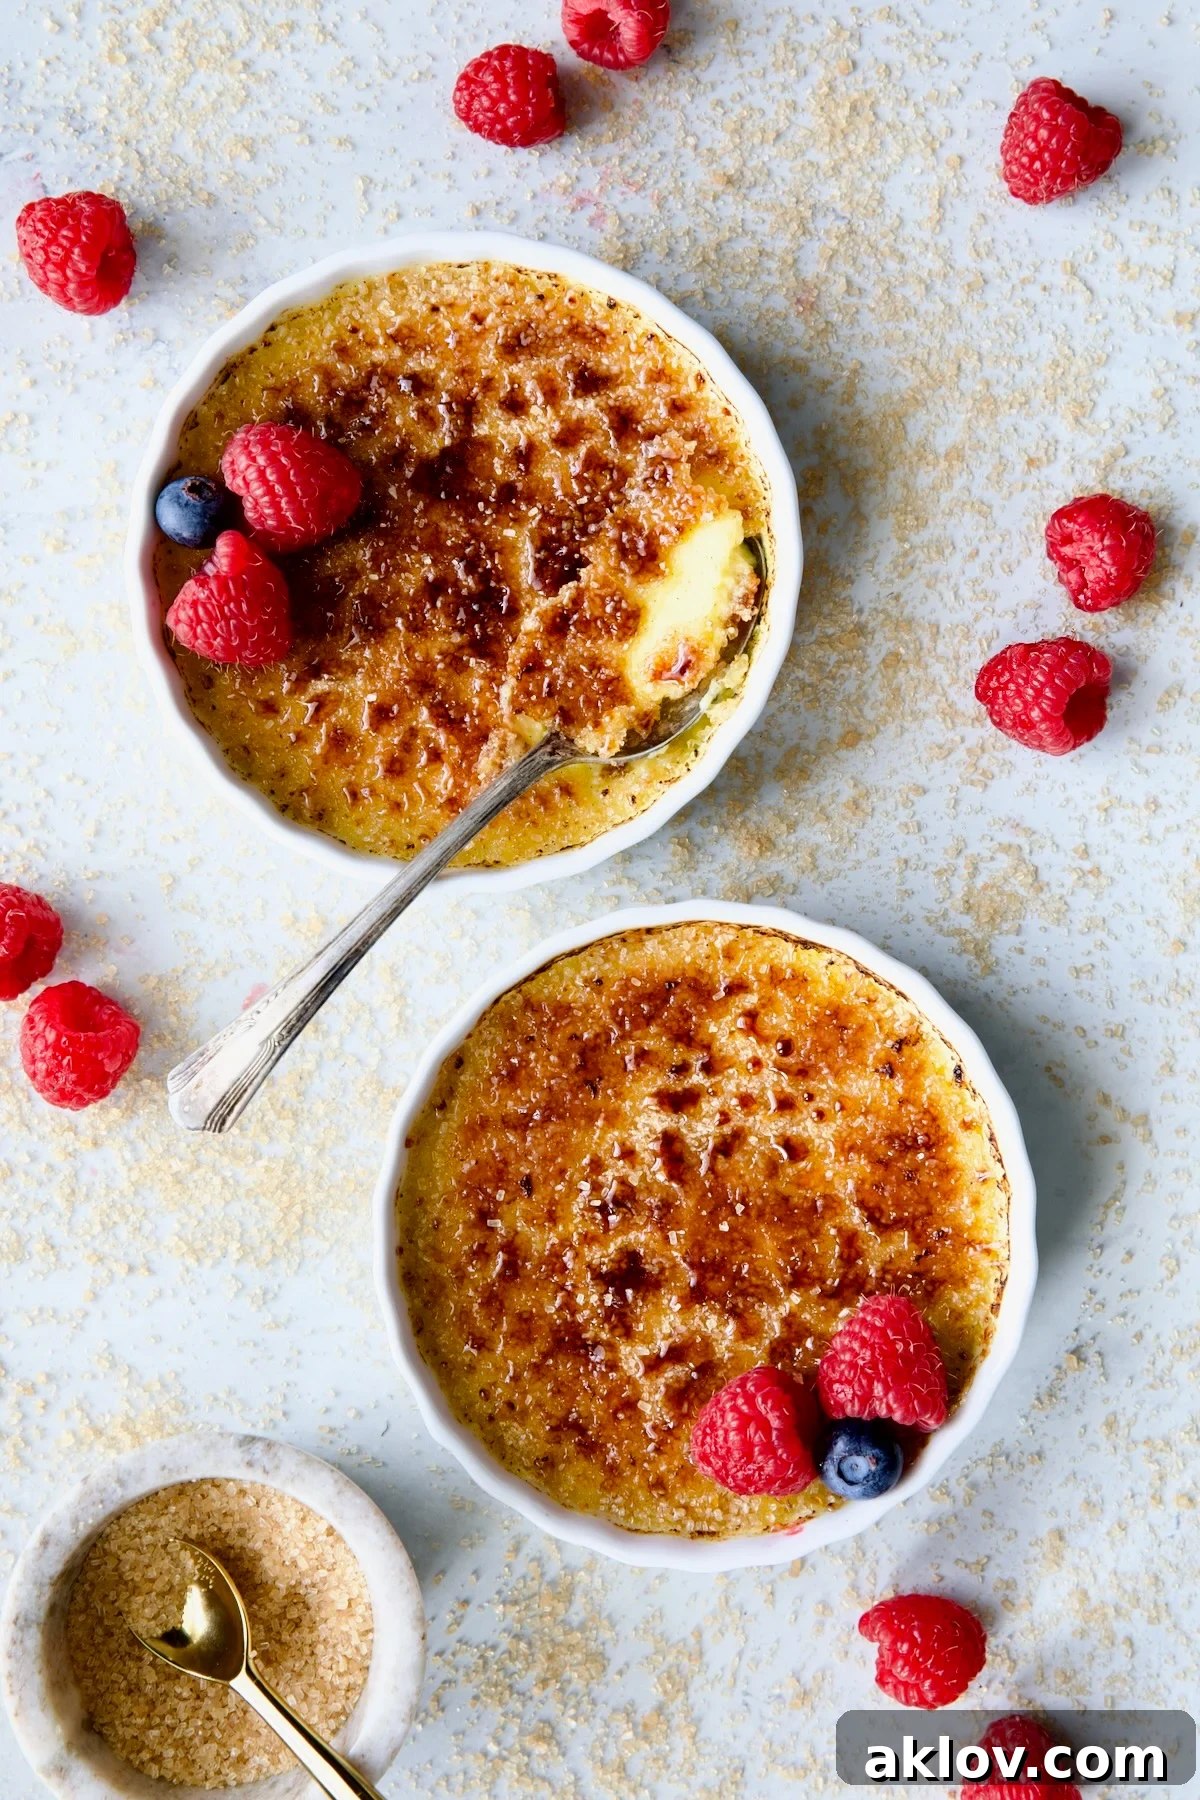
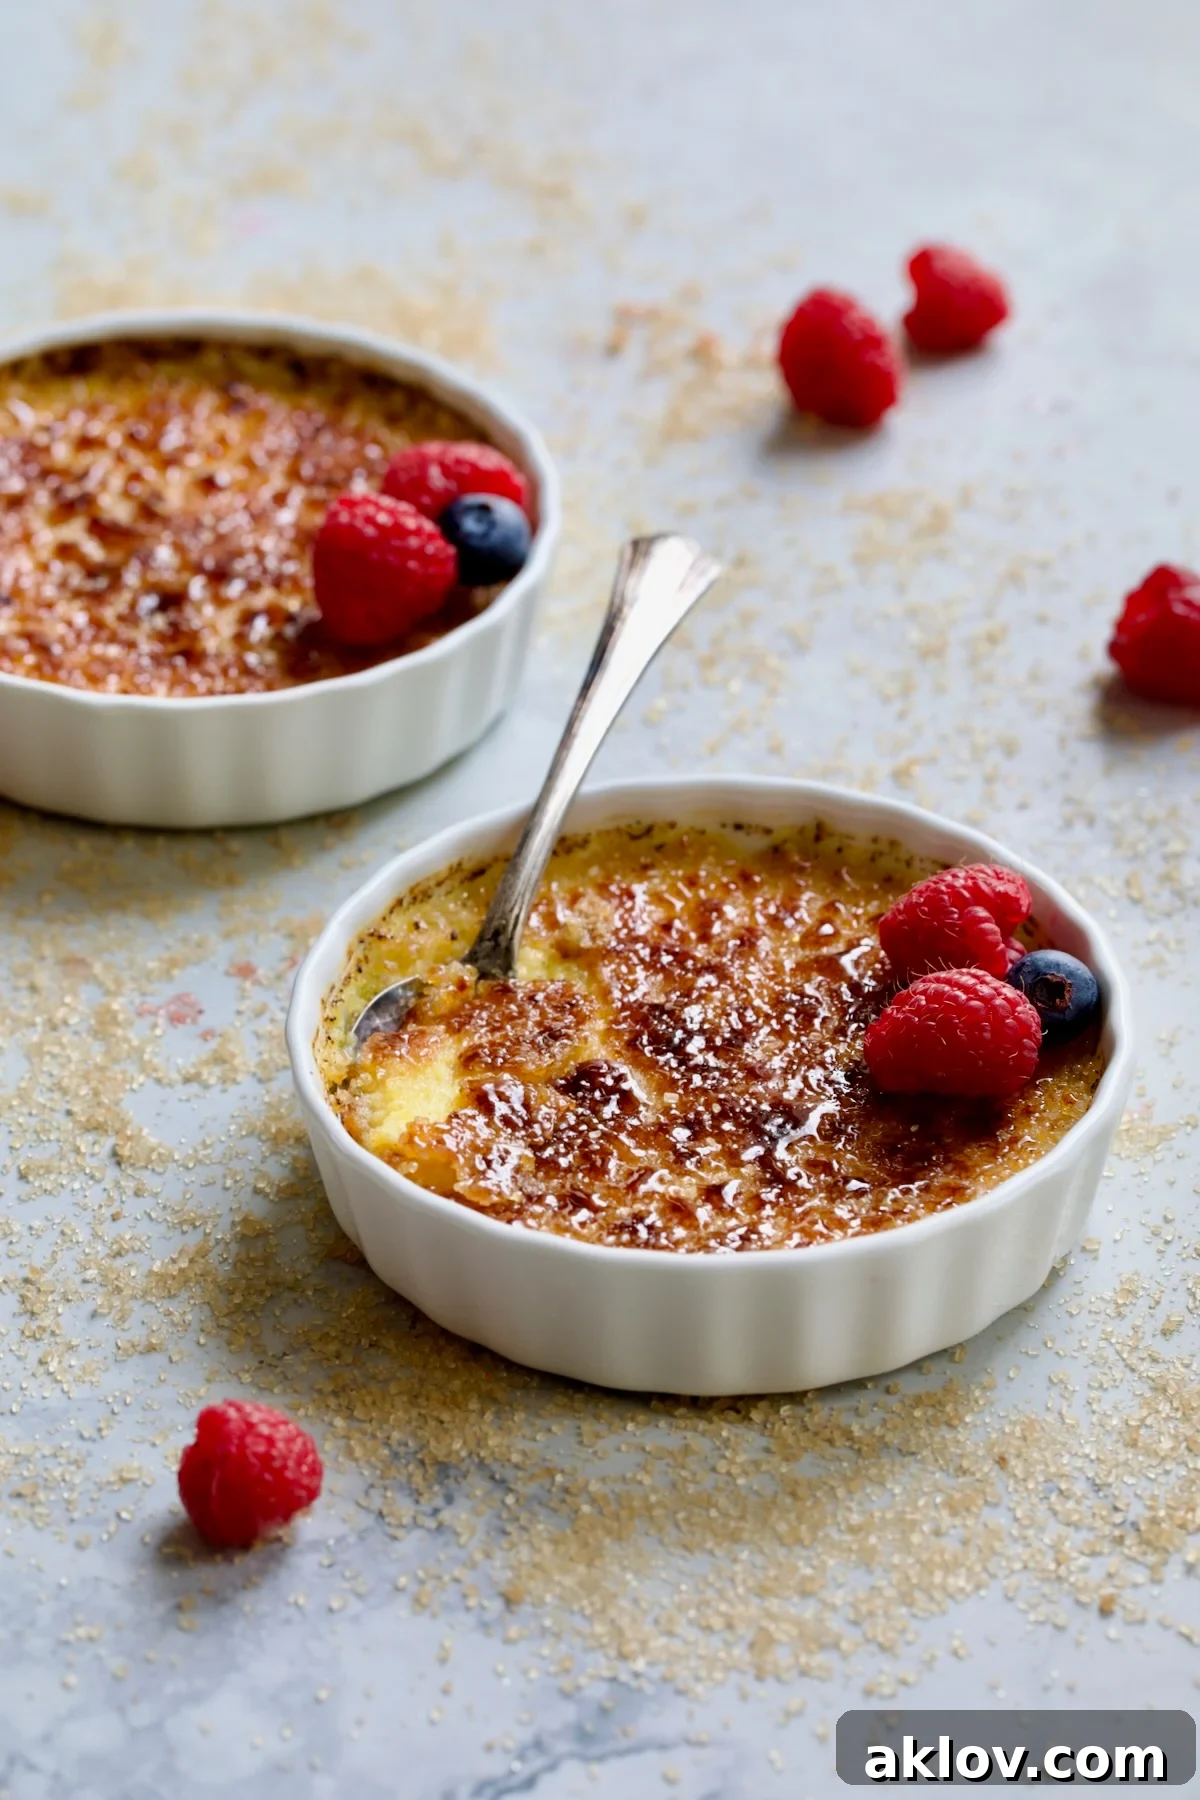
- Ramekins: You’ll need two 7 or 8-ounce ramekins or similar small, shallow baking dishes. The classic crème brûlée ramekins, typically wide and shallow, are ideal as they allow for a greater surface area for the caramelized sugar crust, providing a more satisfying “crack” with each spoonful. Deeper ramekins can be used, but they will require a longer baking time. Find suitable ramekins here.
- Culinary Torch: A kitchen or culinary torch is the most effective tool for creating that iconic hard, glass-like sugar topping. While a regular propane torch (used with caution for food-safe applications) or your oven’s broiler can be used as alternatives, a butane kitchen torch offers precise control and consistent results, making the caramelization process quick and theatrical. Explore culinary torches.
- Baking Pan for Water Bath (Bain-Marie): A larger baking dish or sheet pan is essential for creating a water bath, which is crucial for baking crème brûlée. This gentle, moist heat environment ensures the custard cooks evenly, preventing it from cracking, curdling, or becoming rubbery.
Ingredients: Crafting the Silky Custard and Crisp Topping
Key Ingredients You’ll Need:
Here’s a snapshot of the few, yet potent, ingredients required for a truly exceptional Classic Vanilla Bean Crème Brûlée for Two. For precise quantities, refer to the full recipe details below.
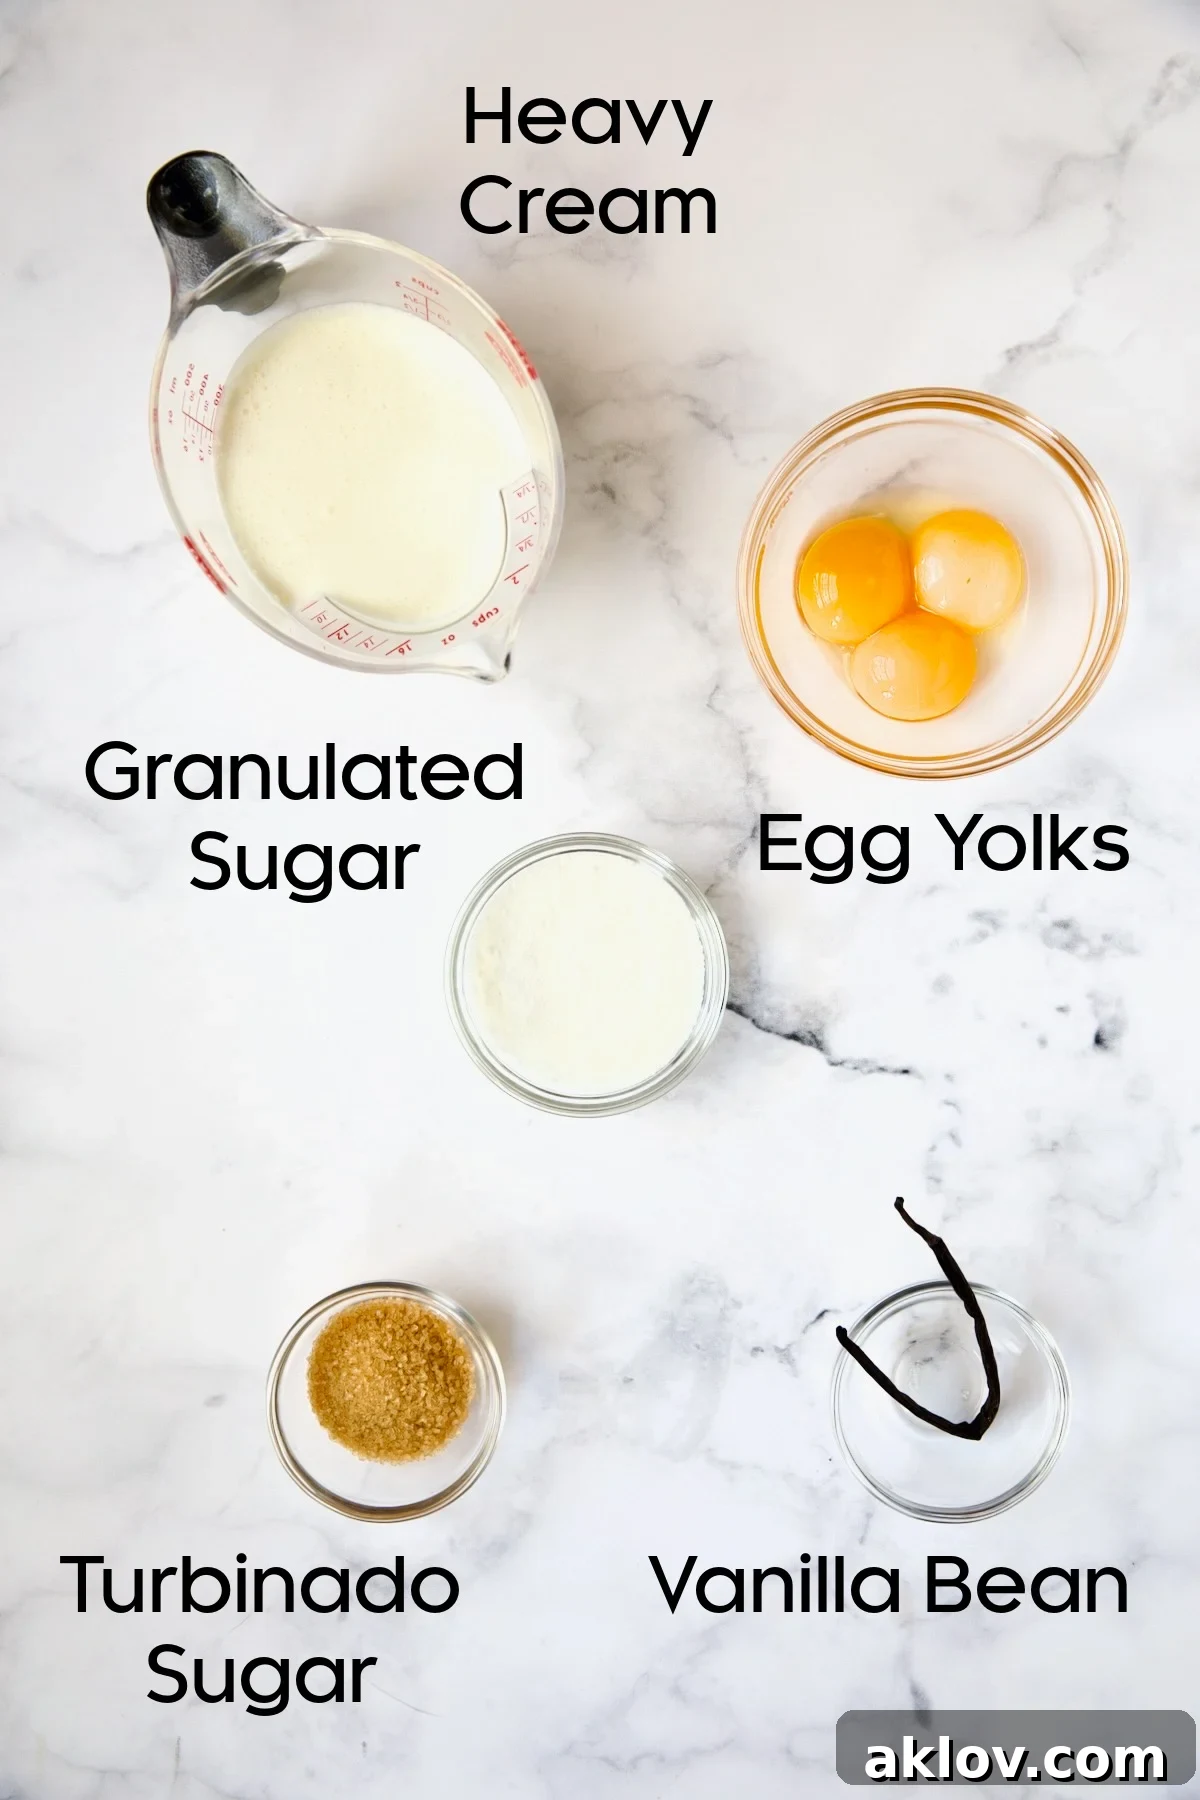
A Closer Look at Each Ingredient:
- Heavy Cream: The foundation of crème brûlée’s luxurious texture is heavy cream. It is absolutely crucial to use heavy cream, not whipping cream. Government labeling standards dictate that heavy cream must contain no less than 36% milk fat. It’s sometimes referred to as heavy whipping cream. In contrast, whipping cream has a slightly lower milk fat content, ranging from 30–36%, and is occasionally labeled as light whipping cream. The higher fat content of heavy cream provides the desired richness and prevents the custard from becoming watery or grainy.
- Egg Yolks: You will need three egg yolks from large eggs. The yolks are the primary emulsifier and thickener, contributing significantly to the custard’s velvety texture and rich flavor. Avoid using medium or jumbo eggs, as the yolk size difference can affect the custard’s consistency.
- Granulated Sugar: Standard granulated sugar serves two purposes in this recipe: sweetening the custard itself and forming the initial layer for the caramelized crust. While granulated sugar can be used for caramelization, turbinado sugar is highly recommended for its superior texture and flavor in the topping.
- Vanilla Bean: A vanilla bean is undoubtedly a splurge, but its intense, complex, and true vanilla flavor makes it incredibly worthwhile. Vanilla beans are typically found in the spice aisle of most grocery stores. For two servings, you only need half a vanilla bean, leaving the other half for future culinary adventures or another batch of crème brûlée. If a vanilla bean is unavailable or outside your budget, a teaspoon of high-quality real vanilla extract can be substituted. Always steer clear of imitation vanilla flavor, as it lacks the depth and authenticity required for this classic dessert.
- Turbinado Sugar: This lightly processed sugarcane product is a delicious and more natural sweetener, characterized by its large, crunchy crystals and a subtle caramel-to-molasses flavor. These qualities make turbinado sugar ideal for the crème brûlée topping. Although sometimes erroneously labeled as “raw” sugar, it is indeed lightly processed. While plain granulated sugar can be used for caramelization, turbinado sugar delivers a more robust, crunchy, and rustic texture that elevates the overall experience.
Step-by-Step Guide: Mastering Vanilla Crème Brûlée for Two
Preparation & Infusing the Cream:
- Begin by gathering and precisely prepping all your ingredients. This mise en place ensures a smooth and stress-free cooking process.
- Preheat your oven to 300°F (150°C). Position a rack in the center of your oven.
- Bring a small saucepan of water to a boil, then set it aside. This will be used later for the water bath.
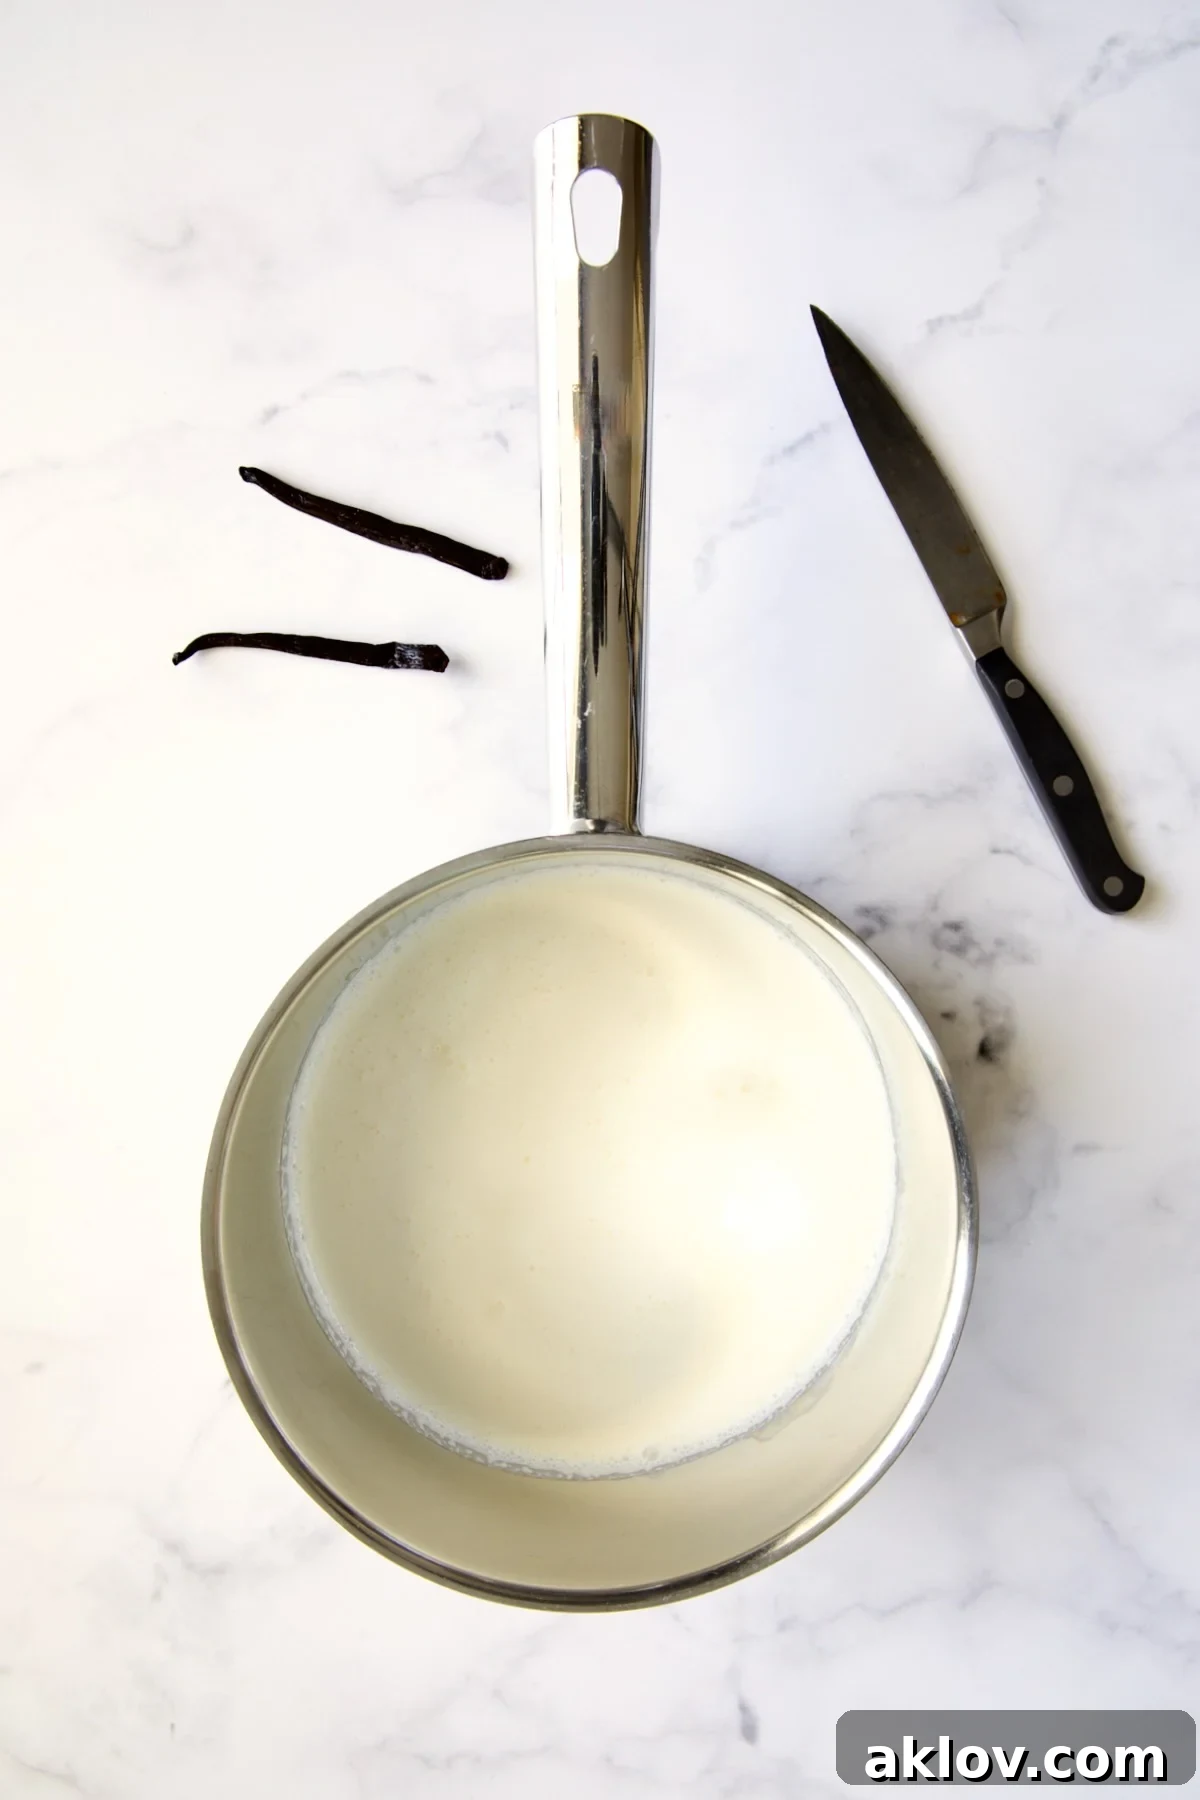
- In another small saucepan, gently bring the heavy cream to a simmer over medium-high heat. Watch for small bubbles to just begin forming around the edges; a full boil is not necessary.
- Carefully cut the vanilla bean in half widthwise. Take one of these halves and slice it lengthwise. (Reserve the other widthwise half for another batch of crème brûlée or a different recipe.)
- Secure the tip of one lengthwise-cut vanilla bean half on a flat surface, such as a cutting board, with one hand. Using a paring knife in your other hand, carefully scrape the tiny, fragrant seeds from inside the pod. Most of the seeds will adhere to the knife. Add these precious seeds into the simmering cream.
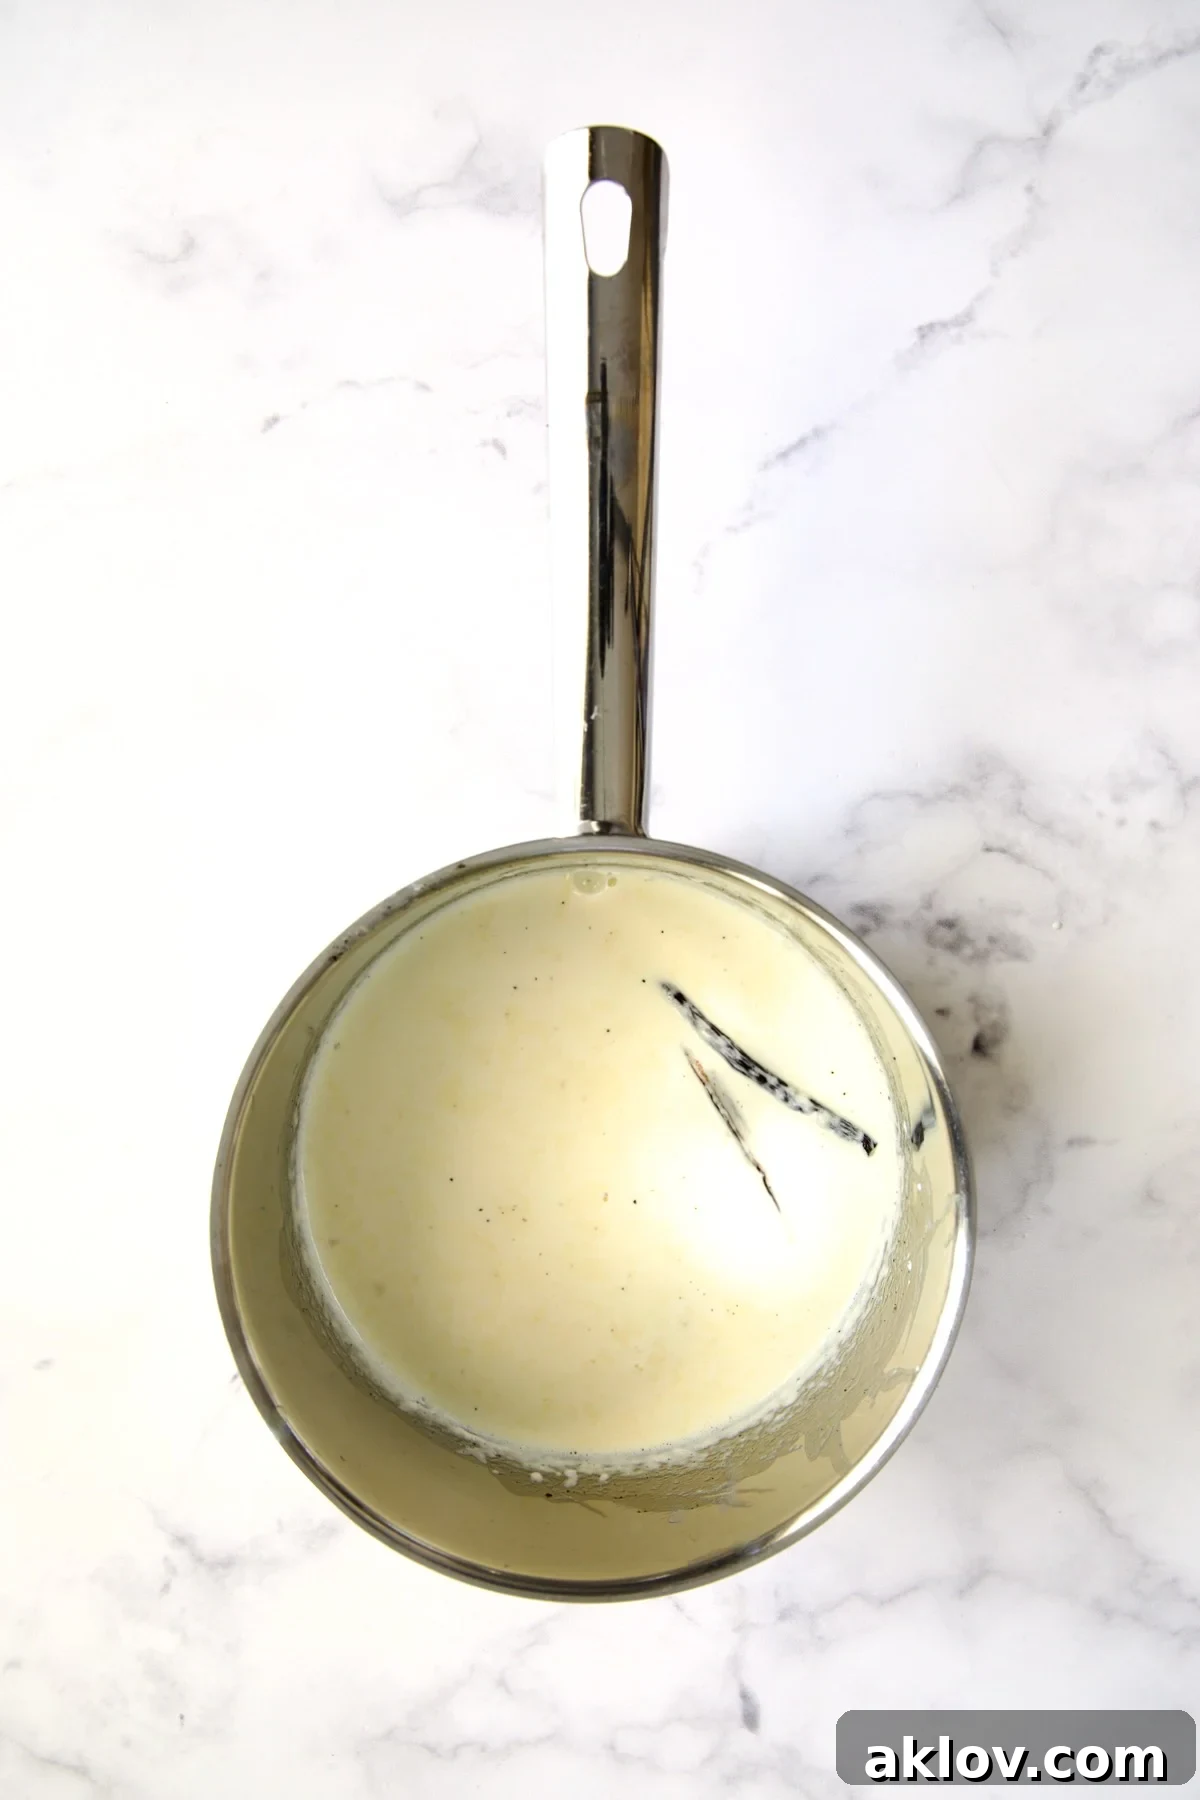
- Repeat this process with the second lengthwise-cut vanilla bean half. Drop both the scraped seeds and the pod halves into the cream. Give the cream a quick stir to ensure the seeds are well dispersed. Remove the saucepan from the heat and allow the vanilla-infused cream to steep for approximately 30 minutes. This infusion period is crucial for extracting maximum vanilla flavor.
Crafting the Custard Base:
- While the vanilla-infused heavy cream cools, combine the egg yolks and granulated sugar in a separate mixing bowl. Using a whisk, beat the mixture vigorously until it becomes pale yellow and noticeably thick. This typically takes about 4 minutes. Avoid using an electric mixer, as it can incorporate too much air, leading to a foamy custard.
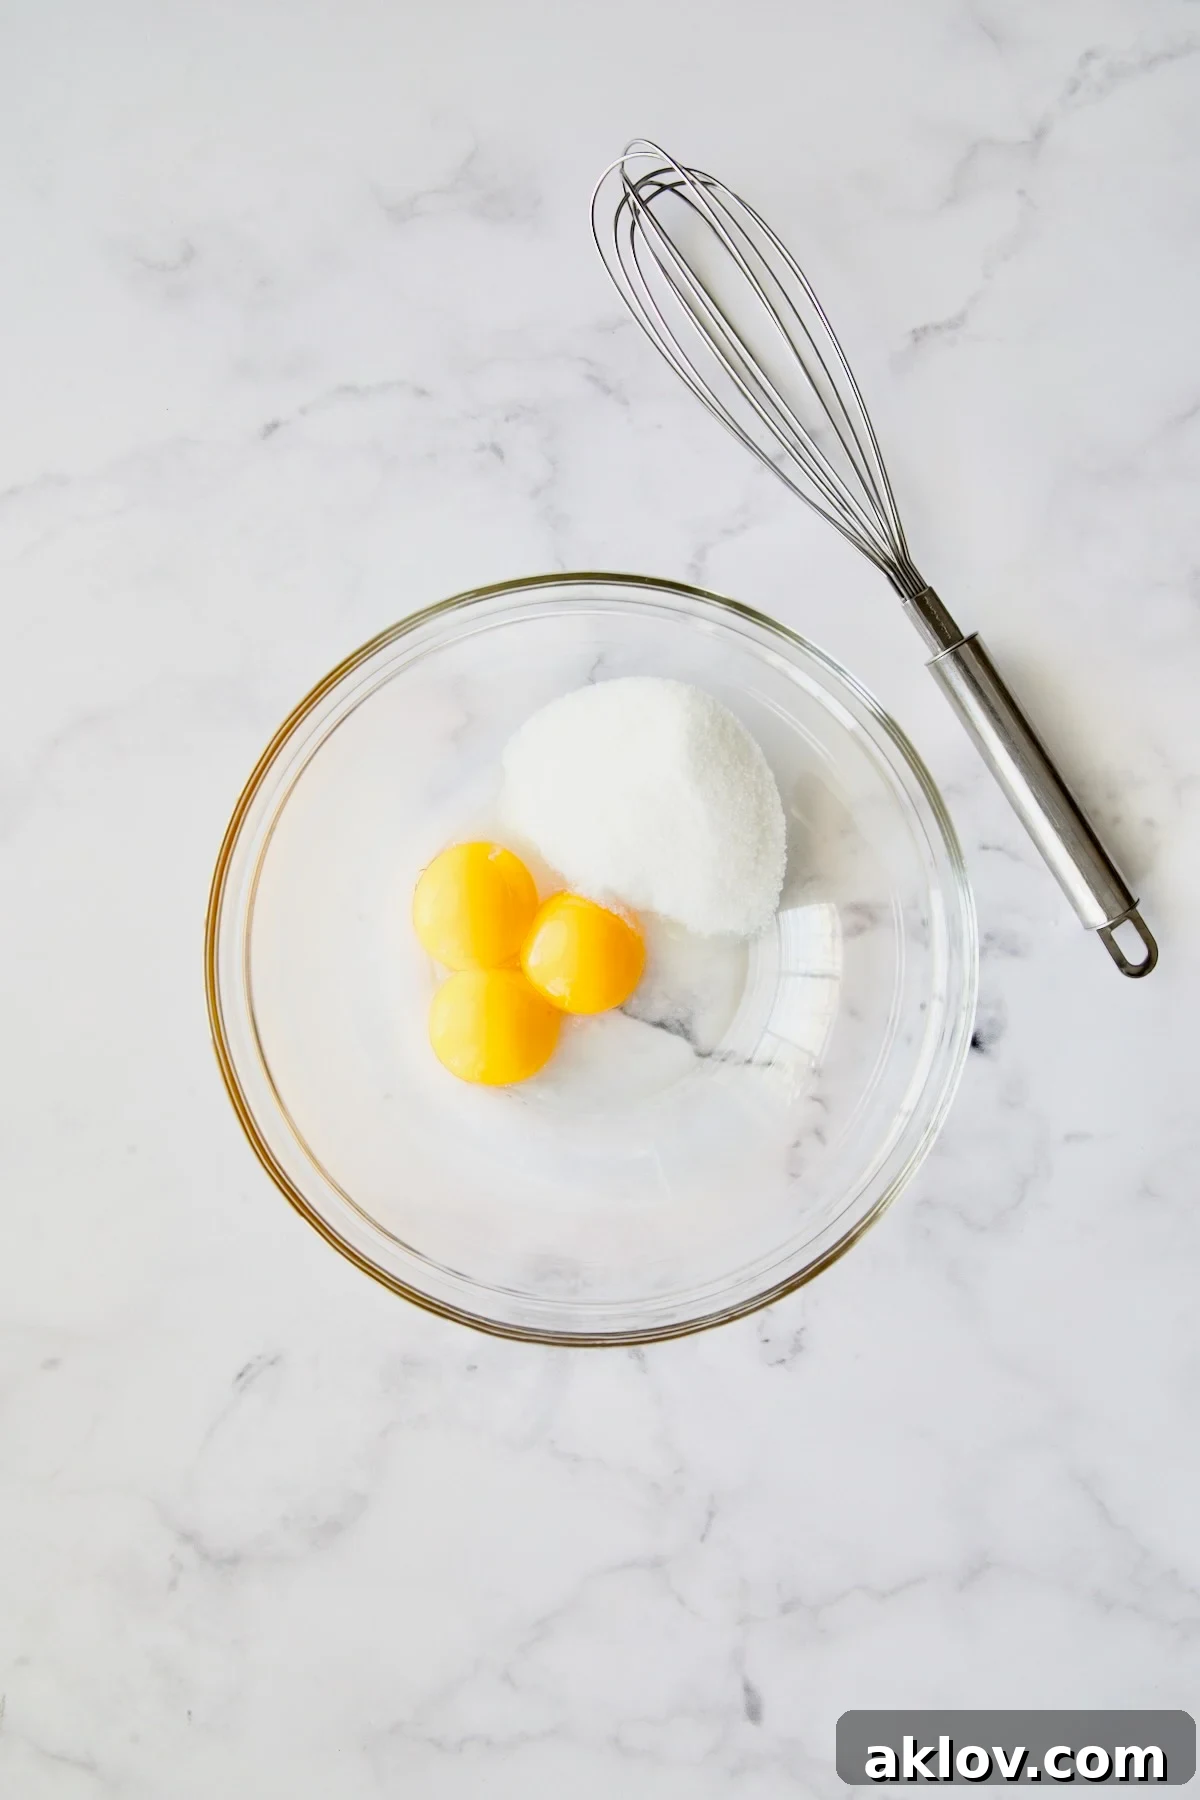
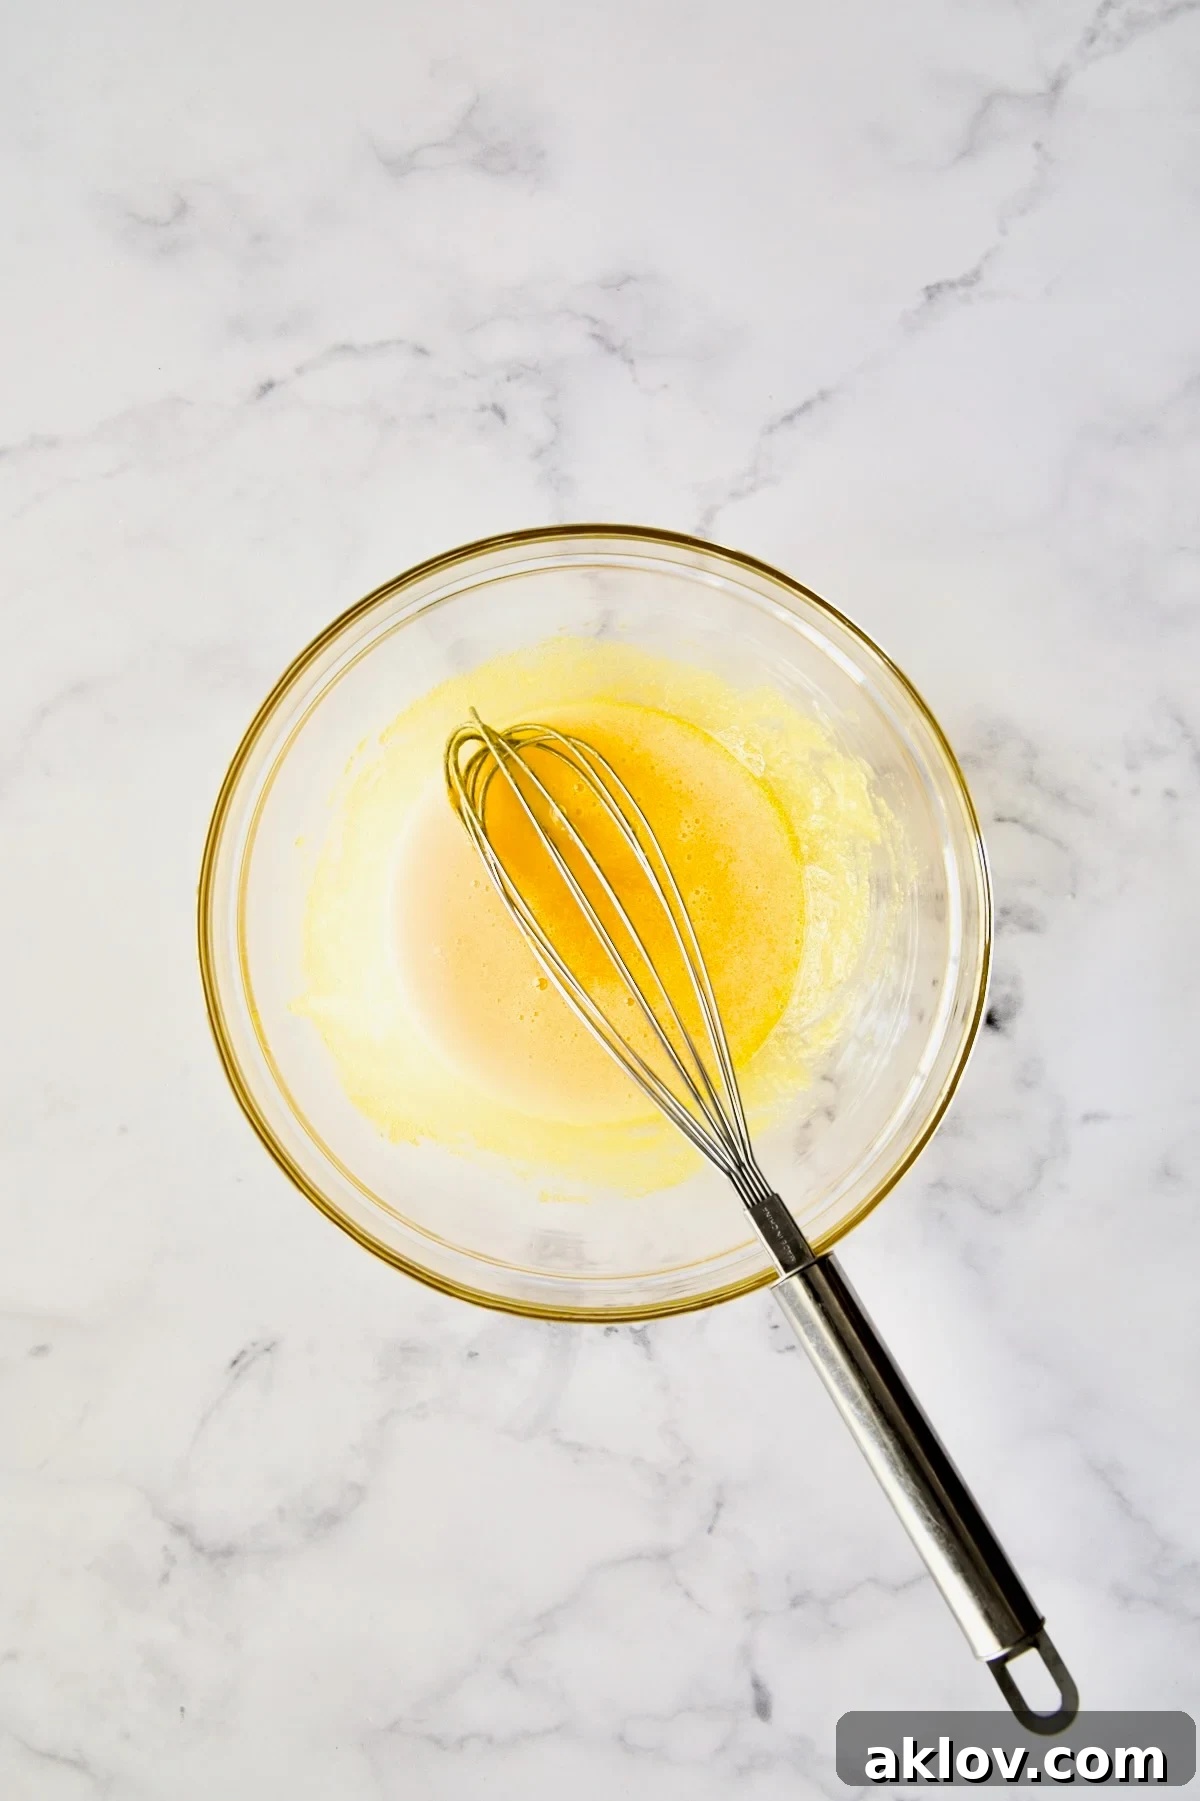
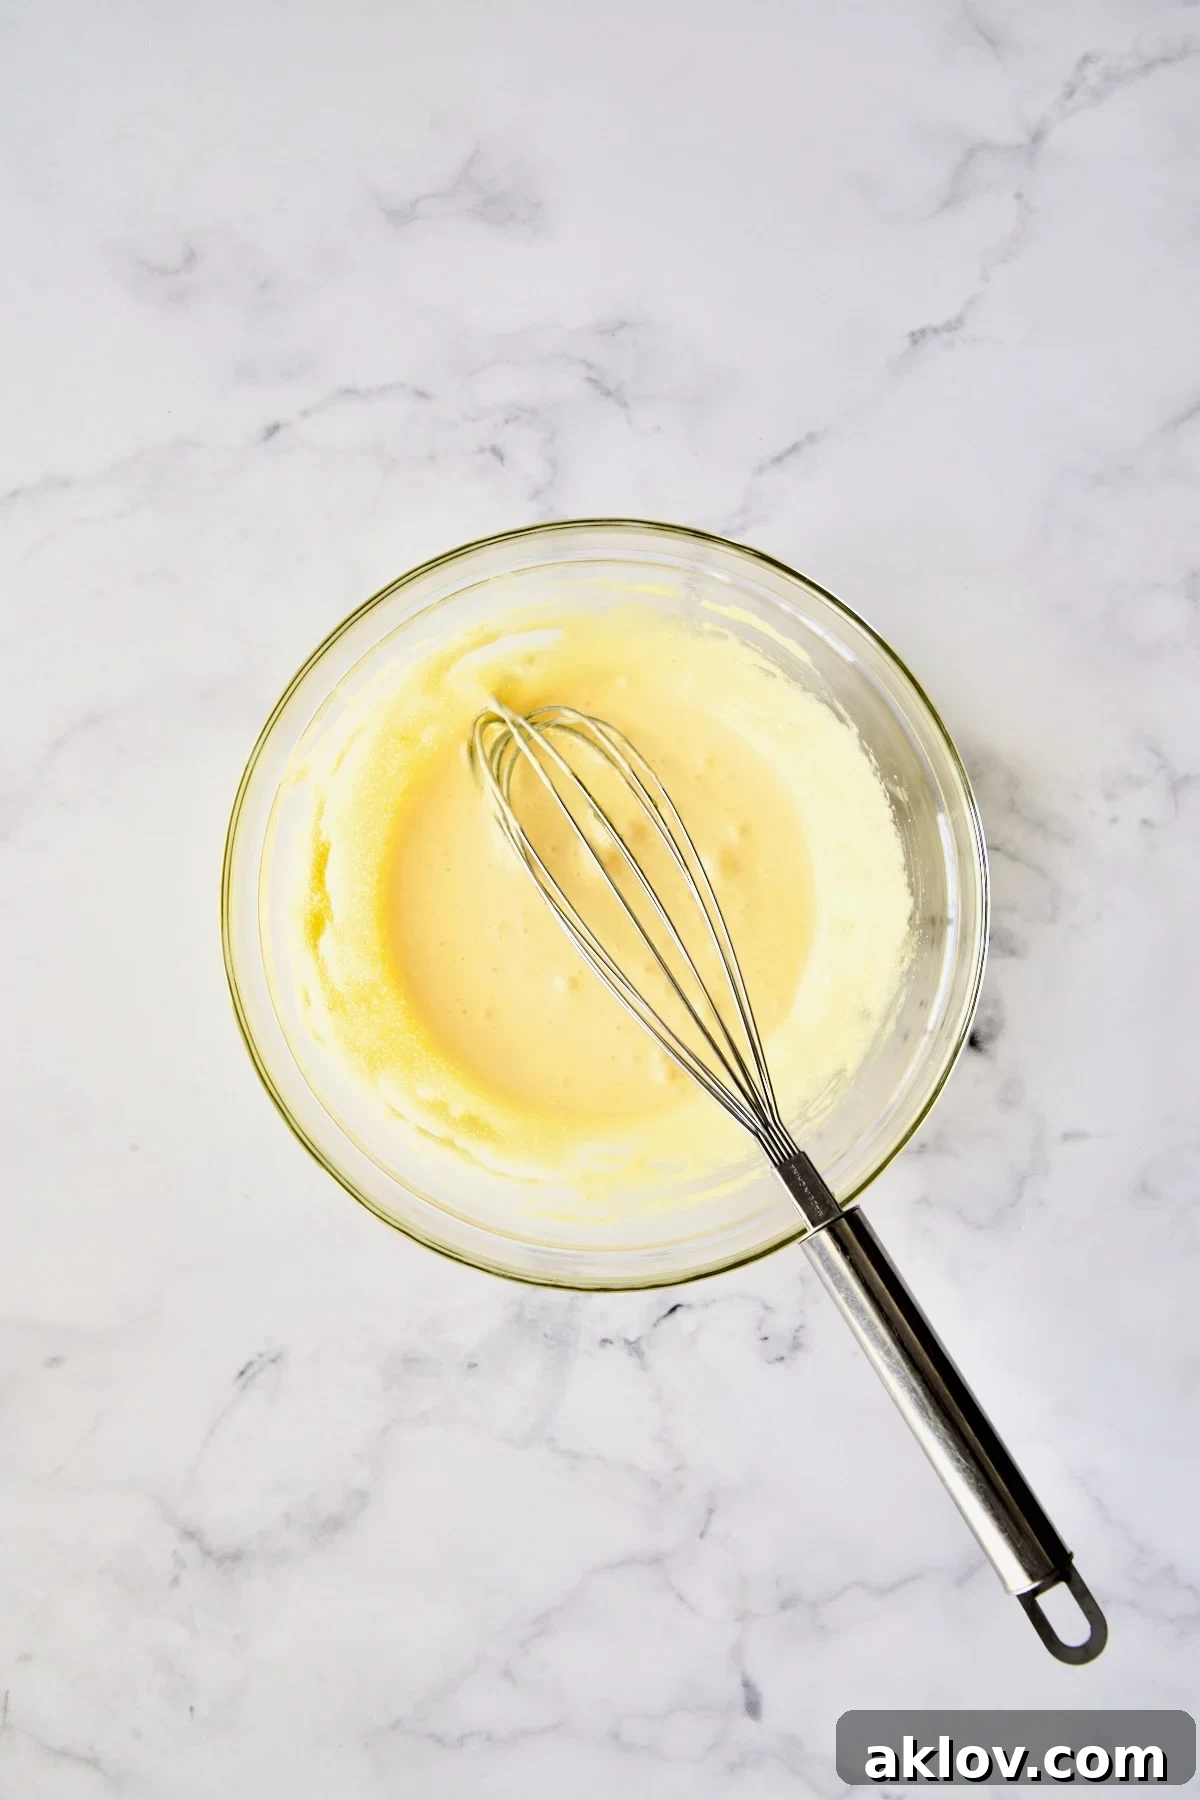
- Place a fine-mesh sieve directly over the bowl containing the egg and sugar mixture.
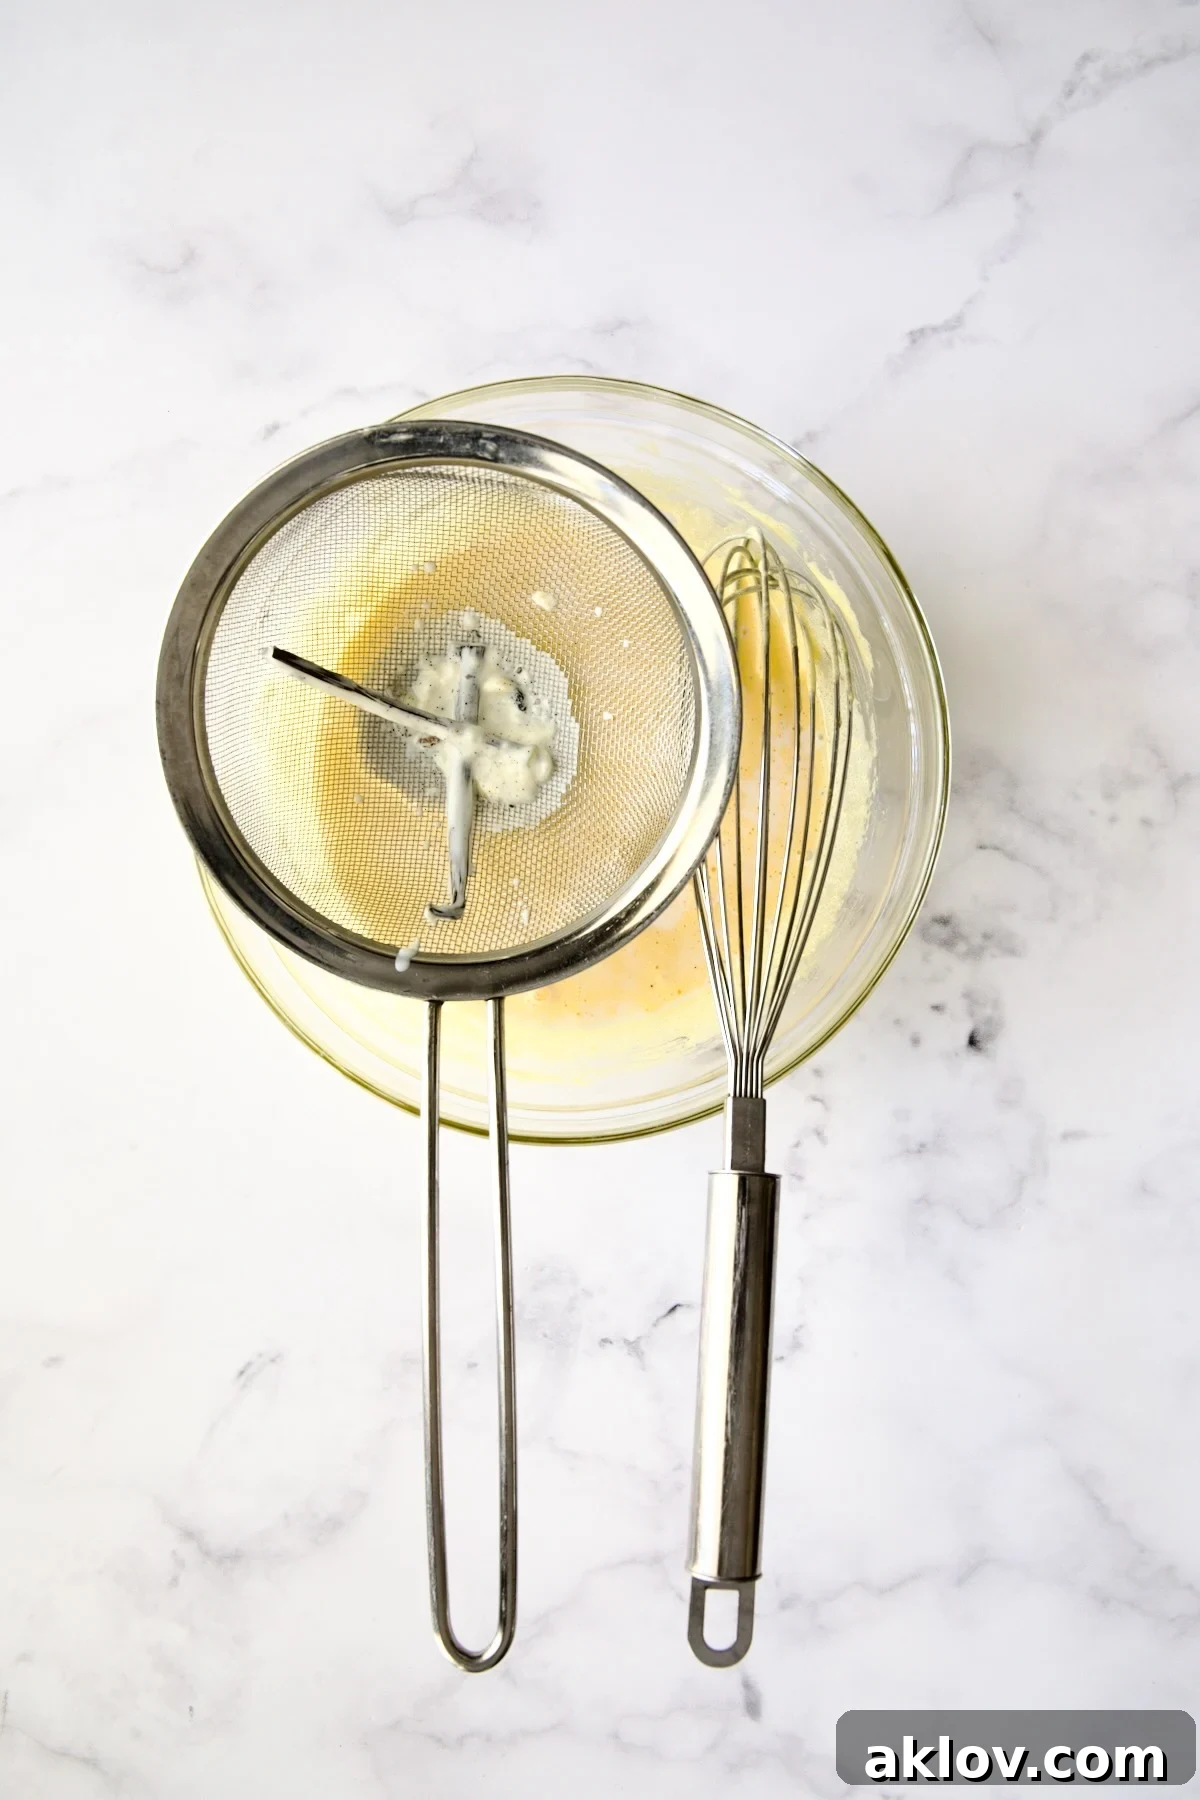
- Slowly and carefully strain the vanilla-infused cream mixture through the sieve into the egg mixture. This step removes the vanilla bean pods and ensures a perfectly smooth custard.
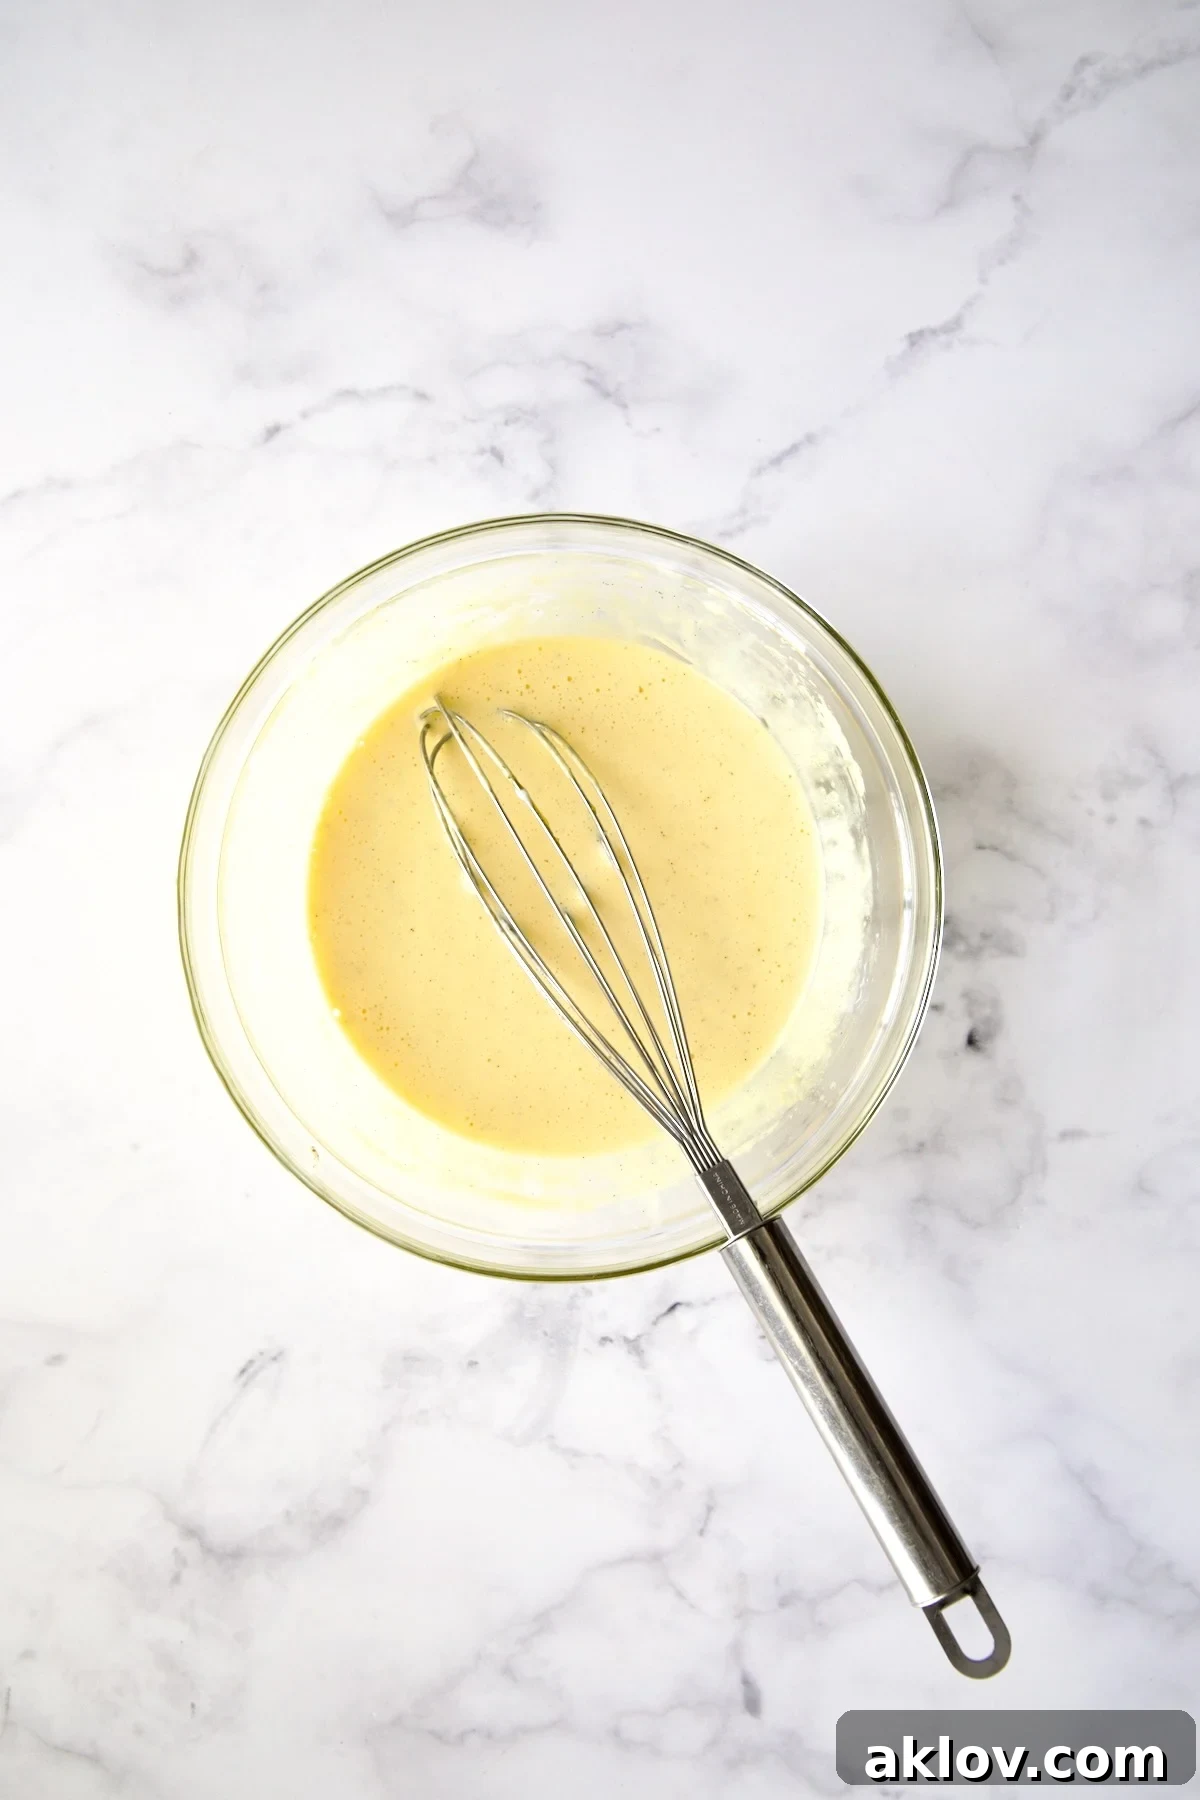
- After straining, press down on the vanilla bean pods in the sieve and scrape any remaining seeds into the custard mixture. This maximizes the vanilla flavor. Whisk the custard lightly until it is smooth and well-blended, being careful not to whip in too much air, which can create a bubbly texture.
Baking the Custards to Perfection:
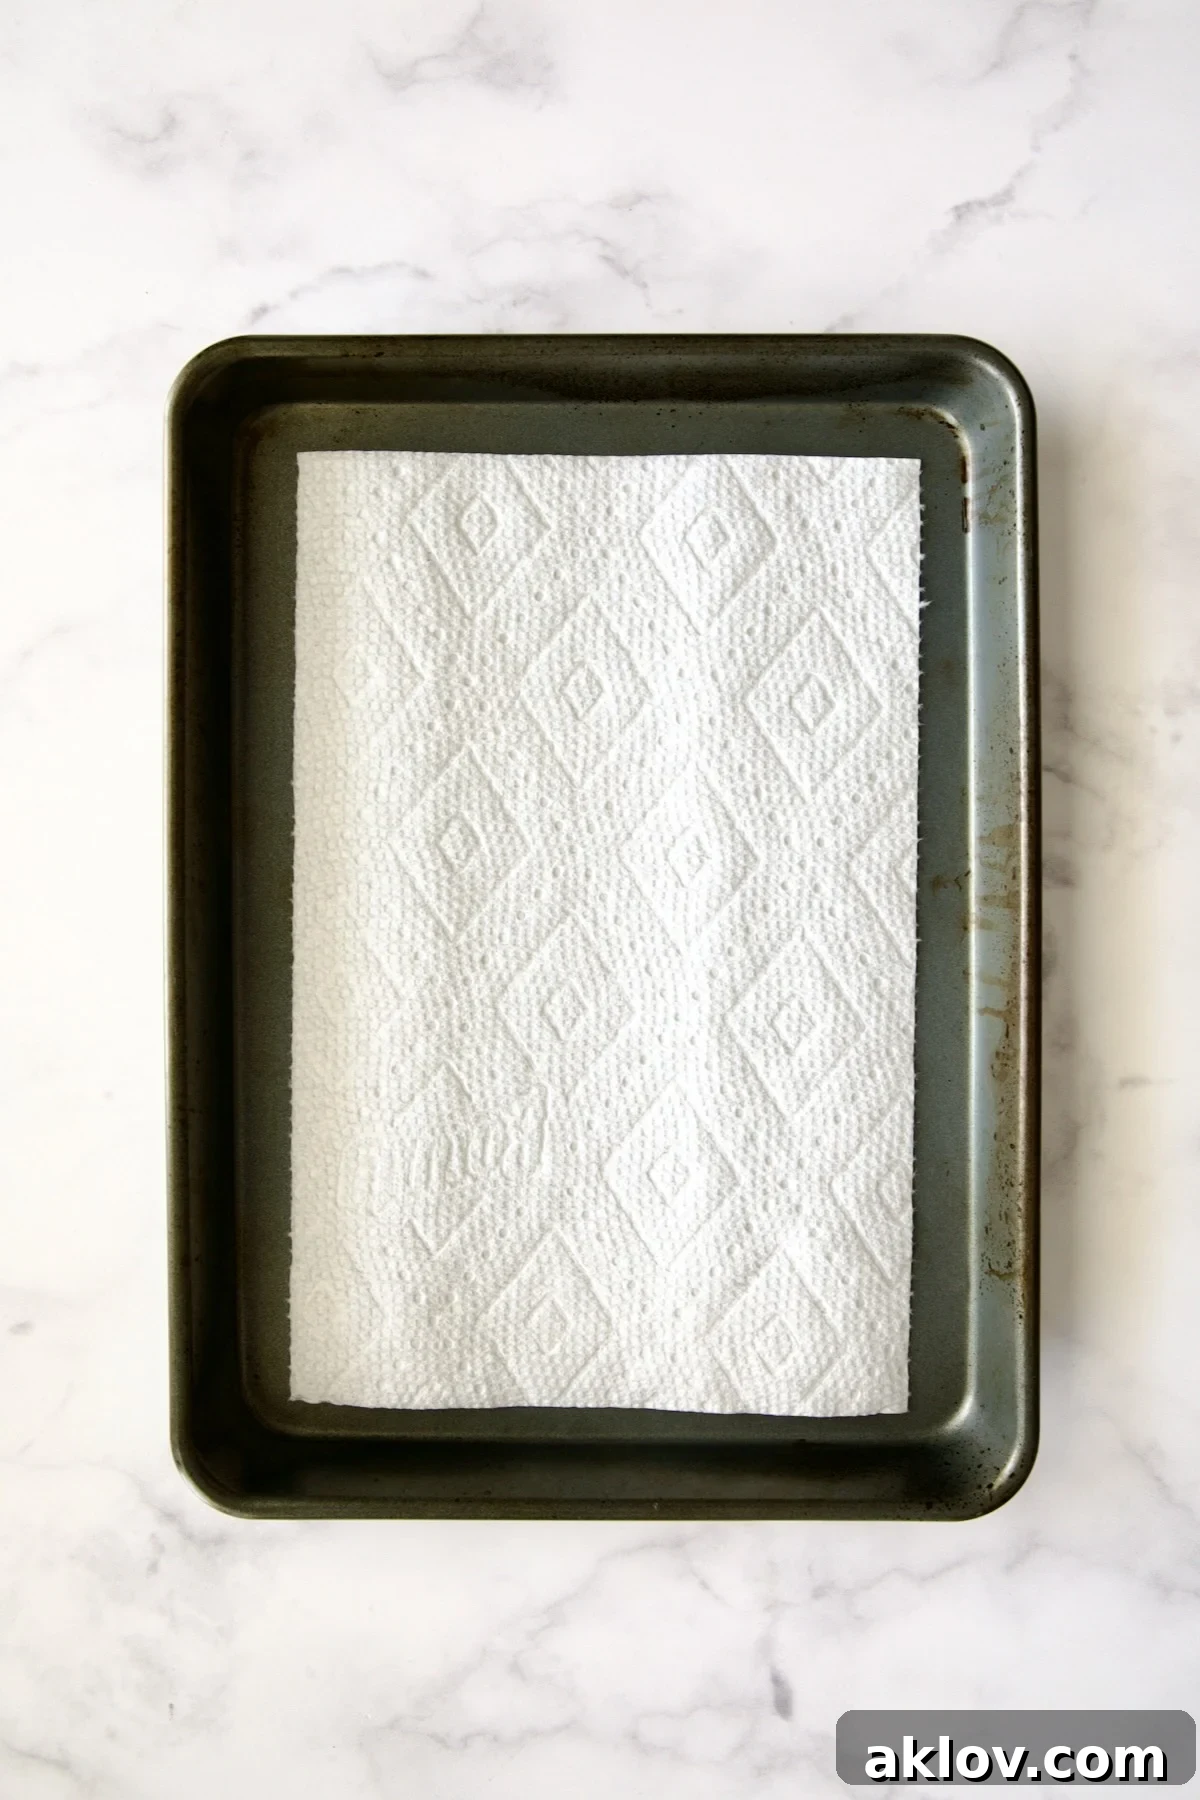
- Line the bottom of a baking pan or sheet pan (one large enough to comfortably hold your two ramekins) with a paper towel. This simple trick prevents the ramekins from slipping and sliding during baking. Carefully place the ramekins on the paper towel.
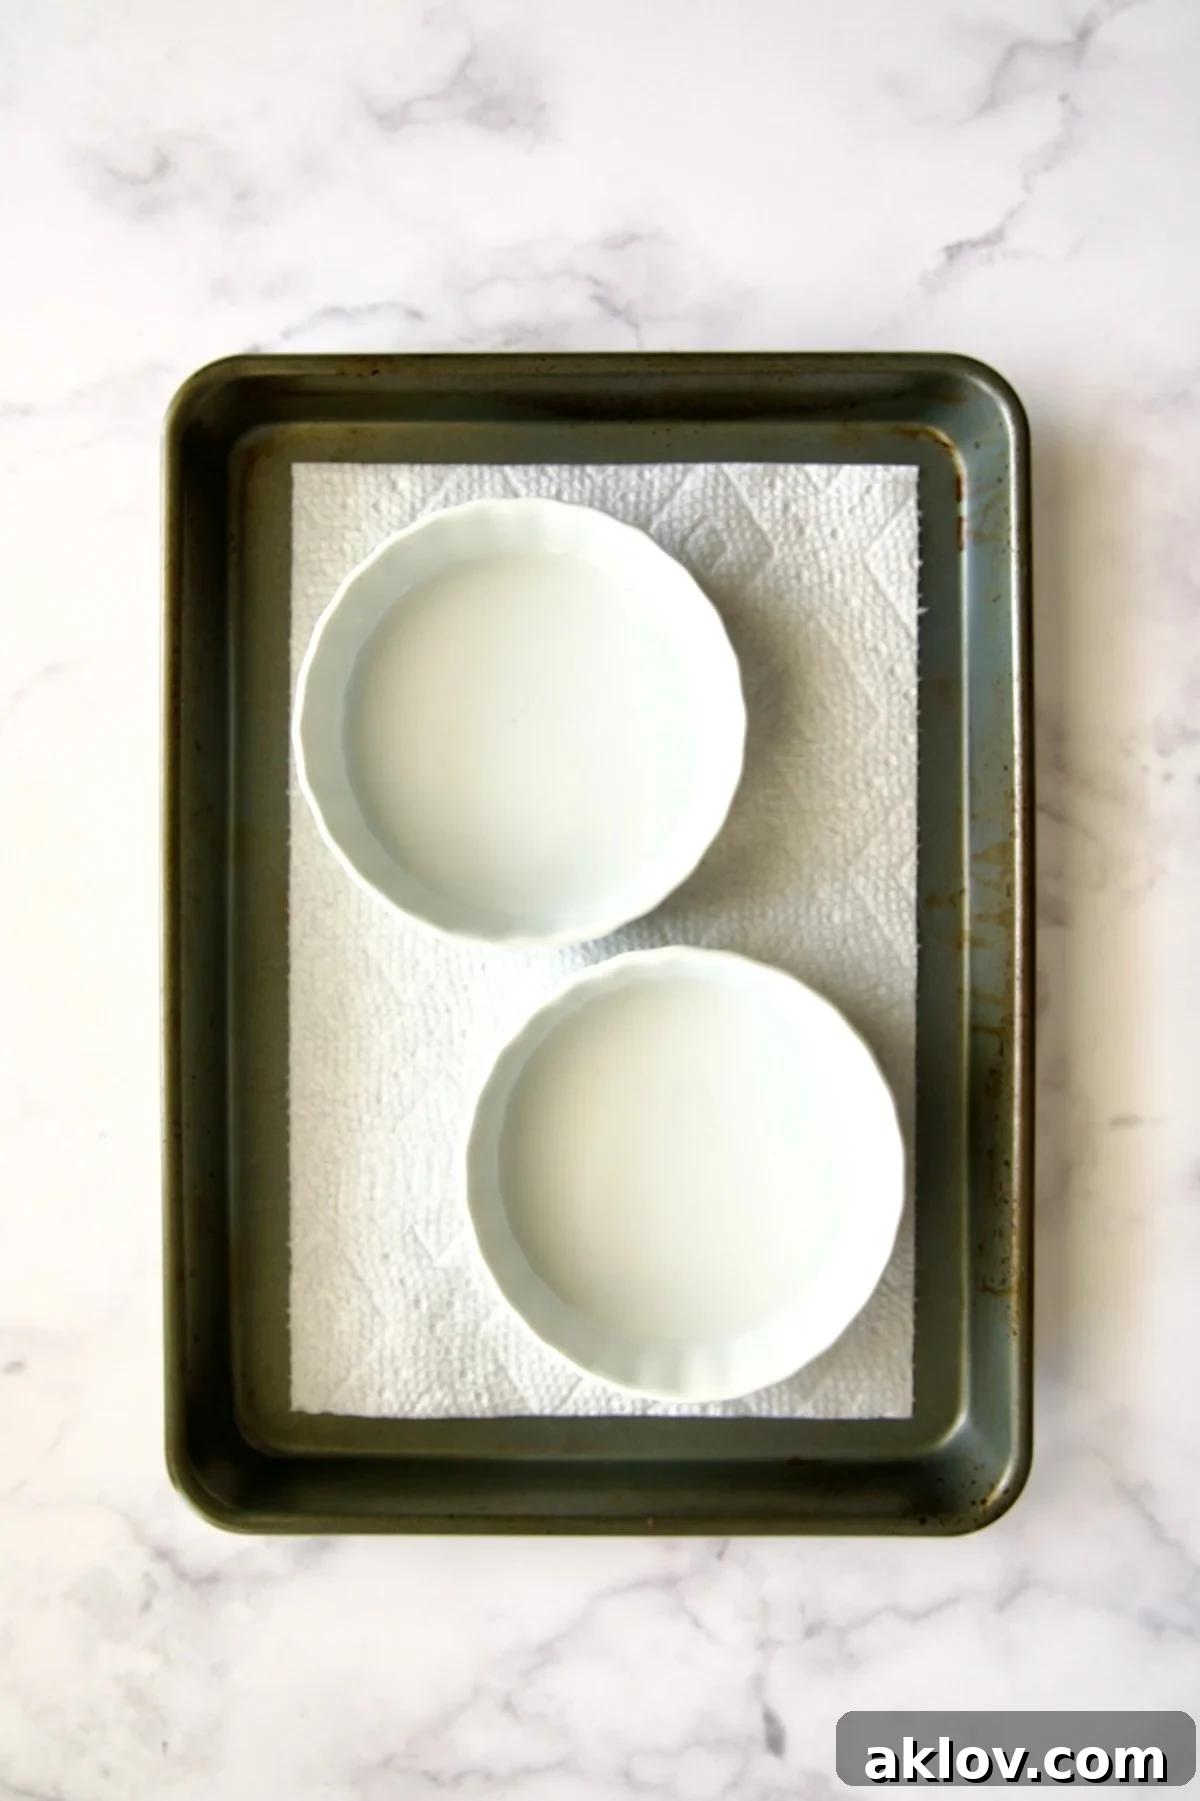
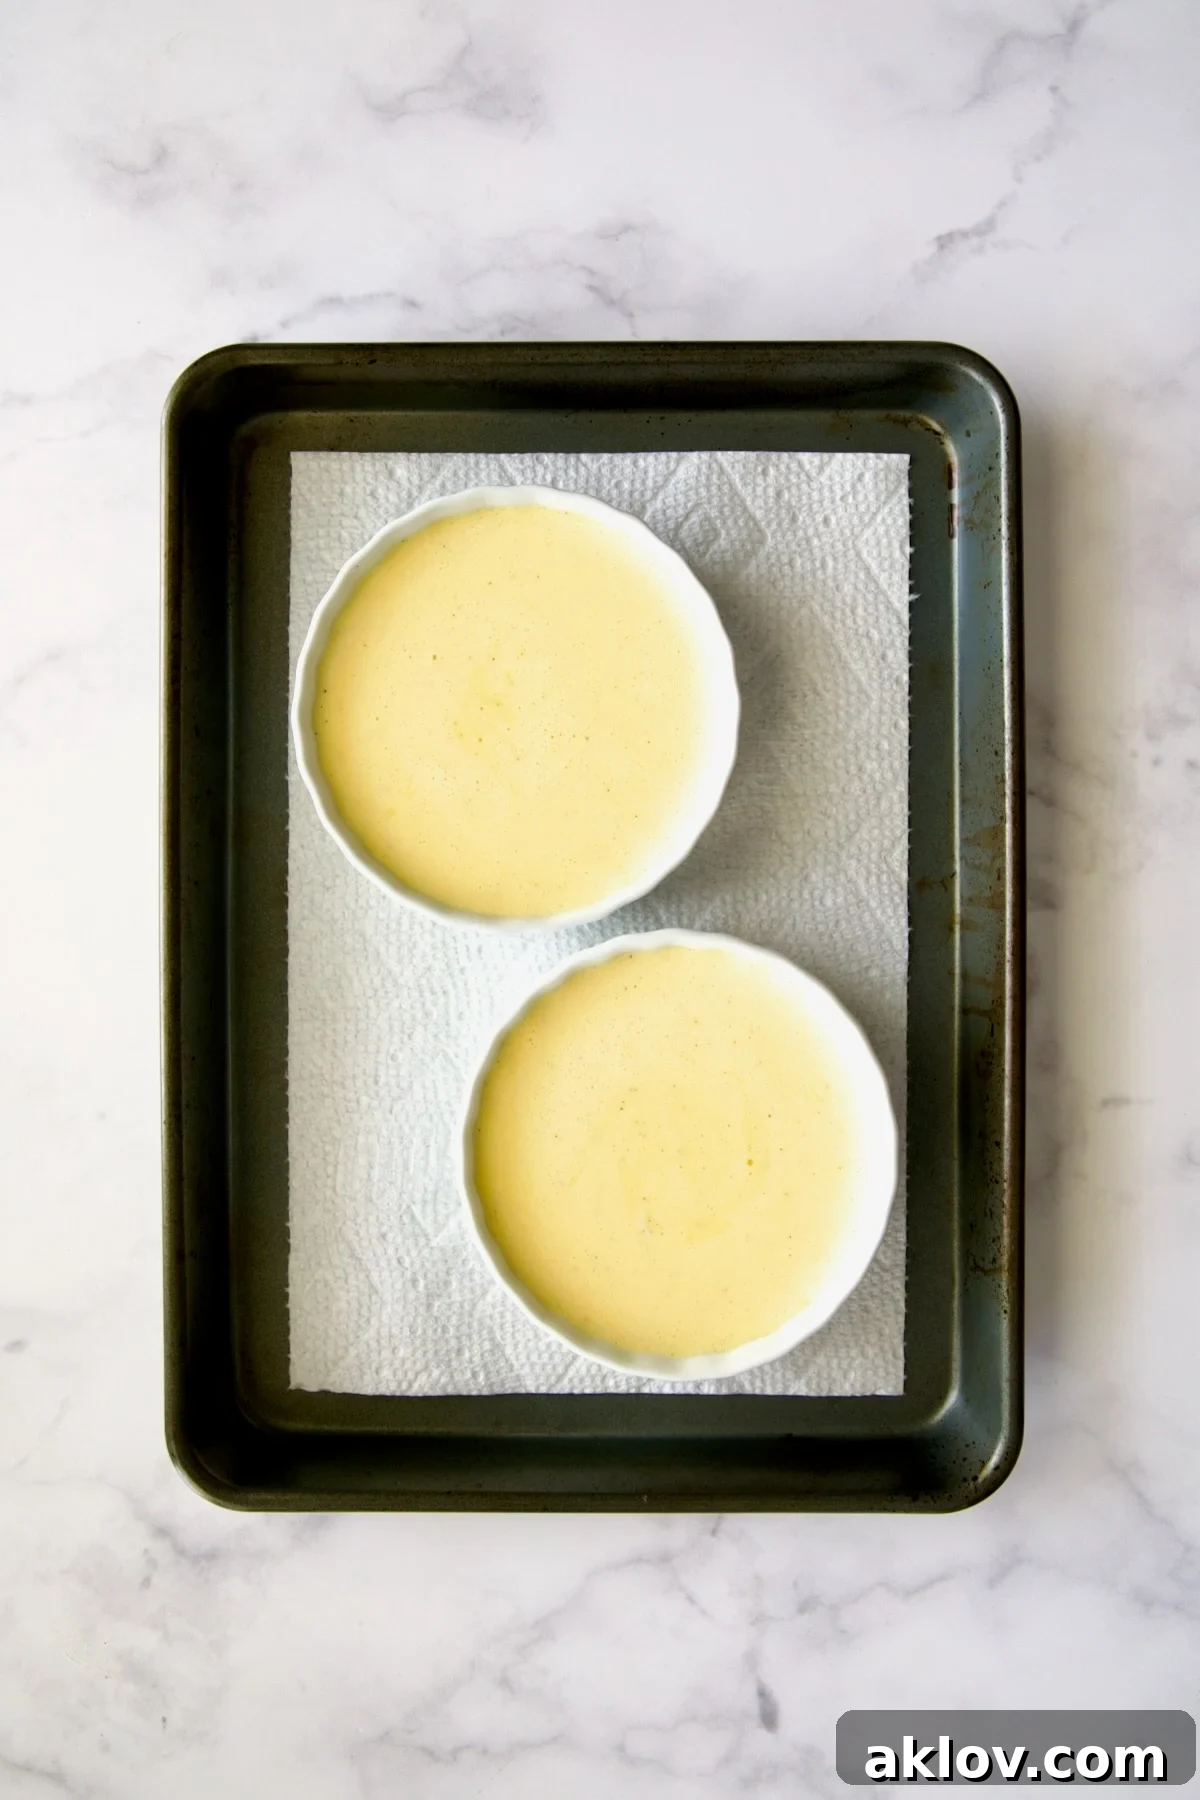
- Evenly divide the custard mixture between the two ramekins, filling them to a consistent level.
- Pour the previously boiled hot water into the baking pan, ensuring it comes approximately halfway up the sides of the ramekins. Exercise caution to avoid splashing any water into the custard mixture, as this can affect its texture.
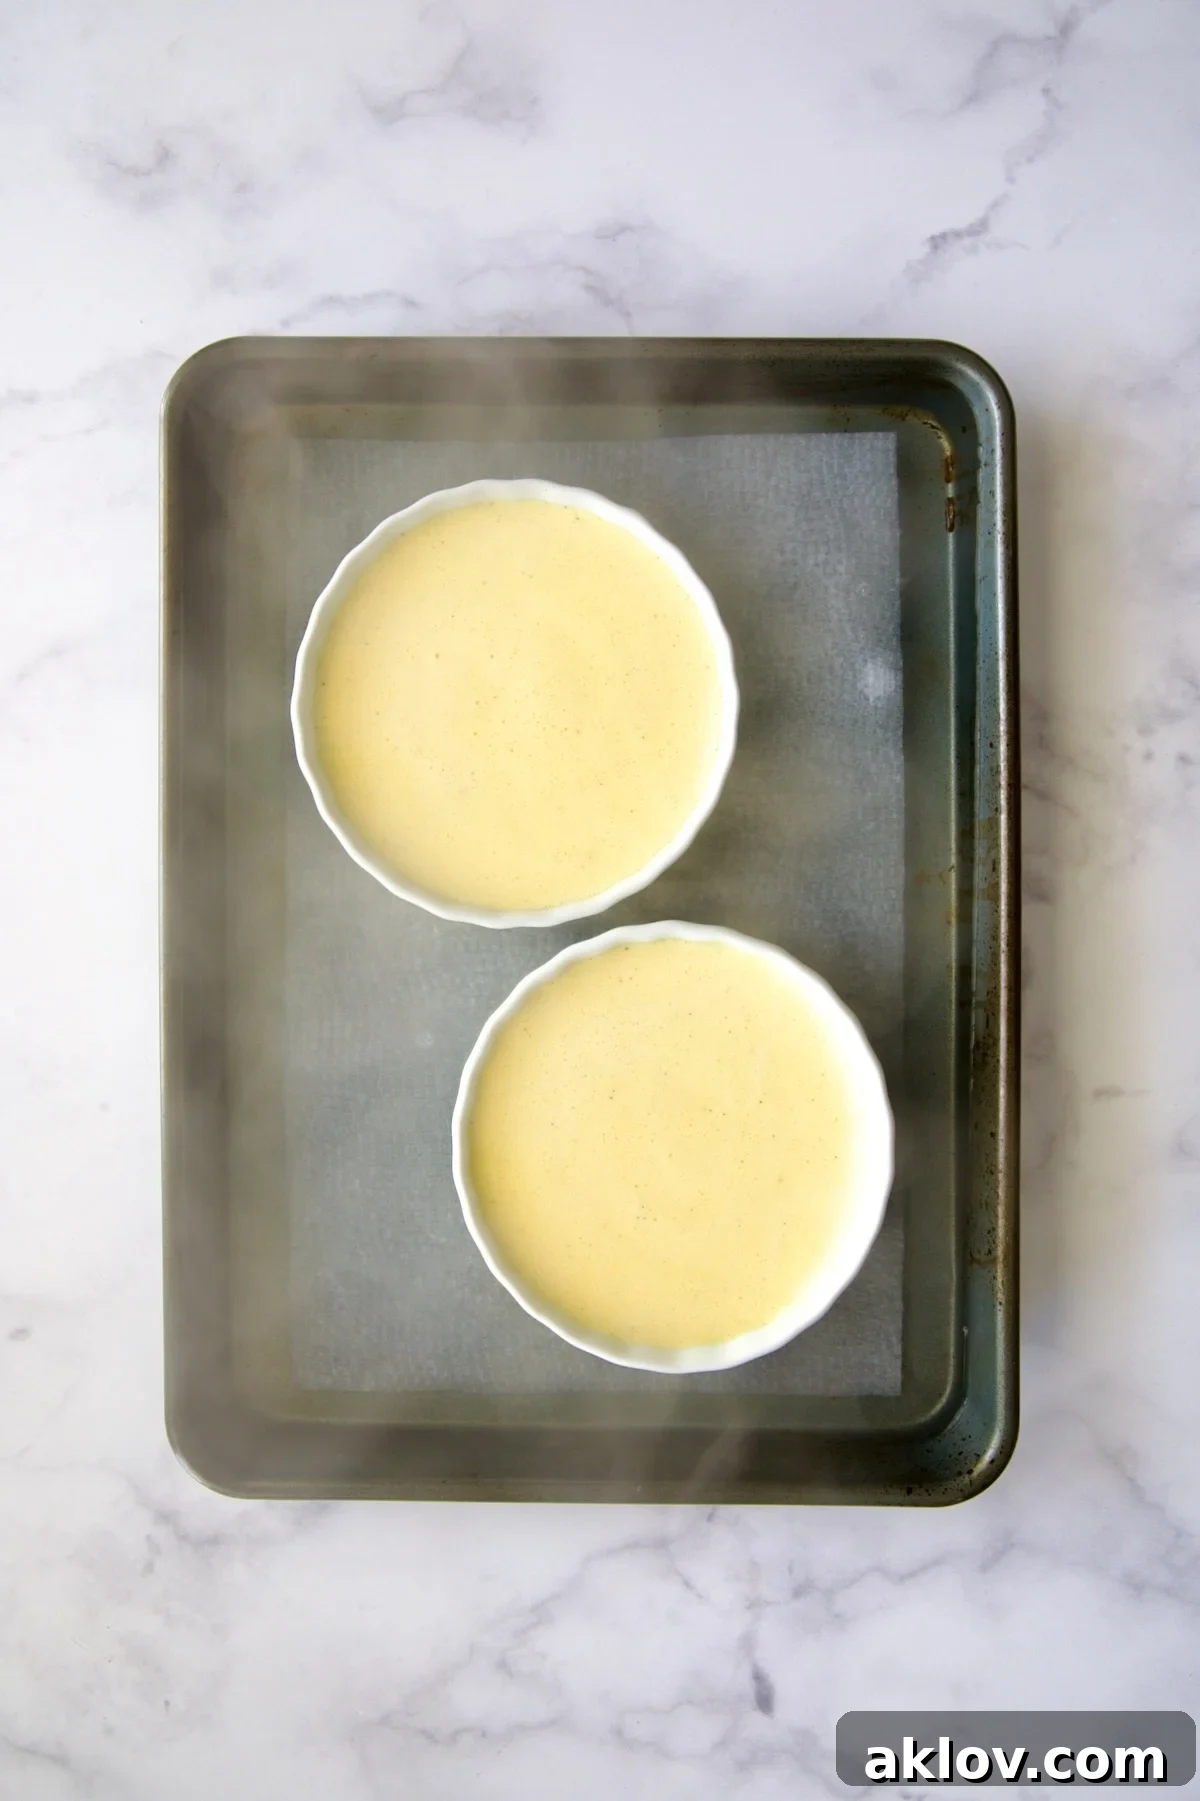
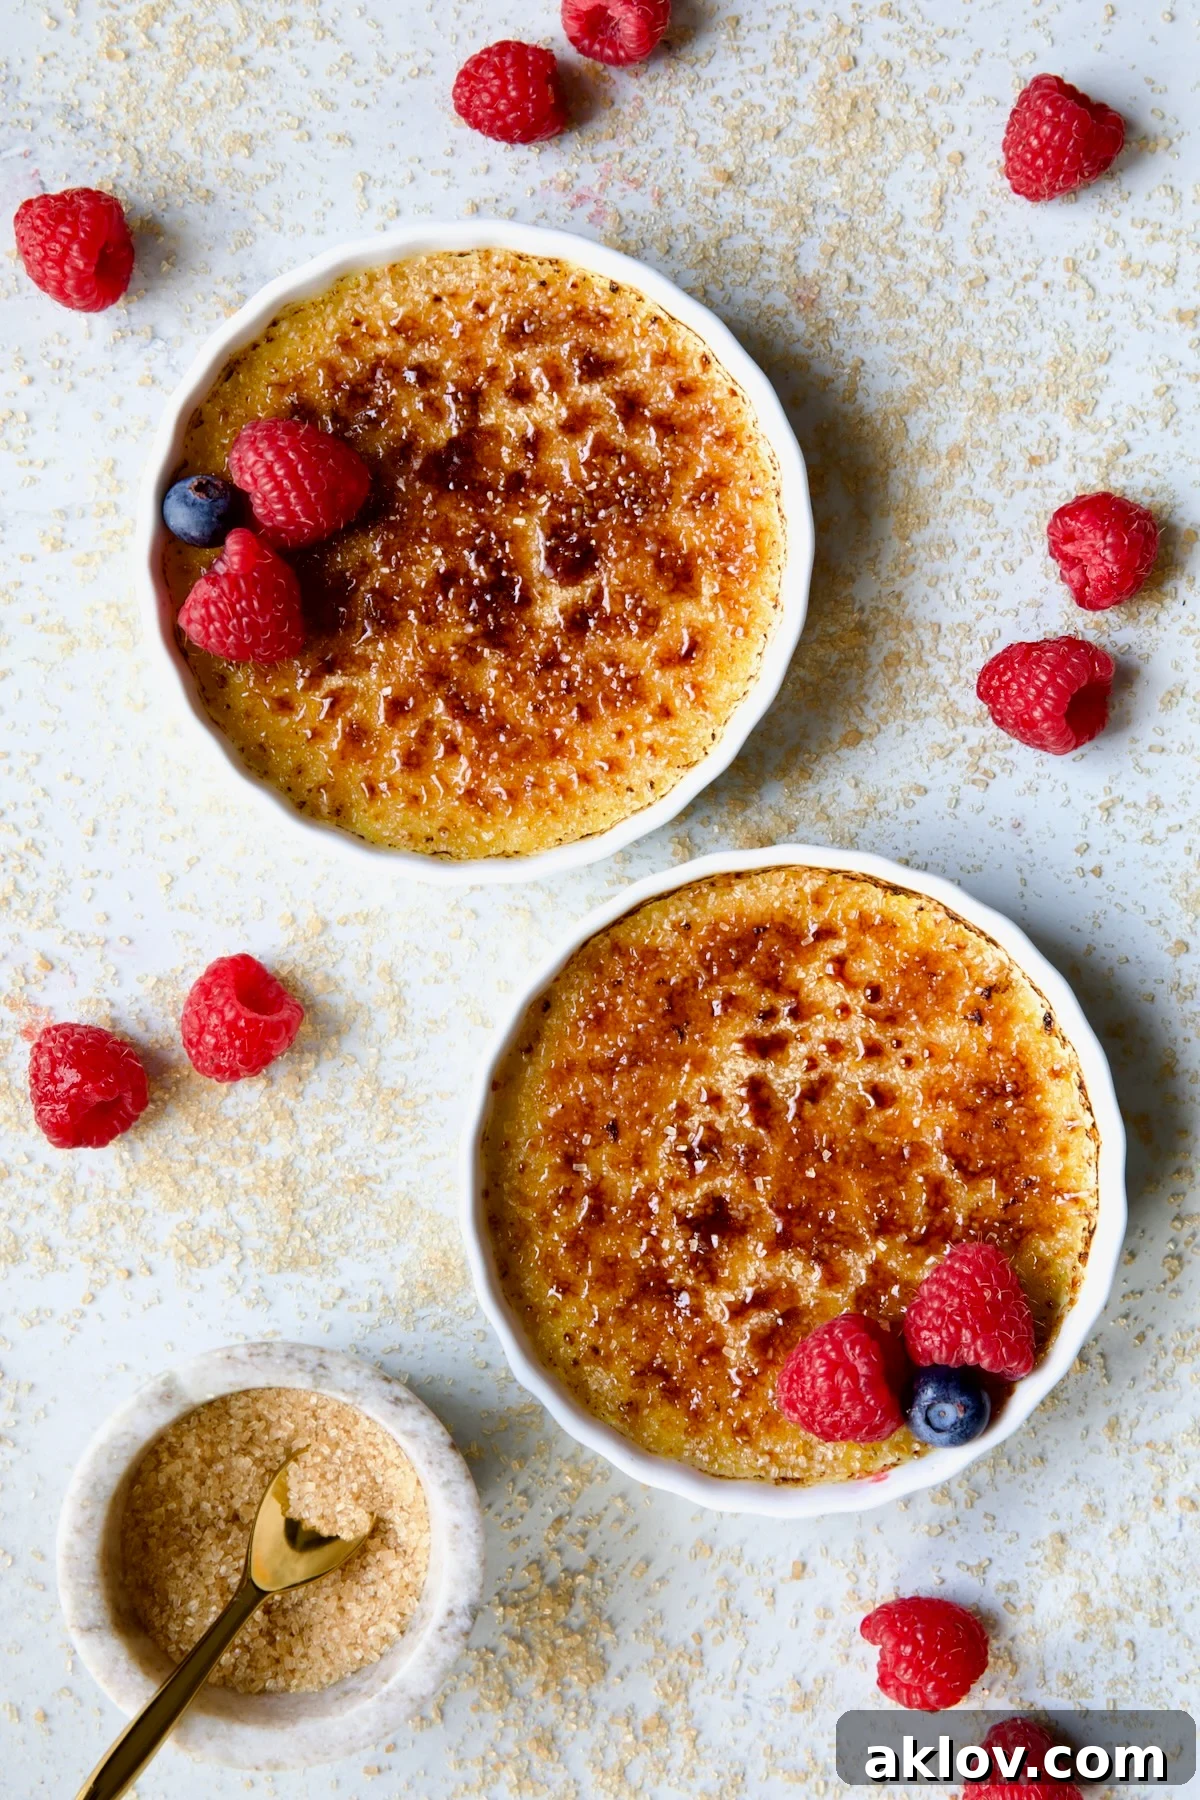
- For Shallow, Classic Crème Brûlée Ramekins (as pictured): Bake for approximately 30 minutes, or until the custards are set but still exhibit a slight wobble in the center. Gently shake the baking pan to test; the custard should move slightly, but you should be able to lightly touch the surface without any custard adhering to your finger. Remember, oven temperatures can vary, so monitor closely. The custards will continue to firm up as they cool.
- For Deeper Ramekins: If using deeper ramekins, you’ll need a deeper baking vessel, such as a cake pan, instead of a shallow rimmed sheet pan. Bake for 55 to 60 minutes, or until set with a slight wobble. Again, baking times vary by oven. The custards will firm as they chill.
- Carefully remove the baking pan from the oven and allow the ramekins to cool within the water bath for 15 minutes. This gradual cooling helps prevent cracking.
- After 15 minutes, transfer the ramekins to a wire rack to cool completely to room temperature.
- Once cooled to room temperature, place the ramekins in the refrigerator and chill for at least 2 hours. Complete cooling is essential for the custard to fully set.
- Make-Ahead Tip: For longer storage (beyond 2 hours), cover the tops of the ramekins tightly with plastic wrap before refrigerating. This prevents the custards from absorbing refrigerator odors and flavors. They can be stored for up to 2 days. If any condensation appears on the surface after chilling, gently dab it off with a paper towel before caramelizing.
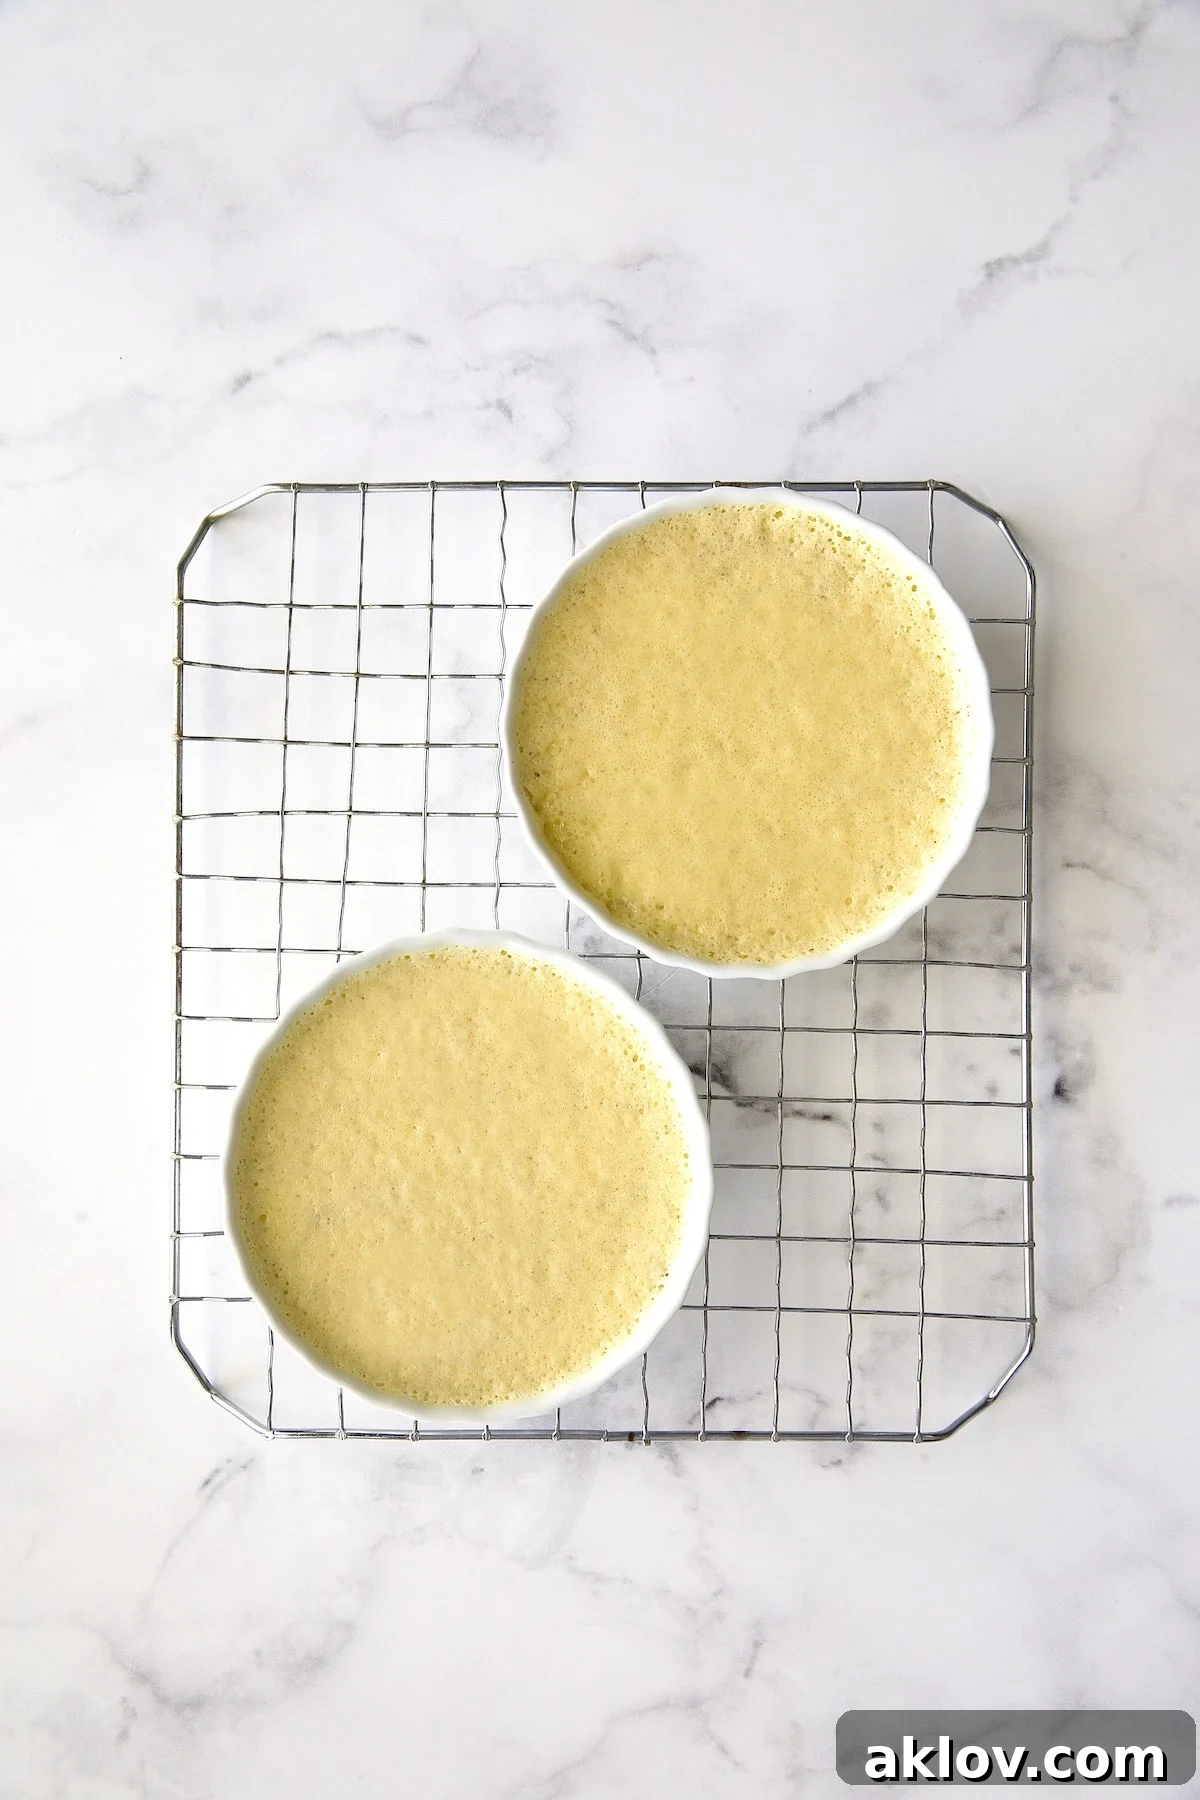
The Iconic Caramelized Sugar Crust:
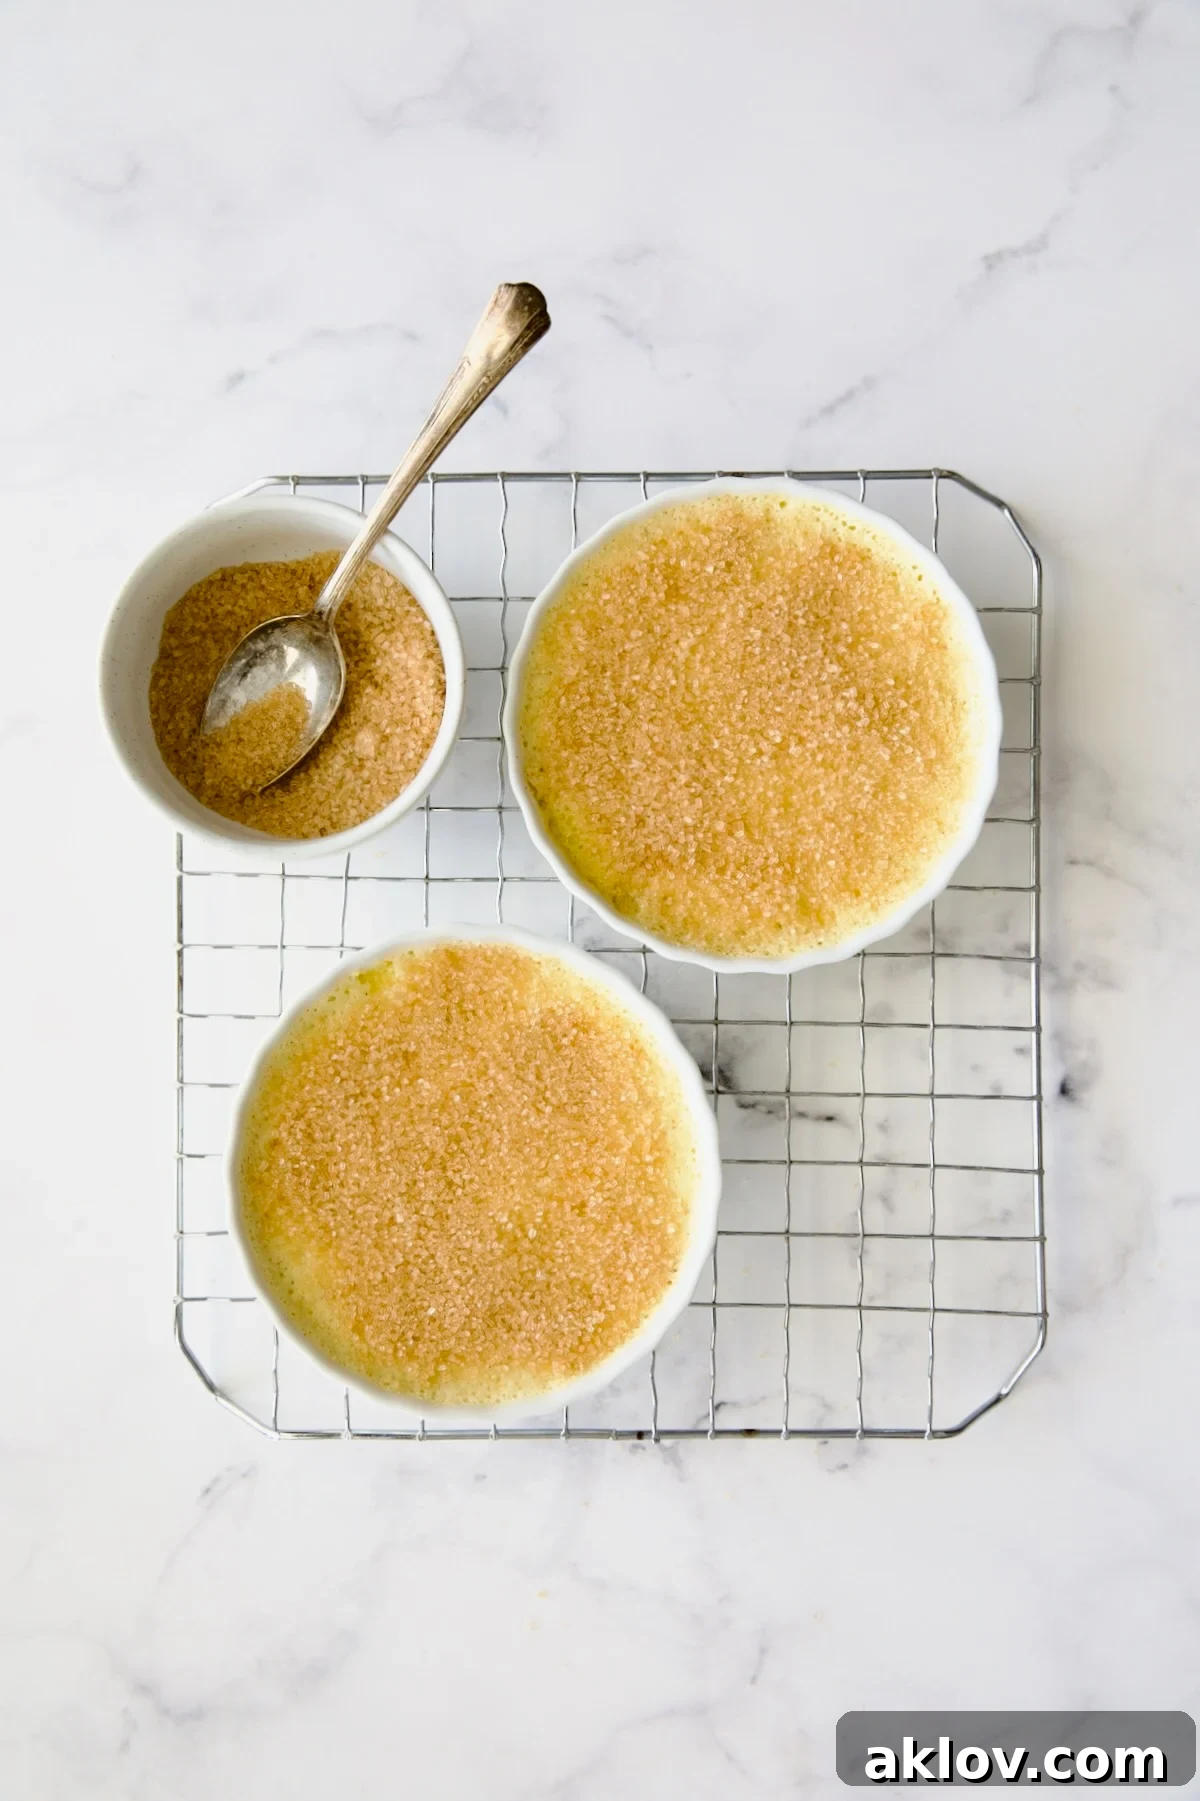
- Once the custards are thoroughly chilled, sprinkle the top of each evenly with a generous layer of turbinado sugar.
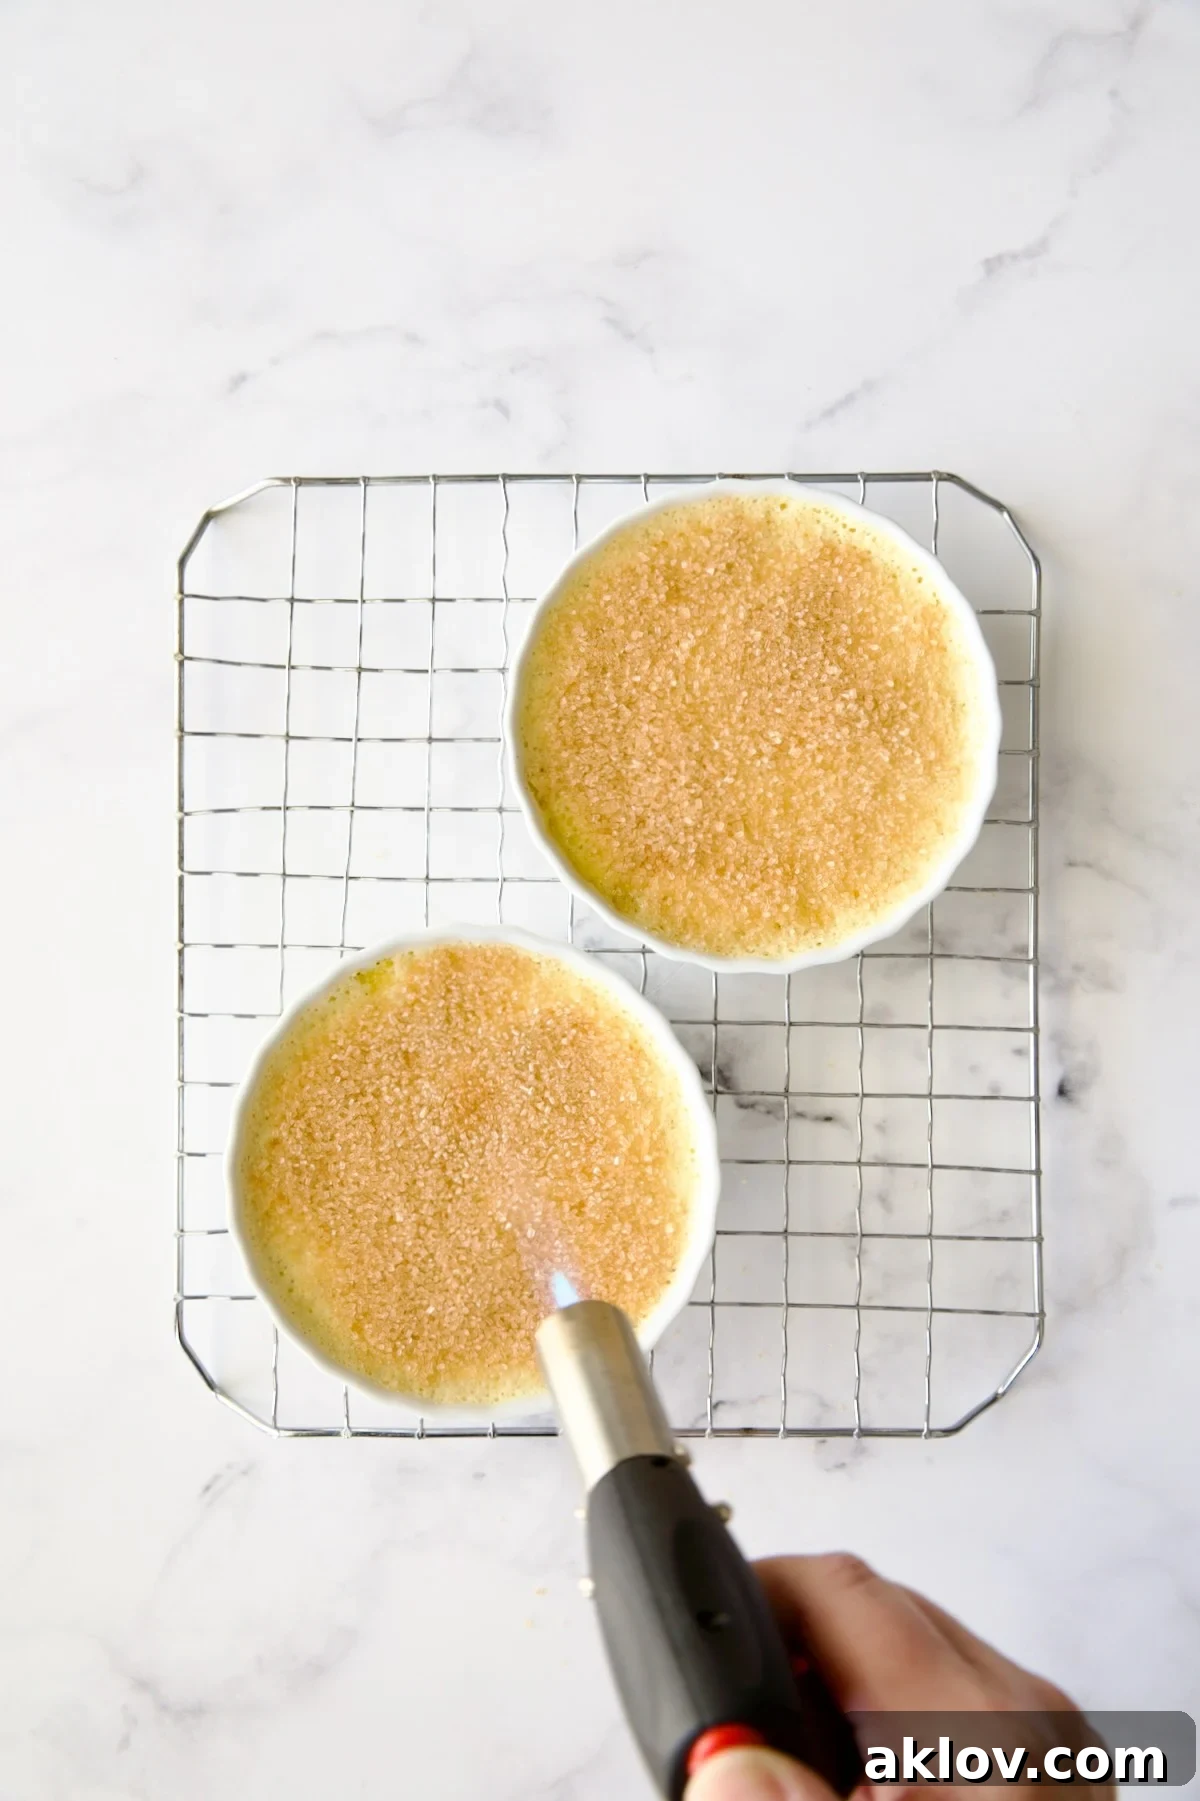
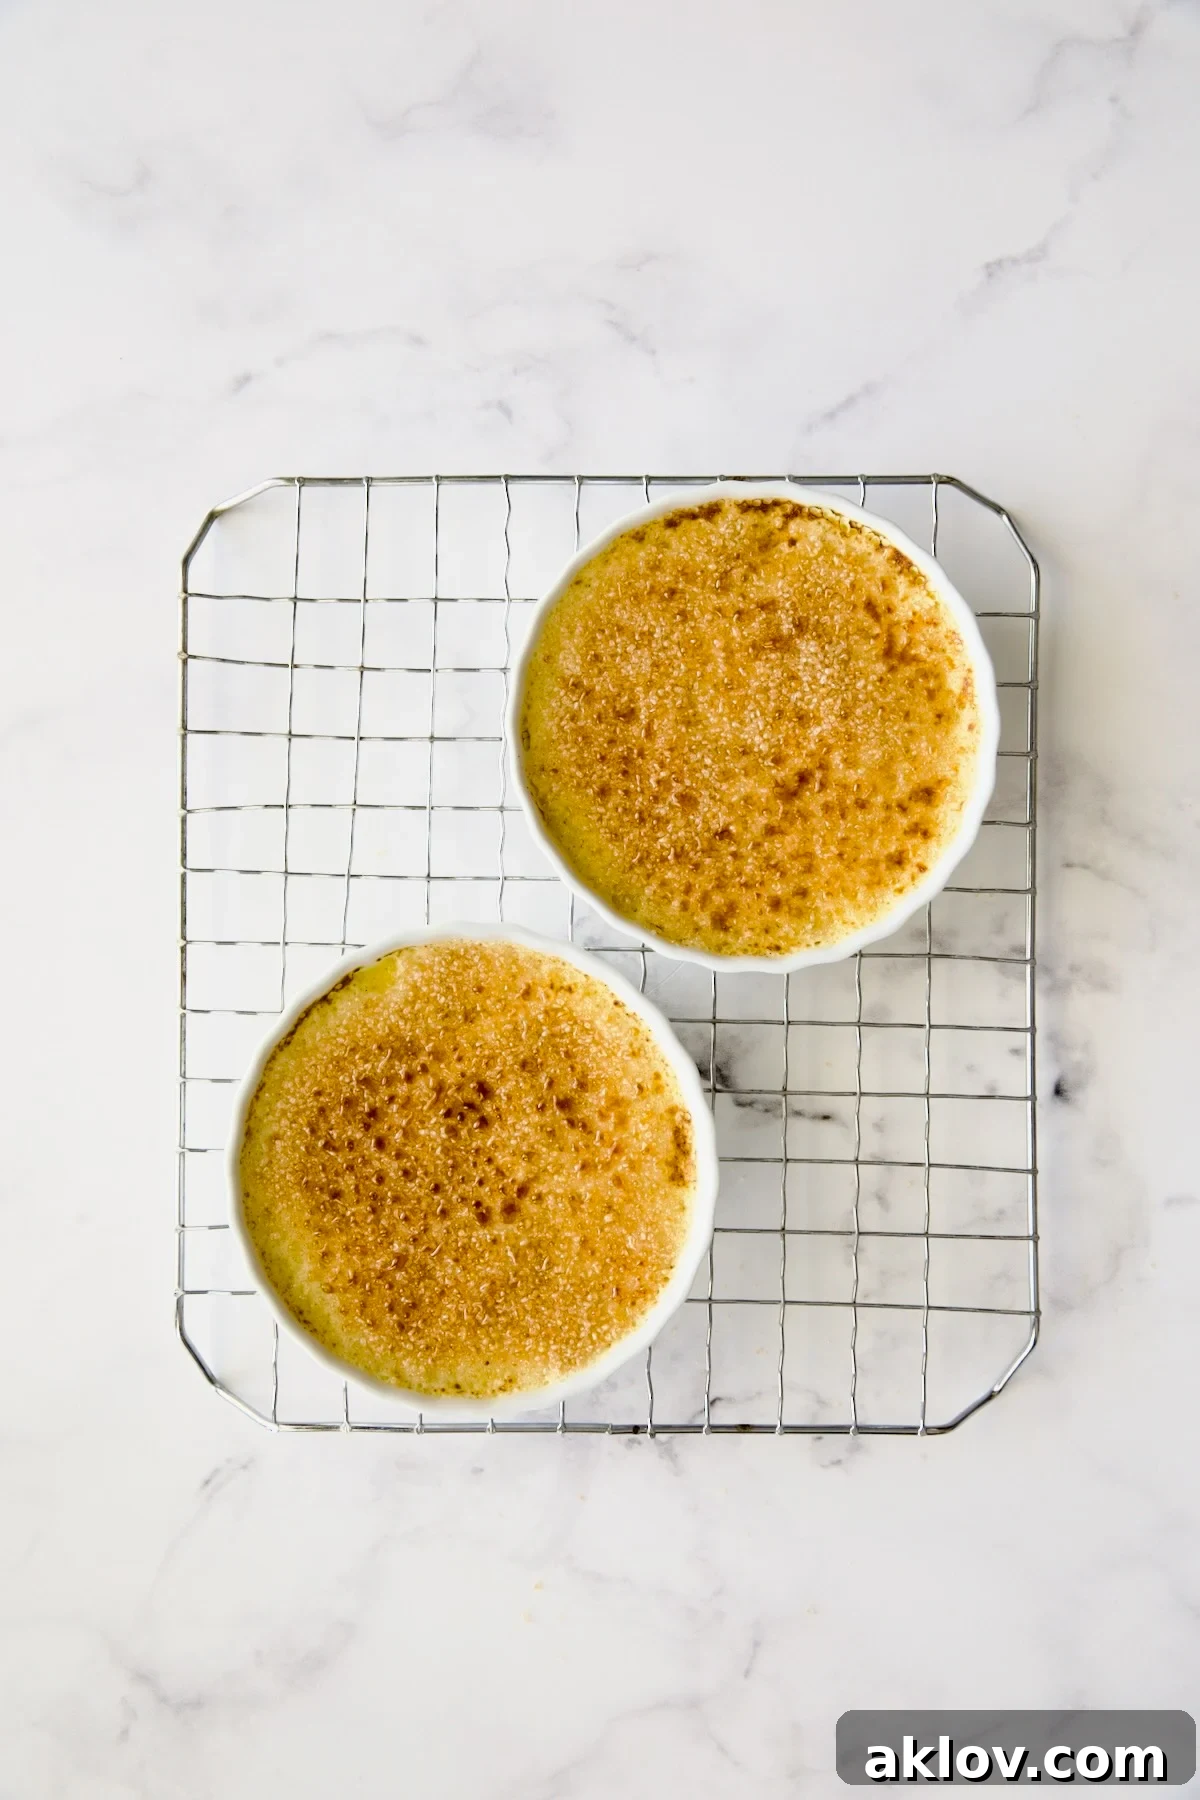
- Using a culinary torch or a propane torch, carefully caramelize the sugar. Guide the flame back and forth across the sugar’s surface until it melts, bubbles, and transforms into a deep golden-brown, hard candy coating. Adjust the torch distance and movement to prevent burning.
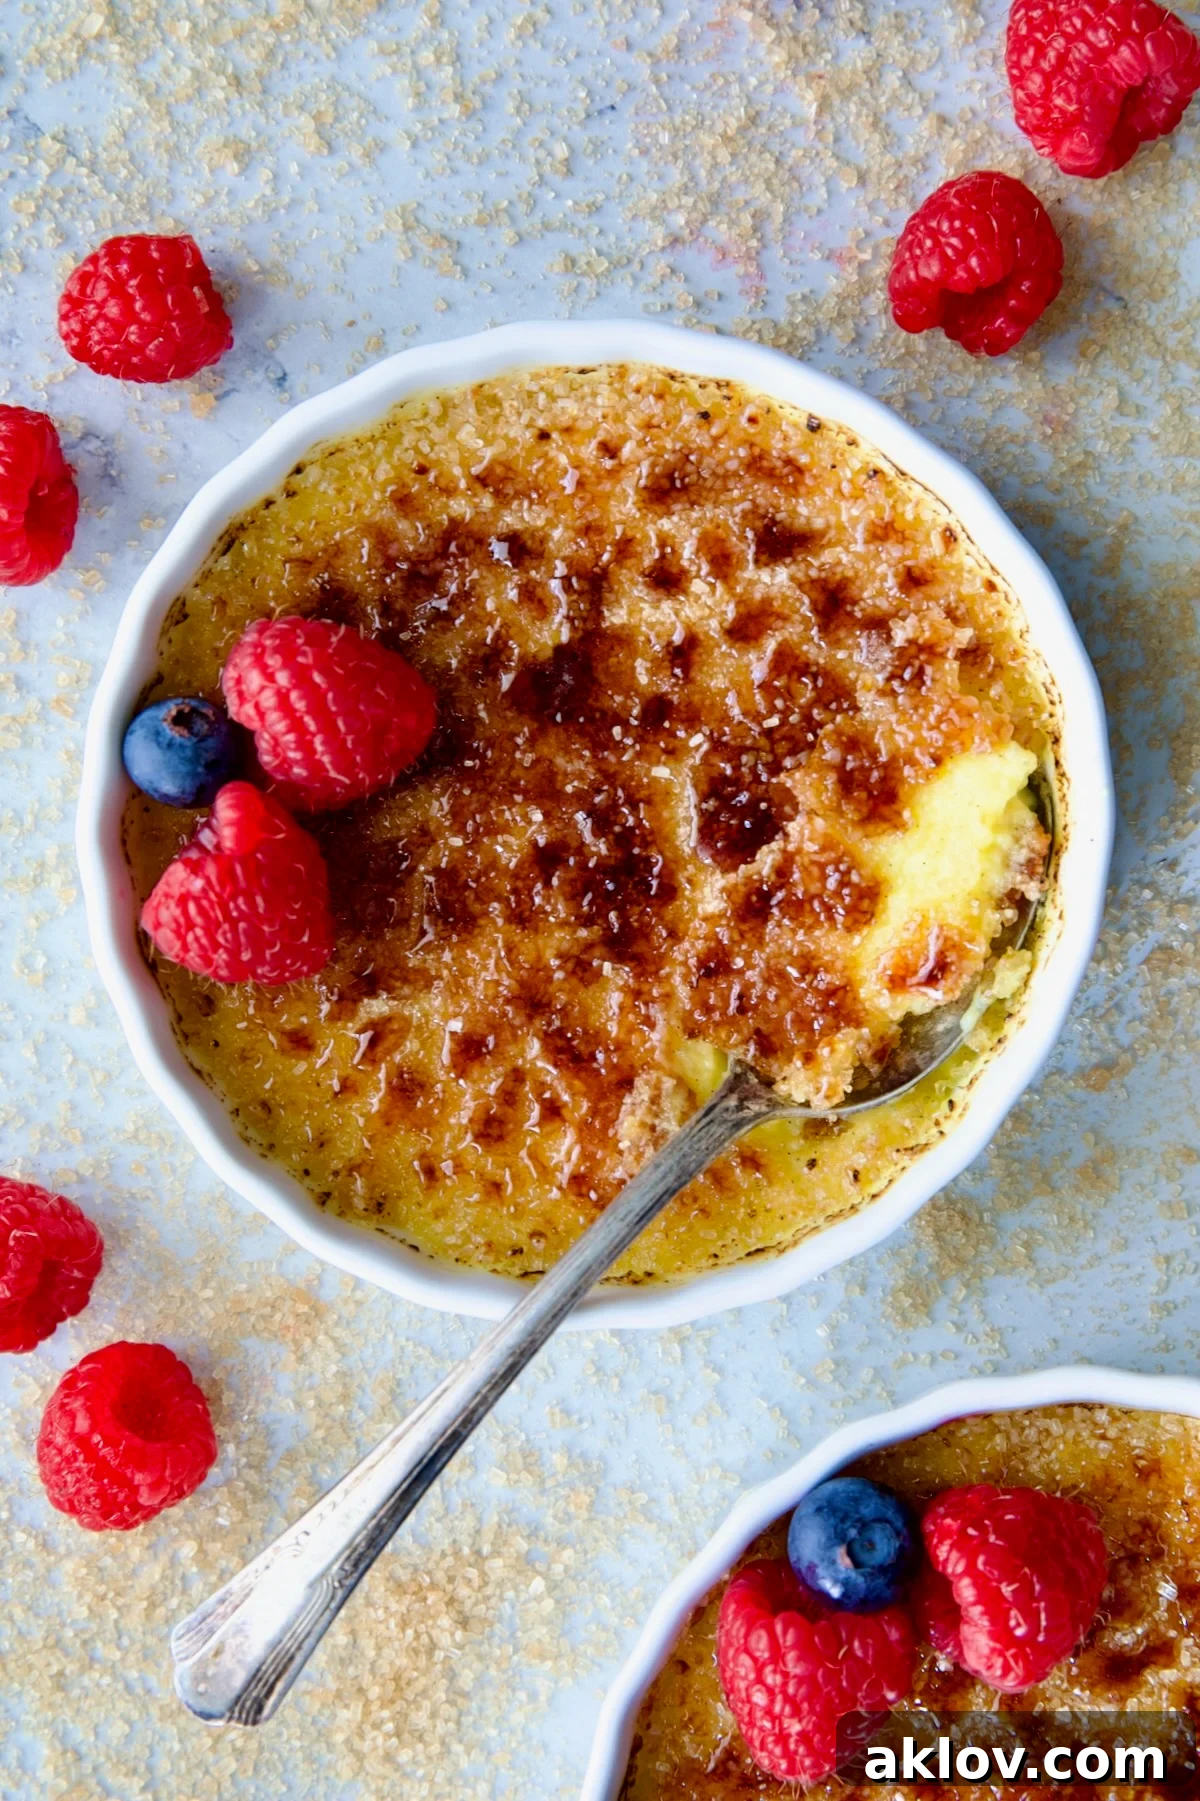
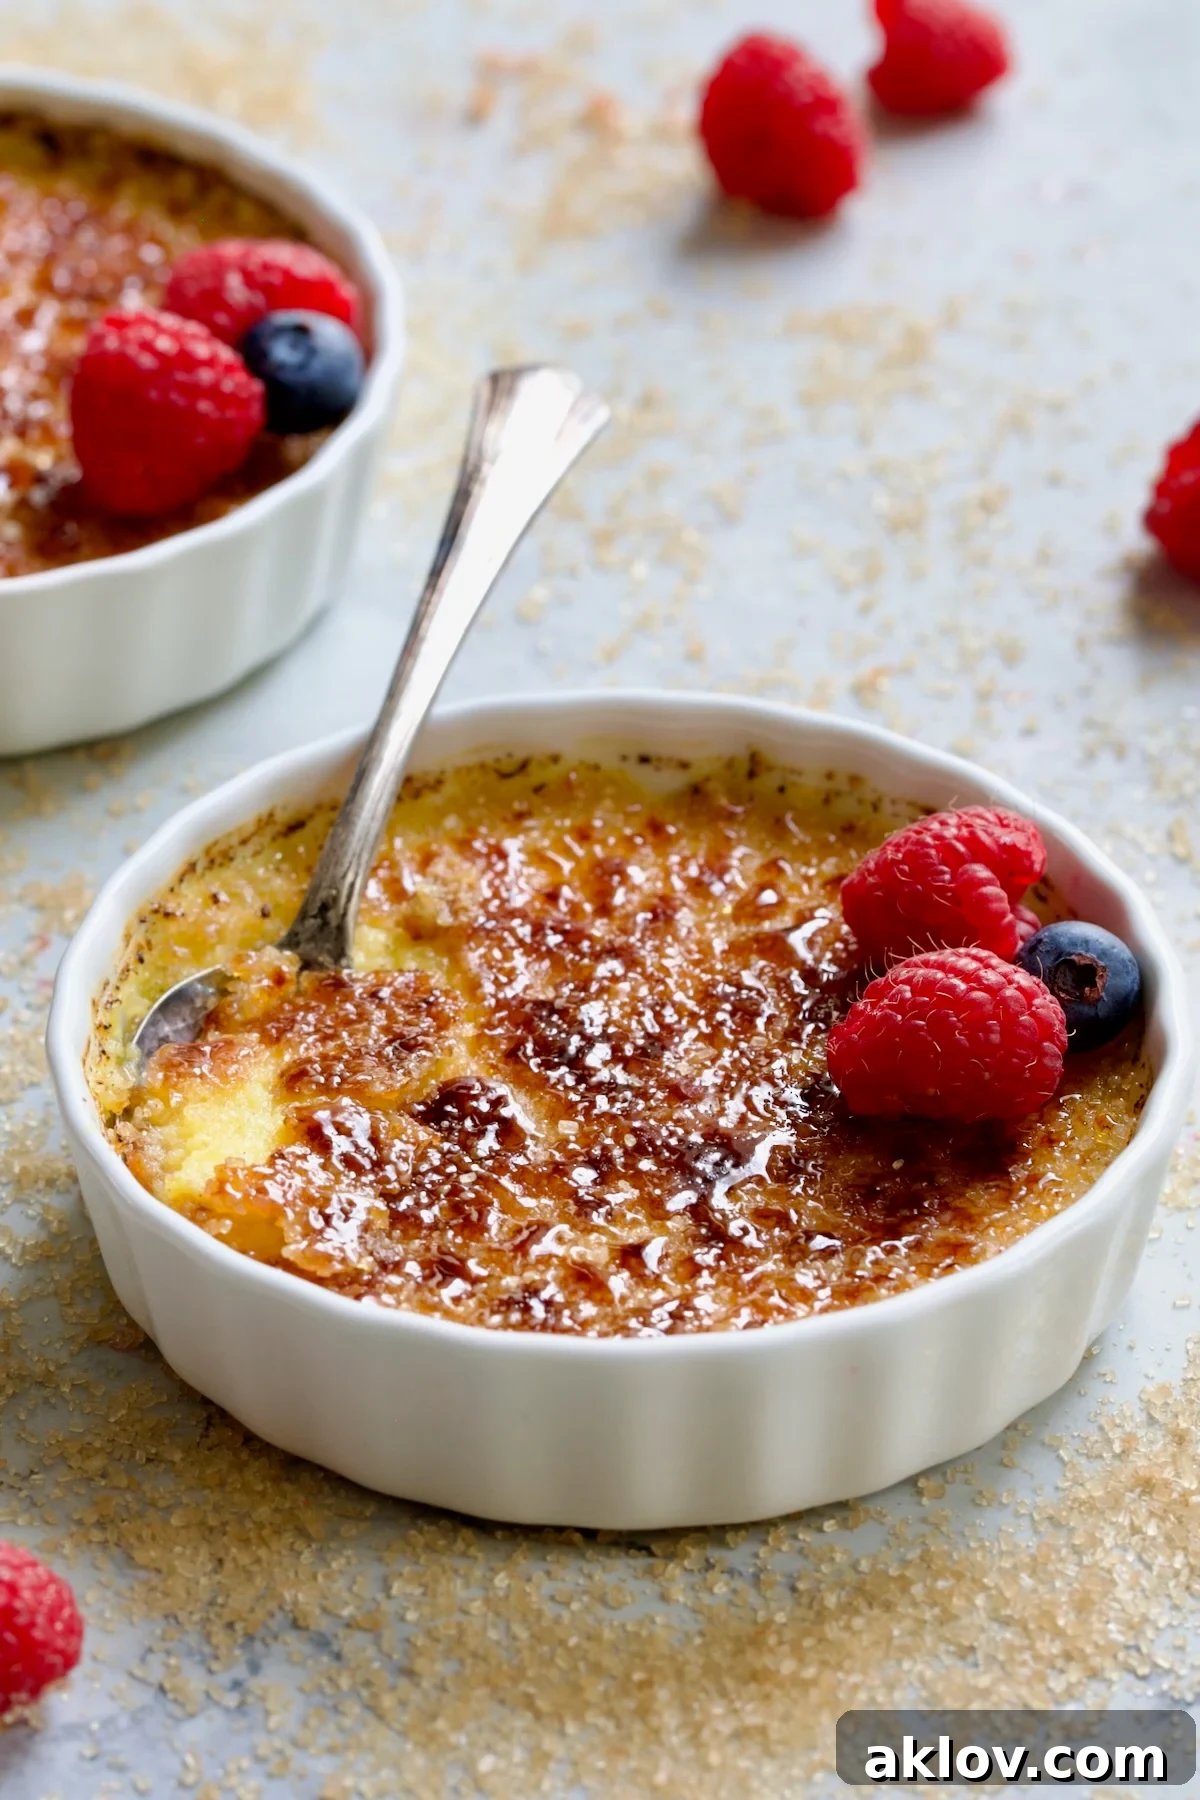
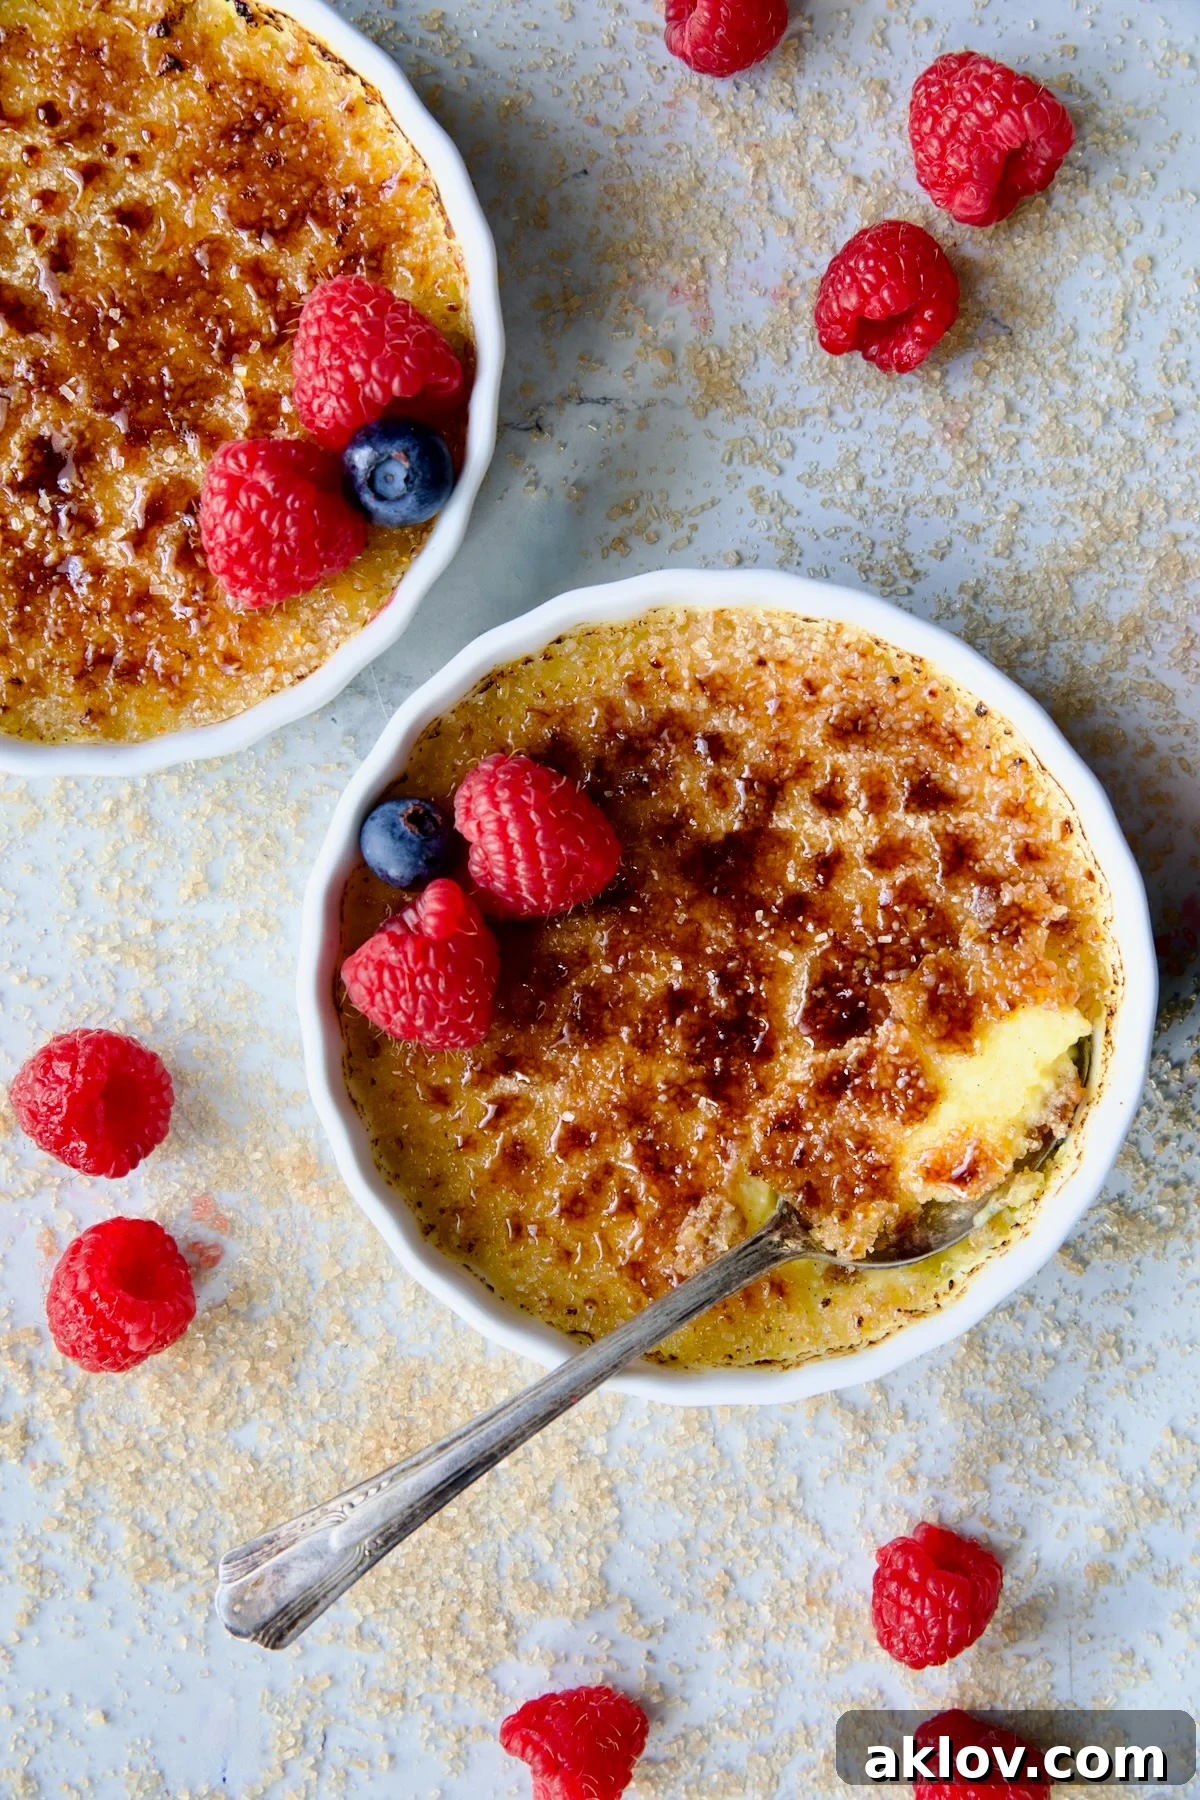
- Allow the caramelized sugar to cool thoroughly for a few minutes before serving. This allows the crust to harden and achieve its characteristic crispness.
- Garnish with fresh berries, such as raspberries and blueberries, for a pop of color and freshness, then serve immediately!
Vanilla Crème Brûlée Variations
How to Make Crème Brûlée with Vanilla Extract:
While a vanilla bean imparts unparalleled depth, you can still achieve a delicious crème brûlée using vanilla extract. Here’s how to adapt the recipe:
- Preheat your oven to 300°F (150°C) and prepare your water bath as instructed above.
- Warm the heavy cream in a small saucepan as you would for a vanilla bean. Allow it to cool for 10 to 15 minutes off the heat.
- In a separate bowl, whisk the egg yolks, granulated sugar, and 1 teaspoon of real vanilla extract until the mixture is pale yellow and thick.
- This is a crucial step: you must “temper” the eggs. Very gradually, starting with just a tablespoon or two, add small amounts of the warmed heavy cream to the egg mixture, whisking gently after each addition. Continue adding the cream in small increments, whisking constantly, until about half of the cream has been incorporated. This slowly raises the temperature of the egg yolks, preventing them from scrambling. Once tempered, you can add the remaining cream more quickly, whisking until smooth.
- Proceed by straining the custard (if desired, though less critical without bean pieces) and filling the ramekins. Follow the rest of the baking instructions in the hot water bath, chilling, and caramelizing.
How to Make Vanilla Crème Brûlée Without a Torch (Broiler Method):
No kitchen torch? No problem! You can still achieve a delightful caramelized sugar topping using your oven’s broiler. This method requires a bit more vigilance, but it’s entirely feasible.
- IMPORTANT: **Do not preheat your broiler.** Begin with a COLD oven. This is critical to prevent the custards from overheating and splitting before the sugar caramelizes.
- Position an oven rack in the highest possible slot in your oven.
- Place the chilled ramekins (with sugar sprinkled evenly on top) on a sturdy baking sheet. Place the baking sheet with the ramekins directly onto the high rack before turning on the broiler.
- Turn on your oven’s broiler setting. Allow the ramekins to sit under the broiler as it heats up. This gradual heat exposure helps prevent shocking the custard.
- Broil for 3 to 5 minutes, keeping a very close eye on them. Broilers vary significantly in intensity, so some may take less time (as little as 2 minutes) and others slightly more. Do not walk away! The sugar can go from perfectly caramelized to burnt in seconds.
- Halfway through the process (e.g., after 2 minutes), carefully rotate the baking sheet 180 degrees to ensure even caramelization across both custards.
- Remove the ramekins when the sugar is a beautiful golden brown and bubbling. Be extremely careful, as the ramekins will be intensely hot.
- Allow them to cool completely at room temperature. For a traditional cold crème brûlée, you may wish to refrigerate them for about 30 minutes before serving. Note that if refrigerated for much longer, the sugar crust may begin to soften due to moisture.
Other Flavor Inspirations:
While vanilla remains the timeless classic, crème brûlée is wonderfully versatile! Once you’ve mastered the basic technique, feel free to experiment with various flavor infusions:
- Chocolate: Melt in some high-quality dark chocolate chips or cocoa powder into the warm cream.
- Coffee: Add a tablespoon of instant espresso powder or strong brewed coffee to the cream.
- Liqueurs: Infuse sophistication with Kahlua, Grand Marnier (orange), Calvados (apple brandy), or a splash of bourbon.
- Citrus: Zest a lemon, orange, or lime into the cream for a bright, refreshing twist.
- Coconut: Incorporate coconut milk (full-fat) or toasted coconut flakes for a tropical note.
- Spices: A pinch of cinnamon, cardamom, or star anise can add a warm, exotic dimension.
Expert Tips for a Flawless Crème Brûlée
- Vanilla Bean Storage: To prevent your vanilla bean from drying out after cutting it in half widthwise, store the unused half in an airtight container or a small, sealed bag. The small opening helps preserve its moisture and aroma for future use.
- Avoid Over-Mixing: When combining egg yolks and sugar, use a hand whisk rather than an electric mixer. An electric mixer can incorporate too much air into the mixture, resulting in a foamy custard that might bake unevenly or have a less smooth texture. Light, gentle whisking after tempering is key.
- Water Bath Handling: Always be cautious when moving the baking pan with the water bath. If water splashes into the ramekins, the custard’s texture will be compromised. If you notice any water in a ramekin, carefully dab it out with a paper towel before baking.
- Culinary Torch Versatility: A kitchen torch isn’t just for crème brûlée! It’s a versatile tool that can elevate many dishes. Use it to fire-roast tomatoes or peppers for smoky flavor, perfectly melt cheese atop gratins or French onion soup, toast meringues to a golden finish, or even melt marshmallows for instant s’mores.
- Troubleshooting Granular Custard: If your custard turns out grainy, it could be due to eggs scrambling from too much heat during tempering, or overbaking. Ensure you temper the eggs slowly and bake just until the custard is set with a slight jiggle.
- Preventing a Watery Top: Condensation can form on the surface of the custard during chilling. Always cover ramekins tightly with plastic wrap once cooled. Before caramelizing, gently dab any moisture with a paper towel.
Recipe FAQs:
Crème brûlée is an excellent make-ahead dessert. Once the custards have fully cooled, cover the tops of the ramekins tightly with plastic wrap to prevent them from absorbing other aromas in the refrigerator. They can be stored in the refrigerator for up to 2 days before caramelizing and serving.
Also known as a bain-marie, a hot water bath is essential for baking delicate egg custards like crème brûlée. The hot water surrounding the ramekins distributes heat gently and evenly, preventing the edges of the custard from overcooking while the center sets. Without a water bath, the custard could cook too quickly, resulting in a split, curdled, or grainy texture.
Beyond classic vanilla, crème brûlée can be flavored with a wide array of ingredients. Popular variations include rich chocolate, bold coffee or espresso, various liqueurs such as Kahlua, Grand Marnier, or Calvados, robust bourbon, creamy coconut, and zesty lemon. Spices like cinnamon or cardamom also add delightful depth.
Crème brûlée is an indulgent dessert and not typically considered a low-calorie or “light” option. Each serving of this particular recipe contains approximately 586 calories, a testament to its rich and satisfying nature.
Storage and Serving
- For optimal texture, store crème brûlée in the refrigerator with the sugar uncaramelized for up to 2 days. Cover the ramekins tightly with plastic wrap. If the sugar has already been caramelized, the crème brûlée will still store well in the refrigerator, but the sugar crust will inevitably soften over time due to moisture. It will still be delicious, just without the signature crack!
Elevate Your Evening: Suggested Menu for Two
To create a truly memorable and romantic dining experience, pair your Classic Vanilla Crème Brûlée with this delightful French-inspired menu:
- Appetizer/Starter: Elegant Goat Cheese Stuffed Artichoke Bottoms, served on a bed of fresh baby greens with a light Honey-Balsamic Dressing (inspired by this Roasted Beet Salad).
- Soup Course: A comforting bowl of French Onion Soup For Two, rich with caramelized onions and a cheesy crouton.
- Main Course: Indulgent Surf and Turf – Steak au Poivre and Broiled Lobster Tail for a luxurious main.
- Side Dish: Perfectly roasted asparagus, lightly seasoned, to complement the richness of the main course.
More Irresistible Dessert Recipes You’ll Love!
- Blueberry Cream Cheese Pie: A creamy, fruity delight.
- Raspberry Ricotta Cake with Almonds: Light, moist, and bursting with berry flavor.
- Grilled Pound Cake with Balsamic Strawberries and Mascarpone Cream: A unique twist on a classic.
- Grilled Peaches with Vanilla Ice Cream and Honey Balsamic Drizzle: A refreshing and warm dessert.
Discover all my delightful dessert recipes at: Dessert Recipes – From A Chef’s Kitchen
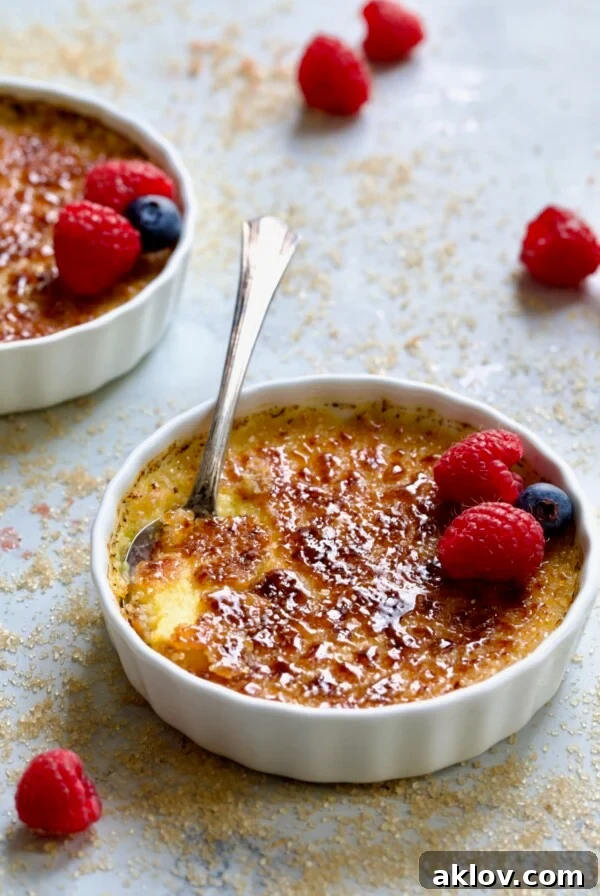
Classic Vanilla Crème Brûlée for Two
Carol | From A Chef’s Kitchen
Classic Vanilla Crème Brûlée for Two is the perfect sweet ending to any special meal you make at home! This sinfully rich heavenly dessert is easy to make at home and can be made well ahead of time.
15 mins
30 mins
45 mins
2
Equipment
-
Saucepan
-
Glass Mixing Bowls
-
Whisk
-
13 x 9 Metal Baking Pan
-
6-Ounce Ramekins
-
Culinary / Kitchen Torch
Ingredients
- 1 cup heavy cream
- 1/2 vanilla bean
- 3 large egg yolks
- 1/4 cup granulated sugar
- Turbinado sugar, or granulated sugar for topping
- Fresh berries, for garnish, if desired
Instructions
- Preheat oven to 300°F (150°C). Place a rack in the center of your oven. Bring a saucepan of water to a boil and keep that off to the side until needed.
- Bring cream to a simmer over high heat in a small saucepan until bubbles form around the edges. (Does not need to fully boil.)
- Cut the vanilla bean in half widthwise, then one of the halves lengthwise. Scrape the seeds from both halves of the split pod into the cream, then add the vanilla bean pieces. Give it a stir and remove from the heat and let stand for 30 minutes.
- While the cream is cooling, combine egg yolks and sugar in a bowl and beat until pale yellow and thick, approximately 4 minutes. Place a fine mesh sieve over the bowl and strain the cream mixture into the egg mixture. Press on the vanilla bean and scrape as many seeds that may adhere to the sieve into the custard mixture as possible. Whisk lightly until smooth and blended.
- Place a paper towel (this keeps the ramekins from slipping) on the bottom of a baking pan or sheet pan large enough to hold the two ramekins. Set the ramekins on the paper towel, then fill each ramekin with even amounts of the custard mixture.
- Pour the boiling water into the pan to come halfway up the side of the ramekin, being careful not to splash any water into the mixture.
- Bake for 30 minutes or until set but still slightly loose in the center. Check after 30 minutes. (The custard should still wobble and move slightly.)
- Remove from oven and allow to cool in the pan for 15 minutes, then transfer to a wire rack to cool to room temperature.
- Place in the refrigerator for 2 hours to cool completely.
- Once the custards have cooled, sprinkle the top evenly with turbinado sugar. Using a blow torch or kitchen torch, carefully brown the top to caramelize the sugar to form a hard candy coating. Let that cool before serving.
Notes
- A teaspoon of real vanilla extract can be substituted for the vanilla bean. Avoid imitation vanilla flavor.
TIP:
- Be sure to use heavy cream, not whipping cream. Heavy cream is 36% milk fat, while whipping is 30-36%.
MAKE AHEAD:
- To store longer than 2 hours, cover the top of the ramekins with plastic wrap and refrigerate for up to 2 days. If any condensation occurs on the surface after the custards cooled, carefully dab it off with a paper towel.
IF USING A DEEPER RAMEKIN:
- You’ll need a deeper pan such as a cake pan instead of the rimmed baking sheet as shown.
- Bake for 55 to 60 minutes or until set but still slightly loose. Again, the custard should wobble/move slightly. Keep in mind all ovens vary.
- The custards will firm up as they cool.
Nutrition
Calories: 586kcal
Carbohydrates: 30g
Protein: 7g
Fat: 50g
Saturated Fat: 30g
Polyunsaturated Fat: 3g
Monounsaturated Fat: 14g
Cholesterol: 410mg
Sodium: 45mg
Potassium: 141mg
Sugar: 29g
Vitamin A: 2117IU
Vitamin C: 1mg
Calcium: 112mg
Iron: 1mg
Nutritional values are automatically calculated using unbranded products and are estimates only. Actual results may vary based on ingredients used and portion sizes. Adjust as needed for dietary restrictions, allergies, or health concerns.
 Like this? Leave a comment below!