
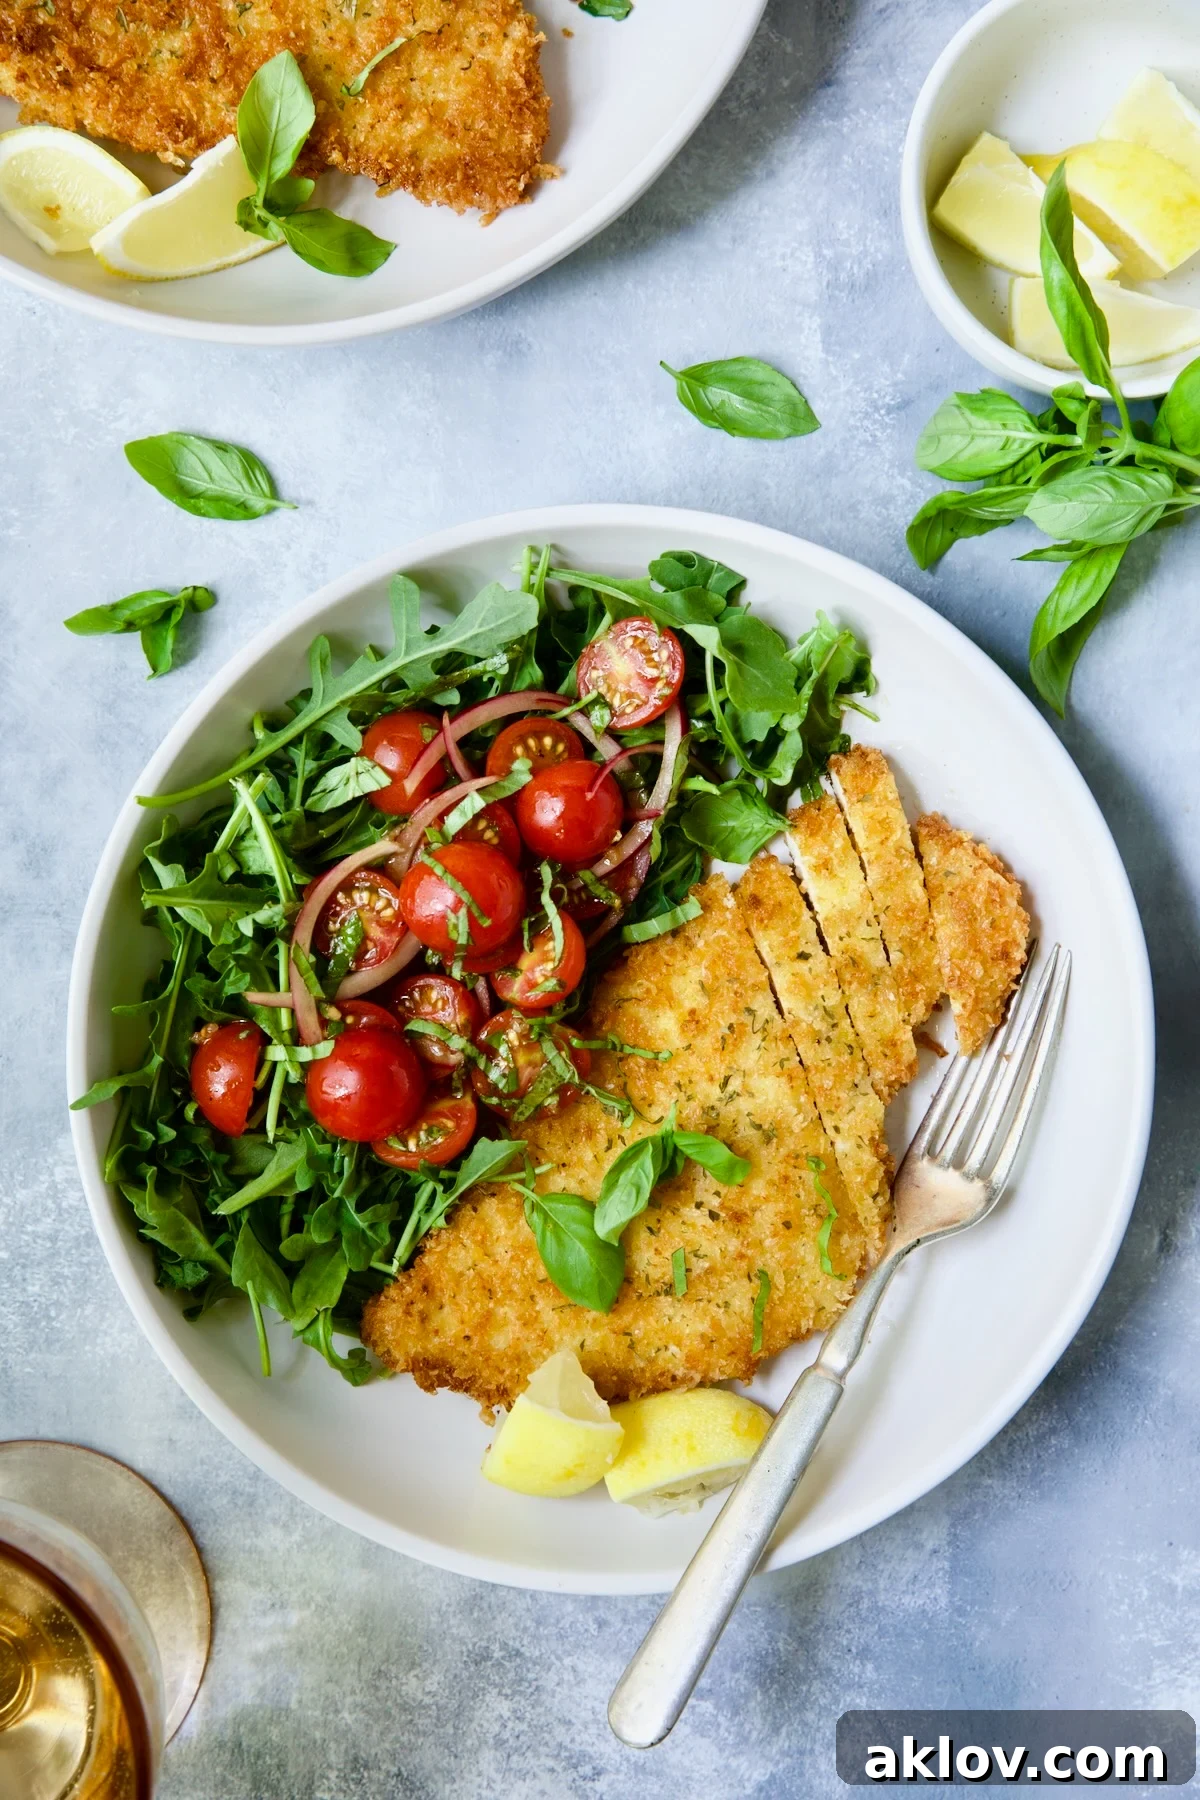
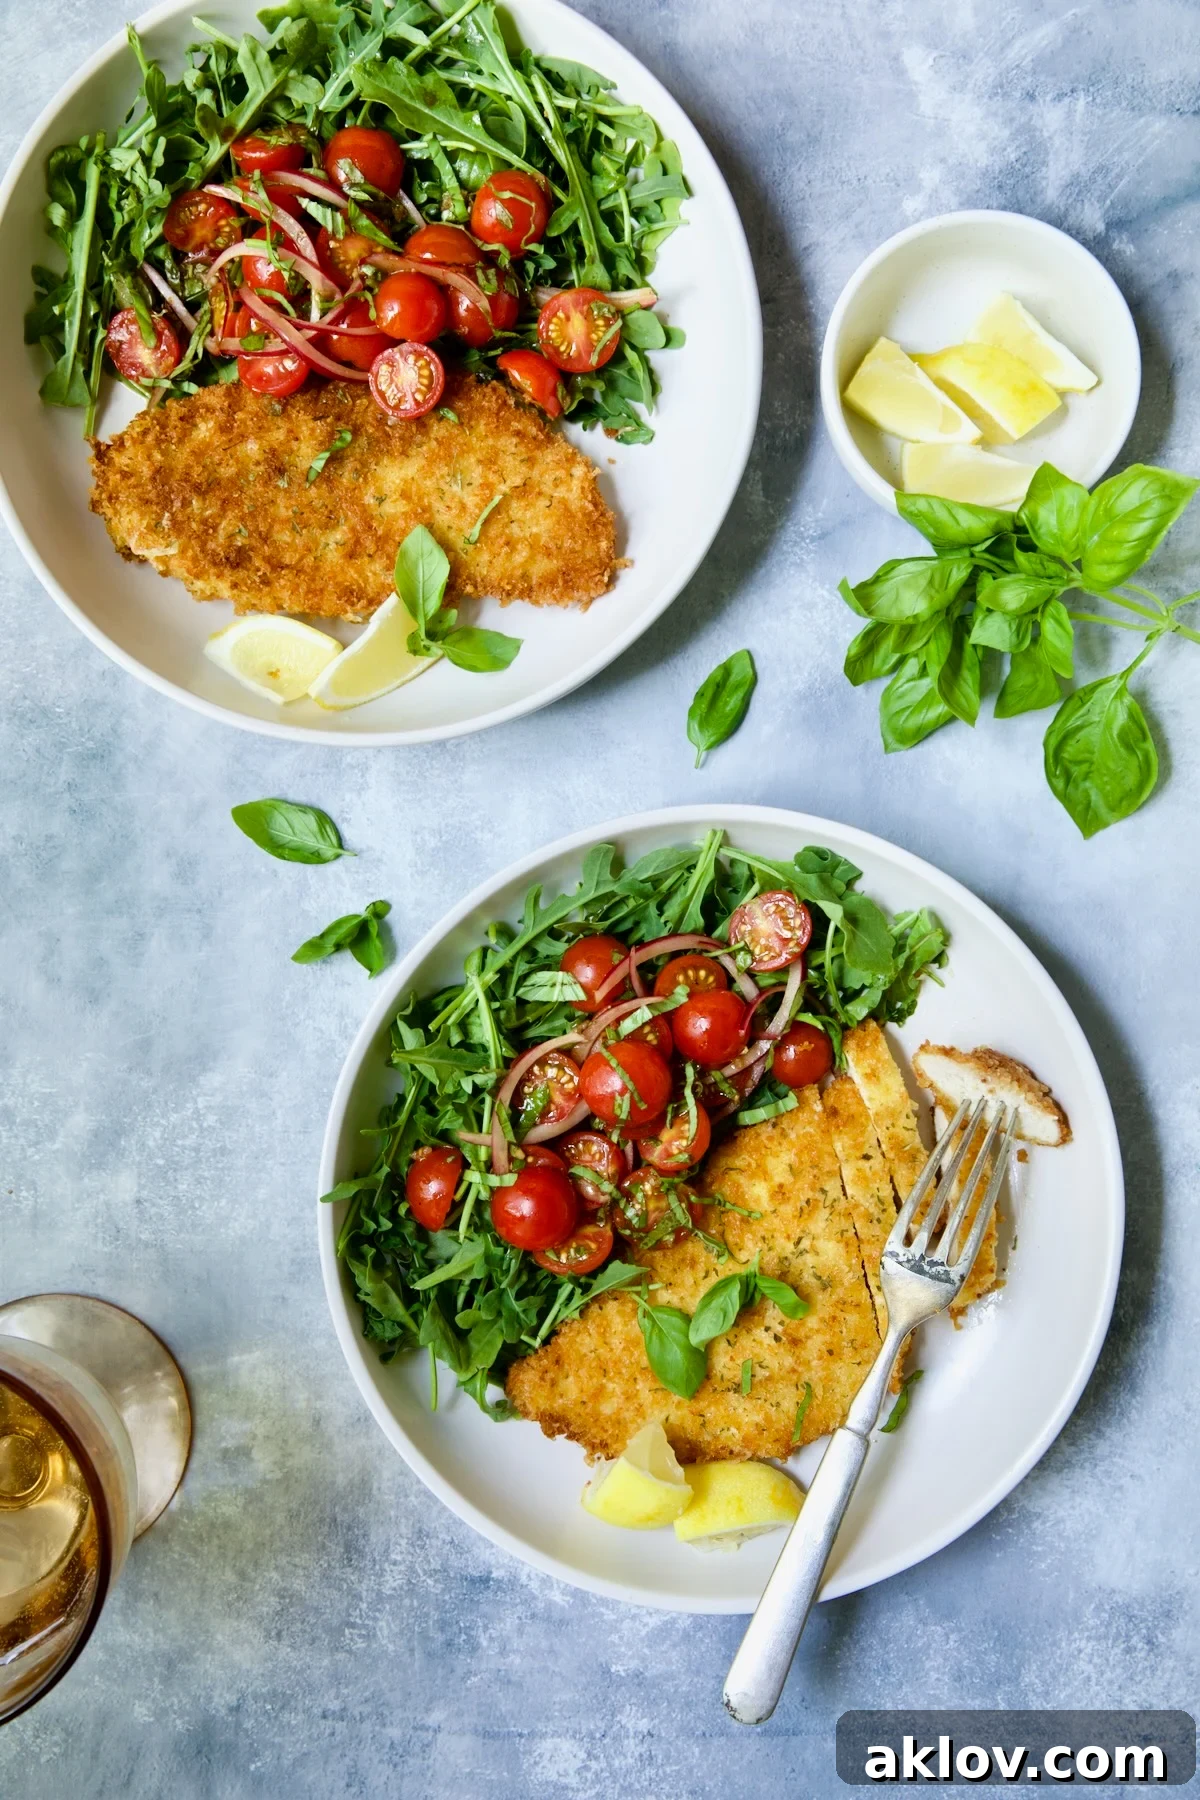
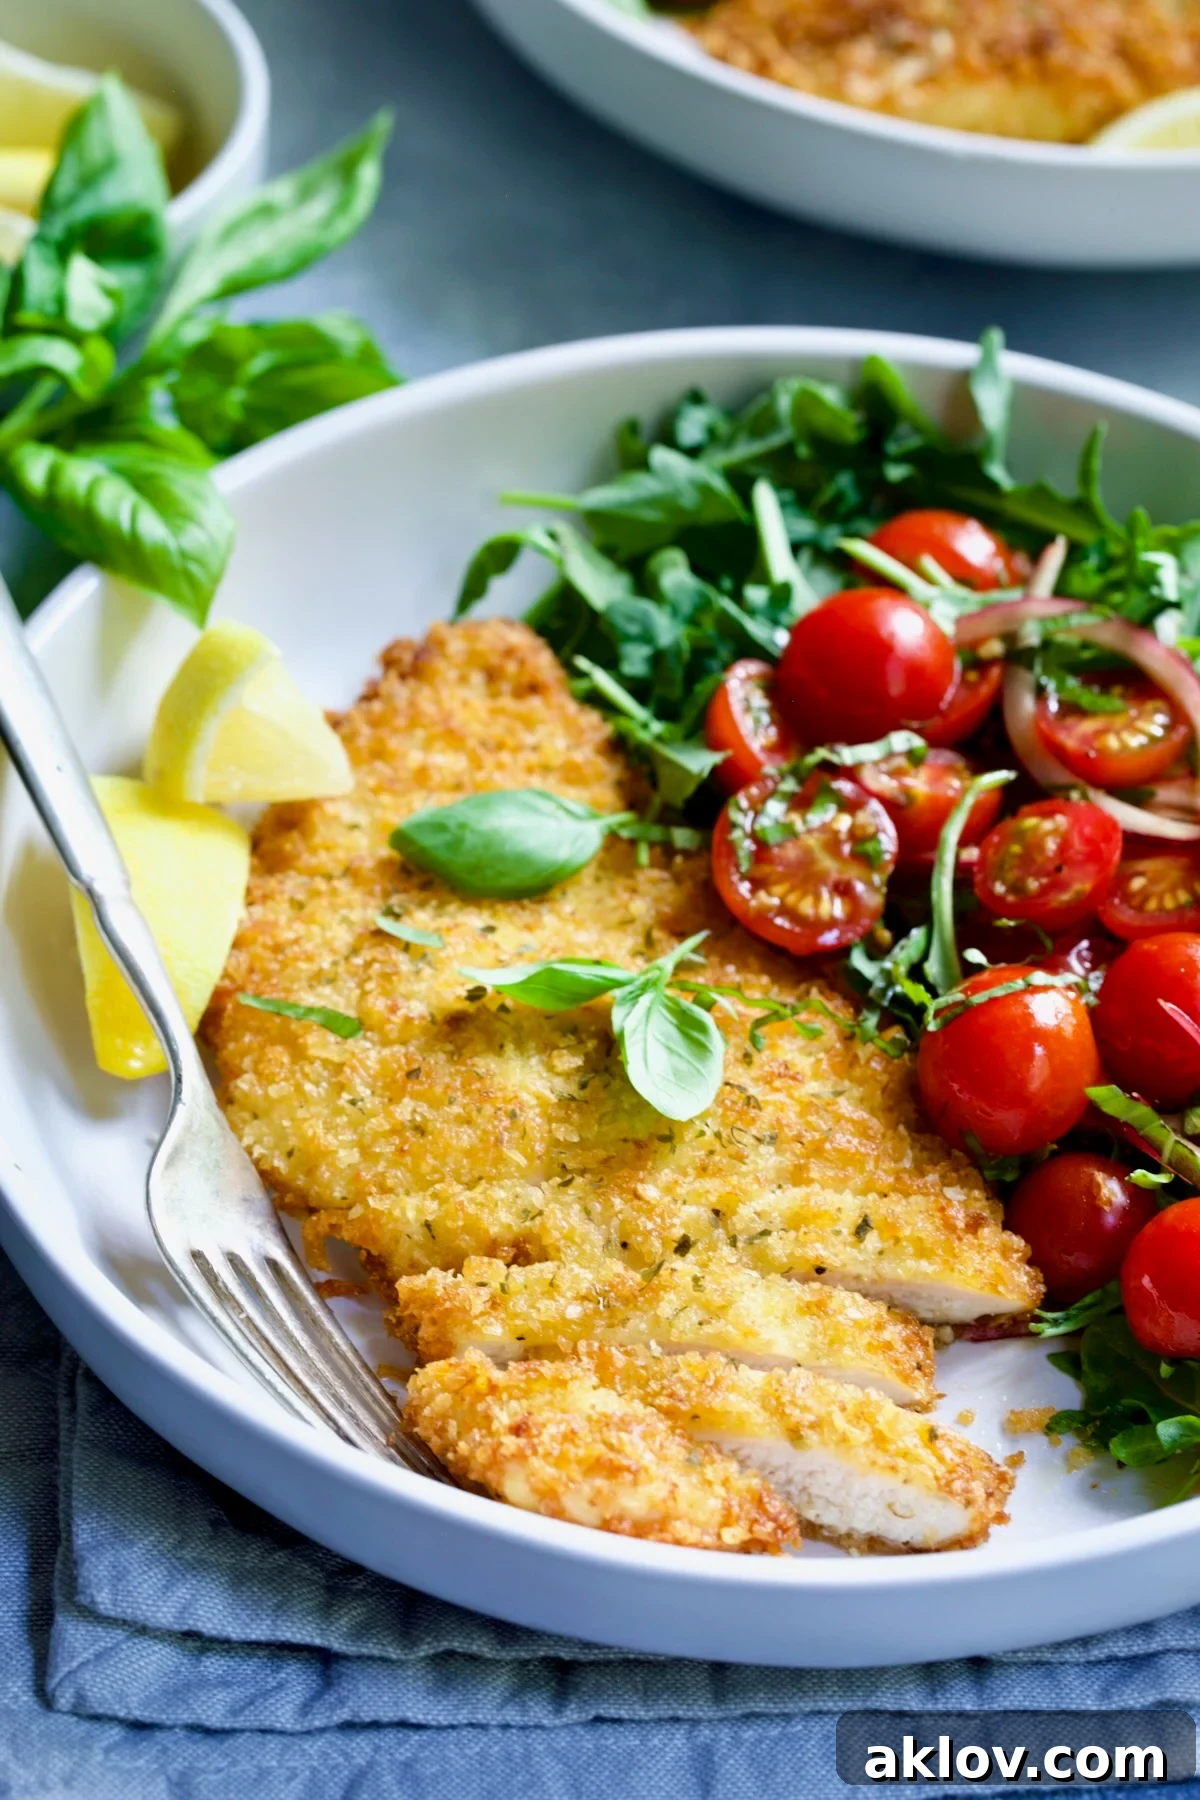
Welcome to the ultimate guide for creating a truly exquisite yet surprisingly simple dish: Chicken Milanese with a vibrant Cherry Tomato and Arugula Salad. This classic Italian chicken recipe elevates ordinary weeknight dinners into a restaurant-quality experience, all accomplished in under an hour. Imagine tender chicken cutlets, perfectly breaded and fried to a golden crisp, served alongside a bright, fresh salad bursting with the flavors of sweet cherry tomatoes, zesty balsamic vinaigrette, and peppery arugula. It’s a harmonious blend of textures and tastes that promises to delight your senses and impress your guests.
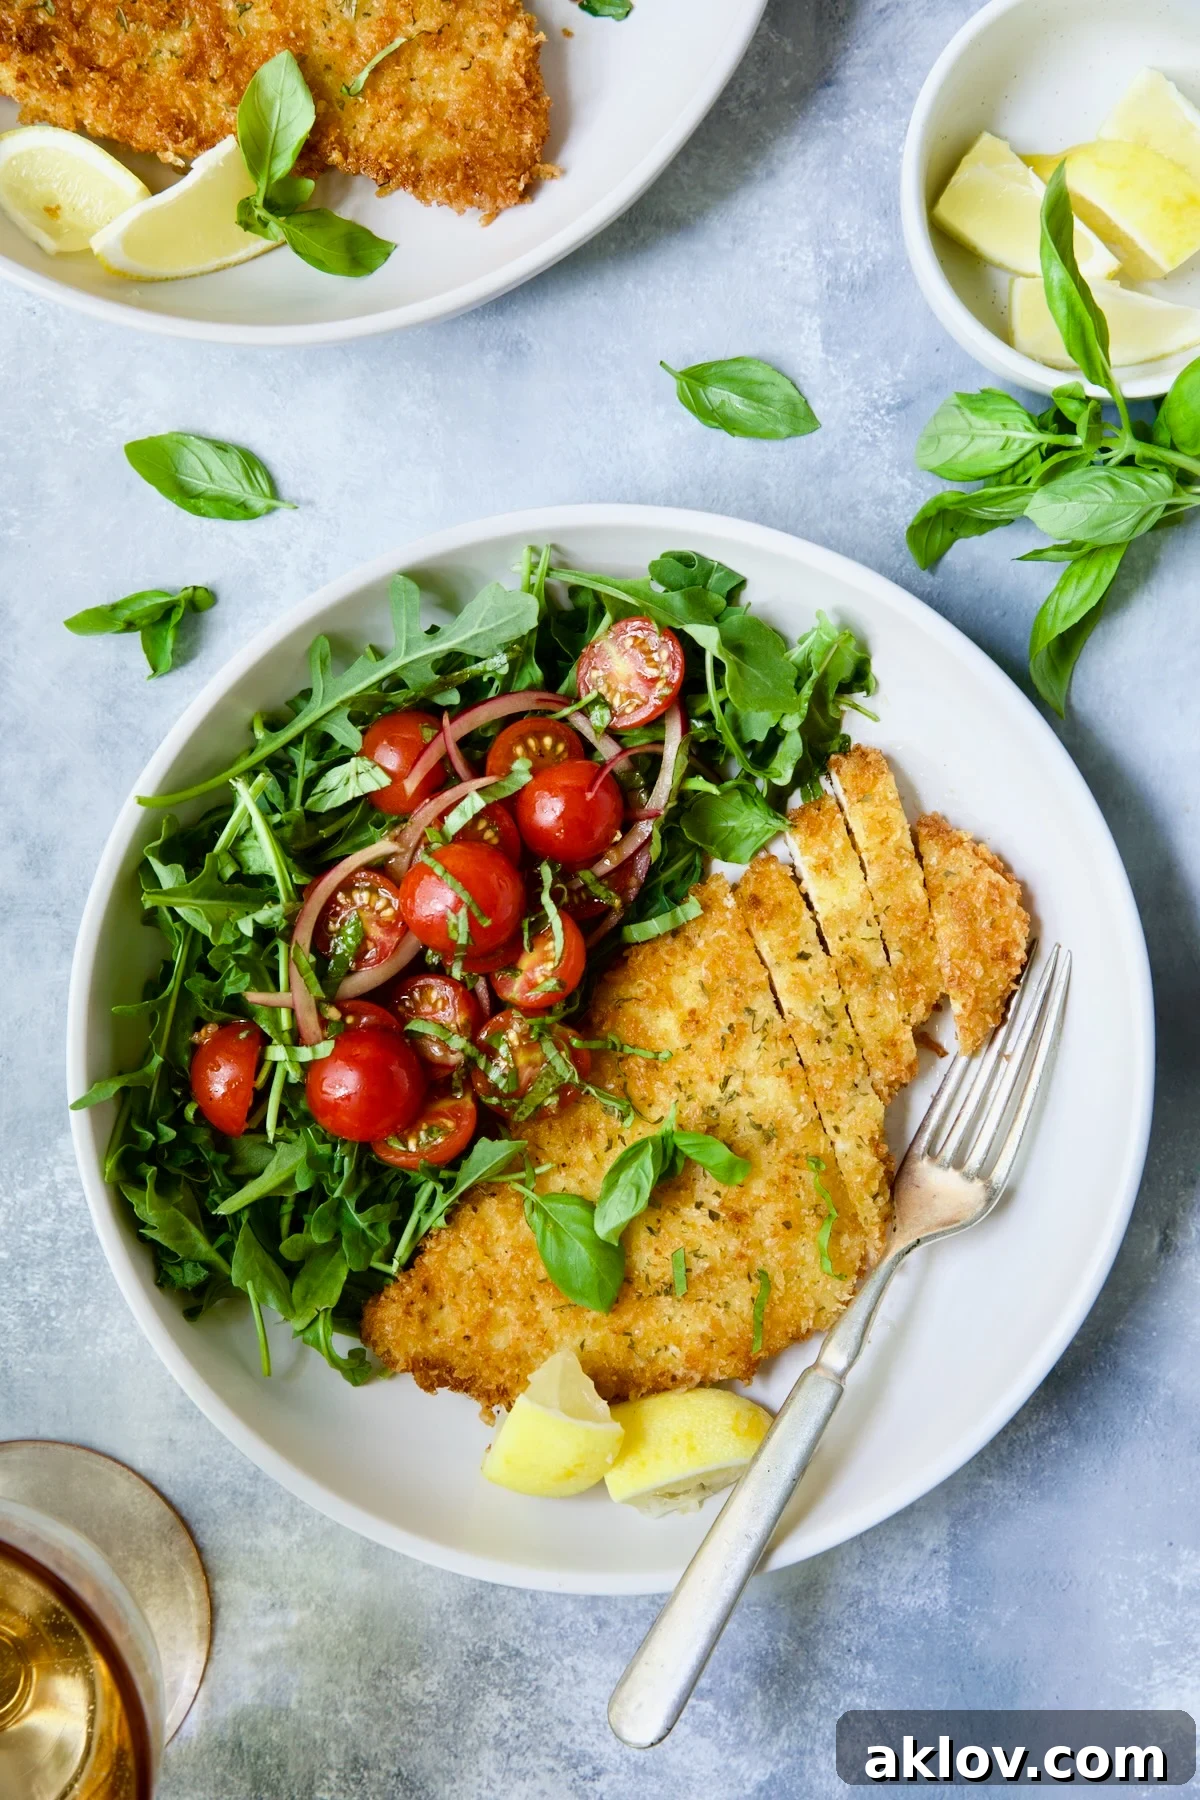
Unveiling the Classic: What Exactly is Chicken Milanese?
At its heart, Chicken Milanese is a celebrated Italian dish, with its origins deeply rooted in the culinary traditions of Milan, Italy, dating back as far as the 12th century. While traditionally prepared with thinly pounded veal cutlets (known as Cotoletta alla Milanese), this exquisite culinary technique has been lovingly adapted over centuries. Today, chicken and pork versions are incredibly popular, especially in the United States, offering a more accessible yet equally delicious alternative.
The essence of Milanese lies in its preparation: a thin cutlet is coated in seasoned breadcrumbs and then pan-fried until golden brown and irresistibly crispy. This method creates a delightful contrast between the succulent interior of the meat and its crunchy exterior. The Milanese style shares similarities with other beloved breaded and fried dishes found across the globe, such as the German/Austrian schnitzel or the Japanese katsu. In Latin American cultures, particularly Argentina and Uruguay, it’s known simply as milanesa, where it’s a staple comfort food, often served with lemon wedges and a variety of side dishes. Regardless of the meat or regional variation, the core principle remains the same: a celebration of texture, simplicity, and flavor.
Why This Crispy Chicken Milanese Recipe Will Become Your Favorite!
This Chicken Milanese recipe isn’t just another meal; it’s a testament to how simple ingredients and techniques can yield extraordinary results. Here’s why it deserves a permanent spot in your recipe collection:
- Effortless Elegance: This dish comes together beautifully in approximately 45 minutes, making it an ideal choice for a busy weeknight dinner when you crave something special without the fuss. Yet, its sophisticated presentation and incredible flavor make it perfectly suited for an intimate date night or when entertaining guests.
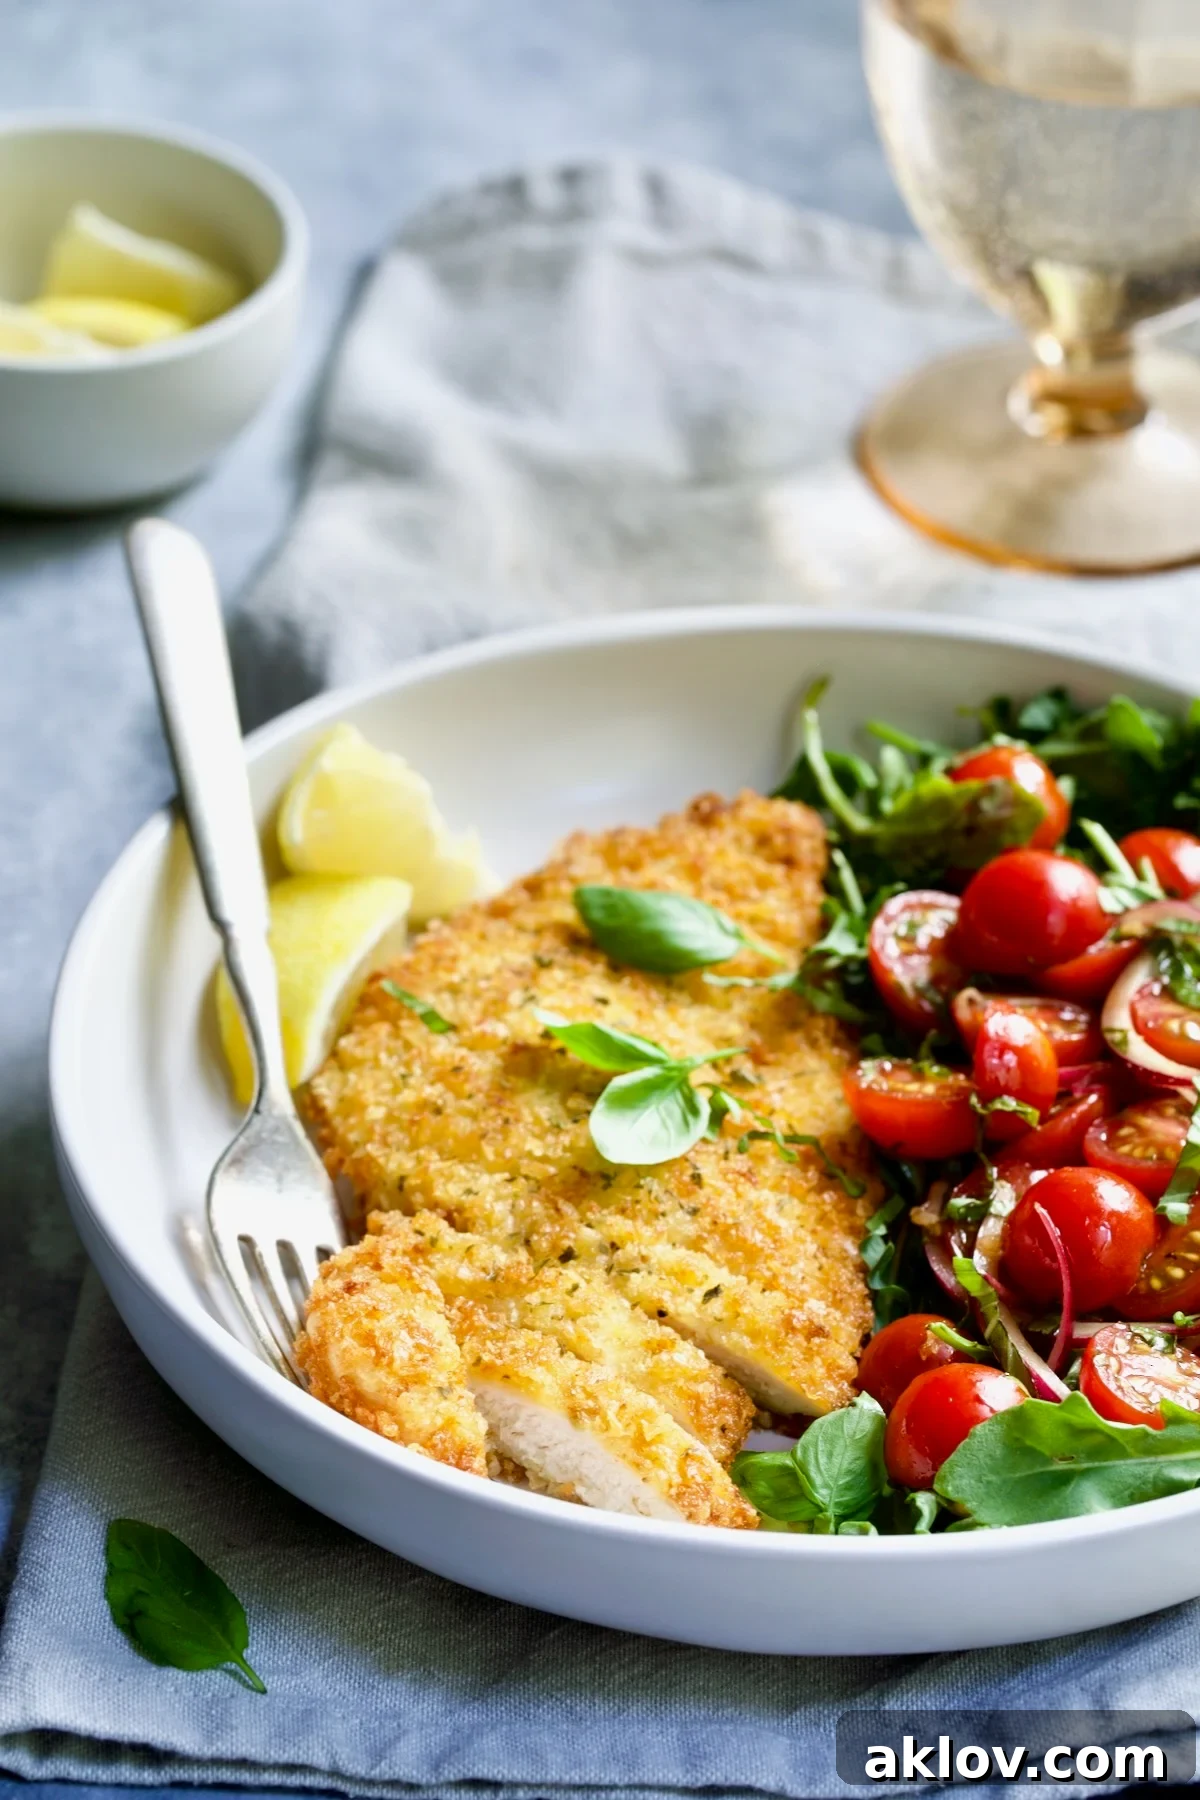
- Unmatched Crispiness and Flavor: The secret to truly exceptional Chicken Milanese lies in its breading. Our recipe combines Panko breadcrumbs for an airy, extra-crisp texture with traditional Italian seasoned breadcrumbs for rich, savory depth. We take it a step further by incorporating fresh lemon zest and Parmesan cheese directly into the coating. This unique blend ensures every bite is bursting with bright, zesty, and savory notes, creating a golden, crunchy crust that’s utterly addictive.
- A Perfectly Balanced Side: To complement the richness of the crispy chicken, we pair it with a vibrant Cherry Tomato and Arugula Salad. This isn’t just any side salad; it’s a carefully crafted counterpoint. Sweet, juicy cherry tomatoes mingle with thinly sliced red onion and minced garlic, all tossed in a tangy balsamic vinaigrette. This fresh mixture is then served over peppery arugula, providing a refreshing crunch and a delightful contrast that cuts through the richness of the chicken. The combination is a testament to fresh, simple ingredients coming together to create a memorable culinary experience.
Mastering the Art: How to Make Chicken Milanese with Cherry Tomato and Arugula Salad
Essential Recipe Ingredients:
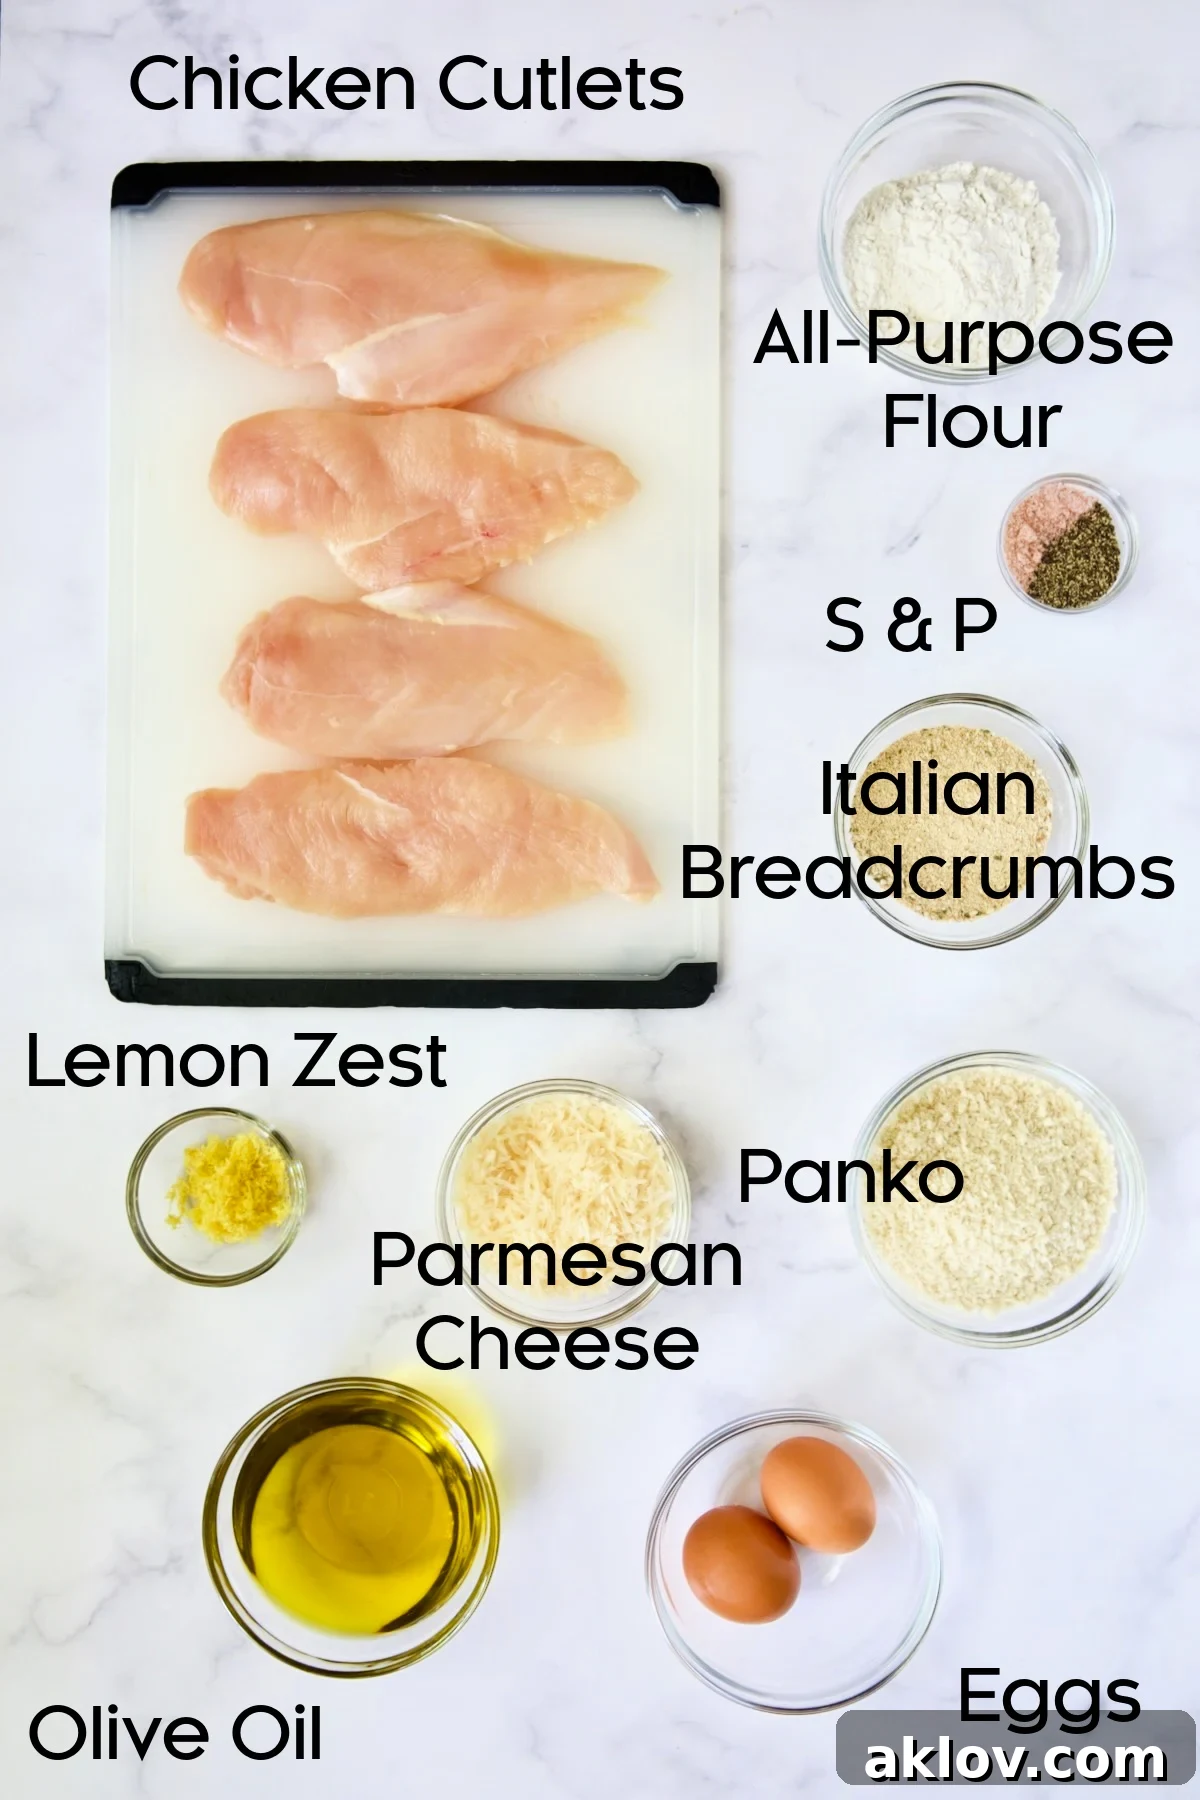
Crafting this incredible Chicken Milanese starts with a selection of fresh, high-quality ingredients. Below is a comprehensive list of everything you’ll need. For precise measurements and quantities, please refer to the detailed recipe card at the end of this article.
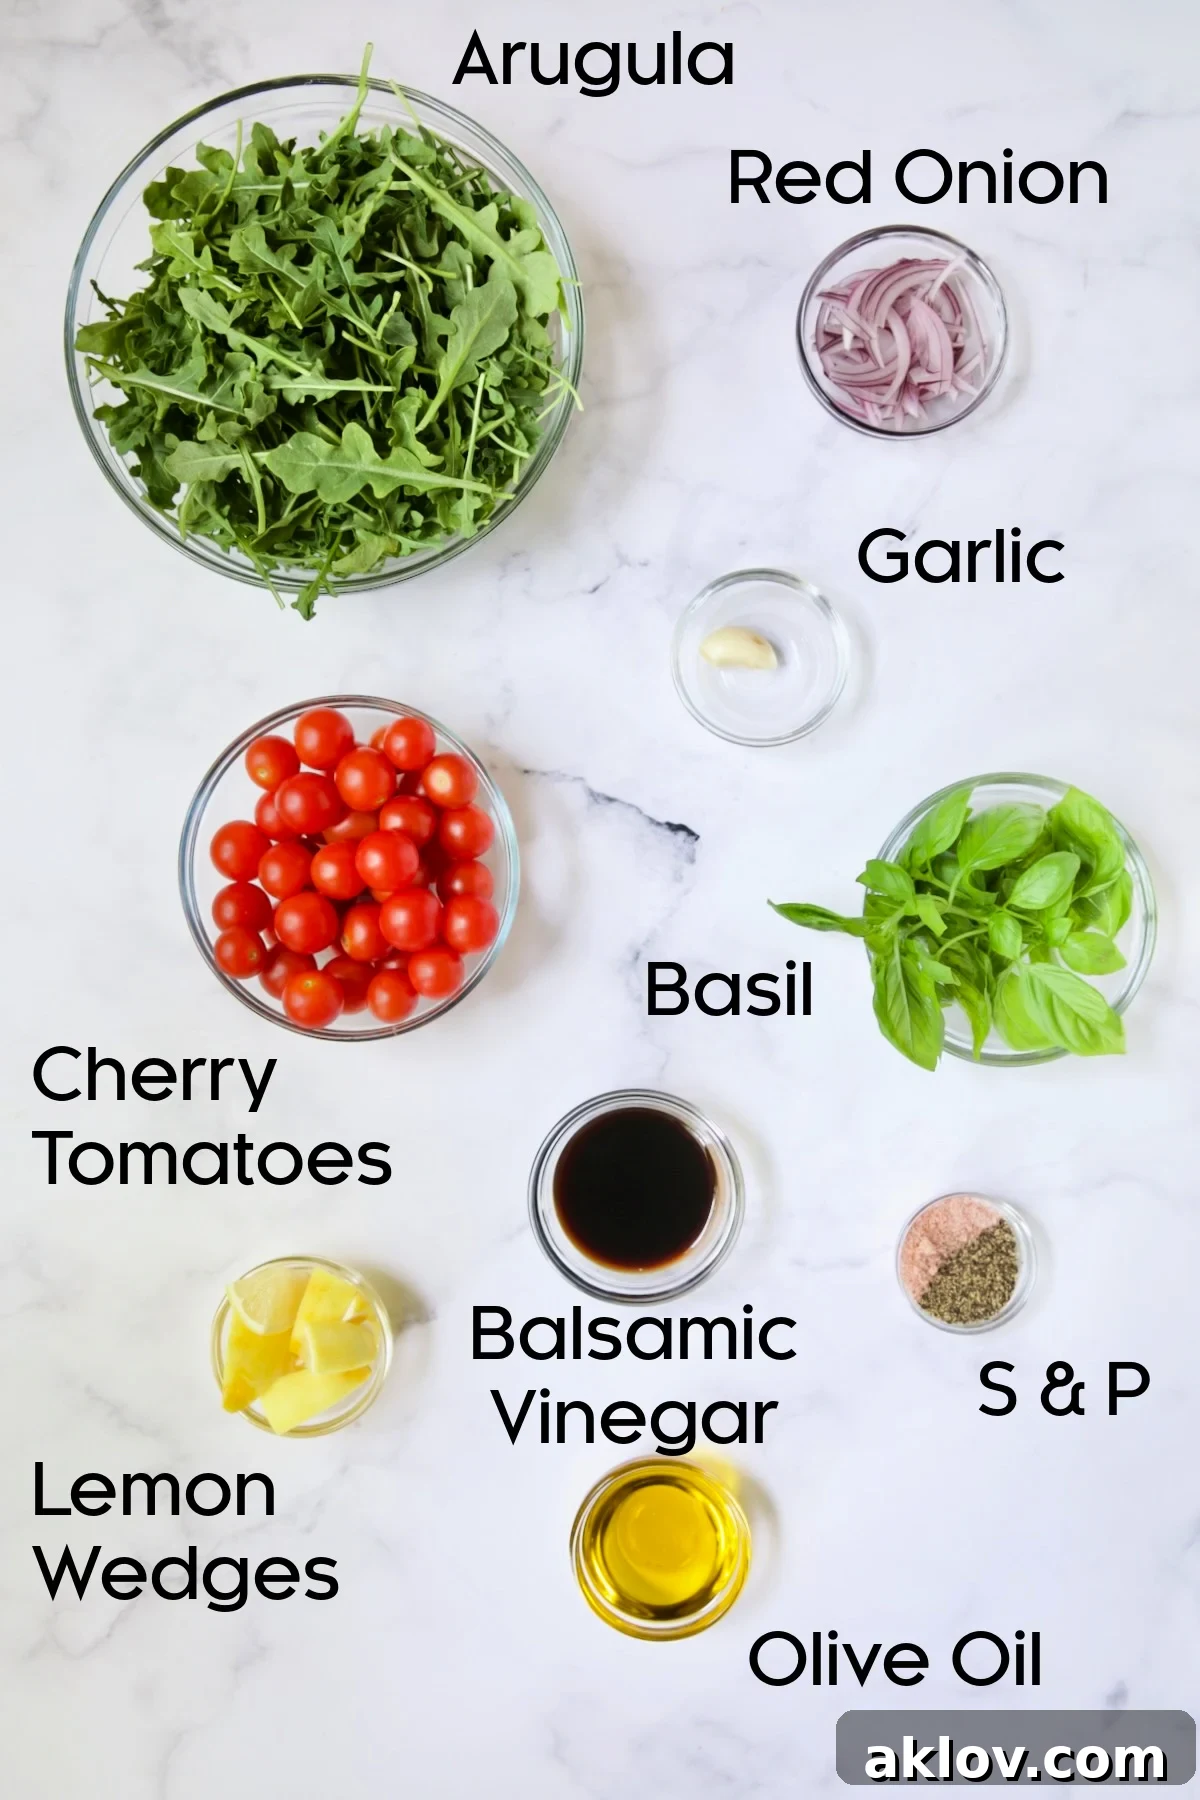
Ingredient Deep Dive: Notes & Smart Substitutions:
Understanding your ingredients is key to culinary success. Here’s a closer look at the components of this dish and how you can adapt them:
- Chicken Cutlets: These are simply boneless, skinless chicken breasts sliced thinly, usually to about 1/4 to 1/2 inch thickness. You can purchase them pre-sliced for convenience, though it often comes with a higher price tag. For a more economical and customizable option, slicing them yourself is easy. Place a chicken breast flat on a cutting board, hold it steady with your non-dominant hand, and use a sharp chef’s or boning knife to slice horizontally through the thickest part. If the cutlets aren’t uniformly thin, gently pound them between two sheets of plastic wrap with a meat mallet (or a heavy-bottomed pan) until they are even. This ensures even cooking and maximum tenderness.
- Italian Breadcrumbs: Also known as seasoned breadcrumbs, these are finely ground, dry breadcrumbs pre-mixed with a blend of Italian-style seasonings like dried herbs (oregano, basil), garlic powder, onion powder, salt, and pepper. They provide a foundational savory flavor to the coating. If you only have plain breadcrumbs, you can easily make your own seasoned version by mixing them with a teaspoon of Italian seasoning, a pinch of garlic powder, and salt and pepper to taste.
- Panko Breadcrumbs: These are Japanese-style breadcrumbs distinguished by their larger, flaky, and airier texture. Panko is essential for achieving the light, incredibly crispy coating that defines a great Milanese. Unlike regular breadcrumbs, panko absorbs less oil during frying, resulting in a less greasy and more superior crunch. You can typically find them in the baking aisle or international foods section of most grocery stores.
- Freshly Grated Parmesan Cheese & Lemon Zest: These two ingredients are game-changers for the breading. Parmesan cheese adds a nutty, salty umami depth, while fresh lemon zest infuses a bright, aromatic fragrance and a subtle tang that elevates the entire dish, cutting through the richness of the fried chicken. Always opt for freshly grated Parmesan for the best flavor.
- Arugula: Sometimes referred to as “rocket” in other parts of the world, arugula is a leafy green known for its distinctive pungent, peppery flavor and tender texture. It’s a nutritional powerhouse, rich in antioxidants, vitamins K and A, and folate. Its bold flavor provides a wonderful contrast to the mildness of the chicken, and its delicate leaves make for a beautiful presentation. For more on its health benefits, you can explore resources like WebMD.
- Cherry Tomatoes: These small, sweet, and juicy tomatoes are perfect for the salad. Their burst of sweetness and acidity adds a refreshing element. Feel free to use grape tomatoes or even small teardrop-shaped tomatoes, whether red or yellow, for visual appeal and varied flavor notes. Halving them allows their juices to mix beautifully with the vinaigrette.
- Balsamic Vinegar & Olive Oil: The foundation of our simple yet effective vinaigrette. Choose a good quality balsamic vinegar for a rich, sweet, and tangy flavor, and a robust extra virgin olive oil for a fruity counterpoint.
- Fresh Basil: The aromatic essence of fresh basil is indispensable for the salad. Its sweet, peppery, and slightly minty notes tie all the salad ingredients together and complement the Italian theme of the Milanese. Chiffonade (thinly sliced ribbons) is the ideal cut for releasing its full aroma and for presentation.
Step-By-Step Culinary Journey:
Follow these detailed steps to create your perfect Chicken Milanese with Arugula and Cherry Tomato Salad. Proper preparation and attention to detail will ensure a restaurant-worthy result.
For the Cherry Tomato and Arugula Salad:
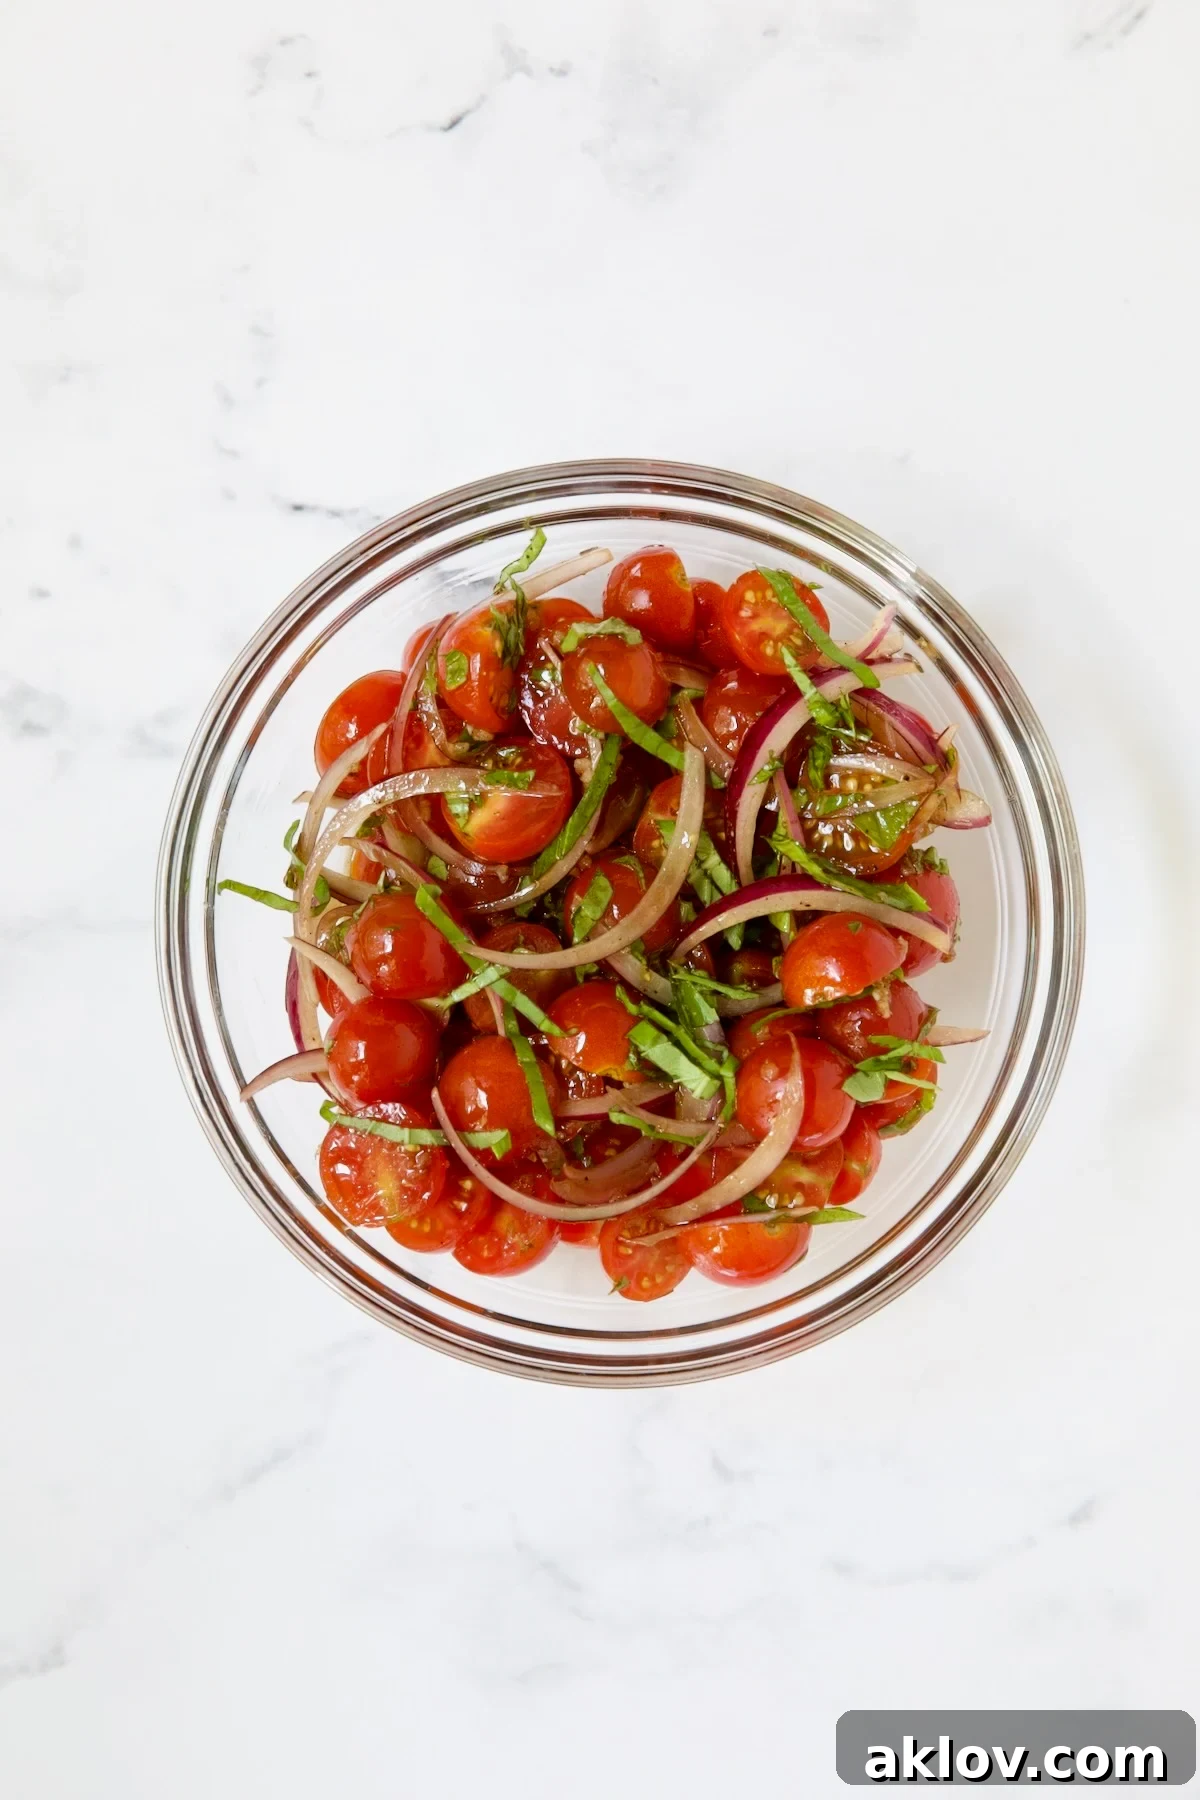
- Begin by preparing the cherry tomato salad. In a medium bowl, combine your halved cherry tomatoes, thinly sliced red onion, minced garlic, balsamic vinegar, and olive oil. Season generously with salt and freshly ground black pepper to taste. Gently stir all ingredients together until well combined.
- Finally, fold in the fresh basil chiffonade. Allow the salad to sit and marinate at room temperature while you prepare the chicken. This brief resting period allows the flavors to meld beautifully.
For the Crispy Chicken Milanese:
- Preheat your oven to a low 250°F (120°C). This oven will be used to keep your finished chicken cutlets warm and crispy while you cook subsequent batches. Place a cooling rack over a rimmed baking sheet; this setup is crucial for ensuring the fried chicken remains perfectly crisp.
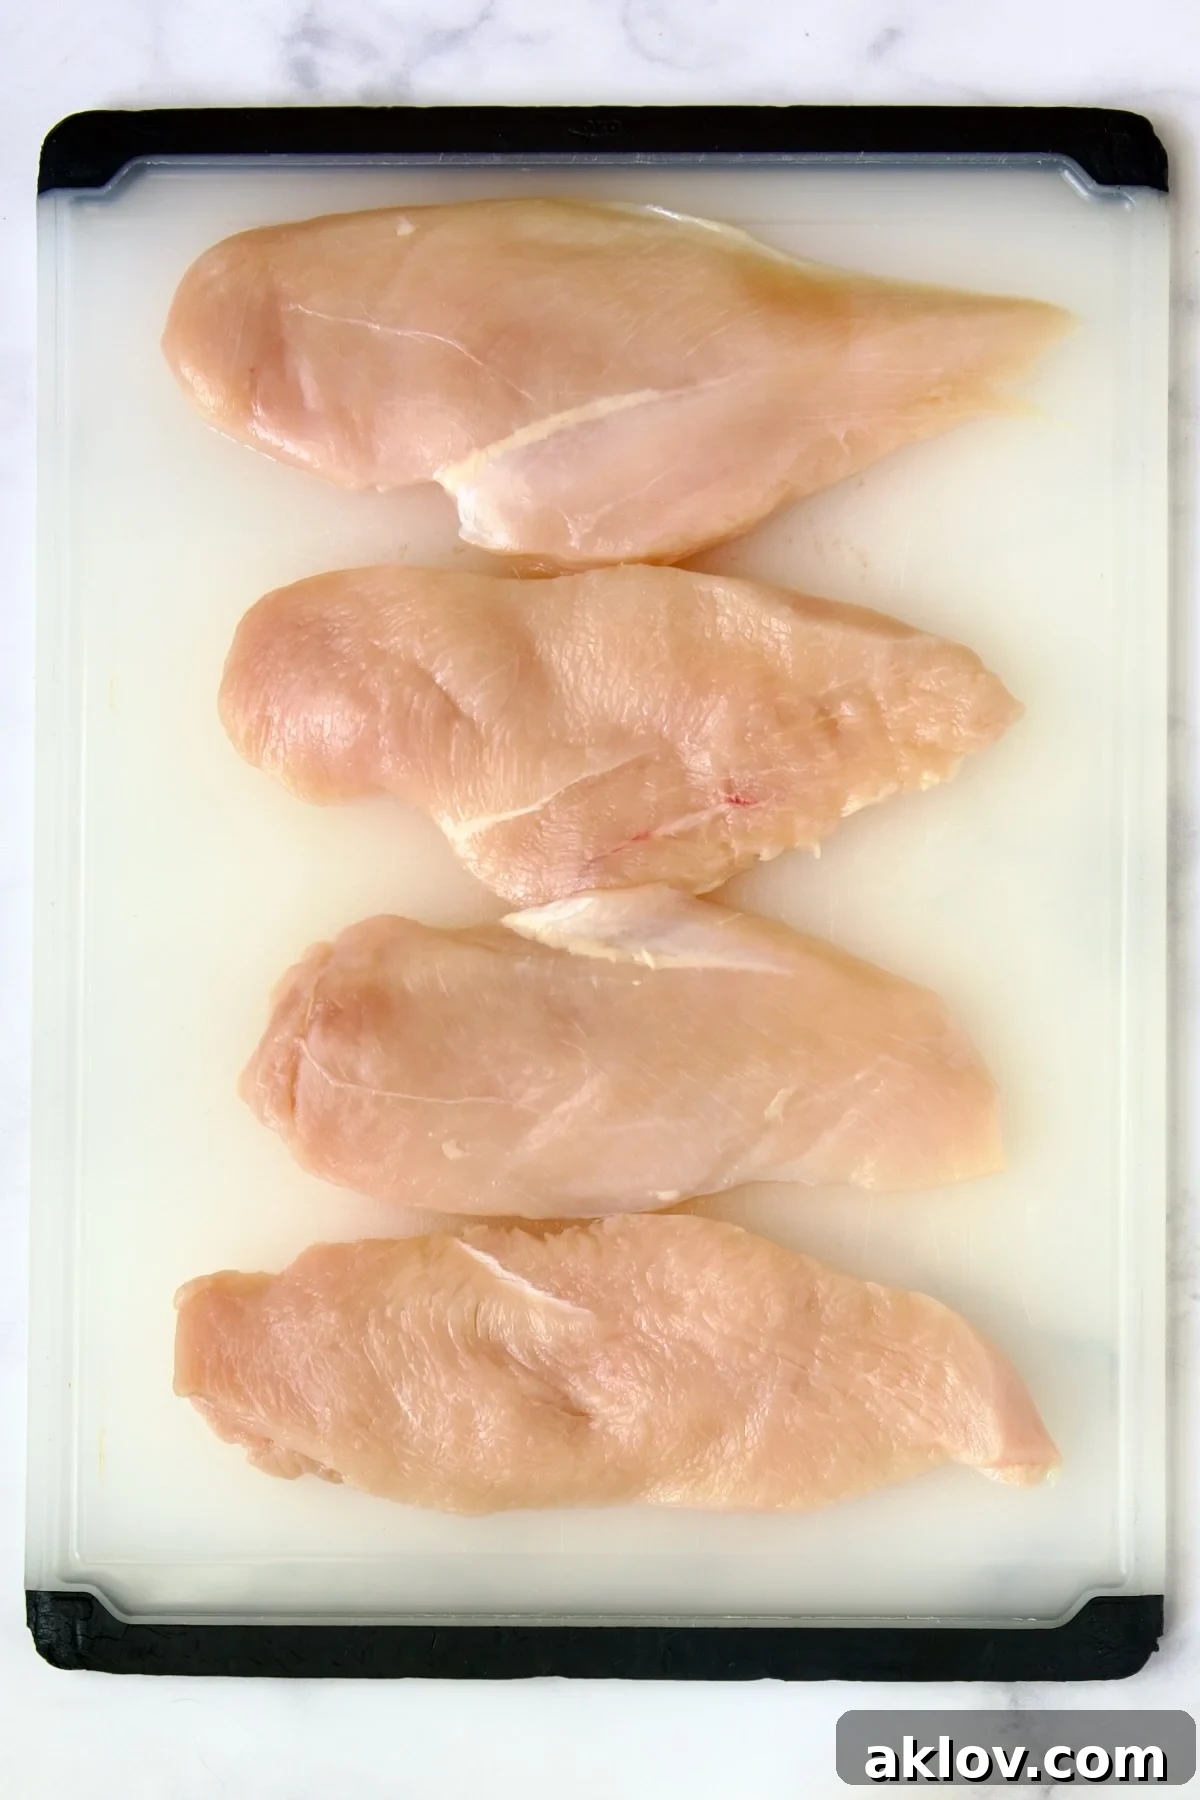
- Prepare your chicken breasts. Take each large boneless, skinless chicken breast half and, if not already cutlets, slice it horizontally through the thickest part to create two thinner cutlets. Aim for an even thickness of about 1/4 to 1/2 inch. For best results and consistent cooking, place each cutlet between two sheets of plastic wrap and gently pound them with a meat mallet or a rolling pin until they are uniformly thin.
- Set up your breading station. You’ll need three shallow dishes, bowls, or pie plates arranged in a line for an efficient workflow:
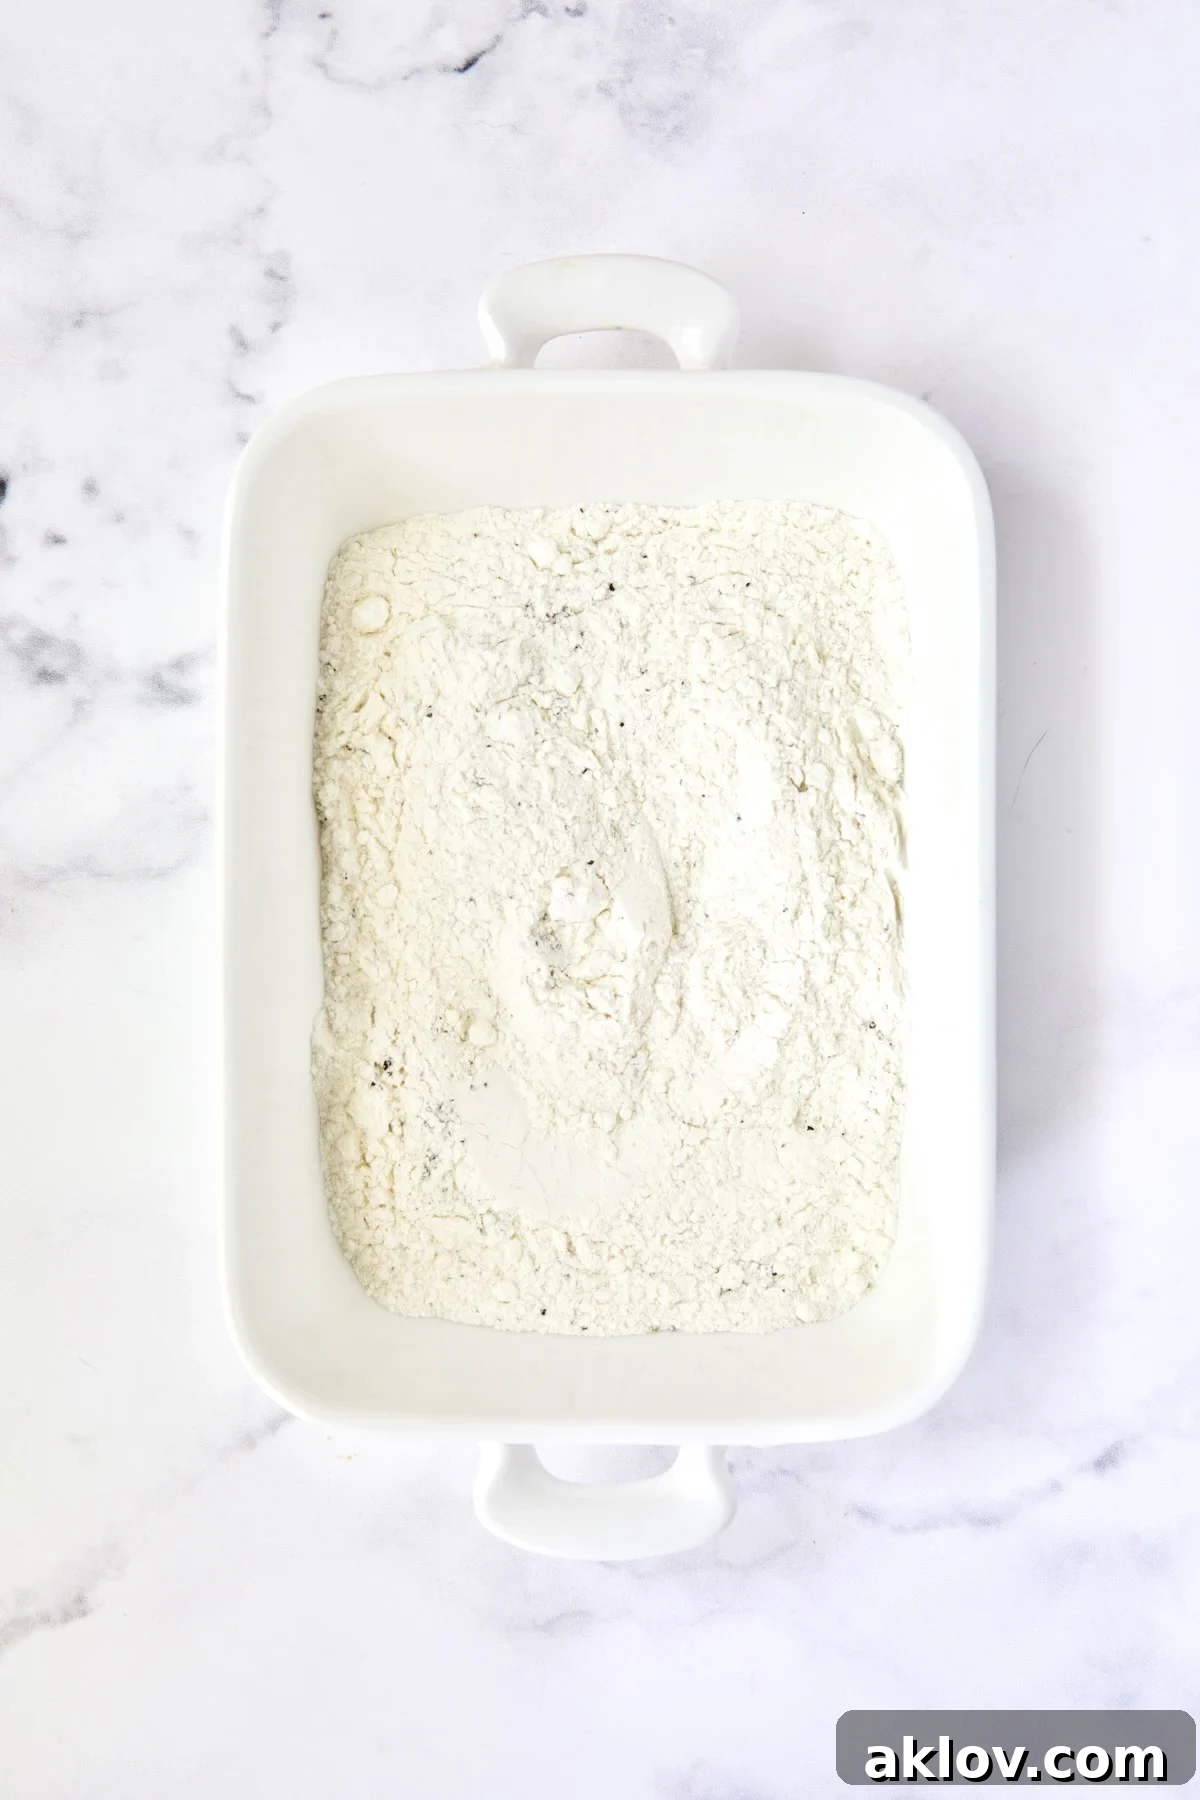
- Dish 1 (Flour): Place the all-purpose flour in the first dish. Stir in 1/2 teaspoon of salt and a generous amount of freshly ground black pepper.
- Dish 2 (Egg Wash): In the second dish, whisk the large eggs until well beaten. Season with 1/4 teaspoon of salt and freshly ground black pepper.
- Dish 3 (Breadcrumb Mixture): In the third dish, combine the Panko breadcrumbs, Italian seasoned breadcrumbs, freshly grated Parmesan cheese, and the vibrant zest of one large lemon. Stir thoroughly to ensure all ingredients are evenly distributed, then season with 1/4 teaspoon of salt and freshly ground black pepper.
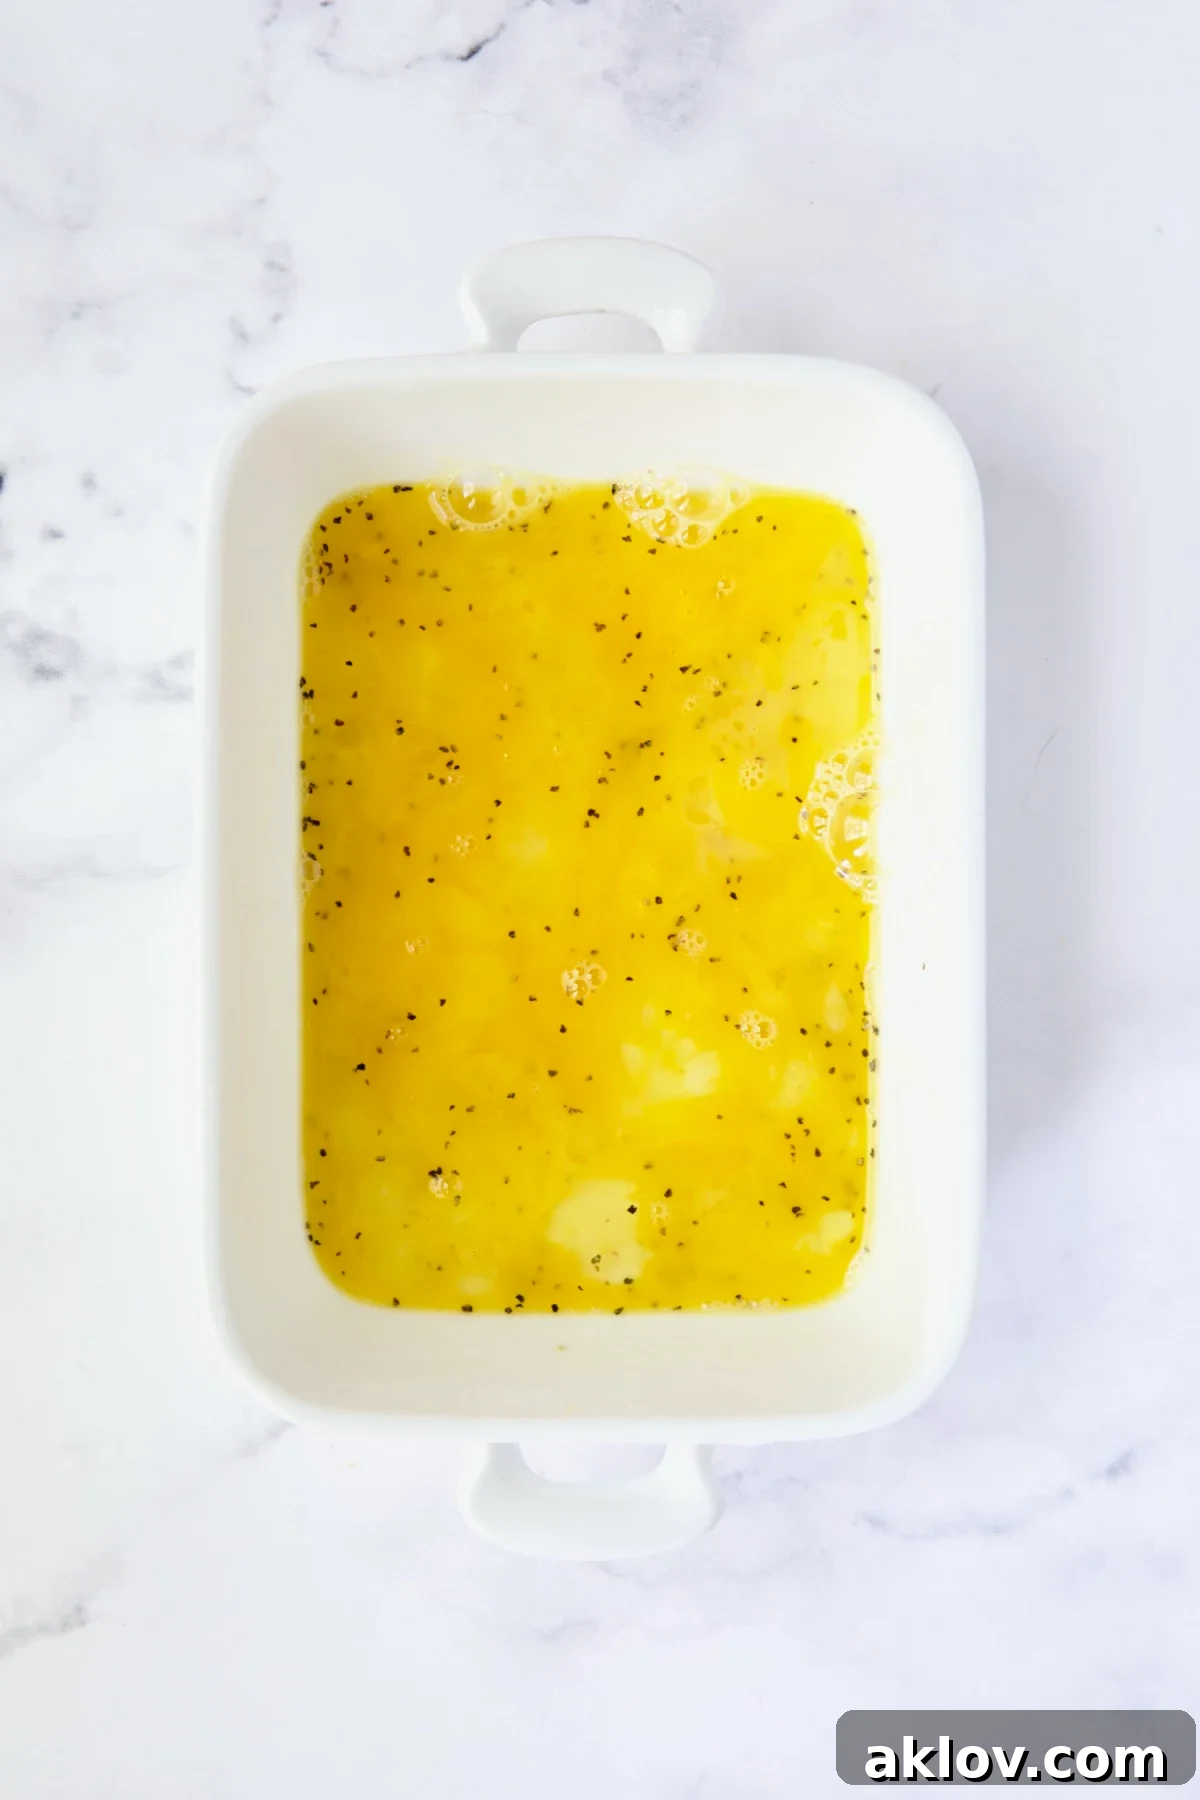
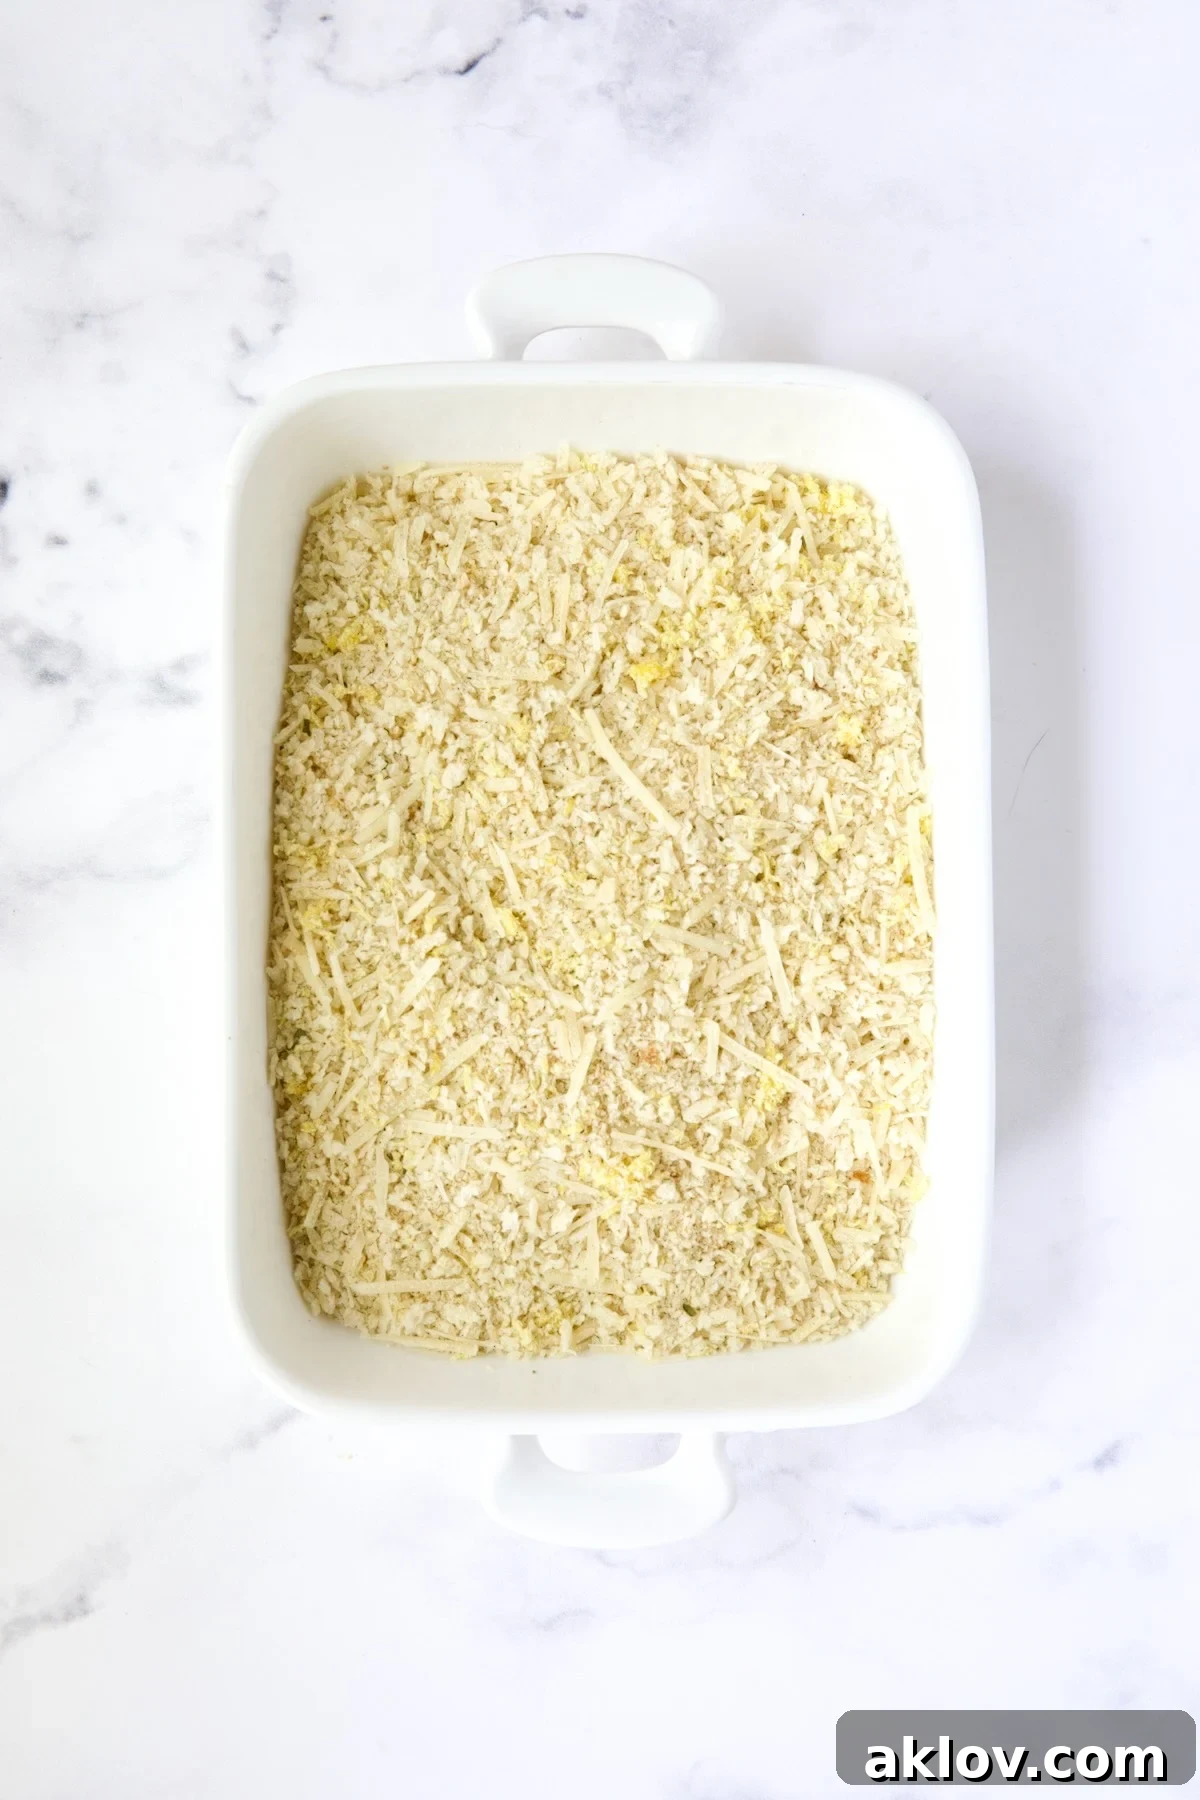
- Now, it’s time to bread the chicken. Working with one cutlet at a time, first dredge it thoroughly in the seasoned flour, ensuring both sides are coated. Gently shake off any excess flour – too much flour can lead to a gummy coating.
- Next, dip the floured chicken cutlet into the beaten egg mixture, allowing any excess egg to drip back into the bowl. This creates the essential adhesive layer for the breadcrumbs.
- Immediately transfer the egg-dipped cutlet into the breadcrumb combination. Press the breadcrumbs firmly onto both sides of the chicken to ensure a complete and even coating. This step is crucial for that characteristic crispy crust.
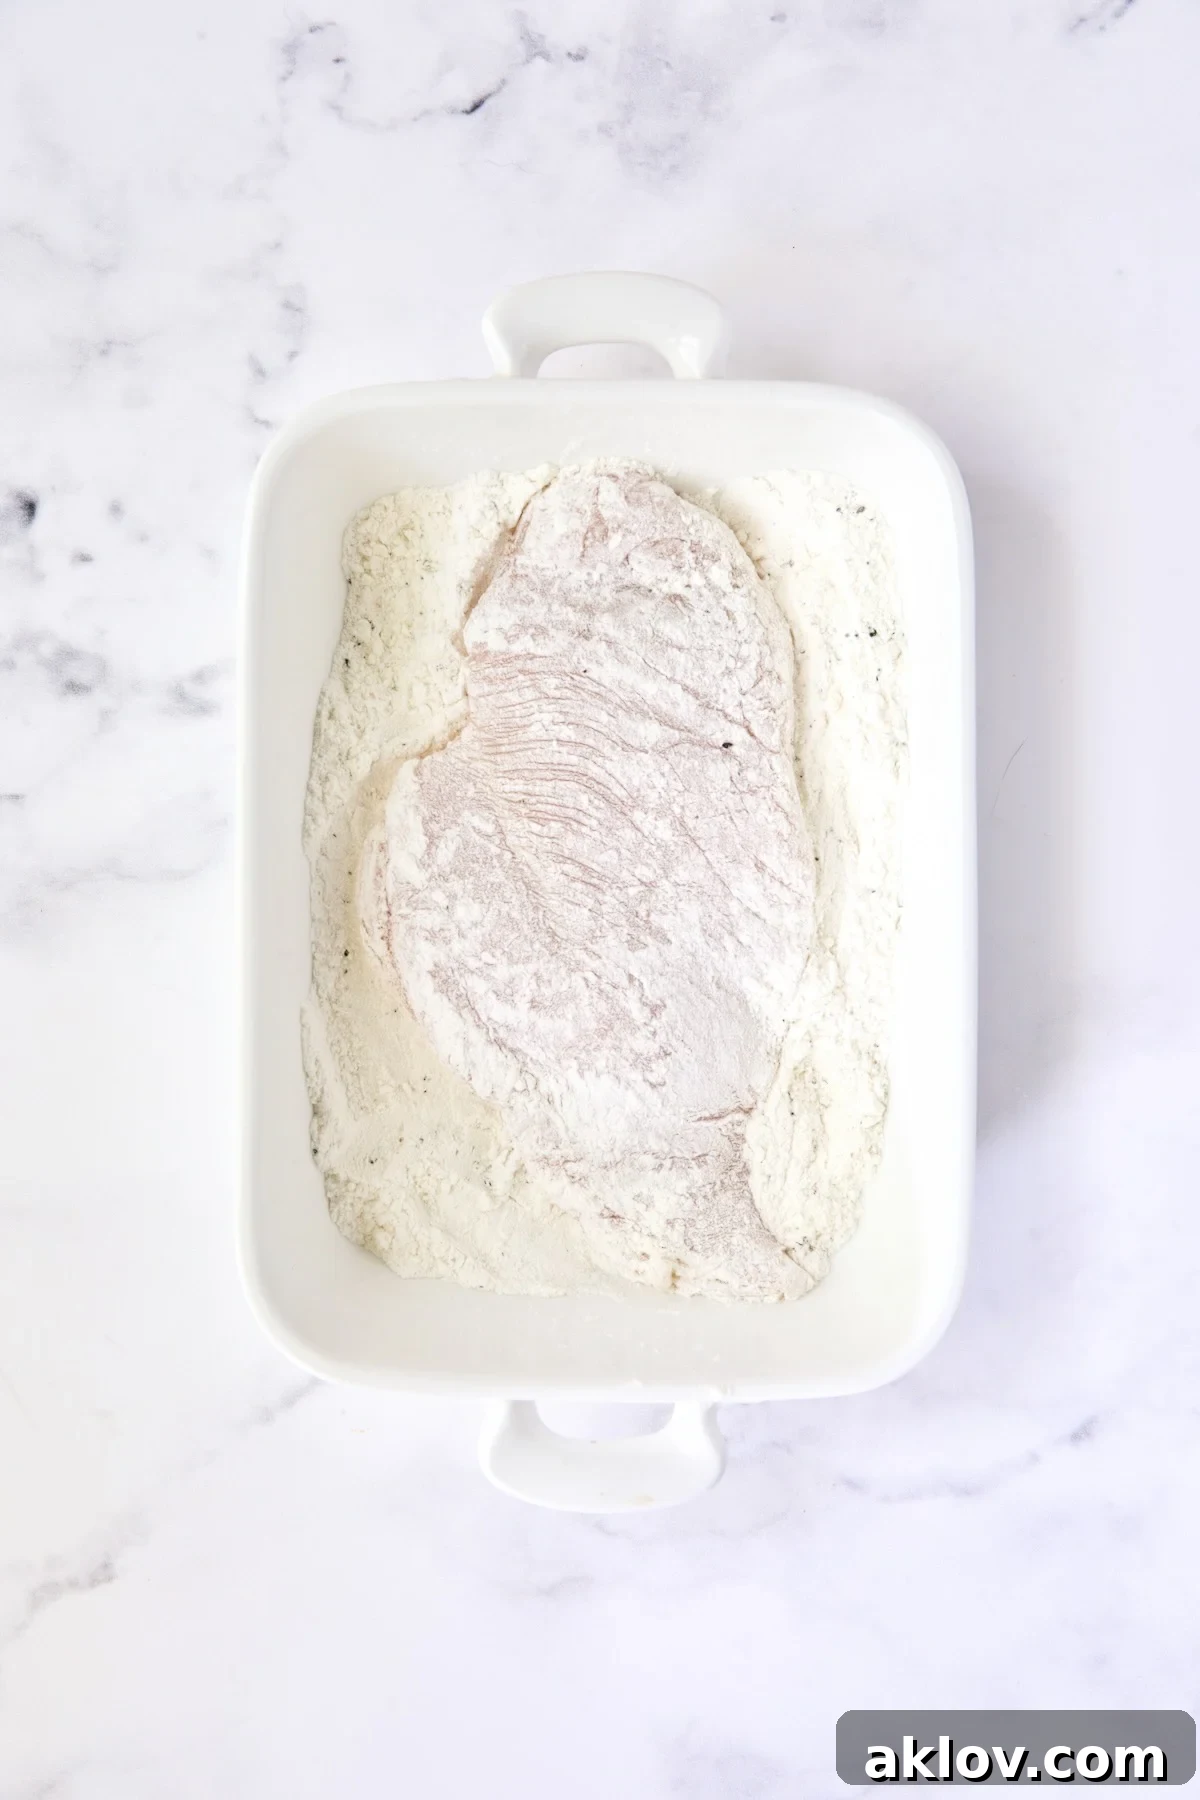
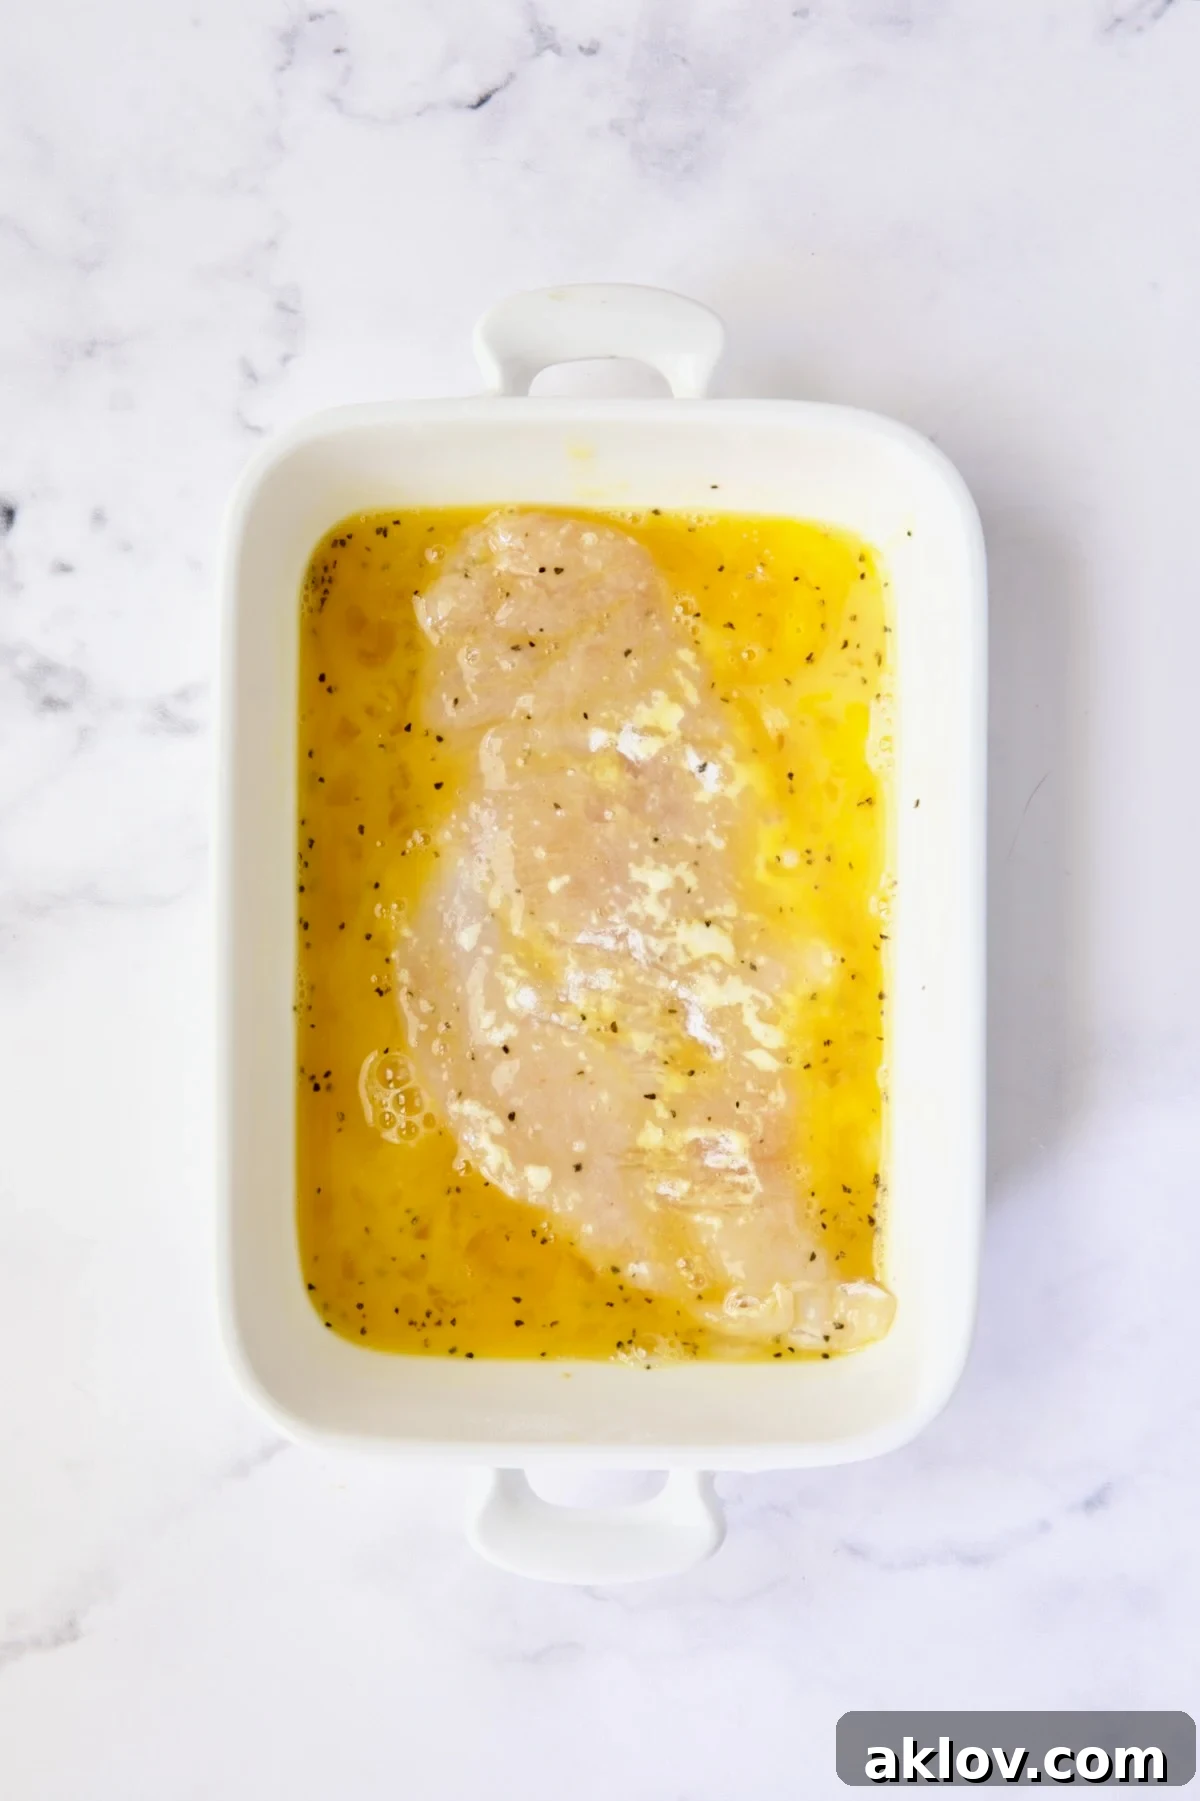
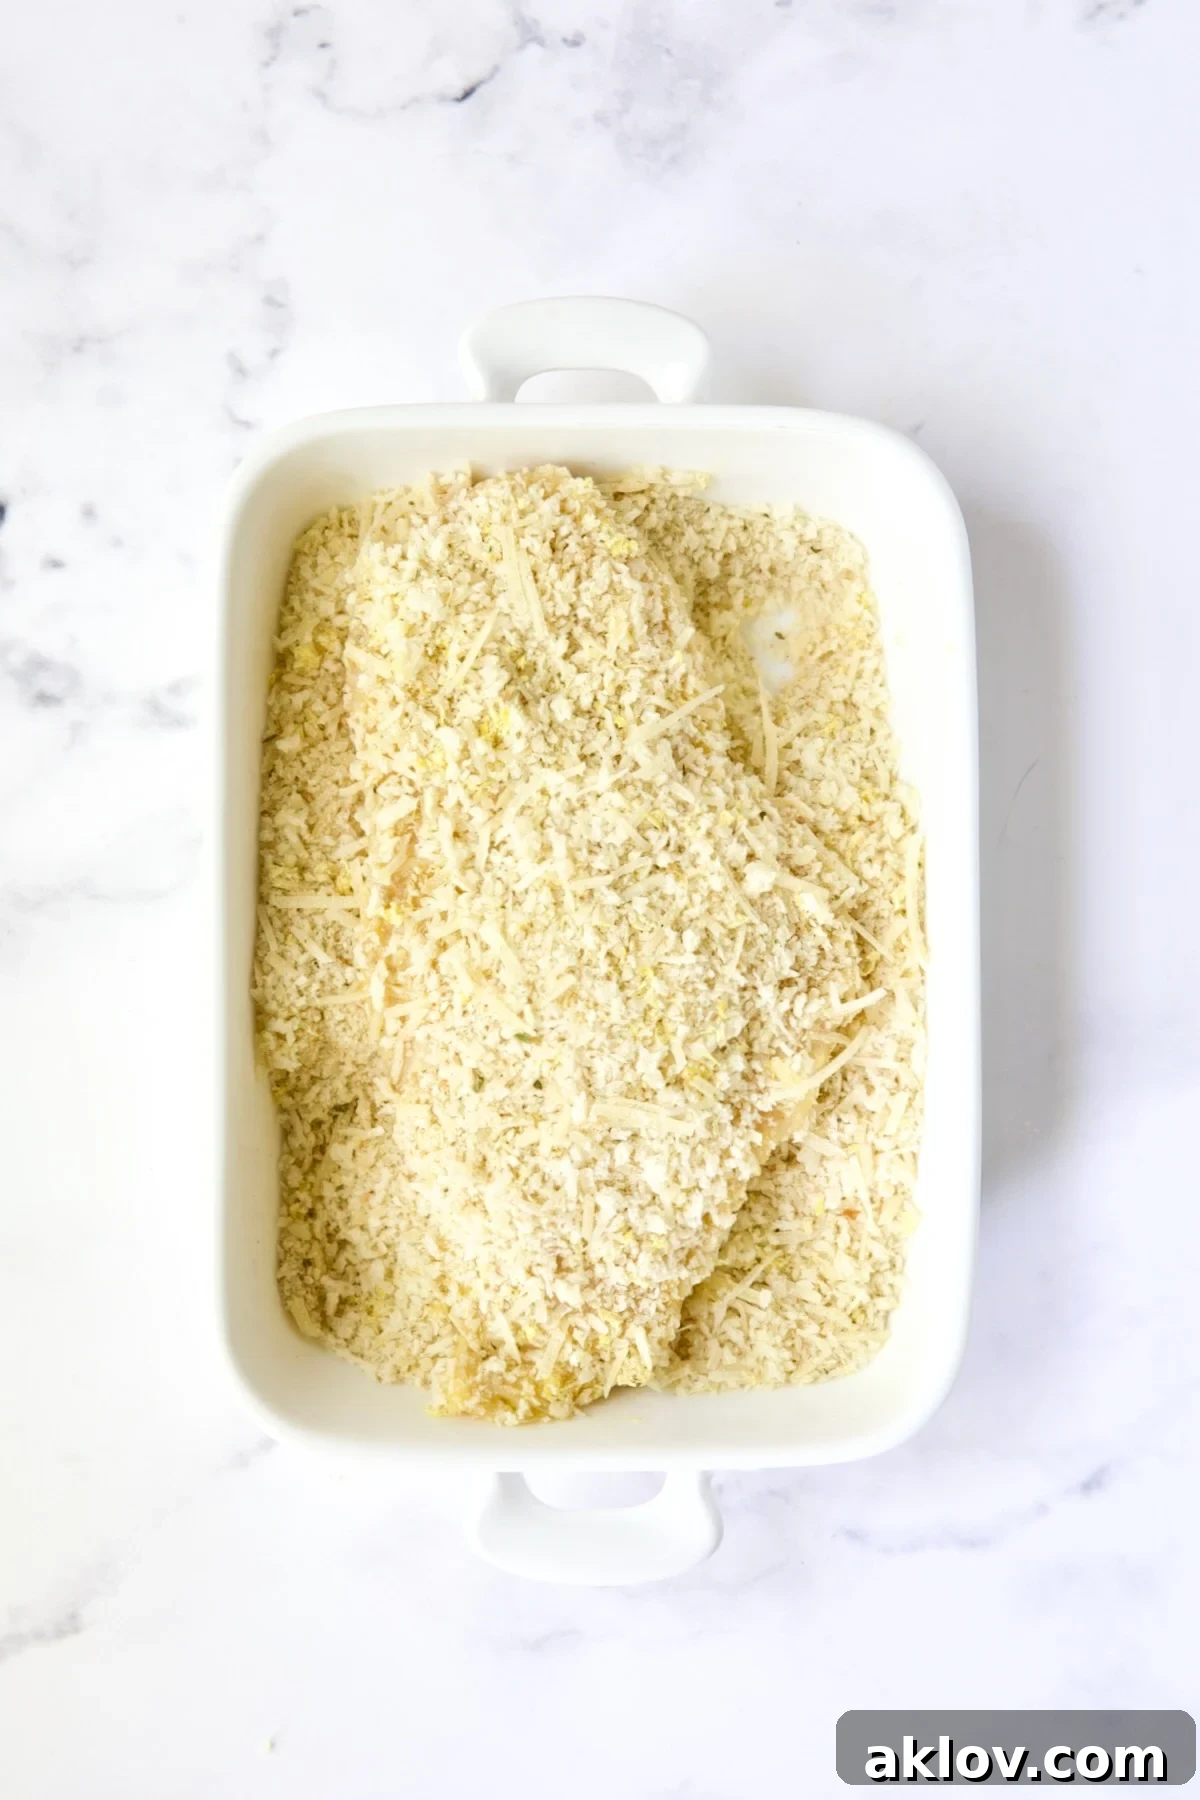
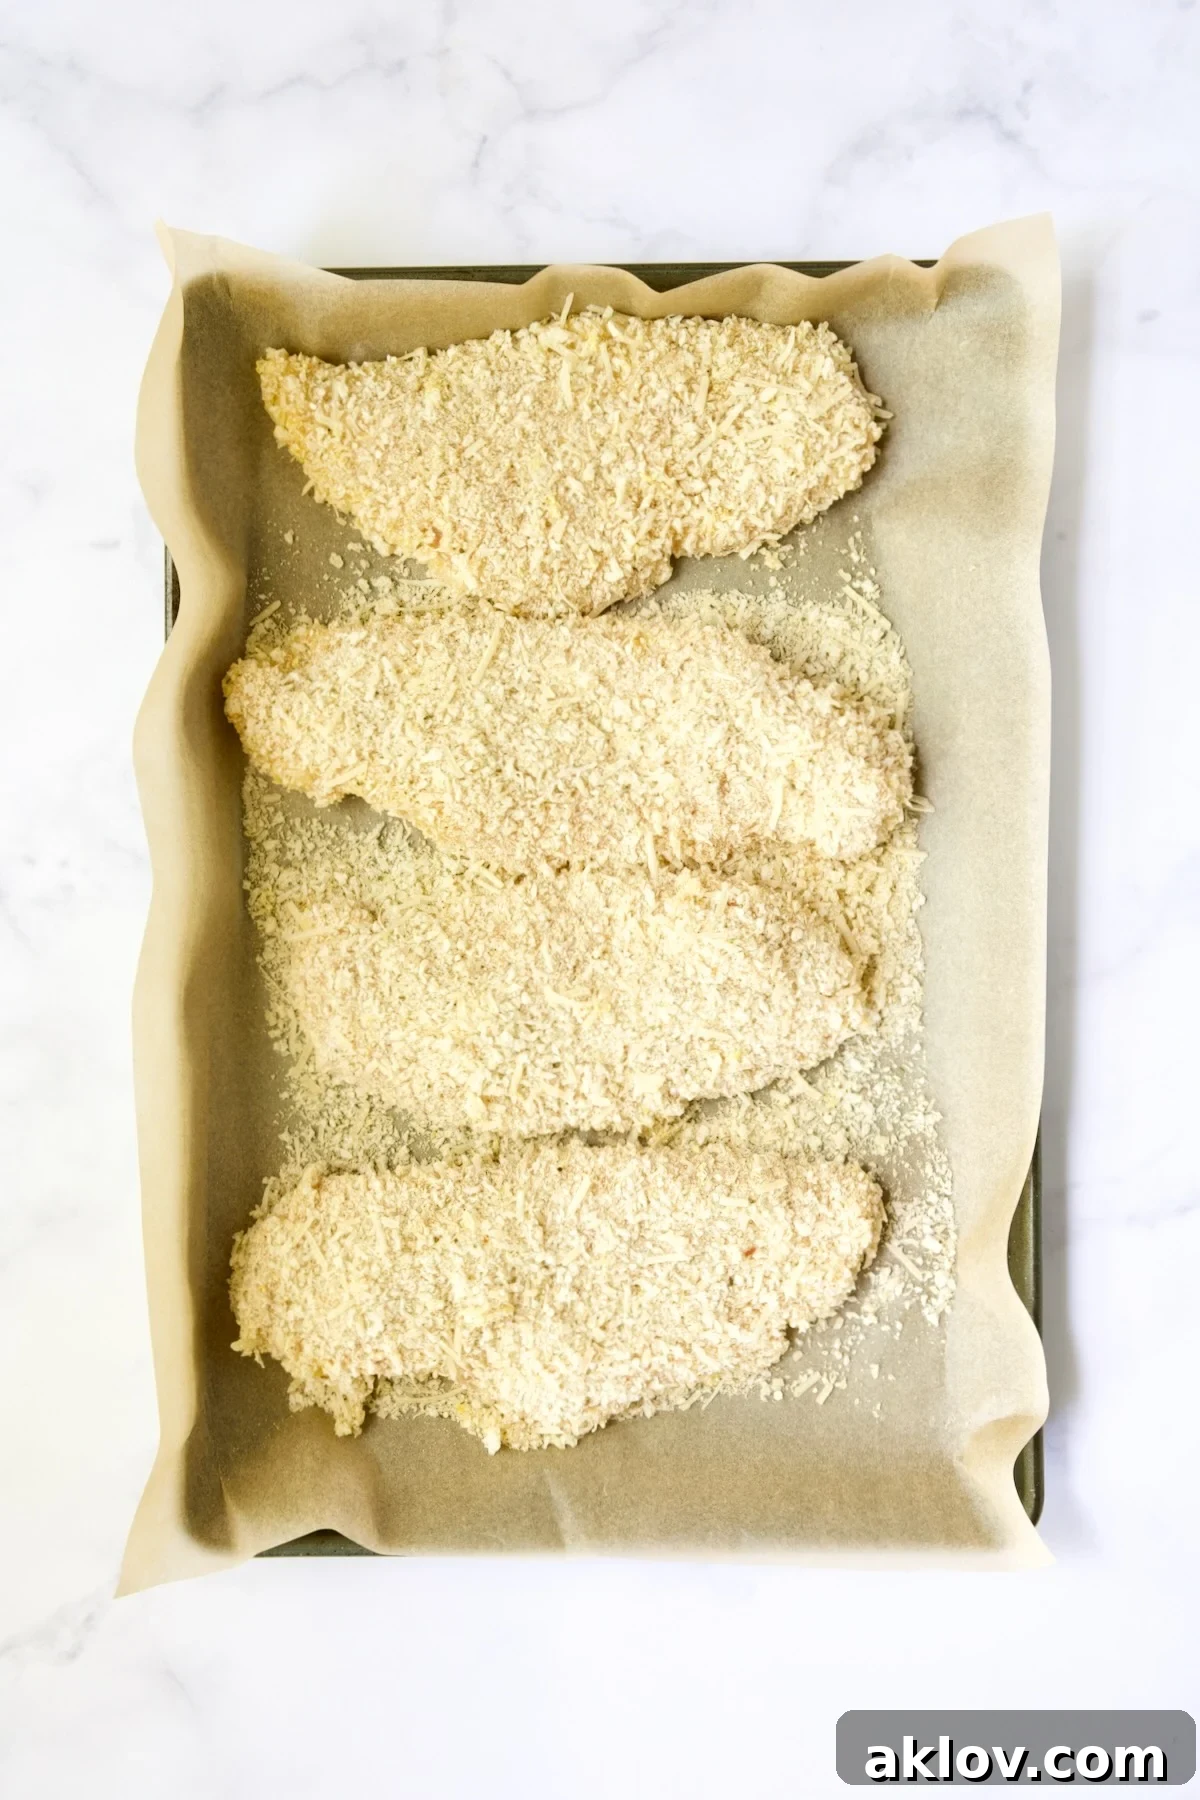
- As you bread each cutlet, place it onto a clean baking sheet or another flat surface. It’s highly recommended to bread all your chicken cutlets first before you begin frying. This allows you to give your full, undivided attention to the frying process, ensuring consistent cooking and preventing any burning.
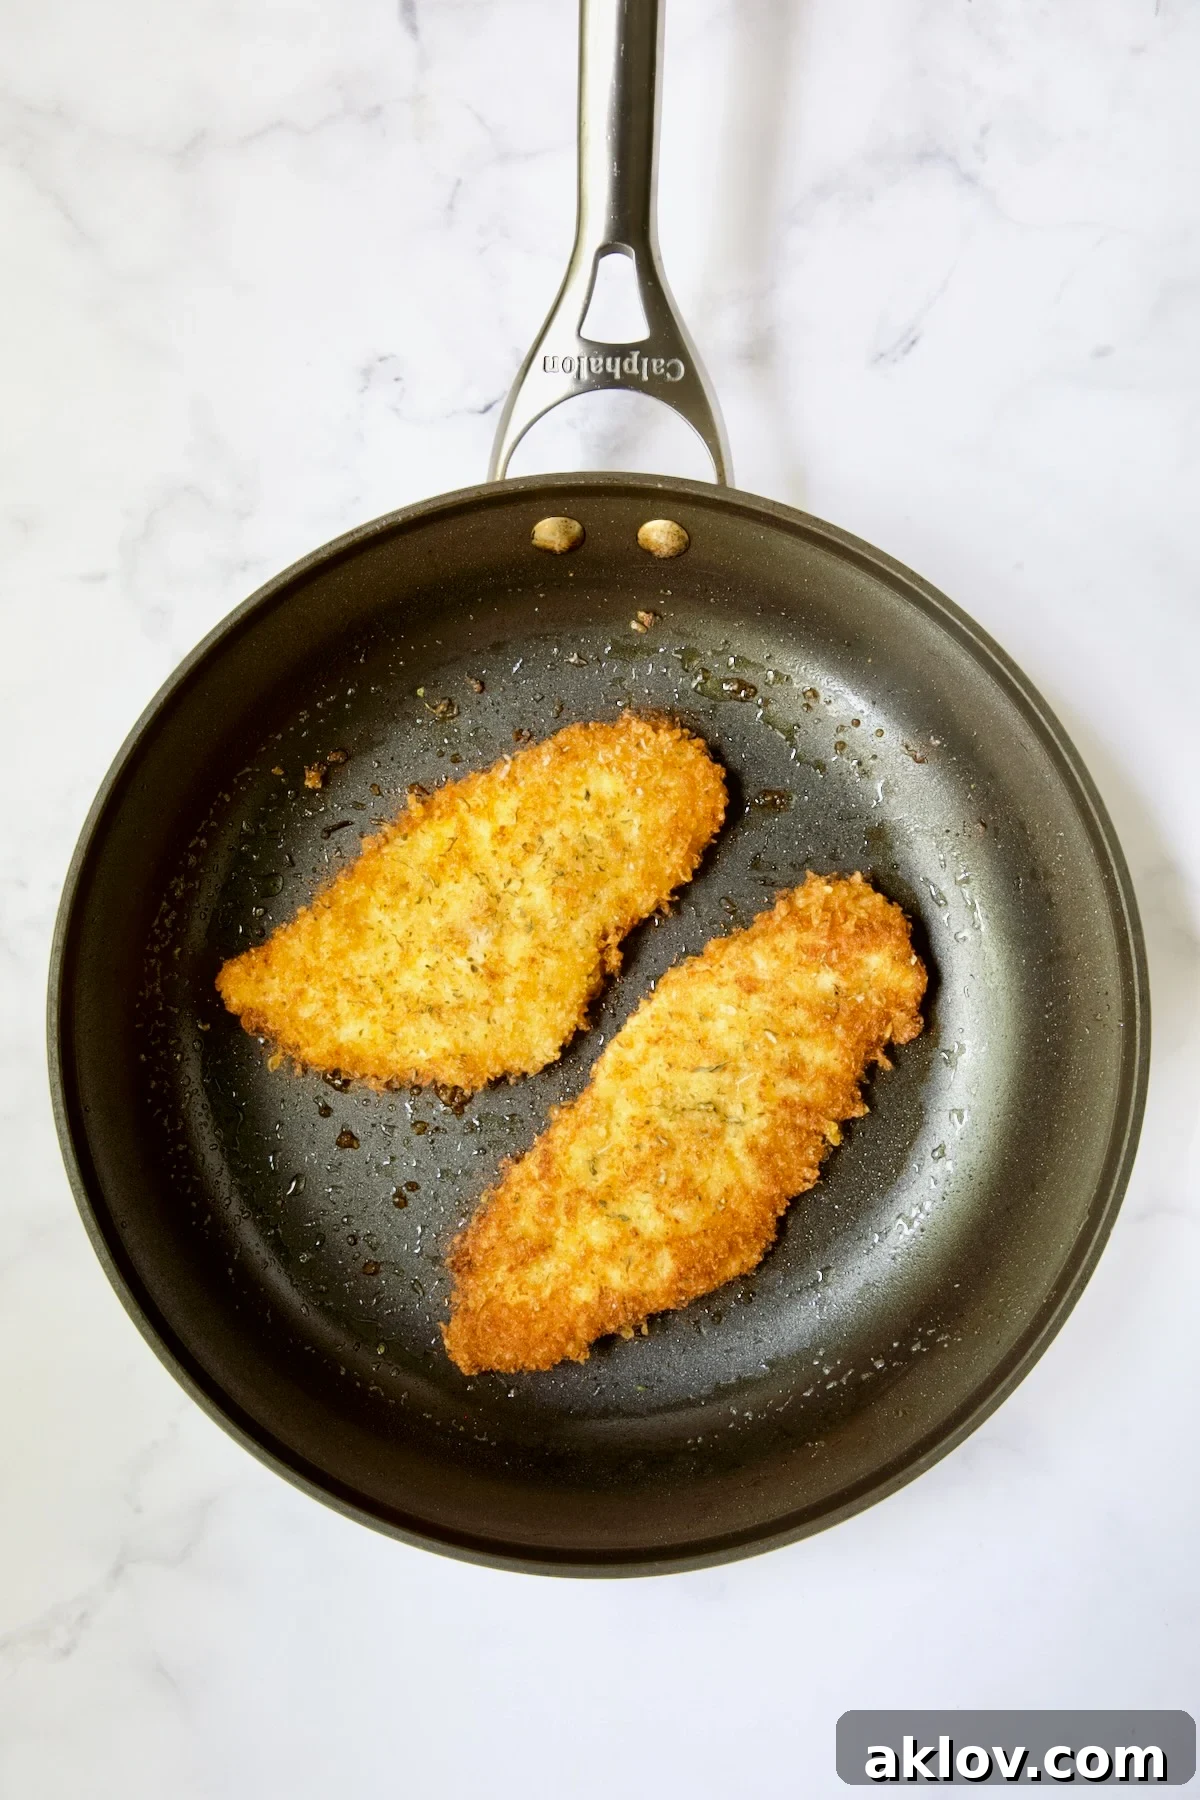
- Heat the olive oil in a large nonstick skillet over medium-high heat. The oil should be hot enough to sizzle when a corner of the breading touches it, but not smoking. Gently place 2 of the breaded chicken cutlets into the hot oil, ensuring not to overcrowd the pan, as this can lower the oil temperature and result in soggy chicken.
- Cook for 3-4 minutes on each side, or until the coating is beautifully golden brown and the chicken is cooked through to an internal temperature of 165°F (74°C) in the thickest part. Adjust the heat as necessary to prevent the breading from burning while the chicken cooks.
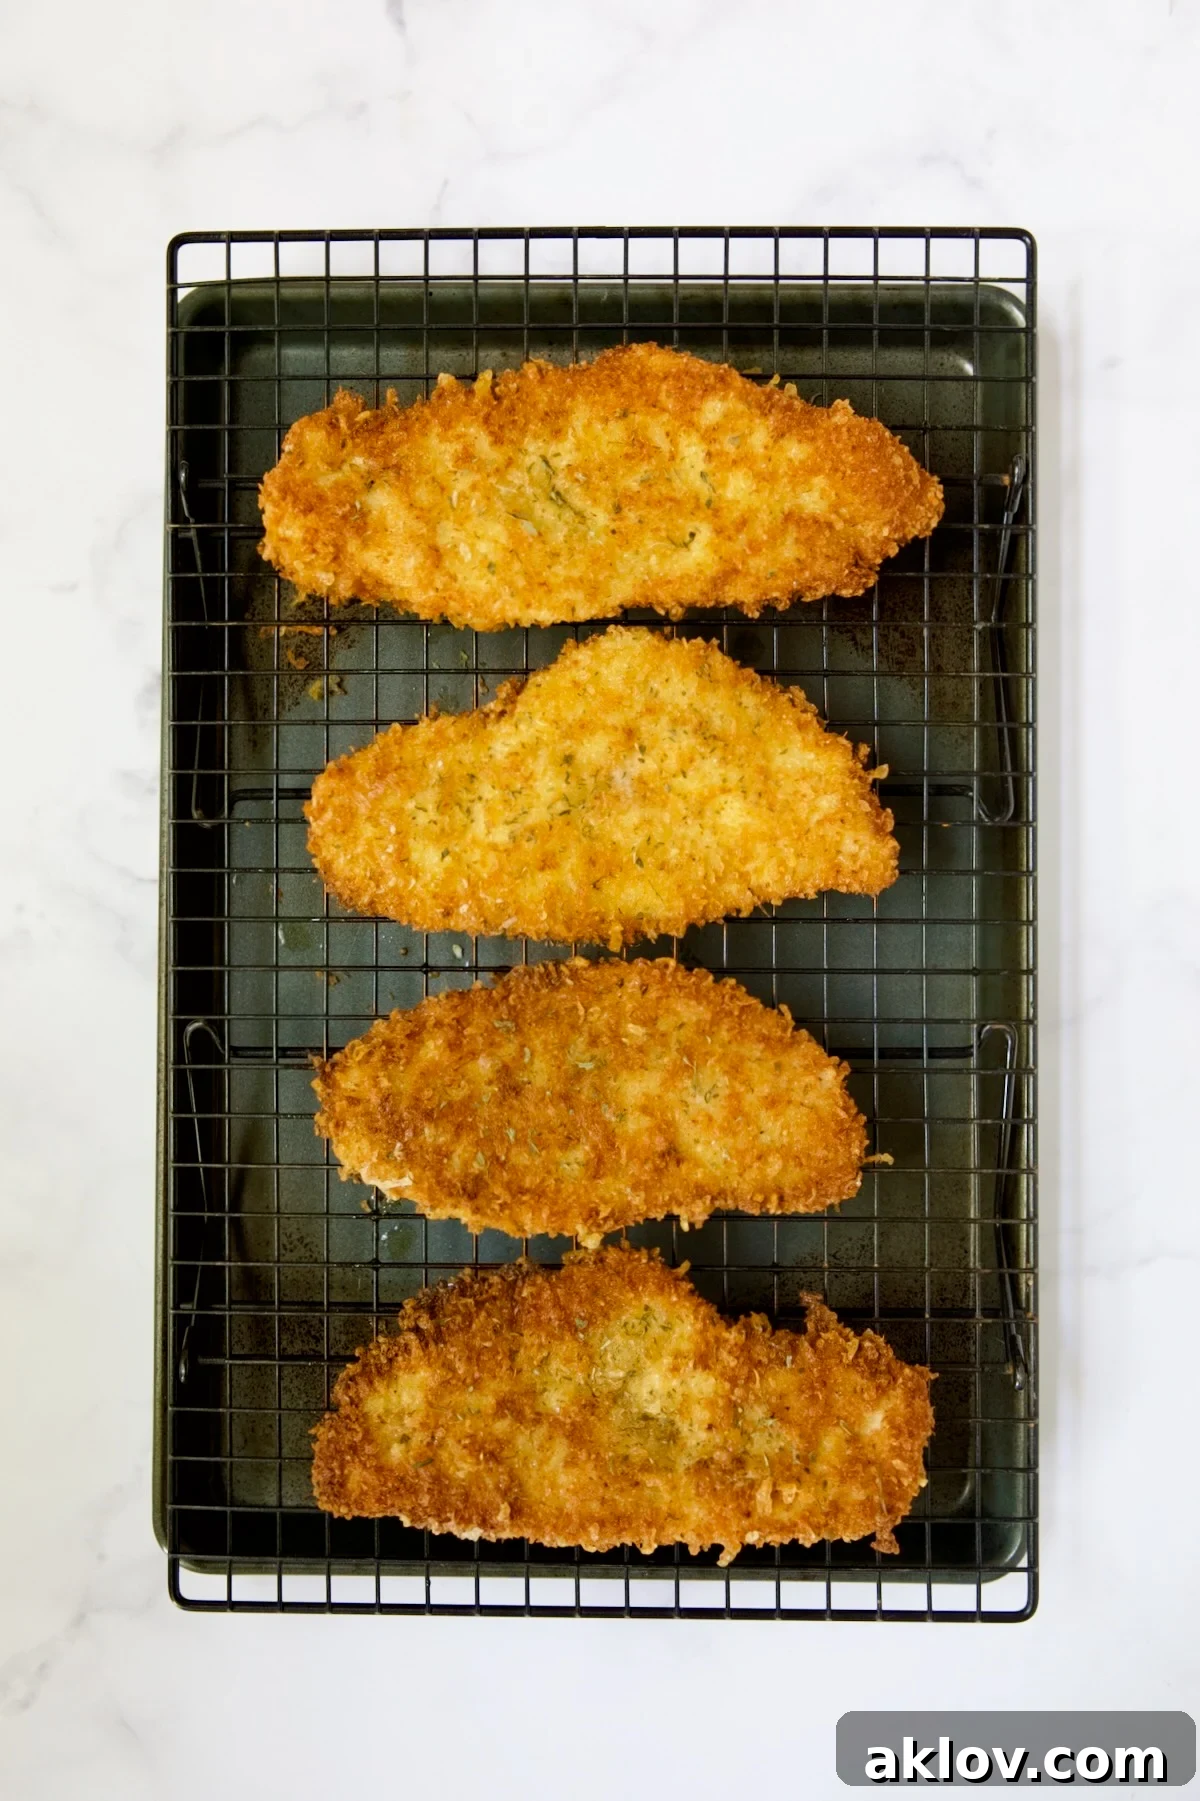
- Once cooked, carefully transfer the fried chicken cutlets to the prepared cooling rack set over the baking sheet in the preheated oven. This keeps them warm and maintains their crispiness.
- Repeat the frying process with the remaining two chicken cutlets, adding more olive oil to the pan if needed.
- To serve, arrange a generous handful of fresh arugula on each plate. Top the arugula with a portion of the prepared cherry tomato salad. Place a crispy Chicken Milanese cutlet alongside the salad.
- Garnish with fresh lemon wedges on the side; a squeeze of fresh lemon juice over the hot chicken just before eating enhances its flavors and adds another layer of brightness. Serve immediately and enjoy!
Chef’s Secret for Ultra-Crispy Milanese:
- One of the most crucial tips for achieving truly crispy fried food, including this Chicken Milanese recipe, is proper draining. Always place your freshly fried cutlets on a cooling rack set over a rimmed baking sheet. While it might seem convenient to place fried food on paper towels, this method can quickly lead to sogginess. Paper towels absorb the oil, but they also trap steam underneath the food, preventing air circulation. This lack of airflow, combined with the food sitting in absorbed oil, softens the crust. A cooling rack, however, allows air to circulate around all sides of the chicken, enabling any residual oil to drip away while keeping the crust dry and perfectly crispy. It’s a simple trick that makes a world of difference!
Your Questions Answered: Chicken Milanese FAQs
While both dishes feature breaded and fried chicken cutlets, their culinary identities are quite distinct. Chicken Milanese, as discussed, is a classic Italian dish characterized by its simplicity – often served with just a squeeze of lemon or a light salad to highlight the crispy chicken. Chicken Parmigiana (or Chicken Parmesan), on the other hand, is an Italian-American invention. After the chicken cutlets are breaded and fried, they are then smothered in a rich marinara sauce, topped generously with mozzarella cheese (and often Parmesan), and baked until the cheese is melted and bubbly. It’s a heartier, saucier dish compared to the crisp elegance of Milanese.
Absolutely! Baking is an excellent alternative if you’re looking for a lighter, less oil-intensive version of Chicken Milanese. To bake, simply prepare a baking sheet by lining it with parchment paper or nonstick aluminum foil. Lightly spray the paper or foil with cooking spray. Arrange the breaded cutlets on the prepared surface, then spray the tops of the cutlets with cooking spray for a golden finish. Bake in a preheated oven at 400°F (200°C) for 15-18 minutes, or until the chicken is cooked through to 165°F (74°C) and the breading is crisp and golden. Flipping halfway through baking can help ensure even crisping.
Yes, you can certainly do some prep work in advance. The chicken cutlets can be breaded up to 1 day ahead of time. After breading, arrange them in a single layer on a baking sheet lined with parchment paper, cover loosely with plastic wrap, and store them in the refrigerator. This allows the breading to adhere well and saves valuable time on the day of cooking. While you can prepare the tomato salad ingredients, it’s best to combine them with the vinaigrette and basil closer to serving time to maintain optimal freshness and texture.
Yes, Chicken Milanese can be reheated, though it’s always best enjoyed fresh. To preserve its crispiness, avoid the microwave. Instead, place the cooked cutlets in a baking dish and reheat them in a preheated oven at 350°F (175°C) for 18 to 20 minutes, or until thoroughly warmed through. Keep a close eye on the breading to prevent it from getting too dark or burning. If you notice it browning too quickly, you can reduce the temperature slightly to 325°F (160°C). Another great method is to reheat in an air fryer for 5-7 minutes at 350°F (175°C).
Perfect Pairings: What to Serve Alongside Chicken Milanese
Chicken Milanese is wonderfully versatile and pairs beautifully with a range of side dishes. While our Cherry Tomato and Arugula Salad offers a fantastic fresh contrast, consider these additional options to round out your meal:
- Creamy Oven Risotto: A rich, comforting risotto, perhaps infused with kale pesto or earthy roasted mushrooms, offers a luxurious texture that complements the crispy chicken.
- Asparagus Risotto: The delicate flavors of asparagus in a creamy risotto provide an elegant and spring-like accompaniment.
- Roasted Vegetable Rice with Garlic and Parmesan: A lighter, flavorful rice dish packed with roasted vegetables, garlic, and Parmesan cheese offers a hearty yet balanced side.
- Tender Roasted Artichokes: The slightly tangy and tender flesh of roasted artichokes provides a wonderful Mediterranean flair.
- Pasta with Fragrant Basil Pesto: A classic Italian pairing, the vibrant flavors of basil pesto tossed with your favorite pasta offer a fresh, aromatic side that echoes the basil in the salad.
- Simple Steamed Green Beans: Lightly steamed green beans with a drizzle of olive oil and a sprinkle of sea salt offer a simple, healthy, and crisp vegetable component.
- Garlic Mashed Potatoes: For a more comforting and indulgent meal, creamy garlic mashed potatoes provide a smooth, rich base that contrasts with the chicken’s crispiness.
Discover More Irresistible & Easy Chicken Recipes!
If you’ve enjoyed the simplicity and flavor of this Chicken Milanese, you’re in for a treat with these other easy-to-make chicken dishes, perfect for any occasion:
- Easy Skillet Mediterranean Chicken: A one-pan wonder bursting with vibrant Mediterranean flavors and succulent chicken.
- Decadent Crab Stuffed Chicken Breasts: Elegant and flavorful chicken breasts generously filled with a savory crab stuffing.
- Gratin-Style Pesto and Goat Cheese-Stuffed Chicken with Roma Tomatoes: A sophisticated dish featuring creamy goat cheese and aromatic pesto, baked to perfection.
- Flavorful Grilled Bruschetta Chicken: Light and fresh, this grilled chicken is topped with a classic bruschetta mixture, perfect for warmer days.
Explore an abundance of fantastic poultry dishes and all my cherished chicken recipes at Chicken Recipes – From A Chef’s Kitchen.
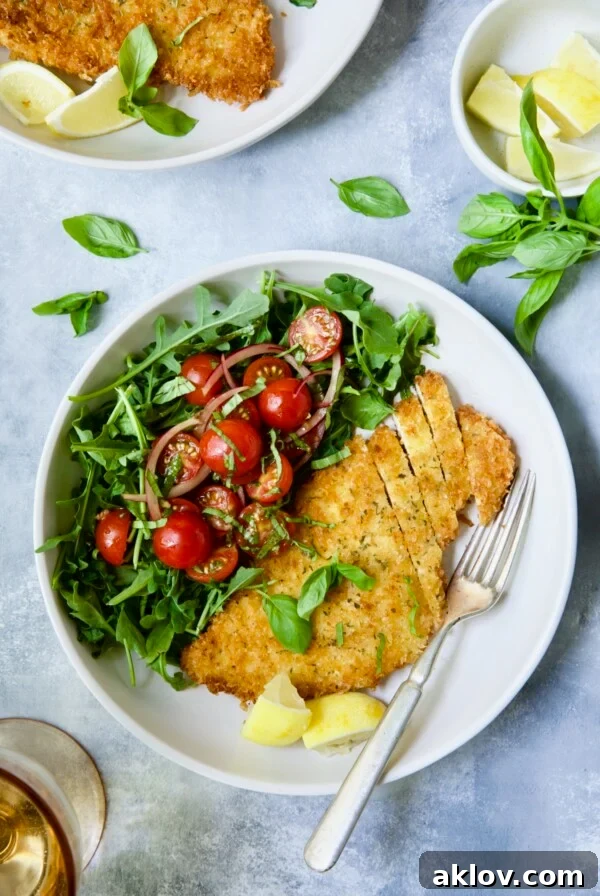
Chicken Milanese
Carol | From A Chef’s Kitchen
30 mins
15 mins
45 mins
4
Equipment
-
Wusthof Chef Knife
-
Cutting Board
-
Wusthof Boning Knife
-
Glass Mixing Bowls
-
Nonstick Skillet
-
Measuring Cups and Spoons
Ingredients
Arugula and Cherry Tomato Salad
- 1 pint cherry or grape tomatoes, (2 cups), halved
- Thinly sliced red onion
- 1 clove garlic, minced
- 2 tablespoons balsamic vinegar
- 2 tablespoons olive oil
- Salt and freshly ground black pepper, to taste
- 1 sprig fresh basil, leaves thinly sliced (chiffonade)
- 4 handfuls arugula
Chicken
- 2 large boneless skinless chicken breast halves
- 1/2 cup all-purpose flour
- 1 teaspoon salt, or to taste, divided
- Freshly ground black pepper
- 1 cup panko breadcrumbs
- 1/3 cup seasoned dry breadcrumbs, (Italian-style)
- 1/2 cup freshly grated Parmesan cheese
- Zest of 1 large lemon
- 2 large eggs, beaten
- 1/2 cup olive oil, for frying
- Lemon wedges
Instructions
Cherry Tomato and Arugula Salad
-
Combine the cherry tomatoes, red onion, garlic, balsamic vinegar, olive oil, and salt and black pepper to taste. Add the fresh basil and stir. Set aside while cooking the chicken.
Chicken Milanese
-
Preheat the oven to 250 degrees F (120 C). Place a cooling rack over a rimmed baking sheet.
-
Cut the chicken breast halves into even cutlets (about 1/4 to 1/2 inch thick). Gently pound for even thickness if needed.
-
Place the flour in a shallow dish. Add 1/2 teaspoon salt and freshly ground black pepper, stir to combine.
-
Place the beaten eggs in a second shallow dish. Add 1/4 teaspoon salt and freshly ground black pepper, stir to combine.
-
Combine the panko, Italian breadcrumbs, Parmesan cheese, and lemon zest in a third shallow dish. Add 1/4 teaspoon salt and freshly ground black pepper, stir to combine.
-
Working with one cutlet at a time, dredge it in the seasoned flour, shaking off the excess.
-
Dip the floured chicken cutlet in the egg mixture, allowing excess to drip off, then place it in the breadcrumb mixture, pressing firmly to coat well. Place each breaded cutlet on a baking sheet.
-
Heat 1/2 cup olive oil in a large nonstick skillet over medium-high heat. Place 2 of the cutlets in the hot oil. Cook 3-4 minutes on each side or until golden brown and cooked through to 165 degrees F (74 C) in the center. Adjust heat as necessary to prevent burning.
-
Transfer the cooked cutlets to the prepared rack/baking sheet and place them in the preheated oven to keep warm.
-
Repeat the frying process with the other two cutlets, adding more oil if needed.
-
TO SERVE: Place a handful of fresh arugula on a plate, top with a Chicken Milanese cutlet, and spoon the cherry tomato salad over or alongside. Serve with lemon wedges.
Notes
- The chicken cutlets can be breaded up to 1 day in advance. Store them covered in the refrigerator on a parchment-lined baking sheet.
FREEZER-FRIENDLY:
- Place cooked chicken Milanese cutlets in an airtight freezer-safe container, separated by parchment paper, and freeze for up to 2 months.
- Thaw in the refrigerator overnight before reheating.
REHEATING INSTRUCTIONS:
- For best crispiness, reheat in a preheated oven at 350°F (175°C) for 18 to 20 minutes, or until warmed through. Monitor closely to prevent the breading from becoming too dark. If needed, reduce the temperature to 325°F (160°C). An air fryer also works wonders at 350°F (175°C) for 5-7 minutes.
Nutrition
Serving:
1
Calories:
636
kcal
Carbohydrates:
37
g
Protein:
26
g
Fat:
43
g
Saturated Fat:
8
g
Polyunsaturated Fat:
5
g
Monounsaturated Fat:
27
g
Trans Fat:
0.02
g
Cholesterol:
138
mg
Sodium:
1080
mg
Potassium:
664
mg
Fiber:
3
g
Sugar:
6
g
Vitamin A:
1329
IU
Vitamin C:
31
mg
Calcium:
261
mg
Iron:
4
mg
Nutritional values are automatically calculated using unbranded products and are estimates only. Actual results may vary based on ingredients used and portion sizes. Adjust as needed for dietary restrictions, allergies, or health concerns.

Like this? Leave a comment below!