
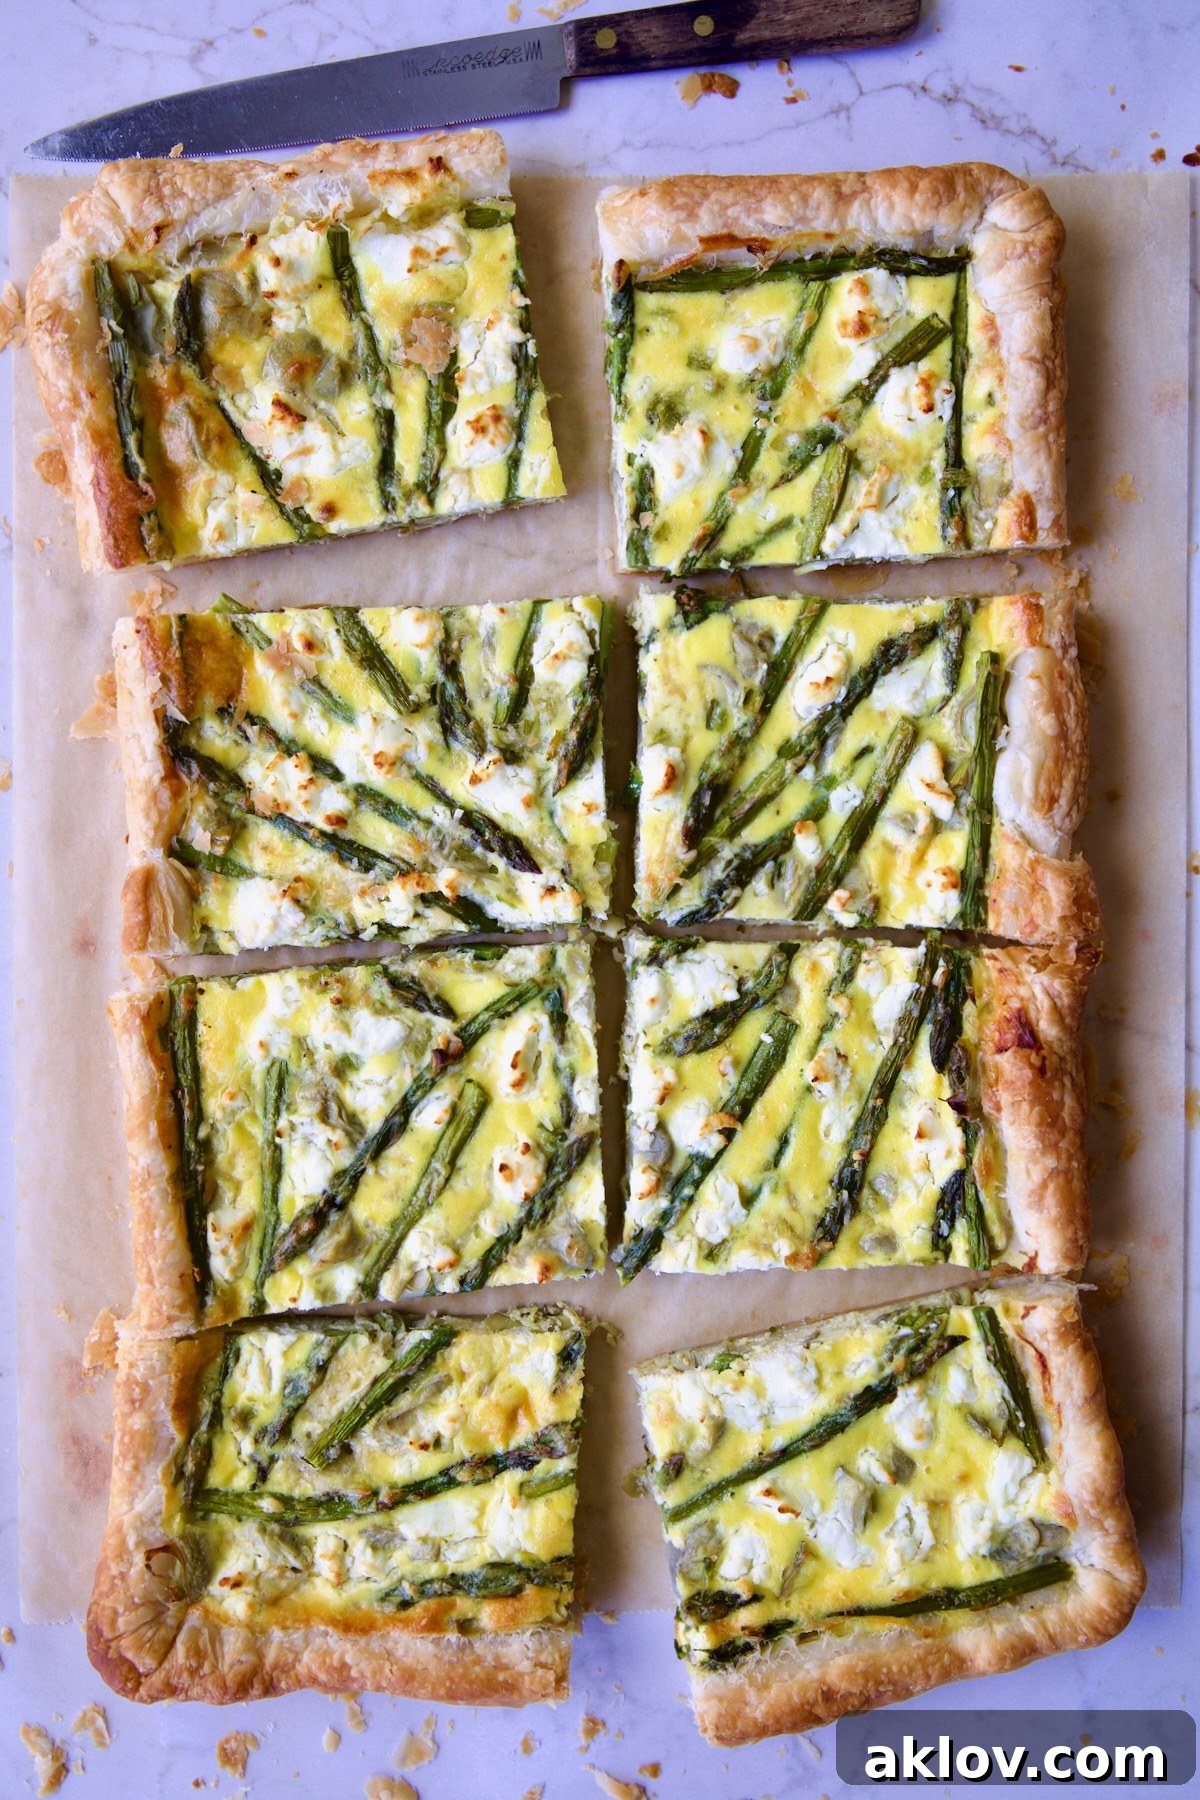
Delight your guests and simplify your culinary life with this exquisite Puff Pastry Tart with Asparagus and Artichokes. Baked effortlessly on a single sheet pan, this recipe is a testament to sophisticated flavors without the complicated process. It masterfully blends the convenience of store-bought puff pastry with a luscious three-cheese filling—creamy ricotta, nutty Asiago, and tangy goat cheese—all crowned with vibrant spring vegetables. Whether you’re hosting a brunch, celebrating a holiday, or simply looking for an impressive yet easy weeknight meal, this versatile tart promises a memorable culinary experience. Its adaptability to various seasonal vegetables means you can enjoy this culinary gem all year long.
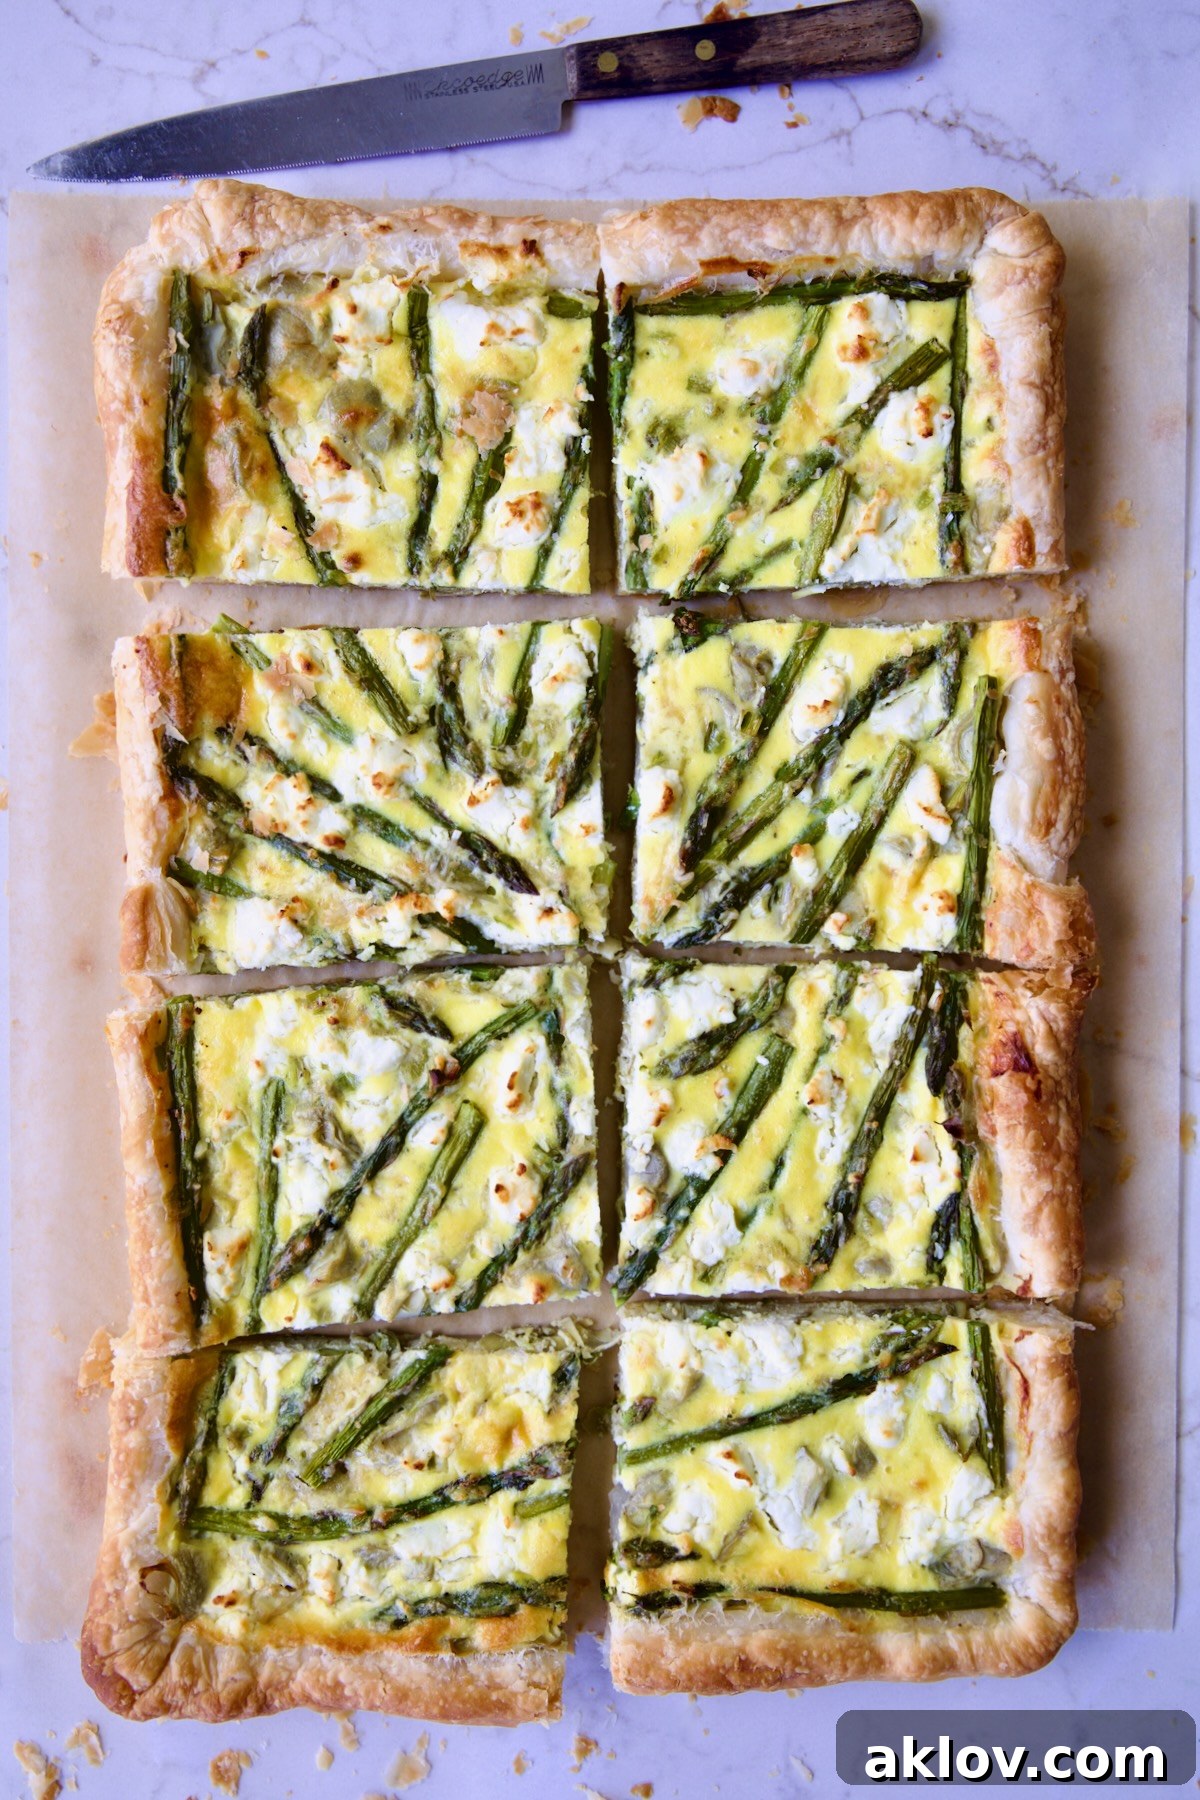
Why This Sheet Pan Puff Pastry Tart is a Must-Try!
While the art of homemade puff pastry is admirable, the reality is that high-quality frozen puff pastry sheets offer unparalleled convenience and consistently professional results. This recipe leverages that ease, allowing you to create a spectacular dish with minimal effort.
Utilizing two sheets of a well-known brand of puff pastry, which are overlapped and gently rolled, this recipe creates a generous crust that perfectly fits a 15 x 10-inch rimmed baking sheet. This generous size is ideal for feeding a crowd, making it a perfect centerpiece for gatherings, brunches, or even a sophisticated family dinner. Forget individual tartlets; this sheet pan approach means less fuss and more time enjoying your company.
This particular Asparagus and Artichoke Puff Pastry Tart shines with the fresh flavors of spring, but its true beauty lies in its versatility. Imagine swapping the asparagus and artichokes for sweet summer zucchini and sun-ripened tomatoes, or embracing the cozy warmth of fall with roasted butternut squash. The combination of the flaky pastry, rich cheese blend, and fresh vegetables ensures a delightful experience regardless of the season. It’s not just a recipe; it’s a template for year-round culinary creativity!
Key Benefits of This Vegetable Tart:
- Effortlessly Easy: The secret weapon here is store-bought puff pastry, eliminating the most time-consuming step of tart making. Additionally, the spring vegetables, asparagus and scallions, require only a quick sauté to enhance their vibrant color and tender-crisp texture before baking, further simplifying the preparation. This means less time in the kitchen and more time enjoying delicious food.
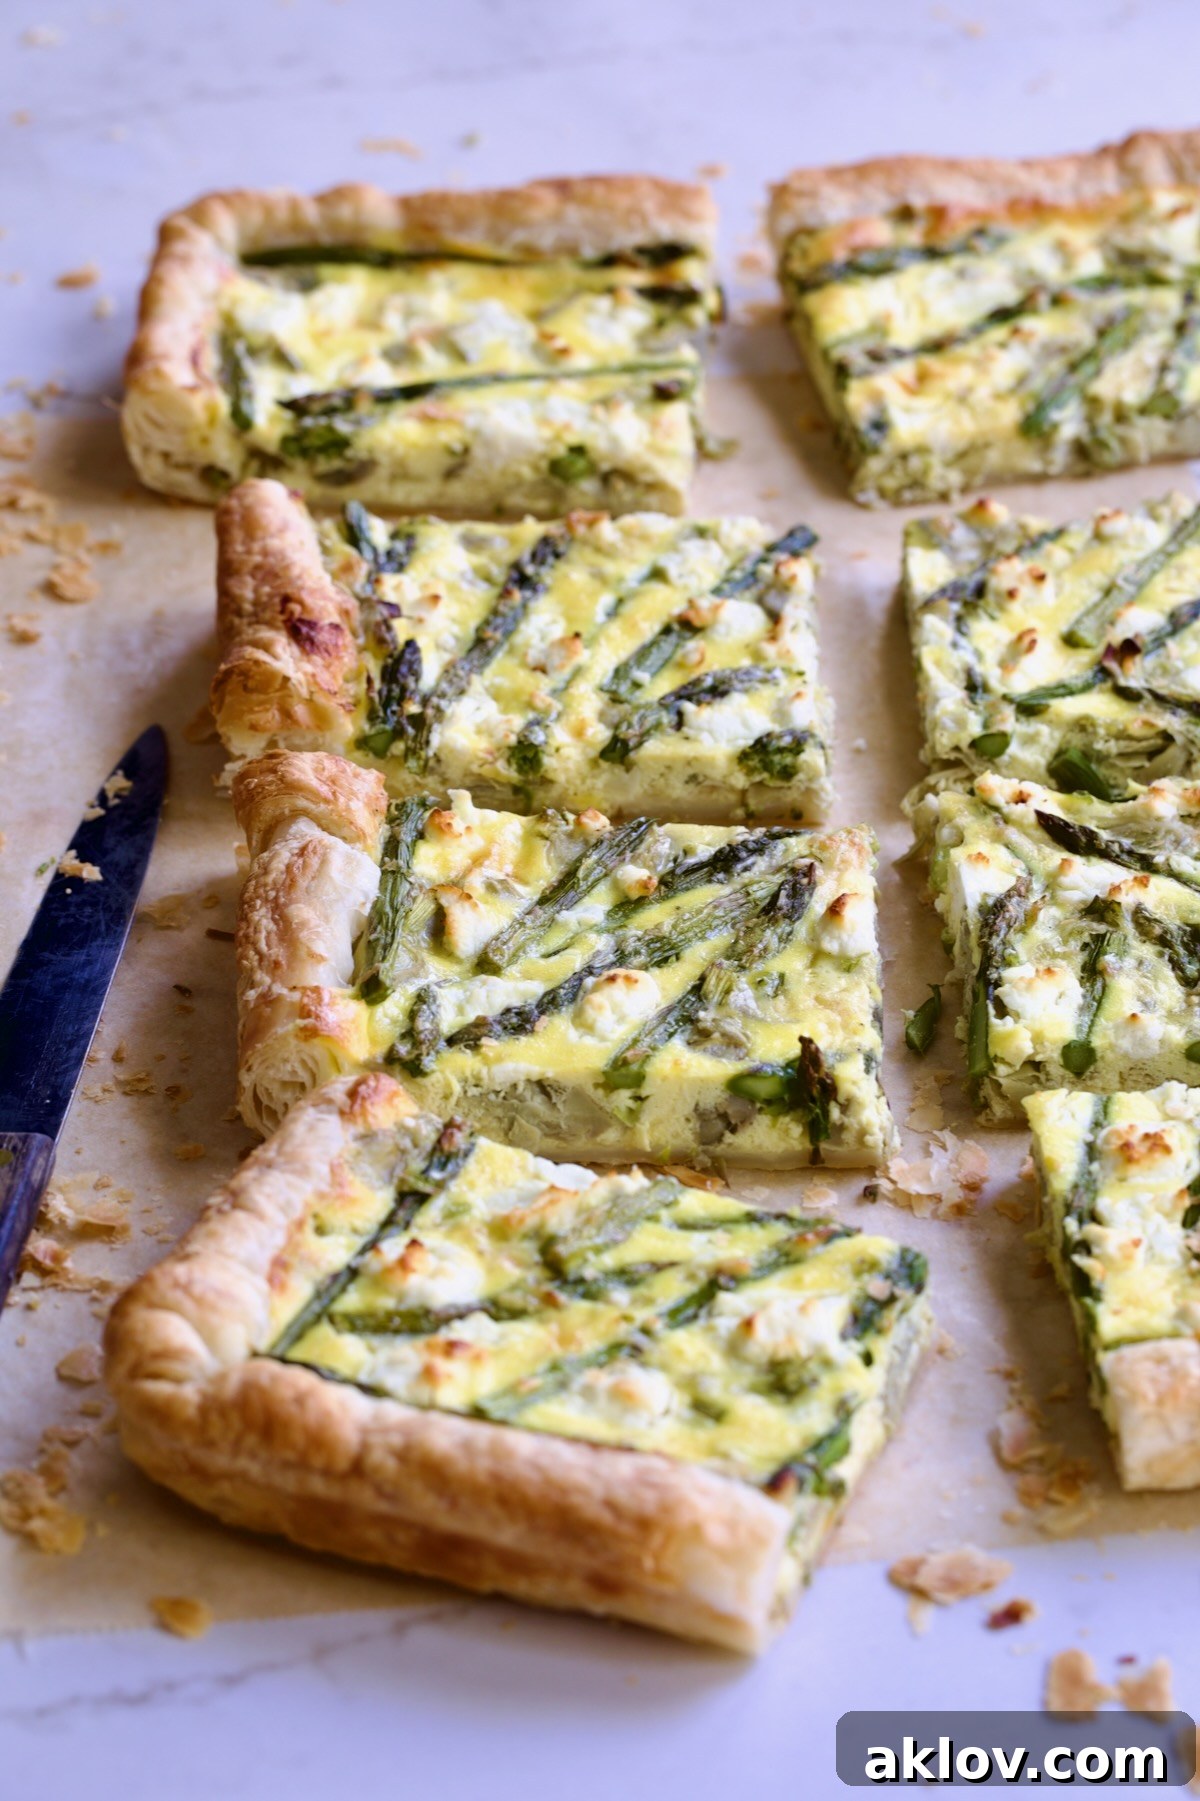
- Elegantly Impressive: Despite its simple preparation, this Puff Pastry Vegetable Tart presents beautifully. Its golden, flaky crust, vibrant array of vegetables, and rich, creamy filling make it a showstopper suitable for any special occasion. It’s a fantastic option for Easter brunch, Mother’s Day, bridal showers, or any event where you want to serve something both delicious and visually appealing.
- Incredibly Versatile: This recipe is a fantastic foundation that encourages culinary exploration. While this version highlights spring produce, it can easily adapt to any season’s bounty. Consider adding thinly sliced zucchini, yellow squash, or cherry tomatoes (ensuring to drain them first) for a taste of summer. As autumn arrives, transform it with roasted butternut squash or caramelized onions and mushrooms. The choice of cheeses can also be varied to suit your palate, making it a truly customizable dish.
Crafting Your Delicious Puff Pastry Tart: A Step-by-Step Guide
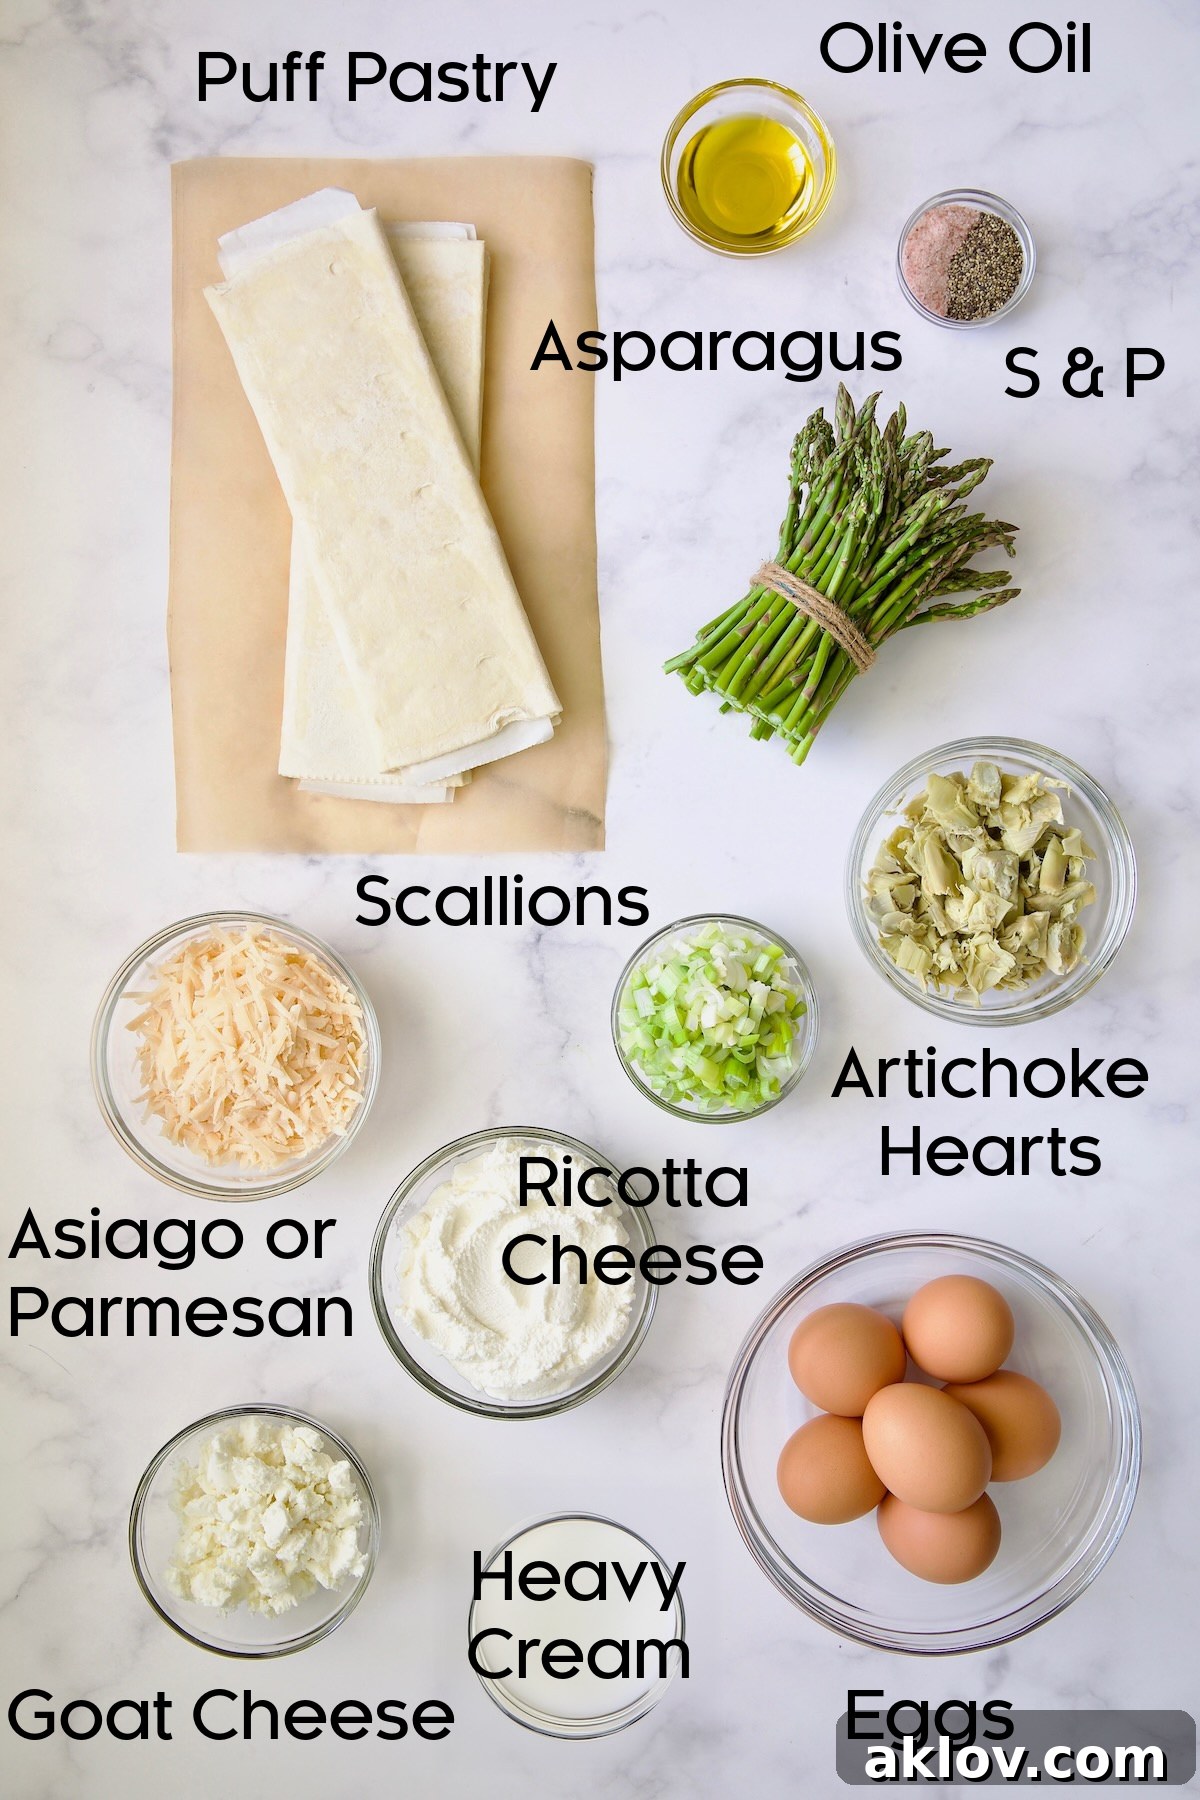
Essential Ingredients for Your Savory Tart:
Gathering your ingredients ahead of time ensures a smooth and enjoyable cooking process. Here’s what you’ll need for this delightful tart. Detailed quantities can be found in the recipe section below.
Ingredient Insights & Smart Substitutions:
- Puff Pastry: For optimal results, brands like Pepperidge Farm or DuFour are highly recommended and widely available in the frozen dessert aisle of most grocery stores. The key to successful handling is proper thawing: six to eight hours in the refrigerator or about 40 minutes at room temperature until pliable but still cold. Avoid letting it get too warm, as the high butter content will make it sticky and challenging to work with. If your puff pastry sheets are folded, gently press the seams together to create a smooth surface. While possible to use a regular pie crust, it would require blind-baking first to prevent a soggy bottom.
- Asparagus: Opt for thin to medium-width asparagus spears. These cook evenly and offer the best texture in the tart. Trimming the tough woody ends is crucial for a tender bite; simply snap off the bottom part where it naturally breaks.
- Artichoke Hearts: For the most authentic and fresh-like flavor, frozen artichoke hearts are generally preferred over canned, though canned can be used in a pinch. Regardless of your choice, it’s vital to pat them thoroughly dry to remove any excess moisture. This step is critical to prevent a watery filling and ensure a perfectly baked tart.
- Asiago / Parmesan Cheese: Freshly grating your cheese makes a significant difference in flavor and melt. Asiago offers a slightly nutty and robust profile, while Parmesan provides a sharp, savory note. Either works wonderfully to complement the vegetables and other cheeses, adding depth to the overall taste.
- Ricotta Cheese: For the richest flavor and creamiest texture, whole milk ricotta cheese is highly recommended. Quality brands like Murray’s will yield the best results, ensuring your tart filling is lusciously smooth and full-bodied.
- Goat Cheese: The tangy, slightly earthy flavor of crumbled goat cheese adds a wonderful counterpoint to the richness of the ricotta and Asiago, elevating the complexity of the tart.
Detailed Step-By-Step Baking Instructions:
- Preparation First: Begin by gathering all your ingredients and performing any necessary preliminary prepping, such as washing vegetables and grating cheese. This streamlines the cooking process.
- Preheat Oven: Set your oven to 400 degrees Fahrenheit (200 degrees Celsius) to ensure it’s at the correct temperature when your tart is ready for baking.
- Prepare Baking Sheet: Lightly spray a 15 x 10-inch rimmed baking sheet with cooking spray. This prevents sticking and helps in easy removal of the baked tart.
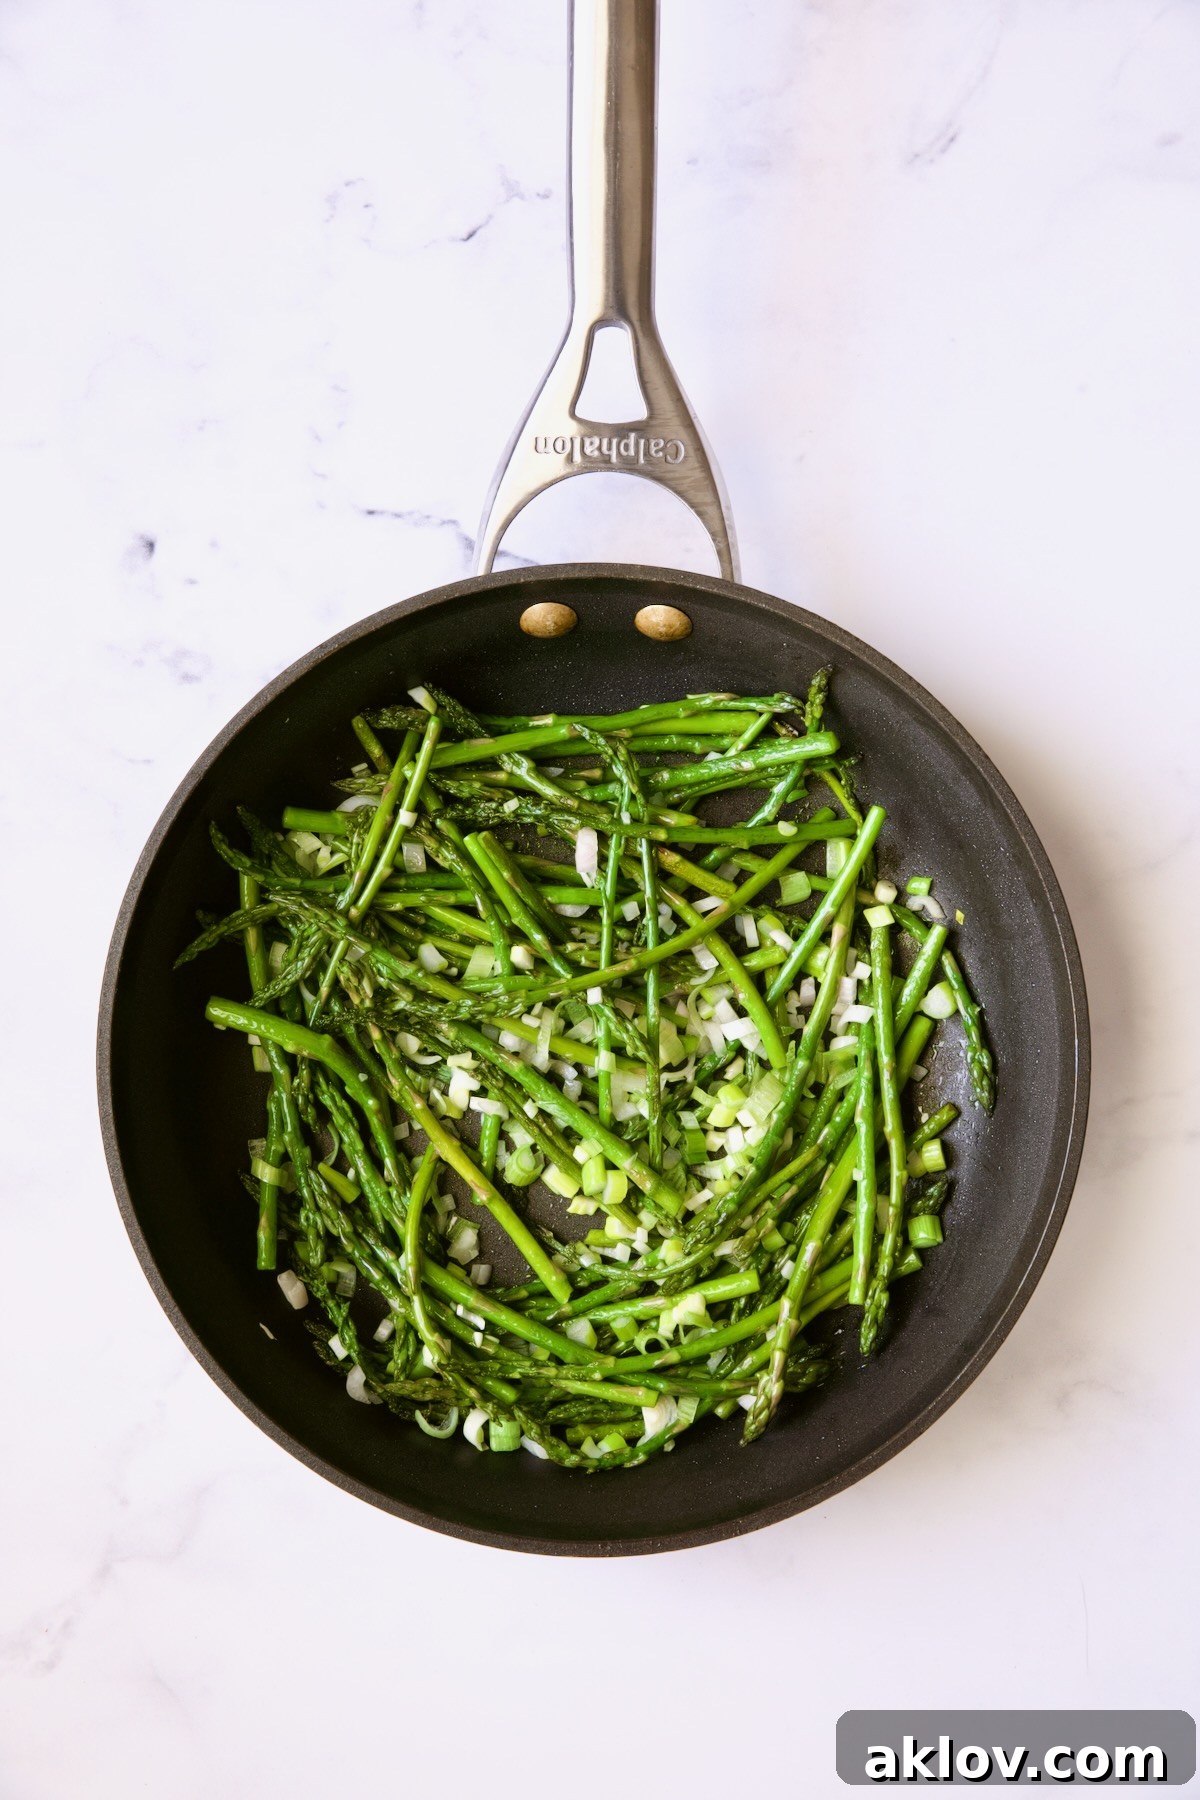
- Sauté Vegetables: Heat the olive oil in a nonstick skillet or sauté pan over medium-high heat. Add the trimmed asparagus spears, reducing the heat to medium. Cook for just 1 to 2 minutes, or until the asparagus turns a vibrant bright green, indicating it’s lightly cooked but still crisp. Stir in the coarsely chopped scallions and cook briefly, about 1 minute, just until they soften slightly. This gentle sauté brings out their flavors and ensures they are tender in the baked tart.
- Cool the Veggies: Transfer the cooked asparagus and scallions to a plate and set them aside to cool completely while you prepare the puff pastry crust. Cooling prevents them from making the pastry soggy.
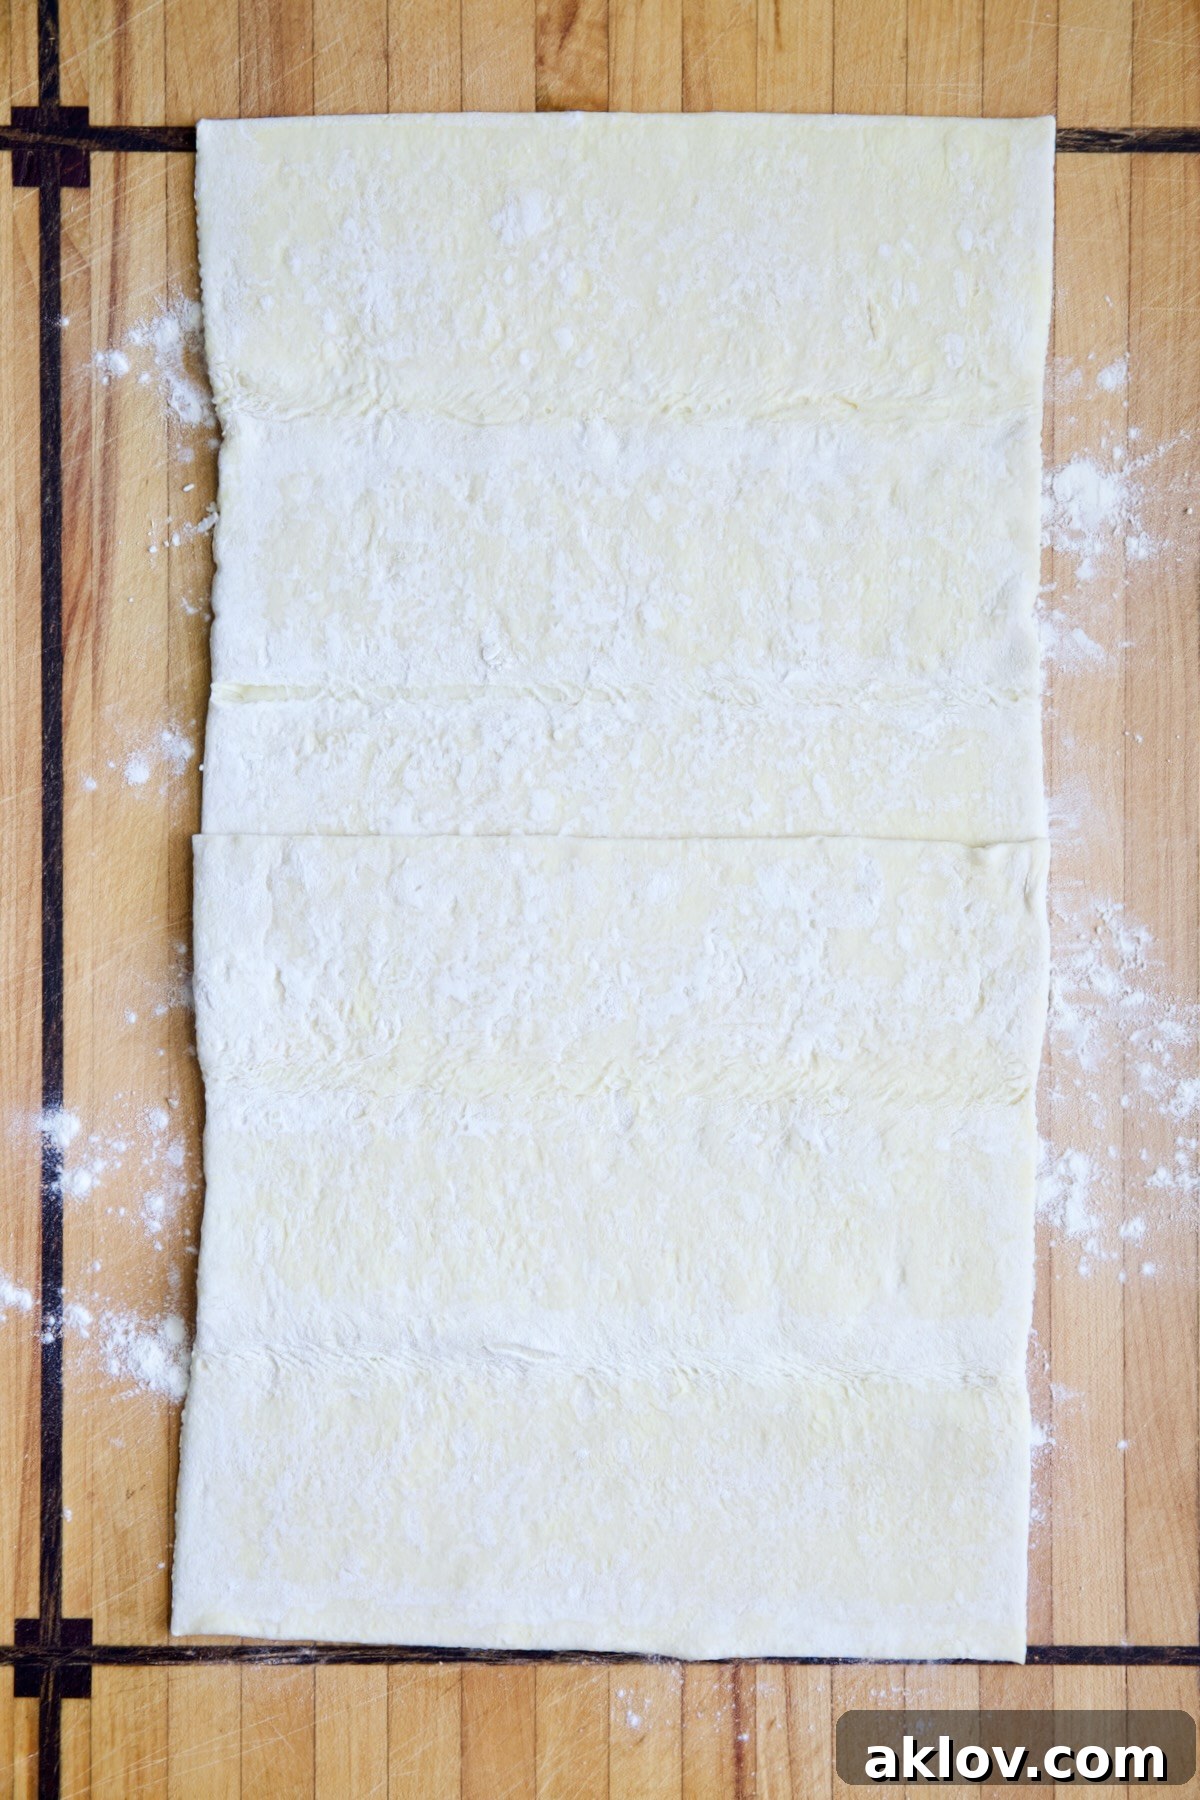
- Unfold Puff Pastry: Lightly flour a clean work surface. Carefully unfold the thawed puff pastry sheets onto the floured surface. If your pastry was folded, gently press along the creases to “repair” the folds and create a more seamless surface.
- Create Large Sheet: Stack the two puff pastry sheets so they overlap by approximately 1 to 2 inches. This will create one larger, unified sheet perfect for your sheet pan.
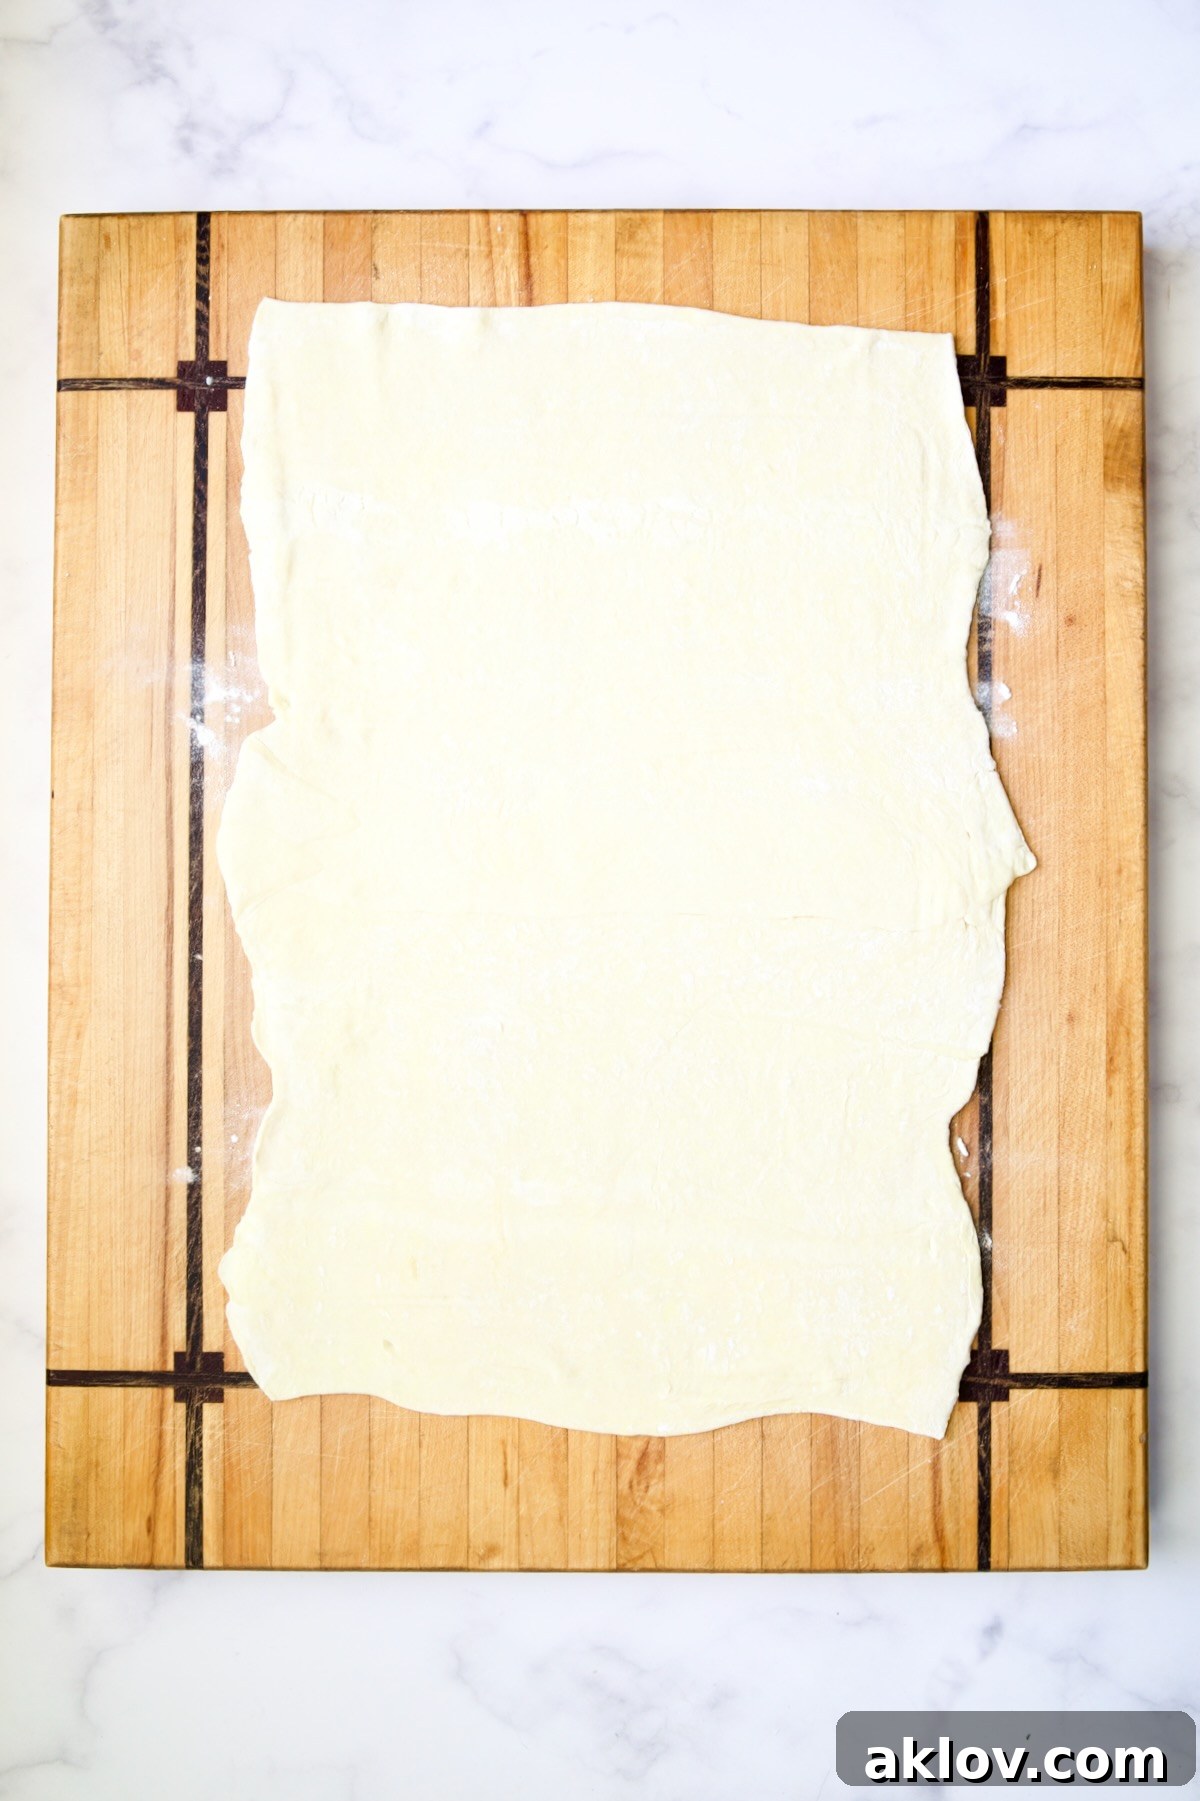
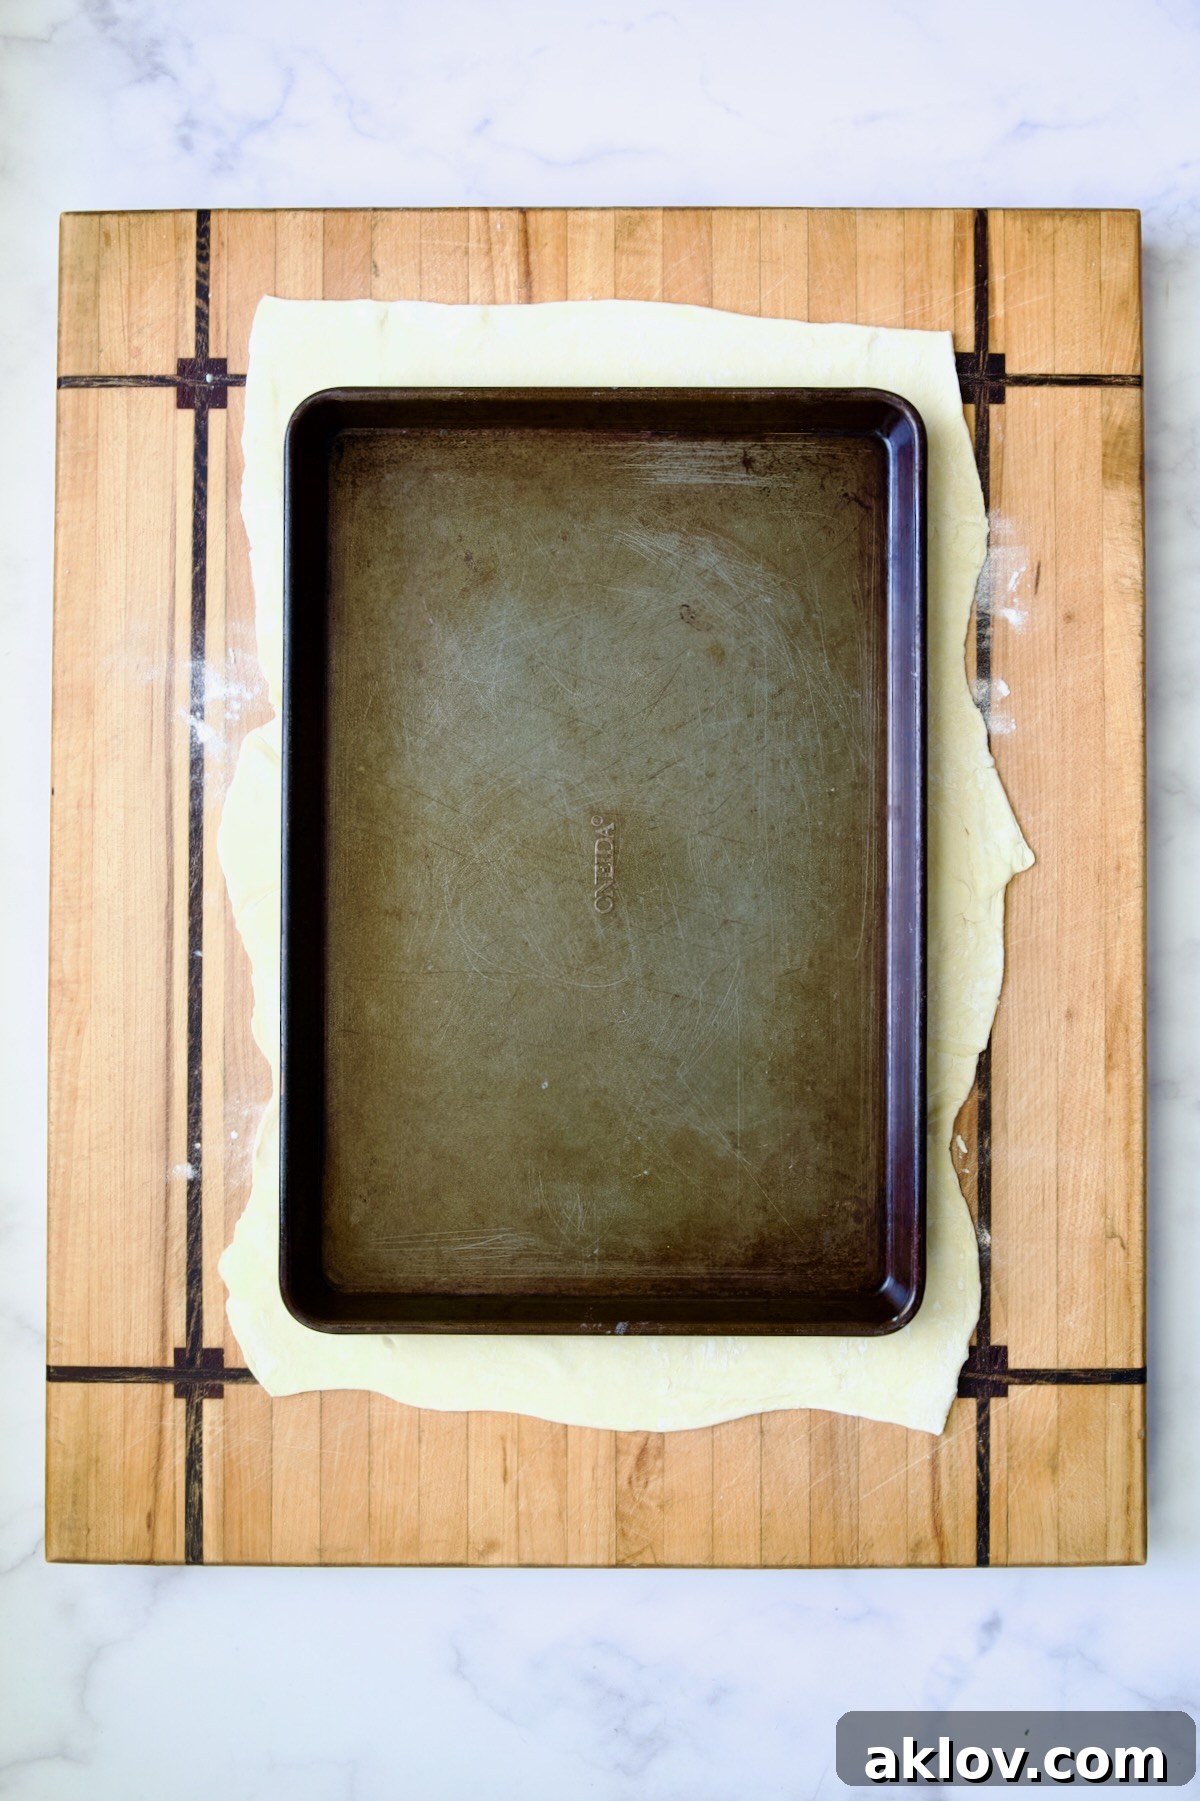
- Roll Out Dough: Using a rolling pin, gently roll out the overlapped puff pastry. Aim to create a rectangle that is about 1 to 2 inches larger than your 15 x 10-inch rimmed baking sheet. You can use the baking sheet as a guide by occasionally placing it over the pastry to check its size. The extra inch or two will allow for the formation of a raised crust edge.
- Transfer to Pan: Carefully transfer the rolled-out puff pastry dough to your prepared baking sheet. A good trick is to lightly flour the pastry, then gently roll it around your rolling pin. Position the rolling pin at one short end of the baking sheet and unroll the pastry onto the pan, making slight adjustments as needed for placement.
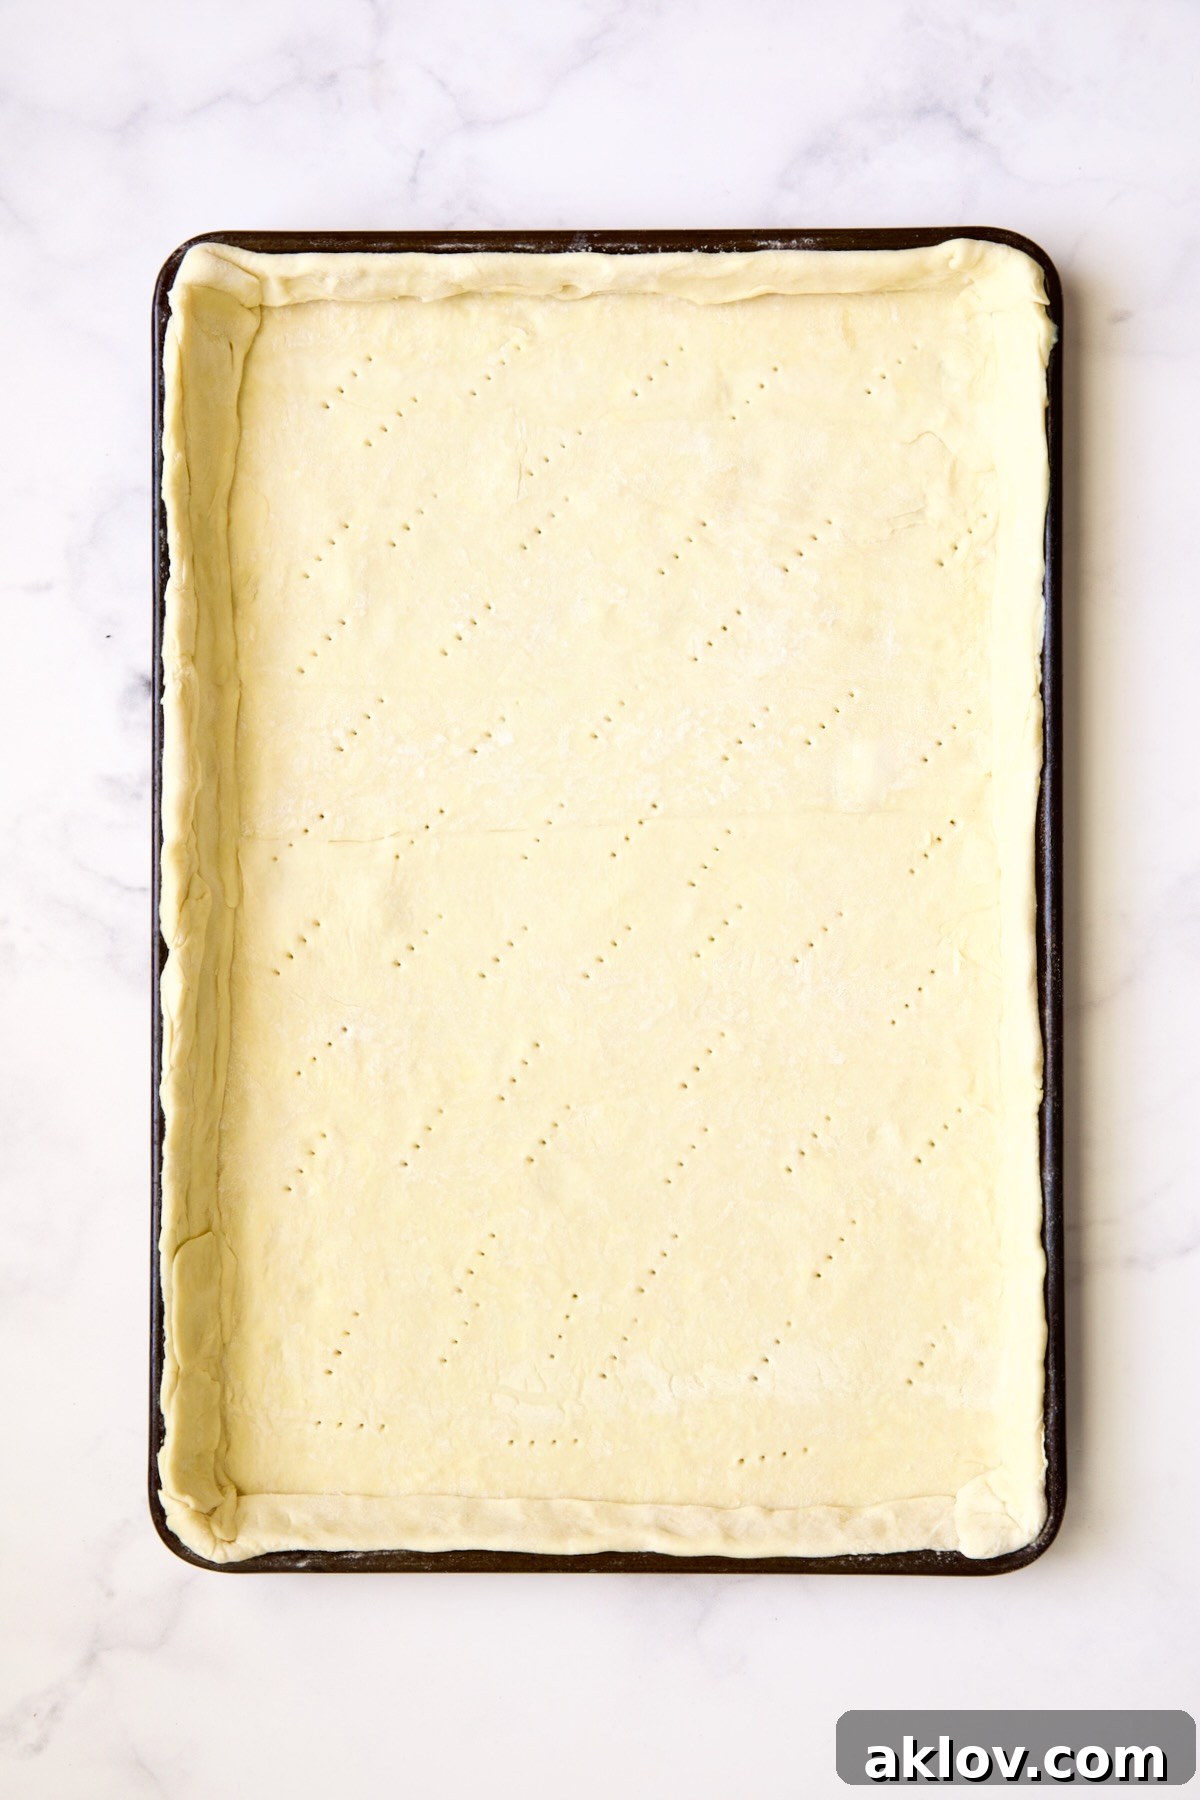
- Form the Crust: Fold any excess dough around the edges back onto itself, creating a slightly raised border or “crust” around the perimeter of the tart. This helps contain the filling and creates a beautiful, flaky edge.
- Dock the Pastry: Using a fork, prick the bottom of the puff pastry crust liberally with holes. This process, known as “docking,” allows steam to escape during baking, preventing the crust from puffing up excessively and ensuring a crisp, even bottom.
- MAKE AHEAD TIP: To save time on the day of serving, you can prepare the dough up to this point, and have all your other ingredients prepped, with the asparagus and scallions lightly cooked and cooled. Cover the docked dough on the baking sheet tightly with plastic wrap and refrigerate. When ready to bake, simply assemble the tart and proceed with the baking instructions.
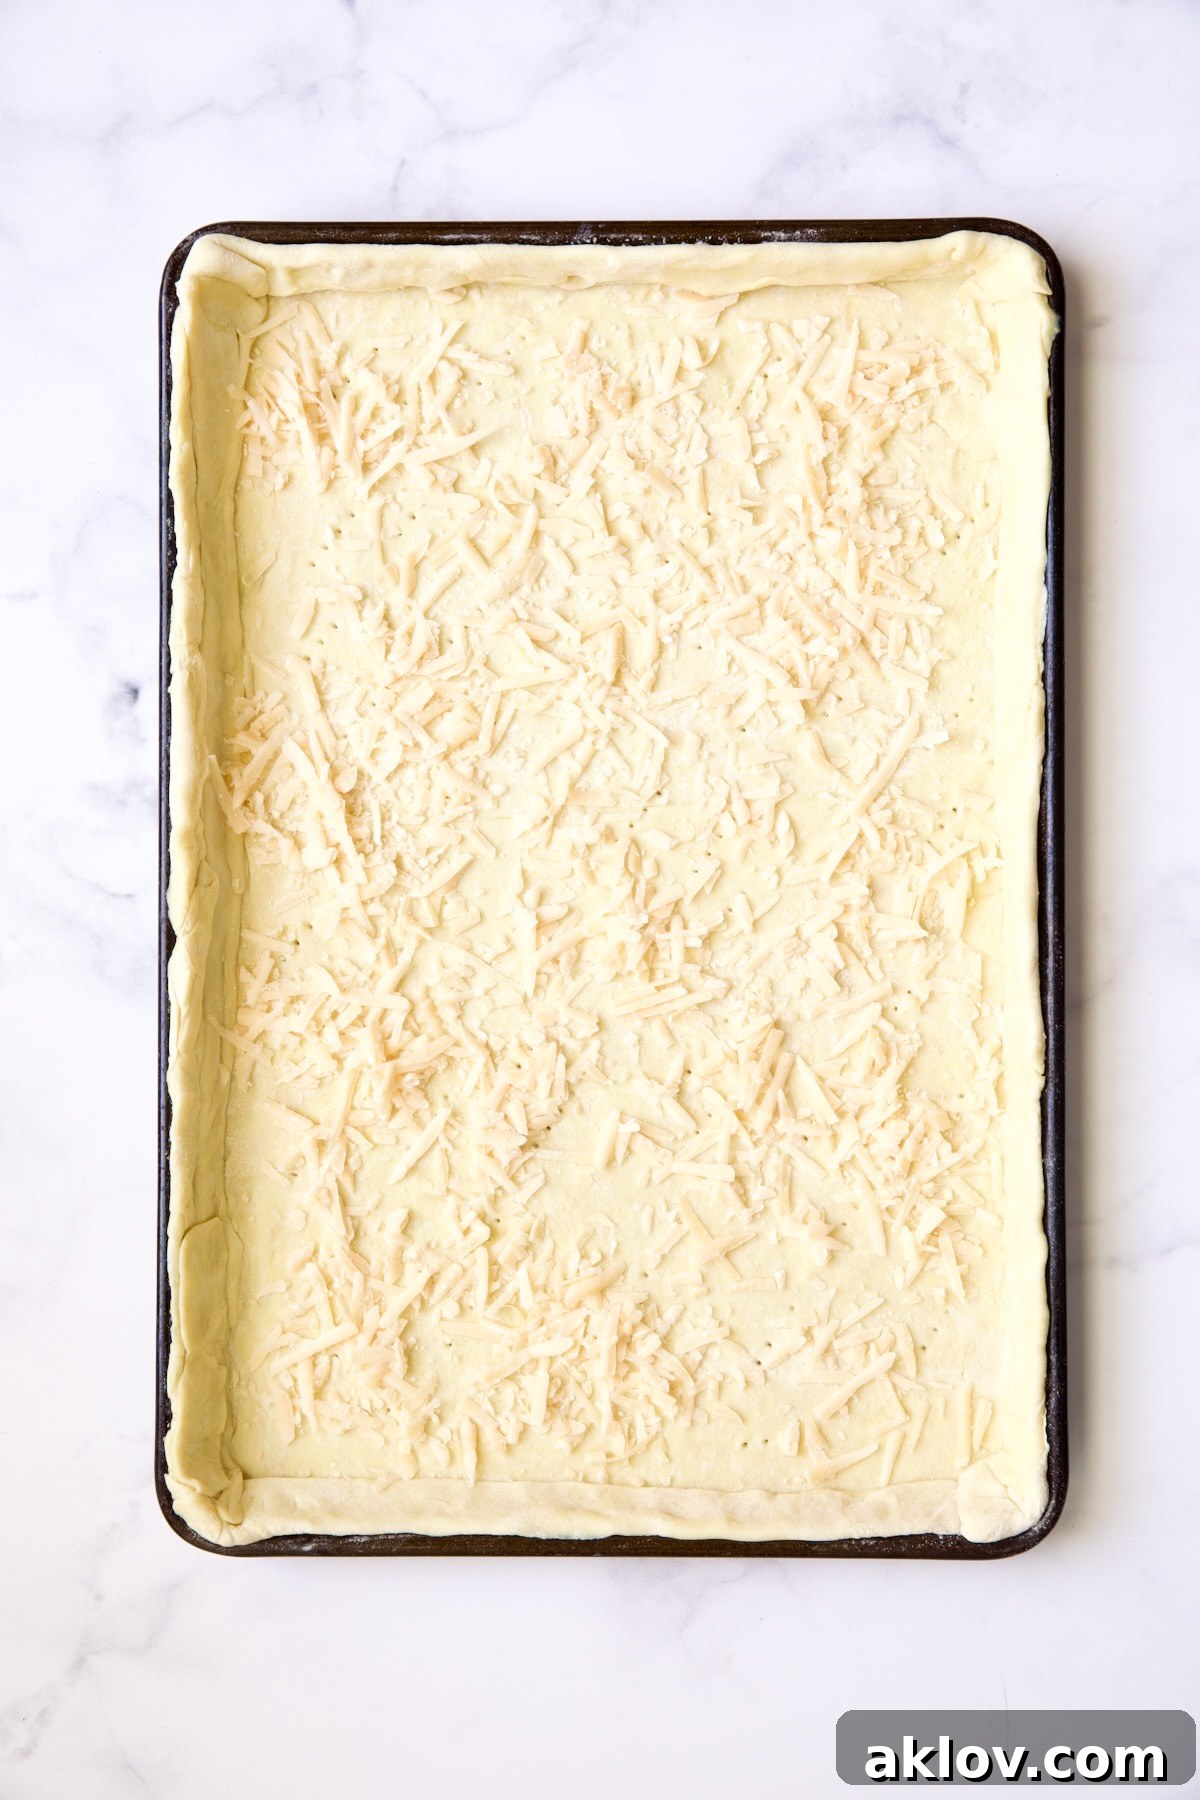
- Layer the Flavors: Begin building your tart by sprinkling half of the freshly grated Asiago or Parmesan cheese evenly over the docked, unbaked crust. This layer acts as a delicious barrier, further helping to prevent a soggy bottom.
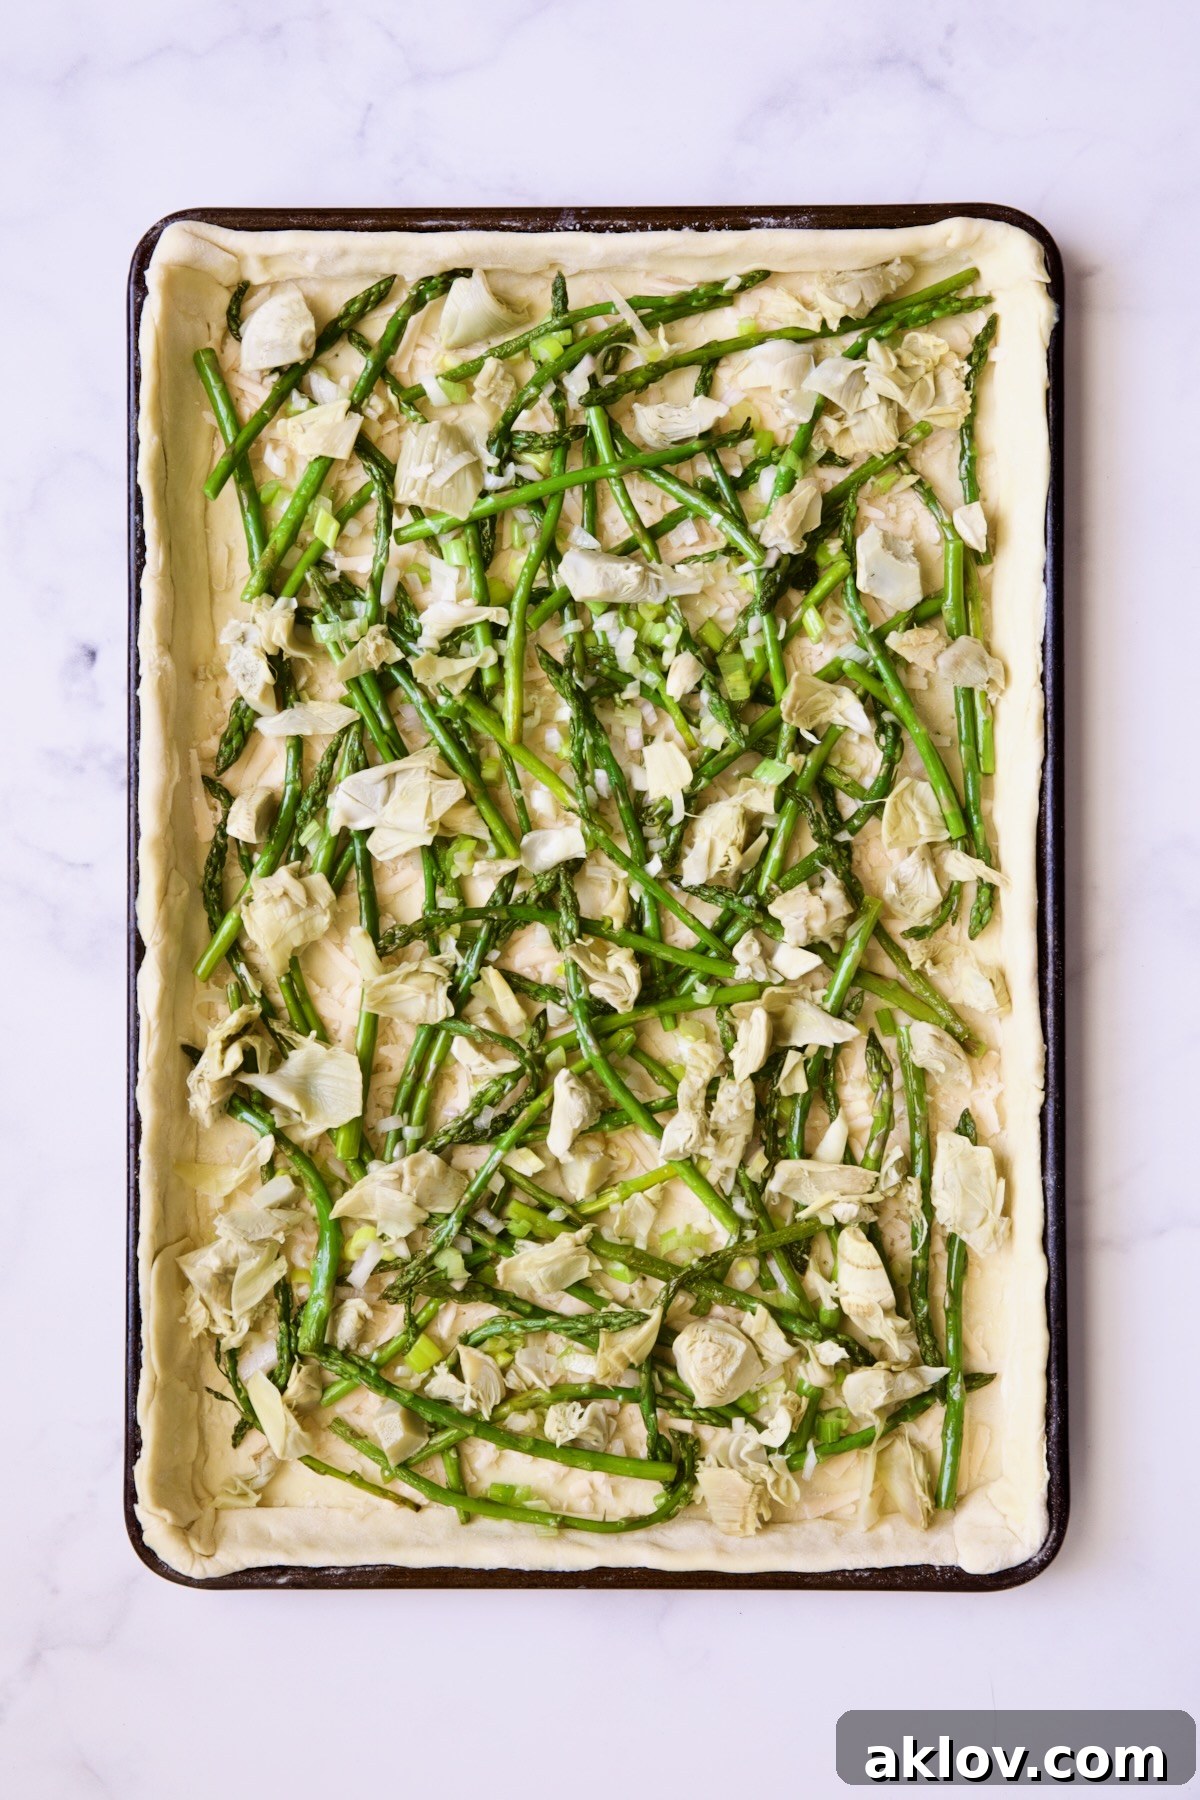
- Add Vegetables: Next, evenly scatter the chopped artichoke hearts, cooled scallions, and asparagus over the cheese. When arranging the asparagus, consider its visual appeal; laying them neatly in rows or a pattern will create a stunning finished tart.
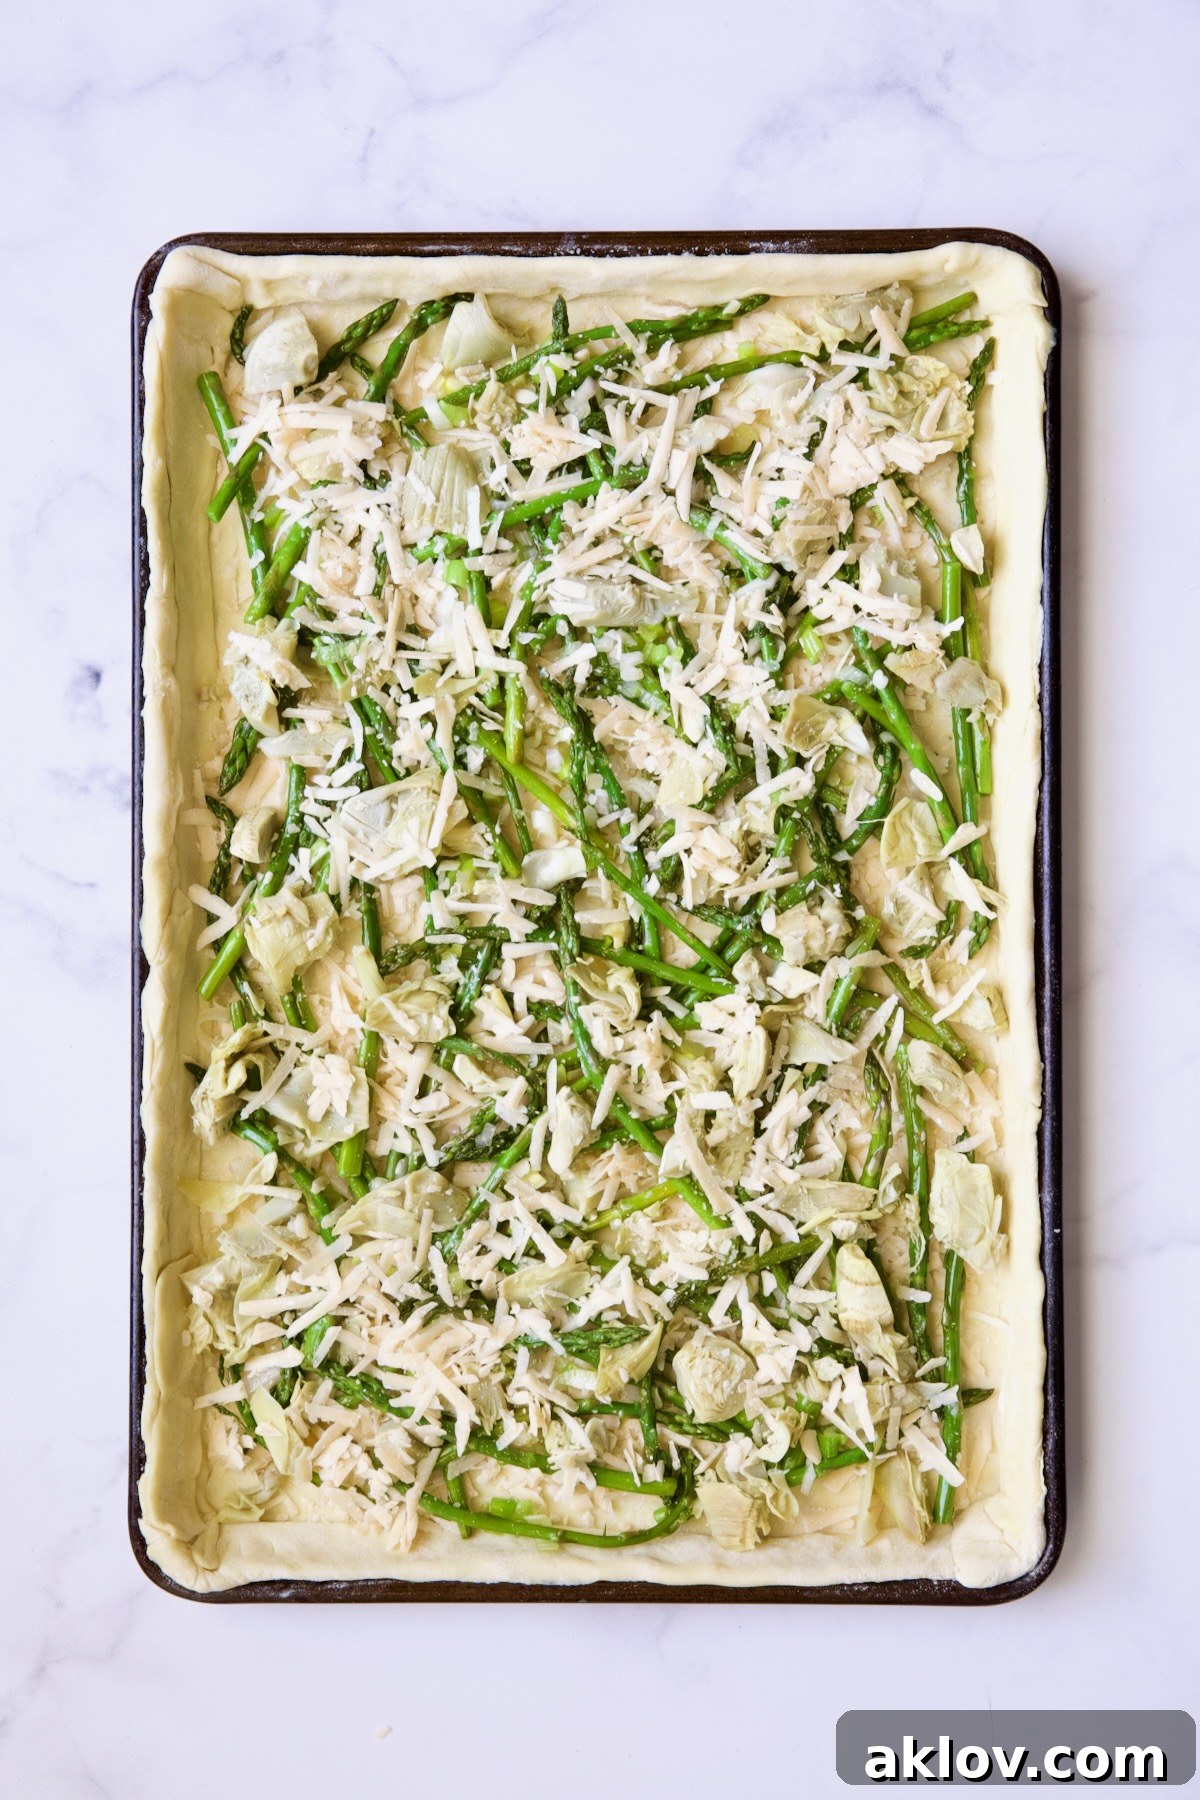
- More Cheese: Sprinkle the remaining Asiago or Parmesan cheese over the vegetables, adding another layer of savory flavor.
- Prepare the Custard: In a medium-sized mixing bowl, combine the whole milk ricotta cheese, large eggs, and cream or half-and-half. Whisk vigorously until the mixture is completely smooth and well combined. This creamy custard forms the luxurious base of your tart.
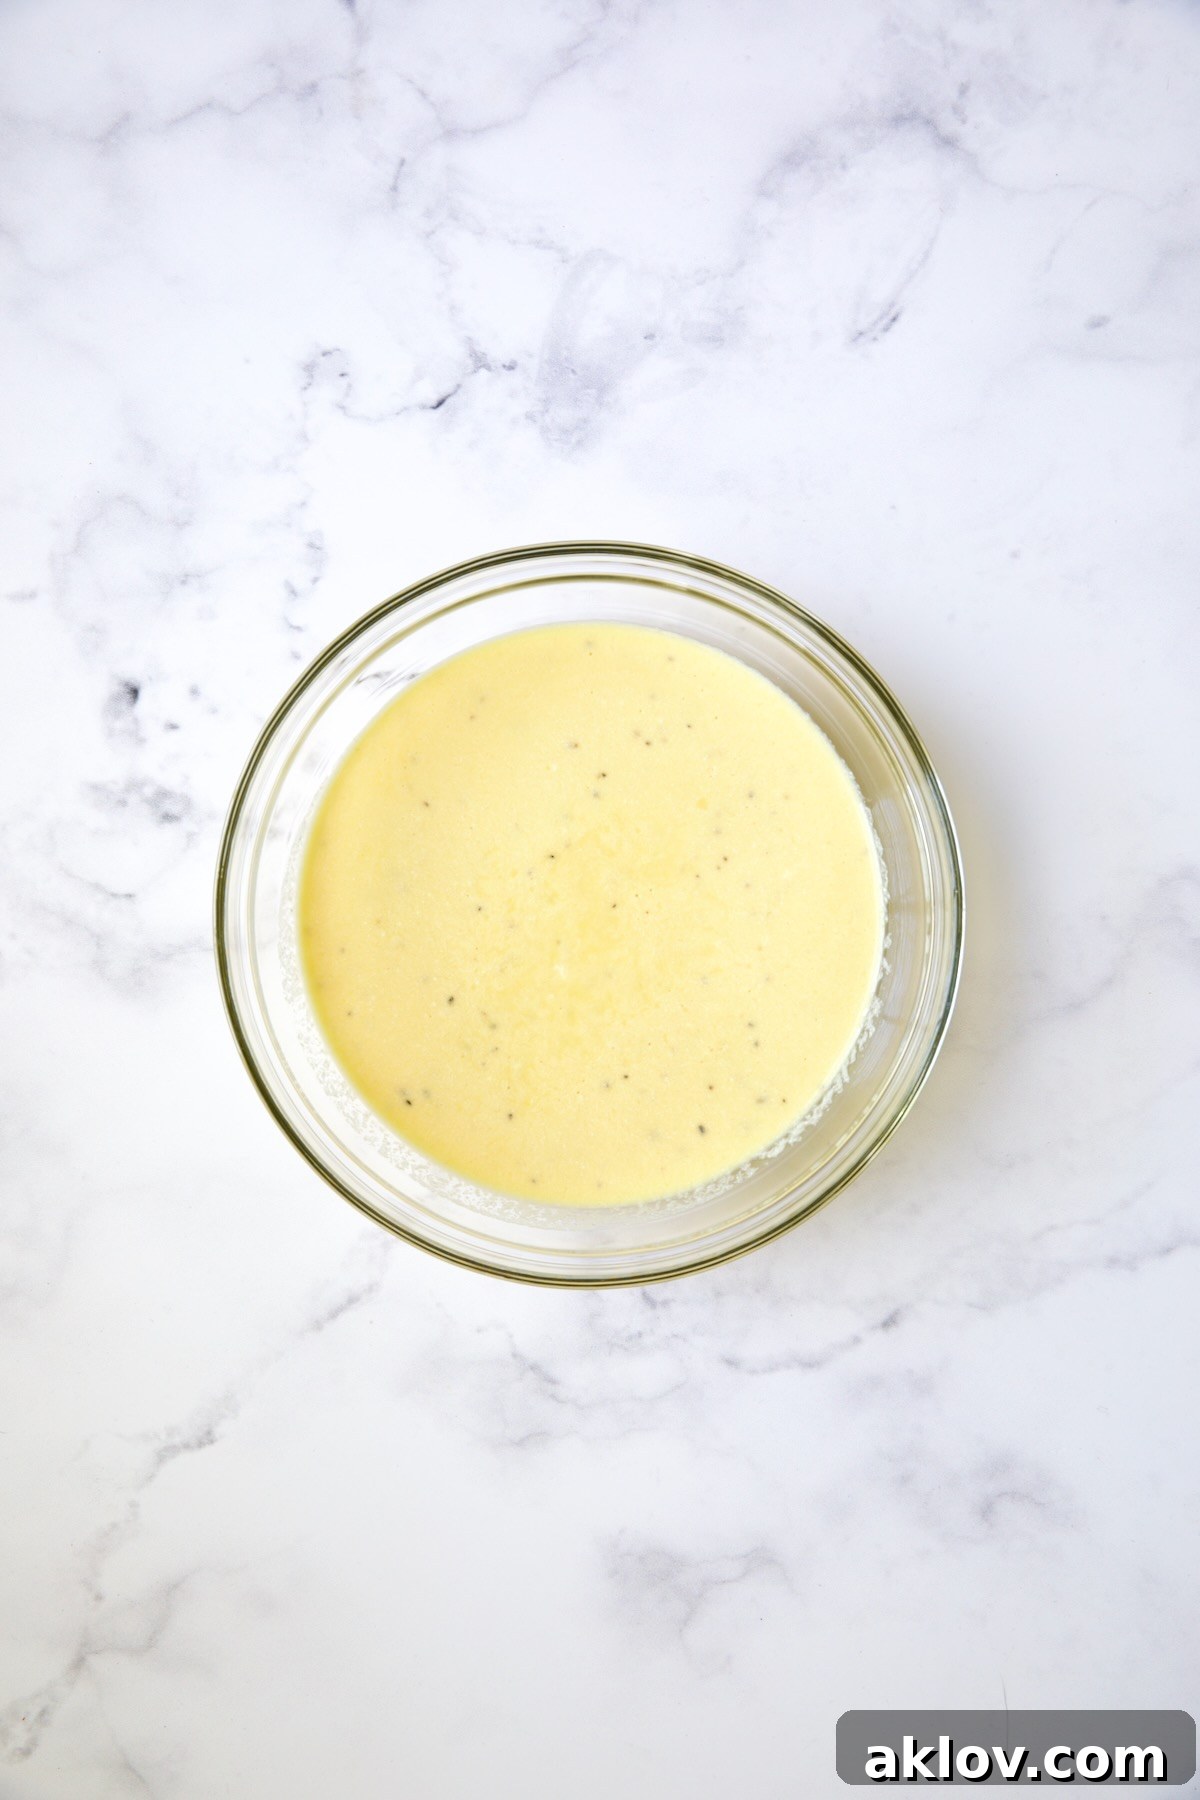
- Season & Pour: Season the ricotta mixture with salt and freshly ground black pepper to taste. Then, carefully pour this rich egg and cheese combination evenly over the vegetables, ensuring everything is well coated and the custard settles into all the nooks and crannies.
- Add Goat Cheese: Finally, crumble the tangy goat cheese evenly over the top of the tart. This will create pockets of intense flavor and a delightful texture after baking.
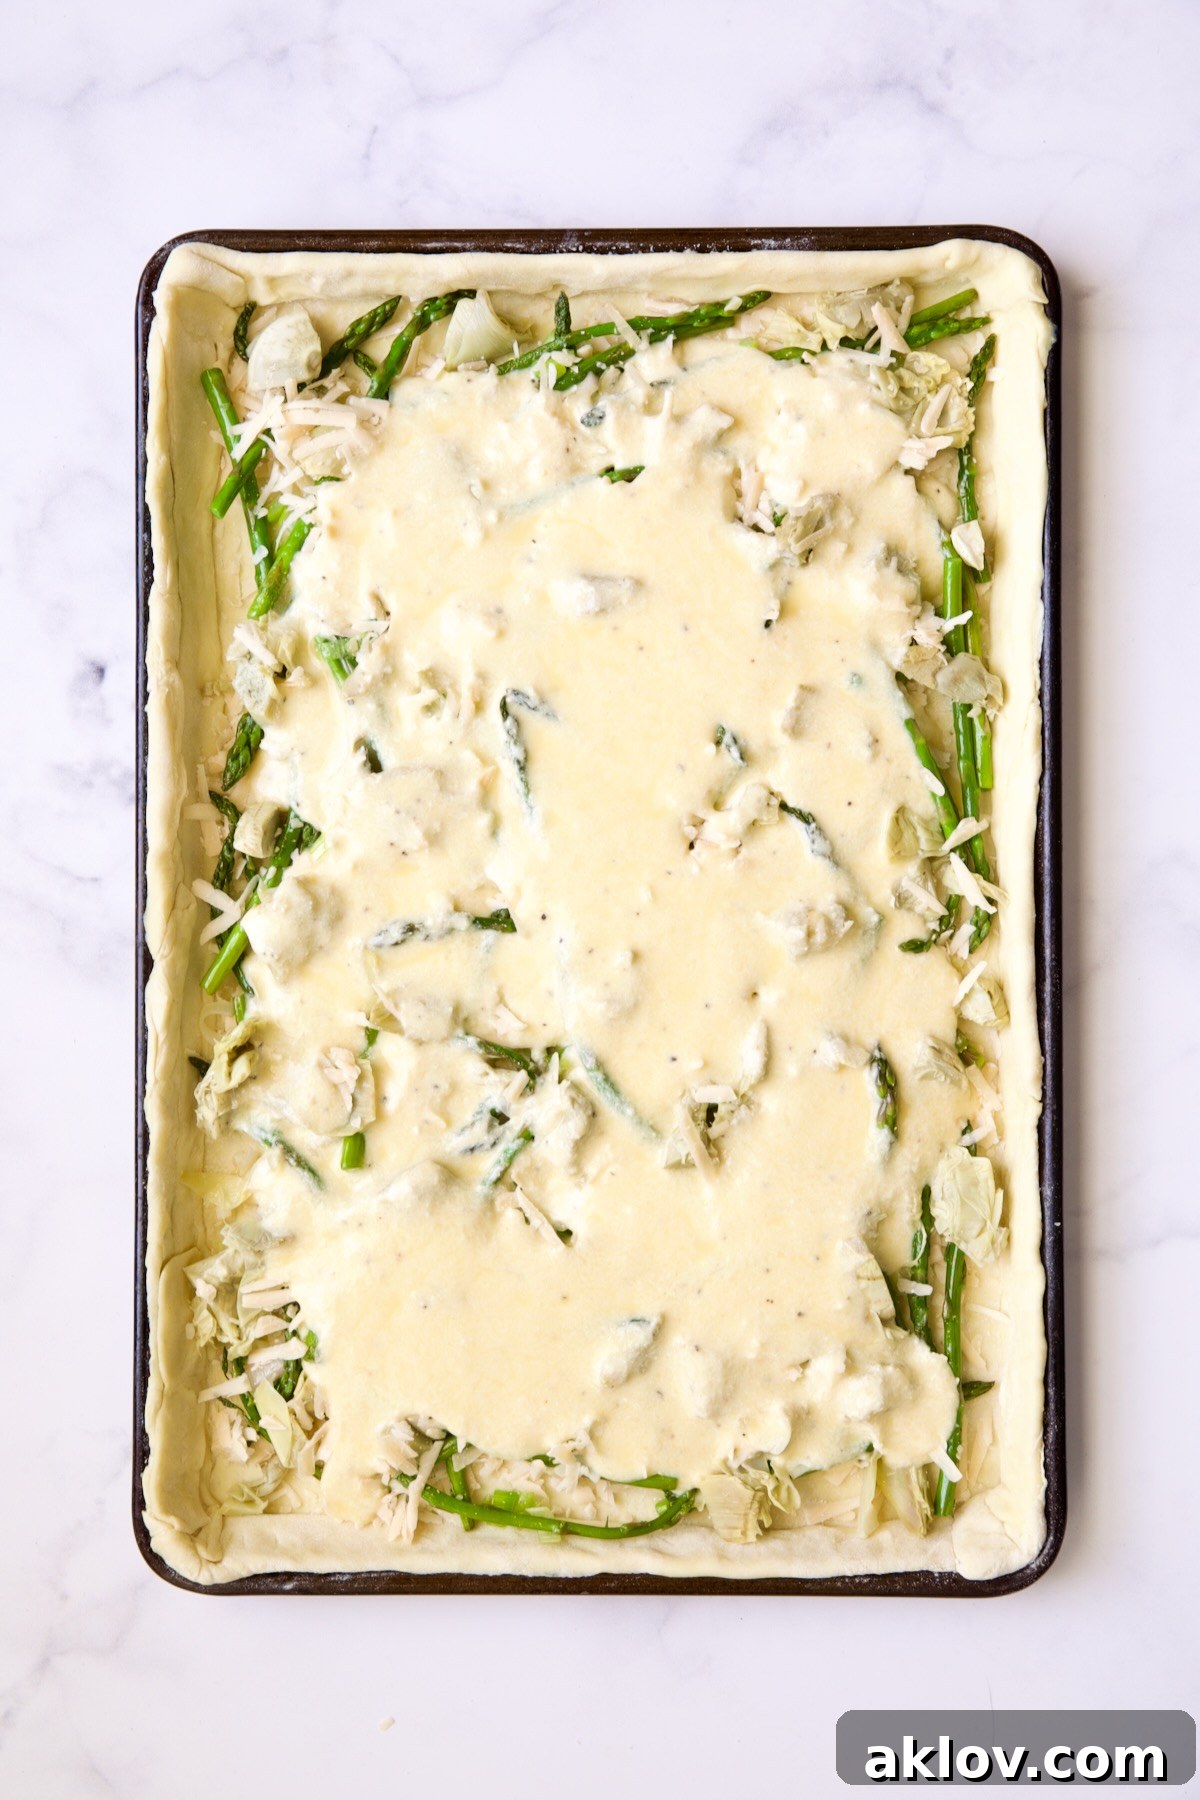
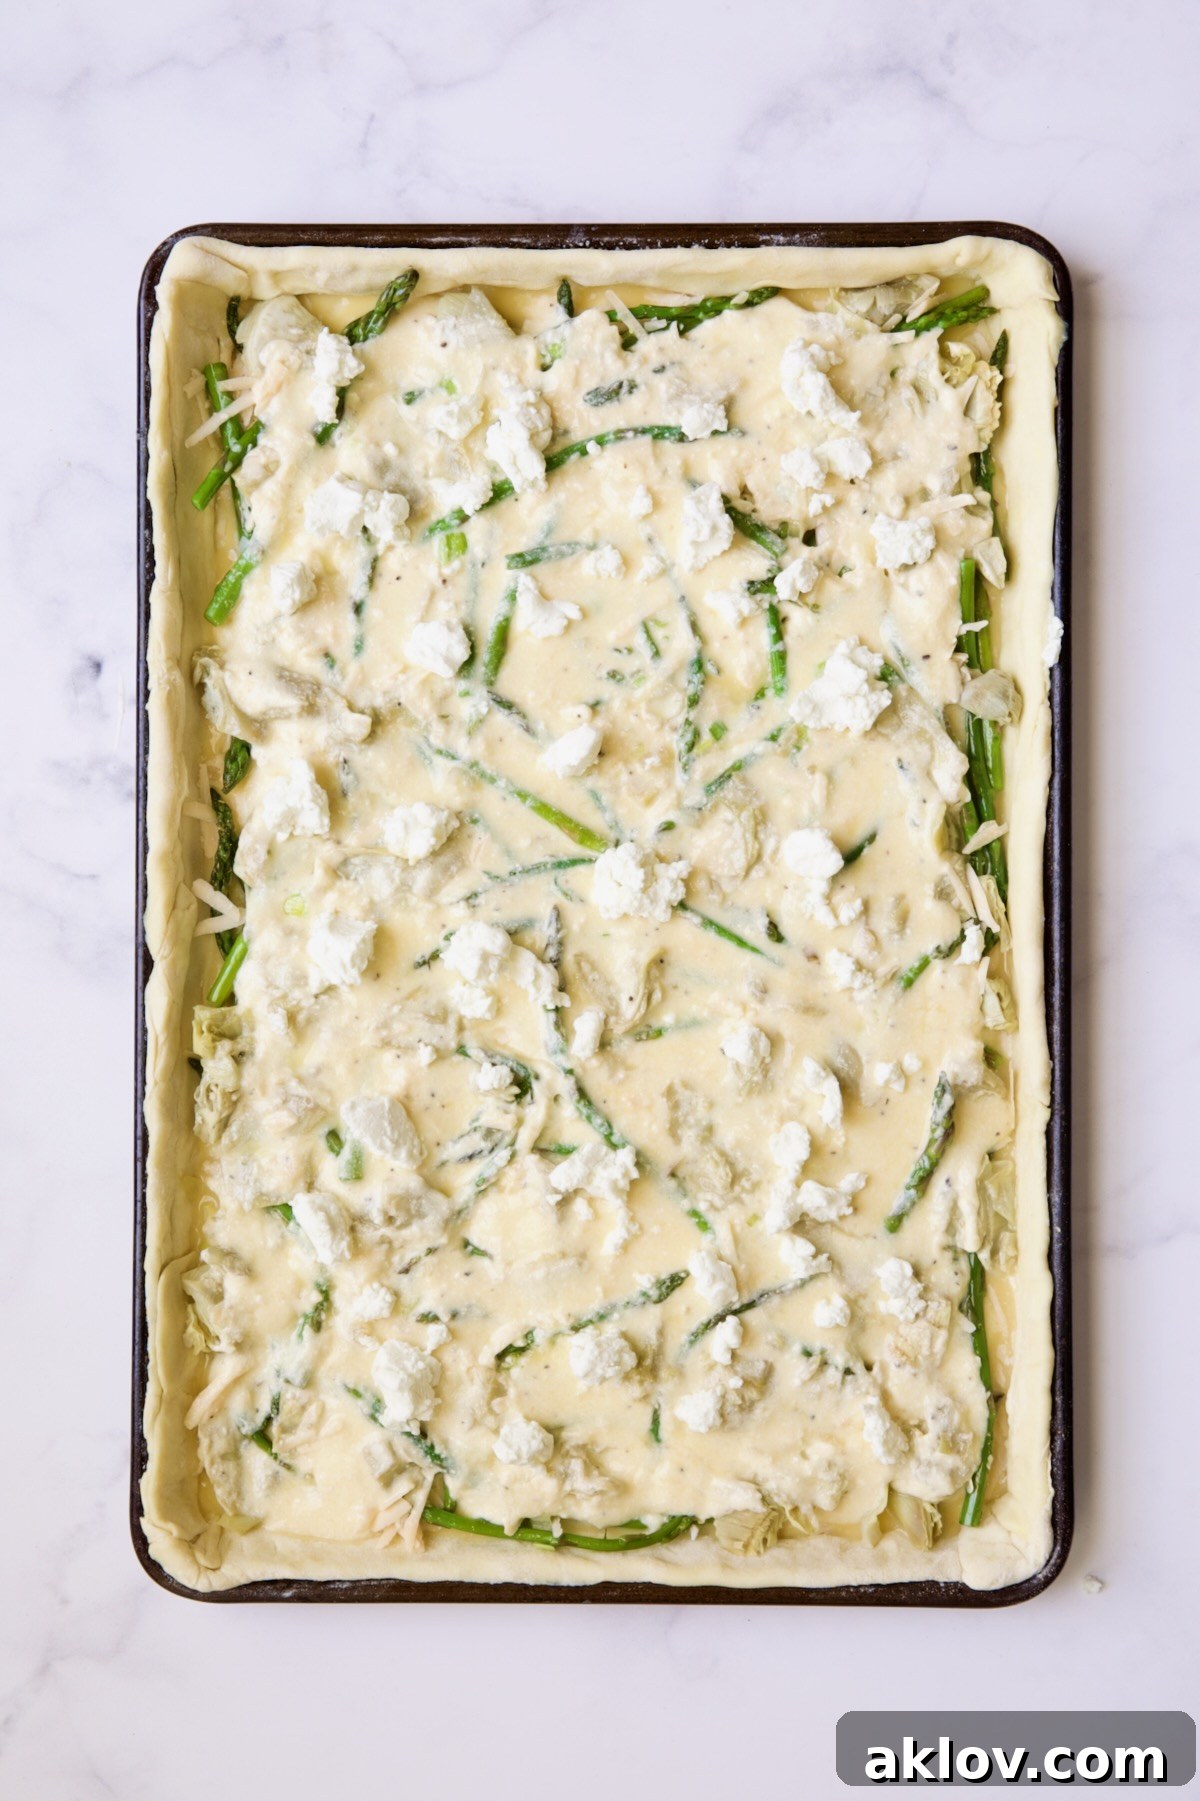
- Bake to Perfection: Place the tart in your preheated 400-degree Fahrenheit (200 degrees Celsius) oven and bake for 10 minutes. This initial high heat helps the puff pastry to achieve a good “puff.” After 10 minutes, reduce the oven temperature to 375 degrees Fahrenheit (190 degrees Celsius) and continue baking for an additional 25 minutes, or until the crust is beautifully golden brown, and the center of the tart is set and firm.
- Cool & Serve: Once baked, carefully remove the tart from the oven. Using a large pancake turner, spatula, or even two, you should be able to easily slide the entire Puff Pastry Tart off the sheet pan onto a cutting board or serving platter. This makes for easy slicing and presentation.
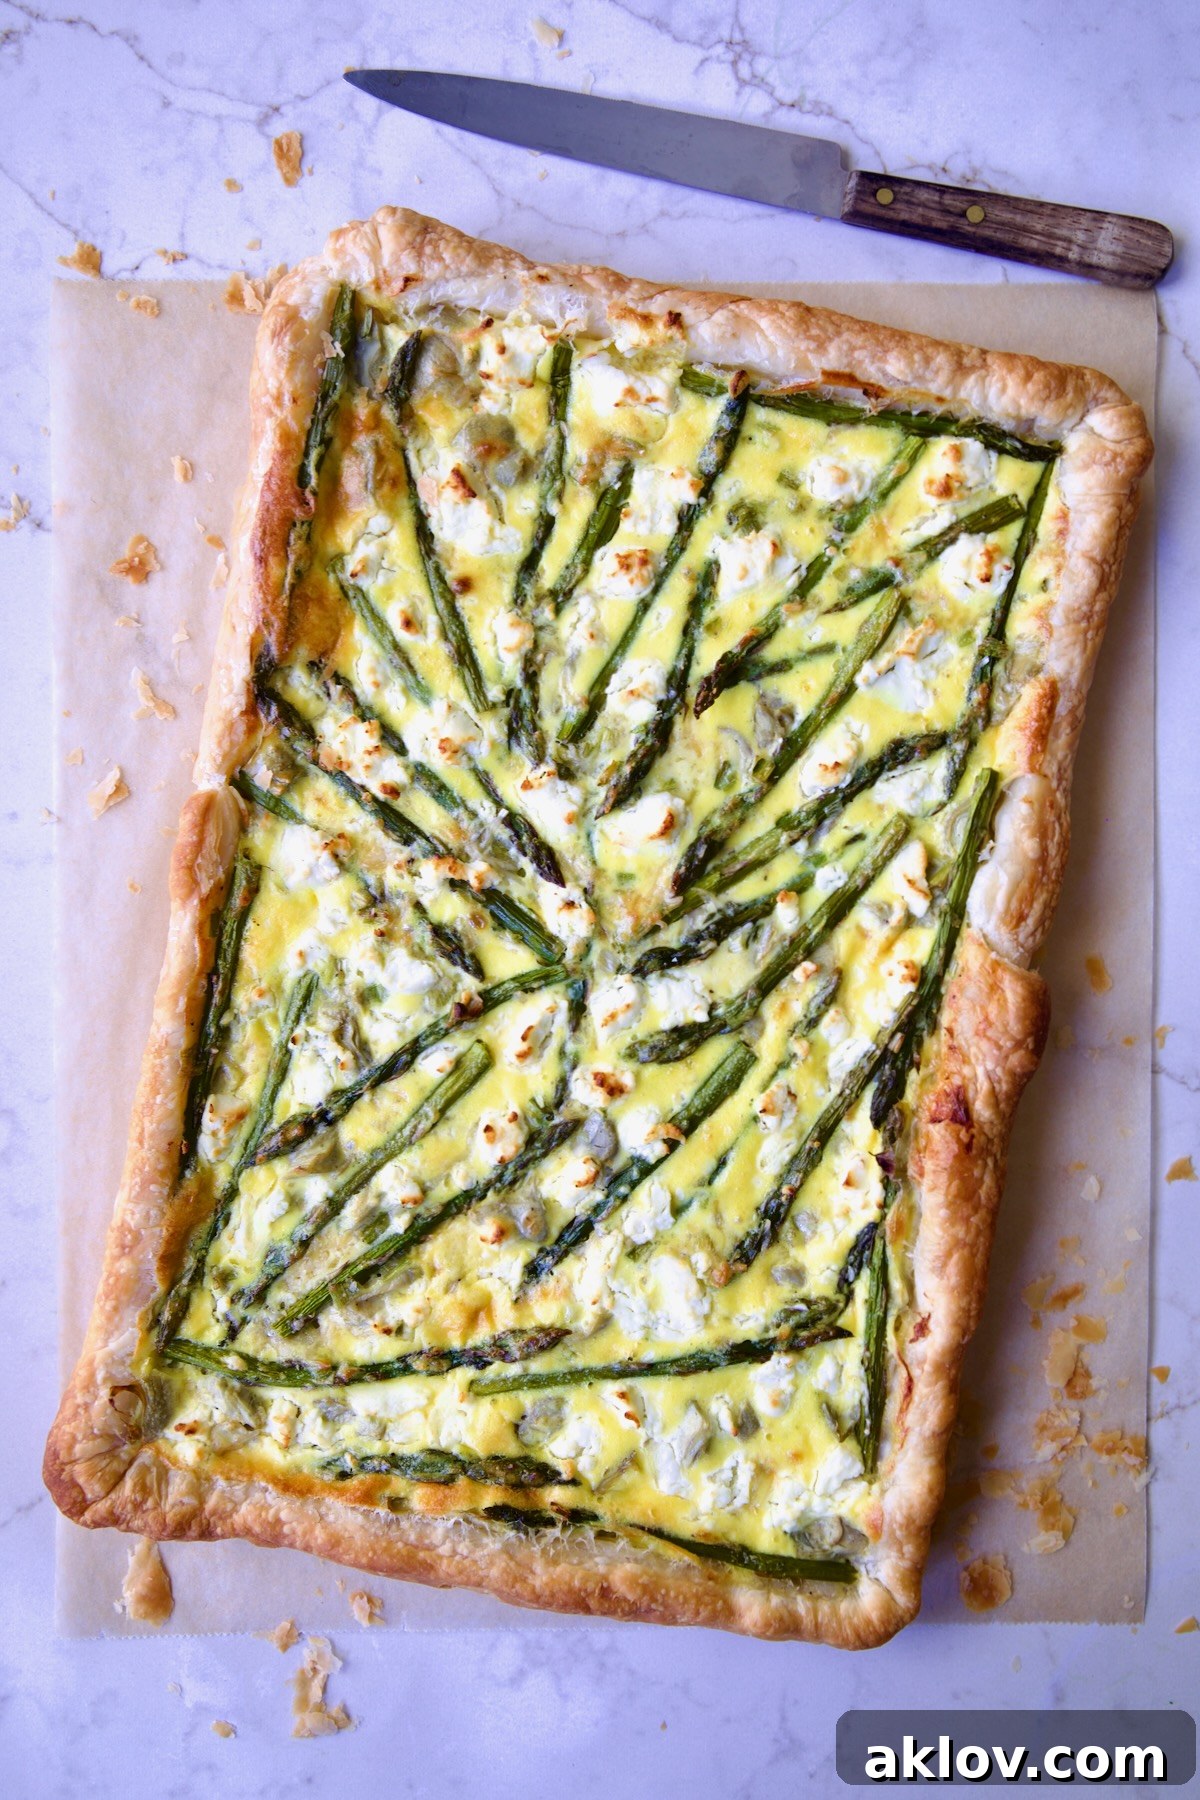
- Garnish and Enjoy: For an extra touch of elegance, garnish the tart with fresh herb sprigs (such as thyme or parsley) or a scattering of baby greens, if desired. Cut the tart into squares or desired portions. Serve immediately while warm, or allow it to cool and serve at room temperature. Both options are delicious!
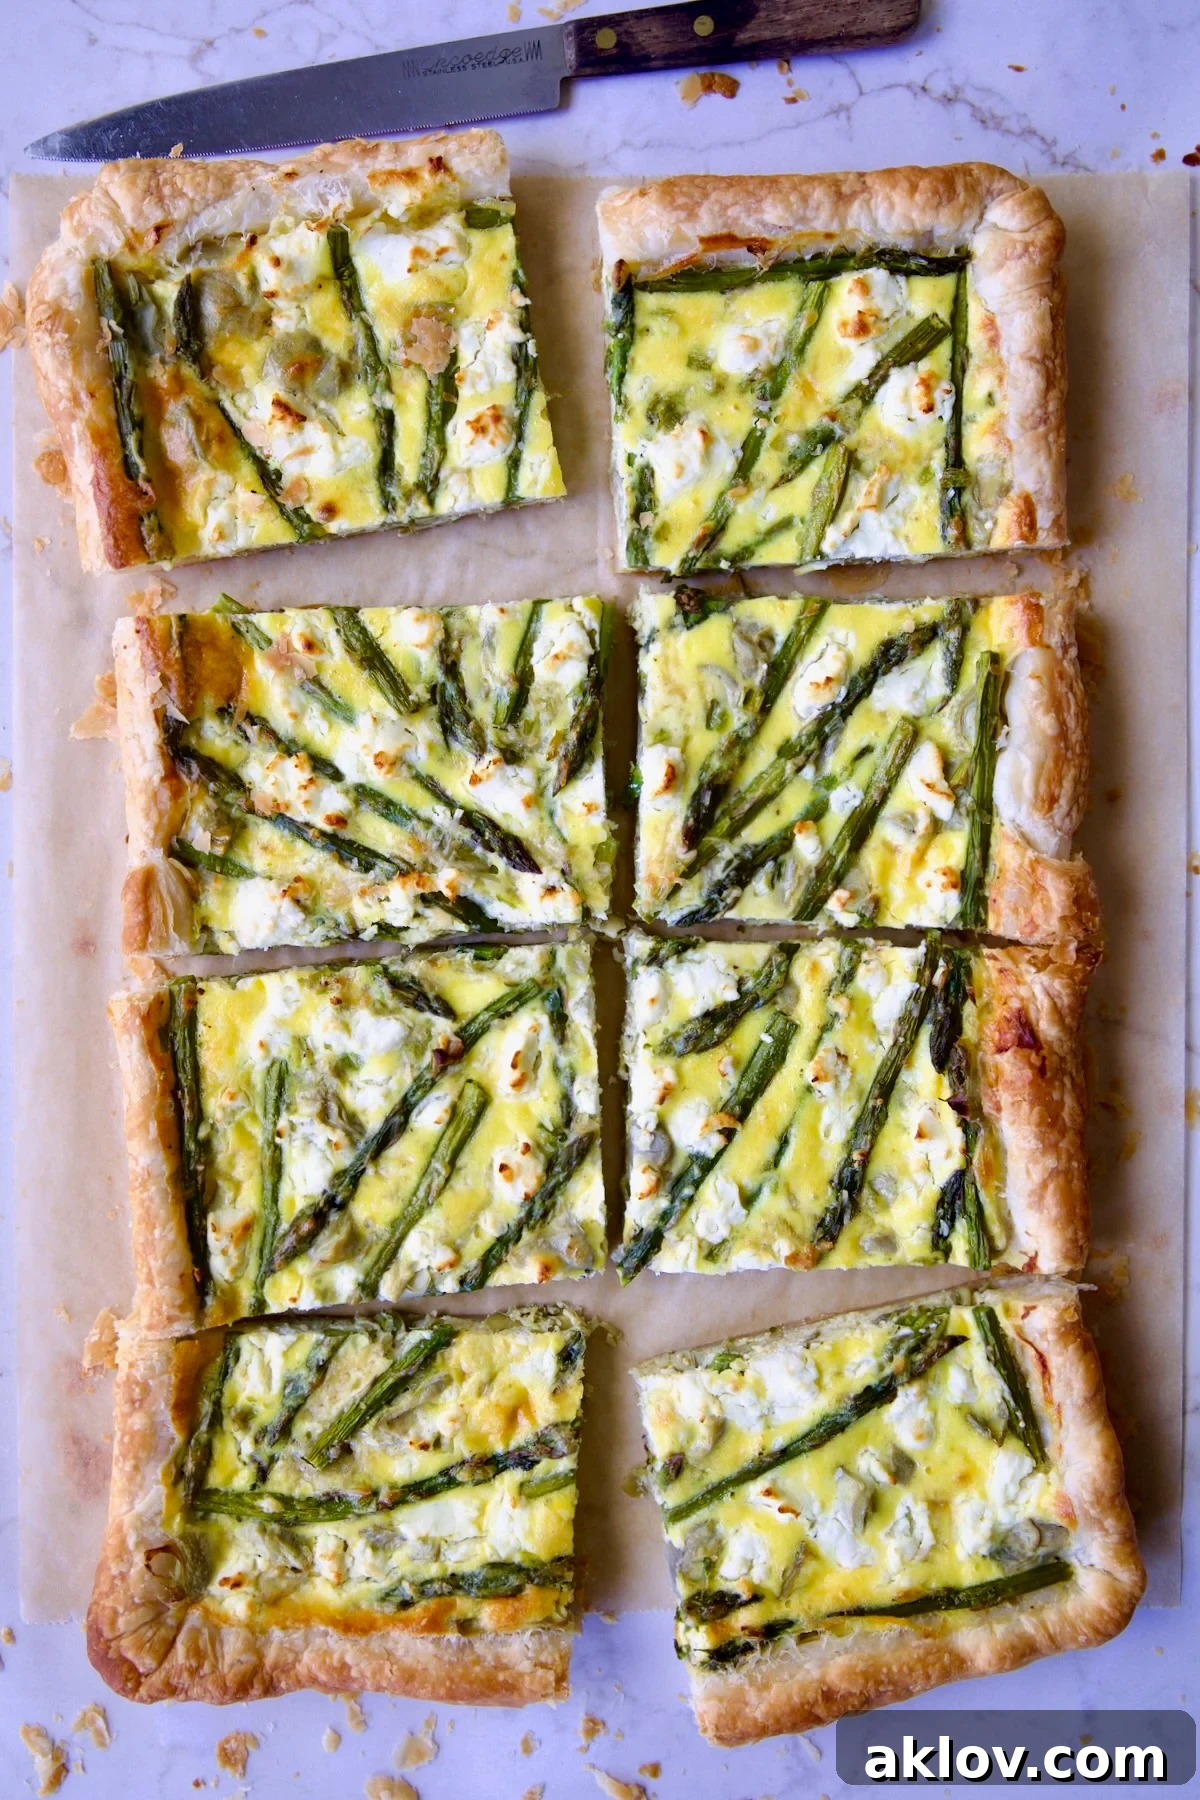
Chef’s Secrets for a Perfect Puff Pastry Tart:
- Mastering Puff Pastry Thawing: The success of your puff pastry largely depends on its temperature. For ideal pliability without becoming sticky, thaw frozen puff pastry in the refrigerator for six to eight hours. Alternatively, if time is short, thaw at room temperature for approximately 40 minutes, checking frequently until it’s just flexible enough to unfold without cracking. Crucially, do not let it get too warm; the high butter content will cause it to become difficult to handle and may result in a less flaky crust. If it starts to feel too soft, pop it back into the refrigerator for 10-15 minutes.
- Effortless Transfer to Baking Sheet: Transferring rolled-out puff pastry can be tricky. A simple trick is to lightly dust the pastry with flour, then carefully roll it onto a well-floured rolling pin. Place the rolling pin at one of the short sides of your prepared sheet pan and gently unroll the pastry directly onto the pan. This method minimizes tearing and stretching, ensuring your crust is perfectly placed.
- The Asparagus Snap Test: To perfectly trim the tough, woody ends off asparagus, try this chef’s technique: gently bend one of the asparagus stalks in its lower third. It will naturally snap where the tender part meets the tough end. Use this as your guide to cut the remainder of the bunch. Since asparagus in a bunch is usually from the same harvest, their “breaking points” are typically consistent.
- Achieving a Golden Crust: For an extra touch of golden sheen and a slightly richer flavor, consider brushing the exposed puff pastry crust with an egg wash (one egg beaten with a tablespoon of water or milk) just before baking. This simple step creates a beautiful, appetizing finish.
- Preventing a Soggy Bottom: Several steps in this recipe are designed to combat the dreaded soggy bottom. Docking the pastry allows steam to escape, while sprinkling a layer of cheese directly onto the crust before adding other wet ingredients creates a protective barrier. Ensuring your artichokes are thoroughly dried and asparagus is only lightly cooked also helps minimize excess moisture.
Savvy Money-Saving Tip:
- If you’re a baking enthusiast with a cherished homemade pie crust recipe, feel free to use it as an alternative to purchasing puff pastry. Just remember that a homemade pie crust will require blind-baking first to achieve that desirable crisp texture, unlike puff pastry which bakes beautifully with the filling.
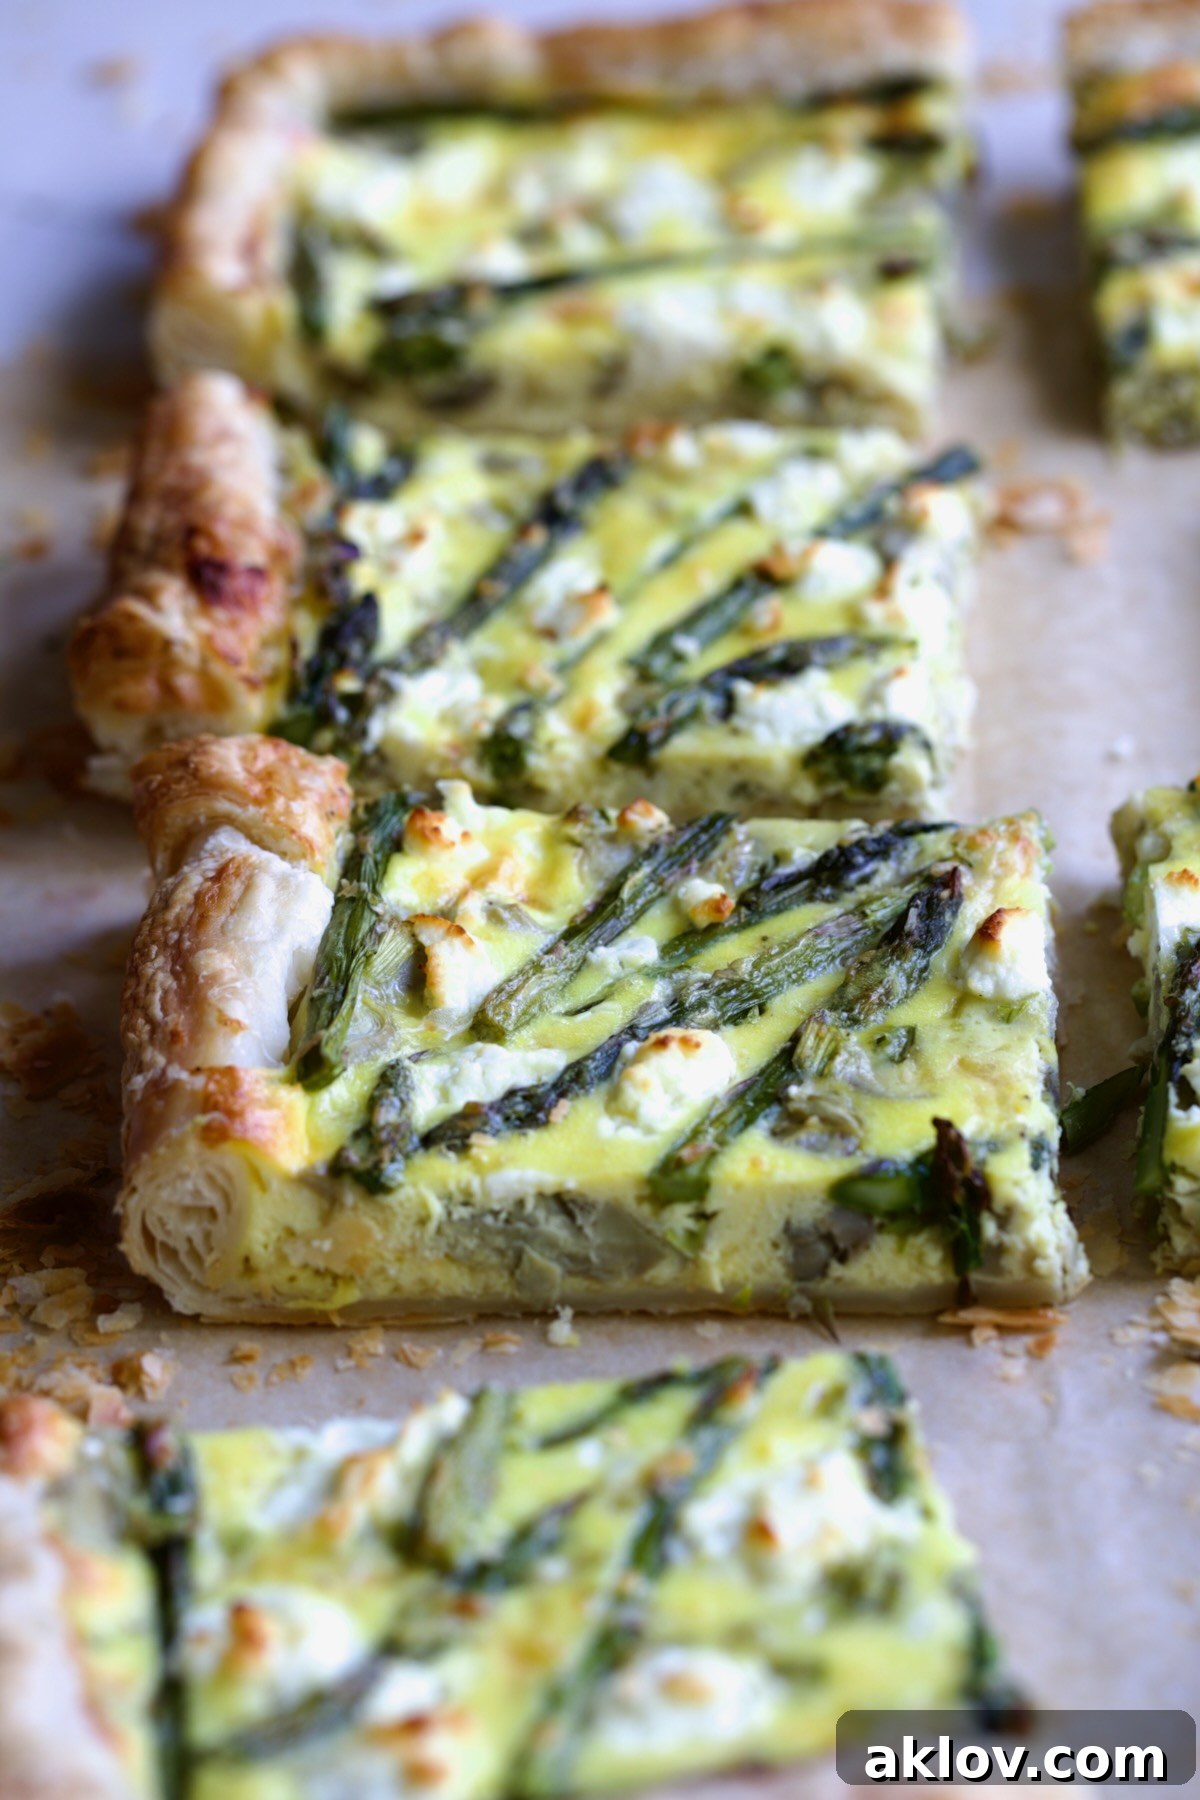
Common Questions About Puff Pastry Tarts:
To “dock” pastry dough means to prick it all over with a fork before baking. This essential technique creates small holes that allow steam to escape from underneath the pastry while it bakes. Without docking, the pastry could puff up unevenly and separate from its filling, leading to a bubbly or misshapen crust. It’s particularly important when blind baking a pie crust or preparing a tart like this one, where you want a flat, even base.
Soggy puff pastry is often a result of improper handling or excessive moisture from the filling. Puff pastry relies on layers of butter to create its signature flakiness. If the pastry gets too warm before baking, the butter can melt prematurely, causing the layers to stick together and resulting in a dense, rather than airy, crust. Always ensure your pastry is cold when working with it. Additionally, wet fillings (like some vegetables or custards) can release moisture during baking. This recipe addresses this by lightly cooking vegetables and using a layer of cheese as a barrier. If your pastry becomes difficult to work with—too soft or sticky—it’s a sign it needs a quick chill. Return it to the refrigerator for 20-30 minutes or the freezer for 10-15 minutes before continuing.
Whether you pre-bake puff pastry depends entirely on the specific recipe and the type of filling. For tarts where the filling is added after baking and served at room temperature (like a fresh fruit tart or a roasted cherry tomato tart with herbed ricotta), pre-baking the puff pastry (or blind baking) is generally recommended to ensure a crisp base. However, for a savory tart like this Asparagus and Artichoke Puff Pastry Tart, which features a liquid custard filling that cooks simultaneously with the crust, you can bake everything at once. The initial high heat and the protective cheese layer help the pastry cook through without becoming soggy.
The versatility of a puff pastry vegetable tart is one of its greatest strengths! Feel free to experiment with seasonal produce. For a Mediterranean twist, consider thinly sliced zucchini, yellow squash, bell peppers, or even cherry tomatoes. If using tomatoes, remember to salt and drain them first to remove excess moisture, which prevents a watery tart. In the cooler months, roasted butternut squash, sweet potatoes, or caramelized onions and mushrooms make for a hearty and flavorful fall tart. Fresh herbs like rosemary, thyme, or oregano can also be added to enhance different flavor profiles.
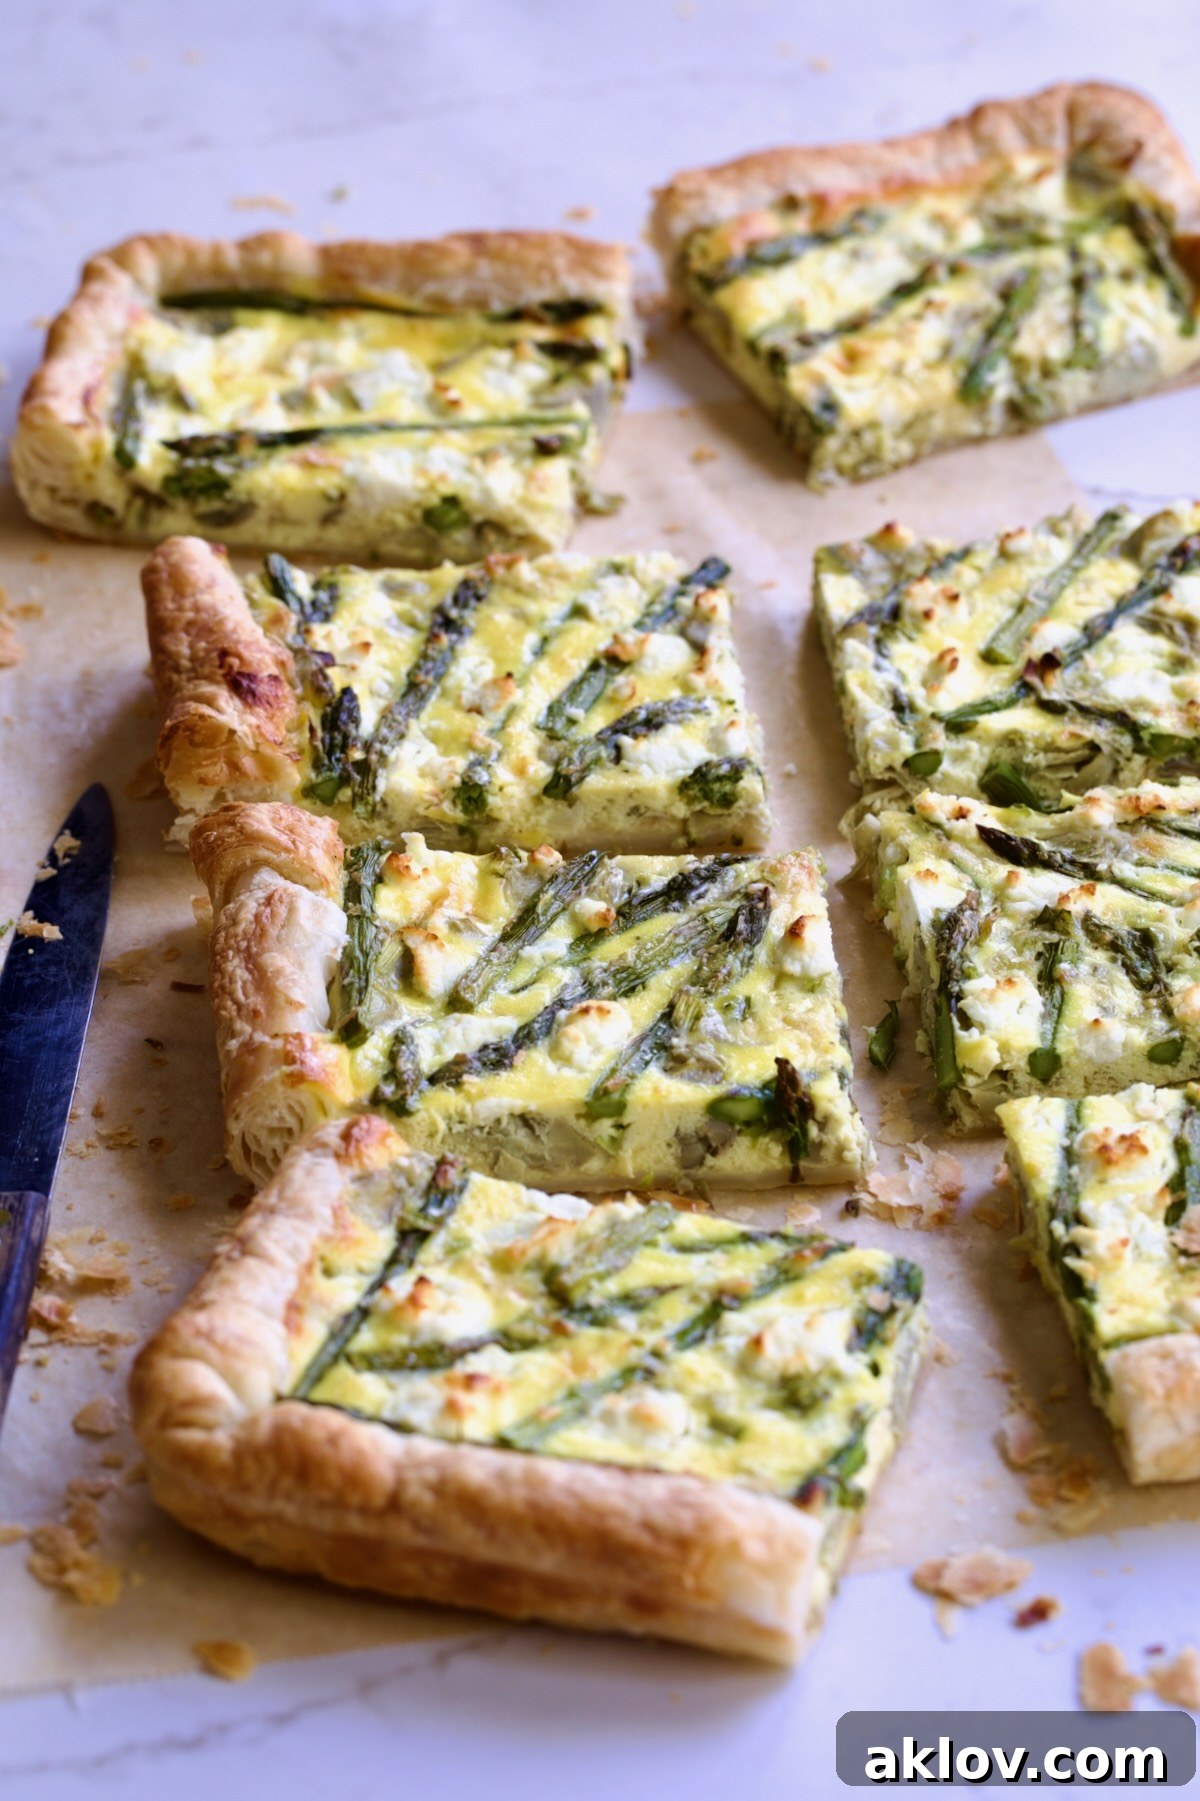
Storage & Reheating:
- Any leftover Puff Pastry Vegetable Tart should be stored in an airtight container in the refrigerator. For best results, reheat leftovers at 325 degrees Fahrenheit (160 degrees Celsius) in a conventional oven or toaster oven until thoroughly warmed through and the crust regains some crispness.
Serving Suggestions:
- Cream of Celery Leaf and Scallion Soup
- Spinach Goat Cheese Bisque with Crispy Lemon Chickpeas
- French Lentil Salad
- A light, fresh green salad with a vinaigrette dressing
Explore More Elegant Tart Recipes!
- Asparagus Onion and Fontina Tart
- Caramelized Onion and Goat Cheese Tart with Thyme
- Provencal Vegetable and Goat Cheese Tart
- Tomato Ricotta Tart
Discover a wide array of quiche and tart recipes on our dedicated page: Quiche and Tart Recipes – From A Chef’s Kitchen
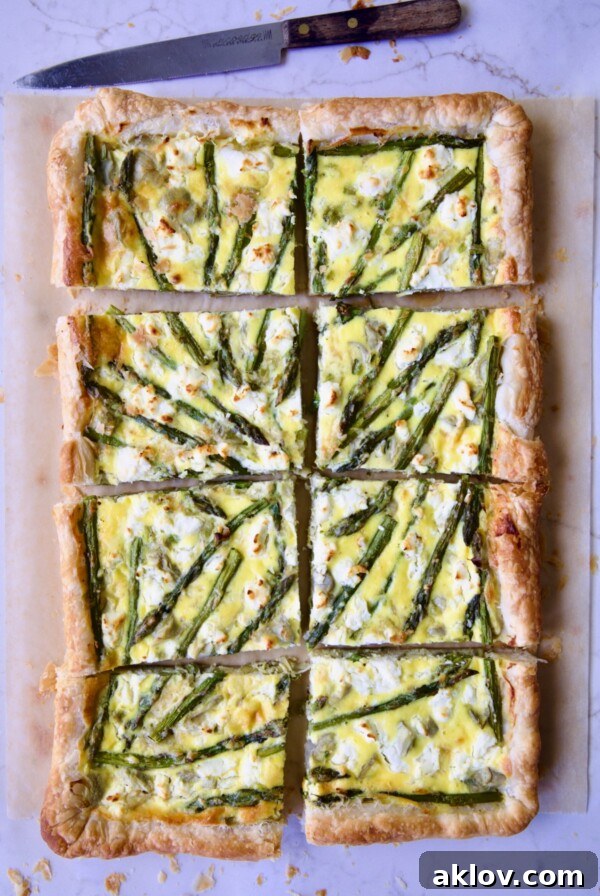
Puff Pastry Tart with Asparagus and Artichokes
Ingredients
- Cooking spray
- 2 teaspoons olive oil
- 1 bunch (1 pound) thin to medium-width asparagus, tough ends trimmed with approximately 4-5 inches of the spear remaining
- 4 scallions, white and light green part only, coarsely chopped
- All-purpose flour
- 2 sheets frozen puff pastry, (from a 17.3-ounce package)
- 1 heaping cup freshly grated Asiago or Parmesan cheese, divided
- 1 cup artichoke hearts, from a 14-ounce bag of frozen, thawed, squeezed of excess moisture and coarsely chopped
- 6 large eggs, beaten
- 1 cup whole-milk ricotta cheese
- 1/2 cup half-and-half or heavy cream
- 1 teaspoon salt
- Freshly ground black pepper, to taste
- 1/2 cup crumbled goat cheese
- Herb sprigs or baby greens, for garnish (optional)
Instructions
-
Preheat oven to 400 degrees F (200 degrees C).
-
Spray a 15 x 10-inch nonstick baking sheet with cooking spray. Set aside.
-
Heat olive oil in a nonstick skillet or sauté pan over medium-high heat. Add the asparagus, reduce heat to medium and cook 1-2 minutes or until it turns bright green. Add the scallion and cook 1 minute until slightly softened. Set aside to cool.
-
Lightly flour a work surface. Unfold the puff pastry sheets onto the floured work surface and gently press and repair any visible folds. Overlap the sheets by 1-2 inches to form one large, unified puff pastry sheet.
-
Roll the newly formed single sheet out to create a rectangle approximately 1 inch larger than the baking sheet, using the sheet pan as a guide.
-
Carefully transfer the pastry to the prepared sheet pan. Fold the edges down into the sheet pan to form an even crust around the rim. Dock the crust in numerous places with a fork to allow steam to escape during baking.
-
Sprinkle half the Asiago or Parmesan cheese over the docked crust. Evenly top with the dried artichoke hearts, cooled scallions, and arranged asparagus. Sprinkle the remaining Asiago or Parmesan over the vegetables.
-
In a medium bowl, whisk the eggs, whole-milk ricotta cheese, and half-and-half (or heavy cream) together until completely smooth. Season with salt and a generous pinch or two of freshly ground black pepper.
-
Carefully pour the egg mixture over the vegetables on the pastry, gently smoothing it to ensure an even distribution.
-
Crumble the goat cheese evenly over the entire surface of the tart.
-
Place the tart in the preheated oven and bake for 10 minutes at 400 degrees F (200 degrees C). Then, reduce the oven temperature to 375 degrees F (190 degrees C) and continue baking for an additional 25 minutes, or until the crust is lightly golden brown and the center is set and firm.
-
Remove from oven. Using a large spatula or two, carefully slide the puff pastry tart off the sheet pan onto a cutting board. Cut into desired pieces (squares or rectangles) and serve warm or at room temperature.
Notes
- For a summer version, top with thinly sliced, well-drained tomatoes.
TIP:
- Thaw frozen puff pastry in the refrigerator for six to eight hours or at room temperature for approximately 40 minutes, or until it can be unfolded without cracking. Ensure it remains cool; if it becomes too warm, the high butter content will make it difficult to work with, potentially leading to a soggy crust.
MAKE AHEAD:
- All ingredients can be prepped in advance. You can even place the puff pastry on the baking sheet and cover it with plastic wrap, then refrigerate. When you are ready to bake, assemble the tart as directed and bake.
 Like this? Leave a comment below!