
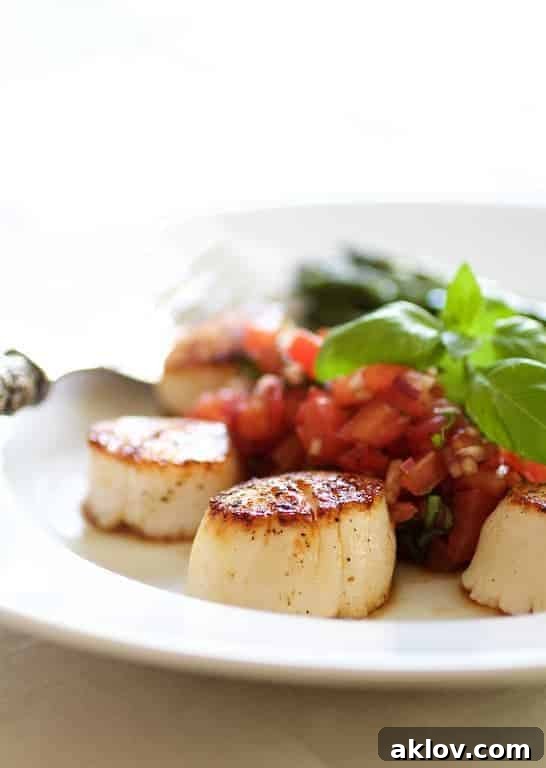
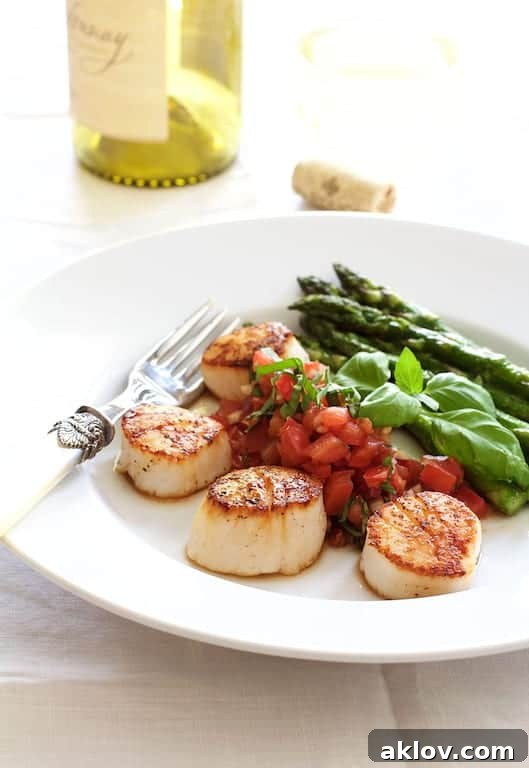
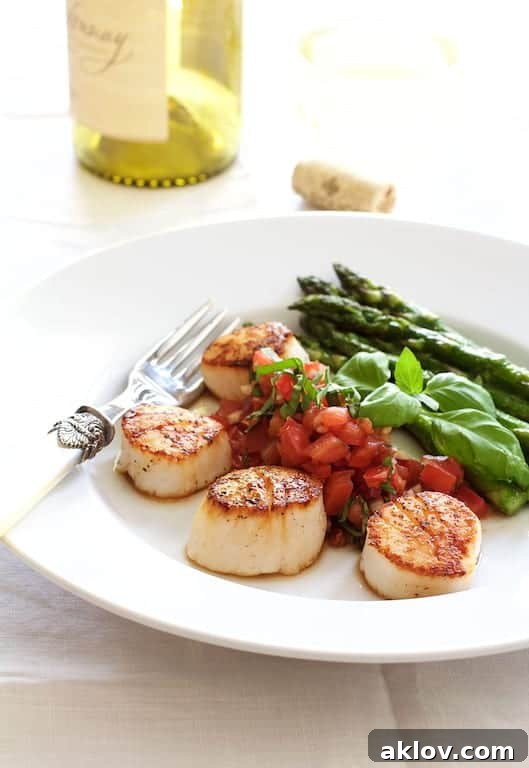
Imagine serving a dish that looks like it came straight from a gourmet restaurant, yet was incredibly simple to prepare in your own kitchen. This is the magic of Seared Sea Scallops with Tomato, Red Onion, and Balsamic Salsa. This elegant, summery meal for two is not only impressive but also surprisingly easy to master, proving that exquisite dining doesn’t always require a reservation.
Why You Should Cook Sea Scallops at Home
For many home cooks, sea scallops feel like a luxury reserved exclusively for dining out. Perhaps you’ve heard tales of how delicate and “tricky” they are to cook perfectly. For a long time, I felt the same way, believing that restaurant chefs possessed some secret technique. However, with just a few fundamental tips and a little confidence, you’ll discover that cooking beautiful, perfectly seared sea scallops at home is not only achievable but also incredibly rewarding.
Bringing this delicacy into your kitchen offers numerous advantages. You get to select the freshest ingredients, control the preparation, and enjoy a high-quality meal at a fraction of the cost of a restaurant. Plus, the sheer satisfaction of creating such a refined dish yourself is unparalleled. Once you master the art of searing, sea scallops will become a go-to for quick, elegant dinners or special occasions, transforming your weeknights into culinary celebrations.
Choosing the Best Scallops: Your Guide to a Perfect Purchase
The journey to perfectly seared scallops begins long before you even touch a pan. Selecting the right type and quality of scallop is paramount. Understanding the differences between varieties and what to look for at the market will significantly impact your final dish.
Bay Scallops vs. Sea Scallops
- Bay scallops are small, typically about half an inch in diameter. Their tender, delicate texture makes them ideal for dishes where they are gently cooked, such as soups, stews, or quick pasta dishes. They don’t hold up as well to high-heat searing.
- Sea scallops are considerably larger, ranging from one to two inches across. Their substantial size and firm, sweet flesh make them the preferred choice for searing, as they develop a beautiful golden crust while remaining tender and succulent inside. For this recipe, and for any searing application, sea scallops are exactly what you need.
A simple way to remember the difference: a bay is smaller than a sea, so bay scallops are smaller than sea scallops.

Diver Scallops vs. Mechanically Harvested
- Diver scallops are considered the crème de la crème. These are hand-harvested by divers, ensuring minimal impact on the seabed and often resulting in less sand or grit. They are typically of the highest quality and command a higher price.
- Most commercially available scallops are mechanically harvested. While not necessarily a negative, this method can sometimes mean they contain a bit more sand. A quick rinse, as we’ll discuss, can easily address this.
Fresh vs. Frozen and the “Wet-Packed” vs. “Dry-Packed” Dilemma
When purchasing scallops, you’ll typically find them fresh at the seafood counter or frozen in packages. While fresh from a reputable source is always ideal, good quality frozen sea scallops can also yield excellent results, provided you know what to look for.
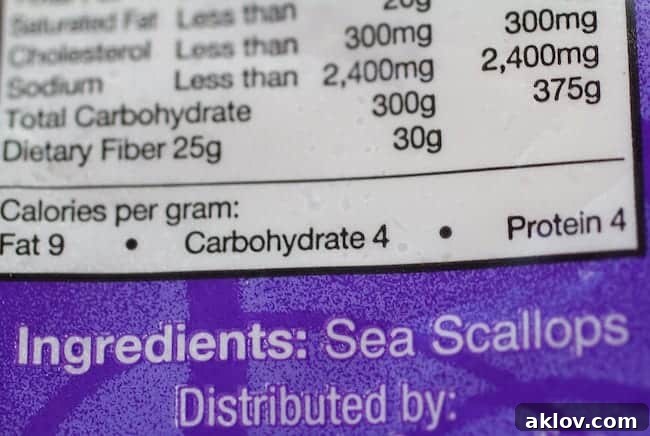
- Dry-Packed Scallops (Untreated): These are the gold standard. “Dry-packed” means the scallops are sold in their natural state, with no added water or chemicals. The only ingredient listed should be “sea scallops.” These scallops will have a slightly off-white, almost beige or pinkish hue, and a firm, sweet aroma. They are crucial for a good sear because their natural moisture content allows them to brown beautifully.
- Wet-Packed Scallops (Treated): Avoid scallops treated with sodium tripolyphosphate (STP) or other chemicals. These are often labeled as “wet-packed.” This treatment causes the scallops to absorb a significant amount of water, making them appear whiter and plumper. However, when cooked, this excess water leaches out, making it extremely difficult to achieve a proper, golden-brown sear. Instead, they tend to steam in their own liquid, resulting in a rubbery texture and bland flavor. Always check the ingredient list to ensure you’re getting dry-packed scallops.
Origin Matters
Whenever possible, opt for wild-caught seafood from the USA. This generally indicates responsible fishing practices and high-quality products. Don’t hesitate to ask your fishmonger about the scallop’s origin and whether they are wet or dry-packed.

Preparing Scallops for Optimal Searing
Once you have your high-quality, dry-packed sea scallops, a few simple preparation steps are critical to ensuring a perfect sear and incredible flavor.
- Thawing Frozen Scallops: If using frozen scallops, proper thawing is key. Transfer them from the freezer to the refrigerator, placing them uncovered on a plate lined with paper towels. The paper towels will absorb moisture as they thaw. Allow them to thaw overnight. Thawing uncovered helps to dry their surface, which is essential for searing.
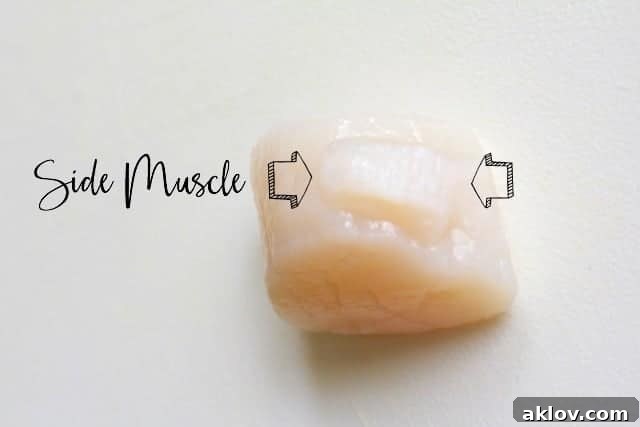
- Removing the Side Muscle: Many sea scallops will have a small, crescent-shaped side muscle attached. This muscle runs against the grain of the scallop and can become tough and chewy when cooked. It’s easily removed by gently peeling it off with your fingers. It should detach without much effort.
- Quick Rinse and Pat Dry: After removing the side muscle, give the scallops a very quick rinse under cold running water. This helps dislodge any lingering sand or grit. However, do not soak the scallops or overdo the rinsing, as they naturally contain a fair amount of water, and excessive moisture can ruin their texture and prevent a good sear.

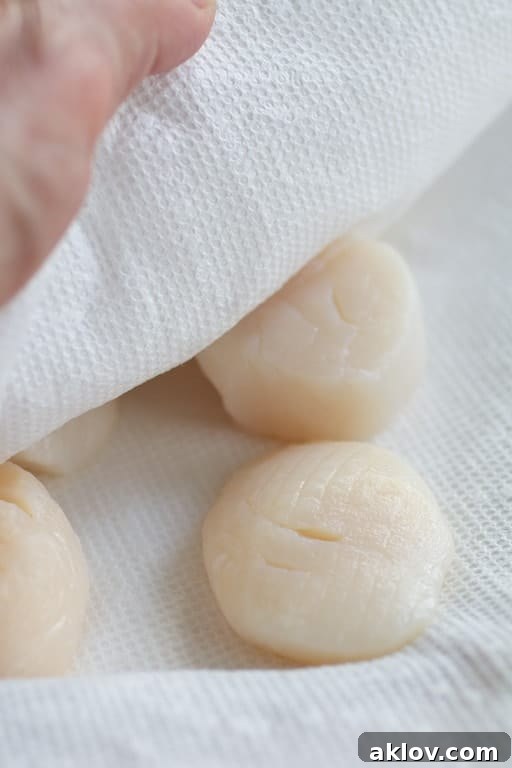
- The Most Crucial Step: Patting Dry: This cannot be stressed enough. Thoroughly pat your scallops dry with paper towels. Every bit of excess moisture on the surface of the scallop is the enemy of a good sear. Moisture leads to steaming rather than browning. The drier the surface, the better the crust you’ll achieve.
The Secret to a Perfect Sear: Mastering the Pan
Searing scallops is a quick process, but it requires attention to detail. The goal is a beautiful, golden-brown crust on the outside and a tender, succulent interior. This technique applies to most proteins you want to brown, not just scallops.
- Choose the Right Pan and Heat:
- Pan Choice: Use a heavy-bottomed skillet, such as cast iron or a good quality stainless steel pan. Nonstick pans can work, but cast iron and stainless steel retain heat better and achieve a superior sear. Ensure the pan is large enough to comfortably hold the scallops without crowding. Crowding the pan will lower the temperature, cause the scallops to steam in their own moisture, and prevent proper browning. If necessary, sear in batches.
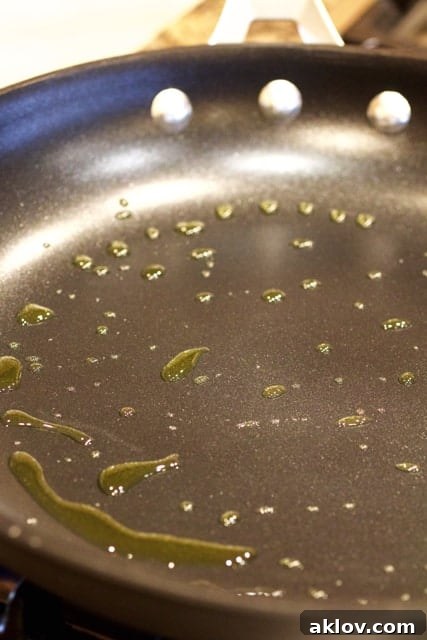
- Oil and Heat: Add a high-smoke-point oil like olive oil, grapeseed oil, or canola oil to the pan. Heat it over medium-high to high heat until it’s shimmering and just starting to smoke. This indicates the pan is hot enough to immediately create a crust on the scallops.
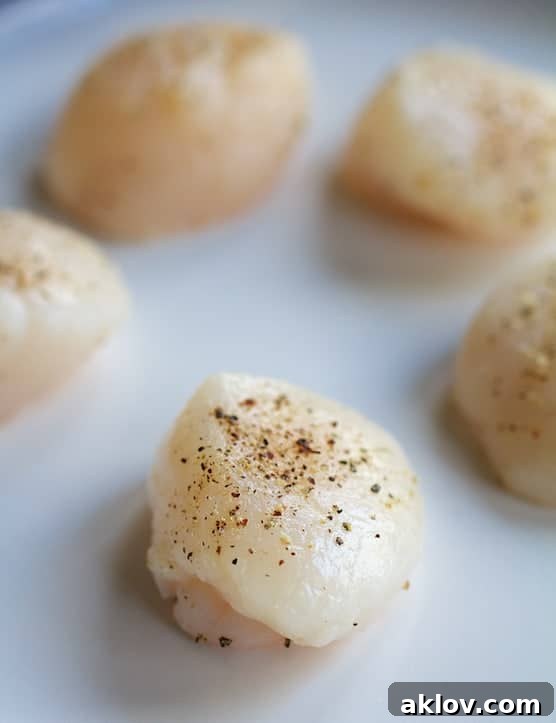
- Season Generously: Just before placing them in the hot pan, season your dry scallops generously with salt and freshly ground black pepper. This enhances their natural sweetness and aids in crust formation.
- Searing Technique – Patience is Key:
- Gently place the seasoned scallops into the hot pan, ensuring they are not touching each other.
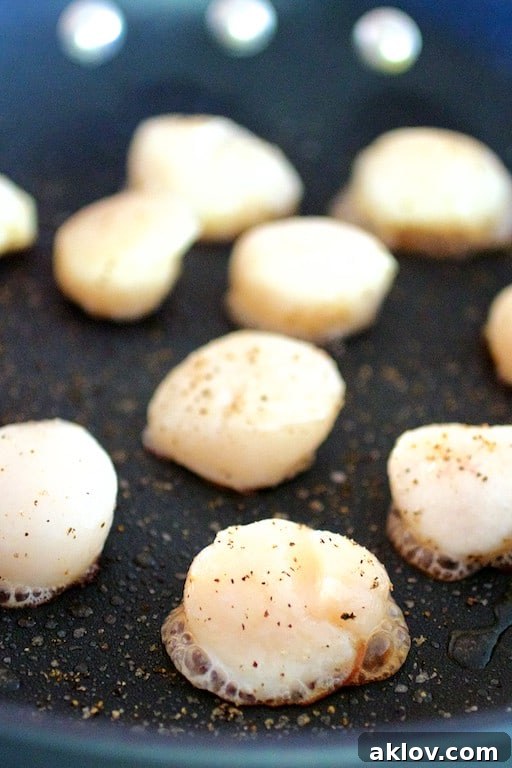
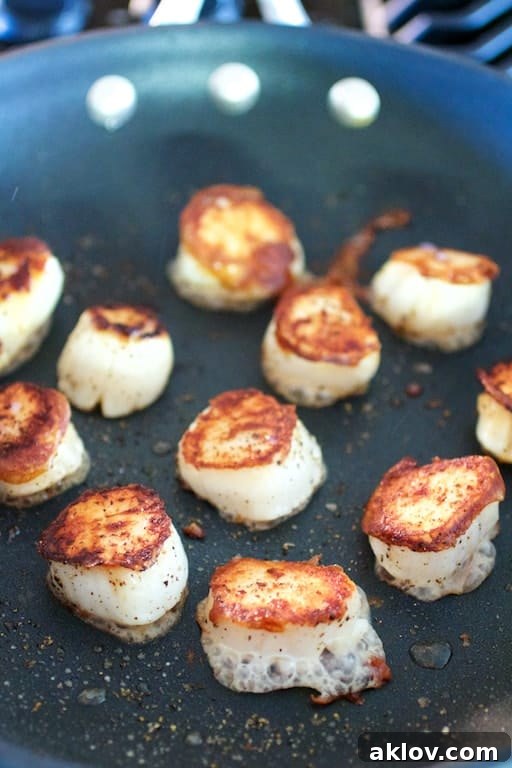
- This is where patience pays off: Do *not* move or flip the scallops for the first 2-3 minutes. Allow them to cook undisturbed. This undisturbed cooking time is crucial for the Maillard reaction (the browning process) to occur, forming that irresistible golden-brown crust.
- After 2-3 minutes, carefully peek under one scallop with tongs or a spatula. If a beautiful golden-brown crust has formed, it’s time to flip.
- Finishing the Cook:
- Once flipped, cook the scallops for only about 1 minute on the second side. Scallops cook very quickly, and overcooking them will result in a tough, rubbery texture.
- Doneness: Scallops are perfectly cooked when they are just slightly firm to the touch and have changed from translucent to opaque throughout. There will be a small amount of carryover cooking once they’re removed from the heat, so it’s always better to take them off a tiny bit early rather than risk overcooking. When in doubt, undercooked is better than overcooked with scallops.
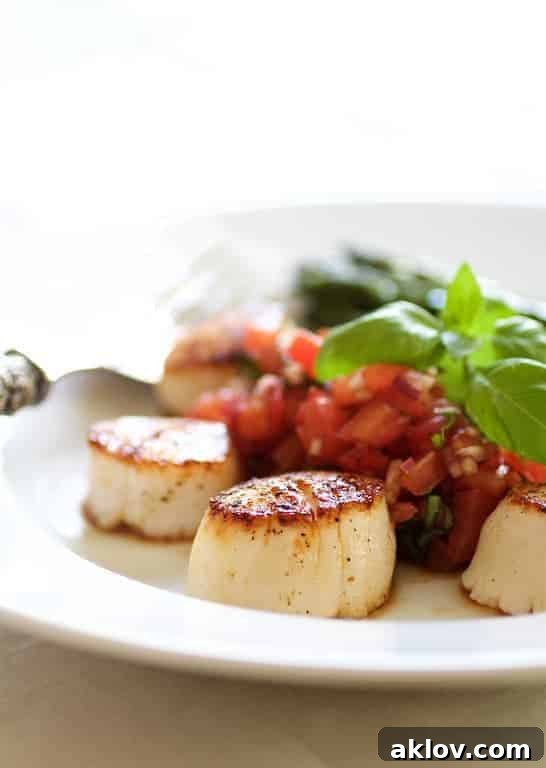
Look at these beautifully seared scallops – restaurant quality, right in your kitchen!
Crafting the Vibrant Tomato, Red Onion, and Balsamic Salsa
Now that you’ve mastered the scallops, let’s turn our attention to the vibrant salsa that elevates this dish into a truly memorable experience. The inherent slightly sweet, slightly briny flavor of perfectly seared sea scallops needs a complementary pairing, not something that overwhelms it. This bruschetta-inspired salsa, with its mild acidity from tomatoes and balsamic vinegar, is an ideal match.
Selecting and Preparing Ingredients for the Salsa
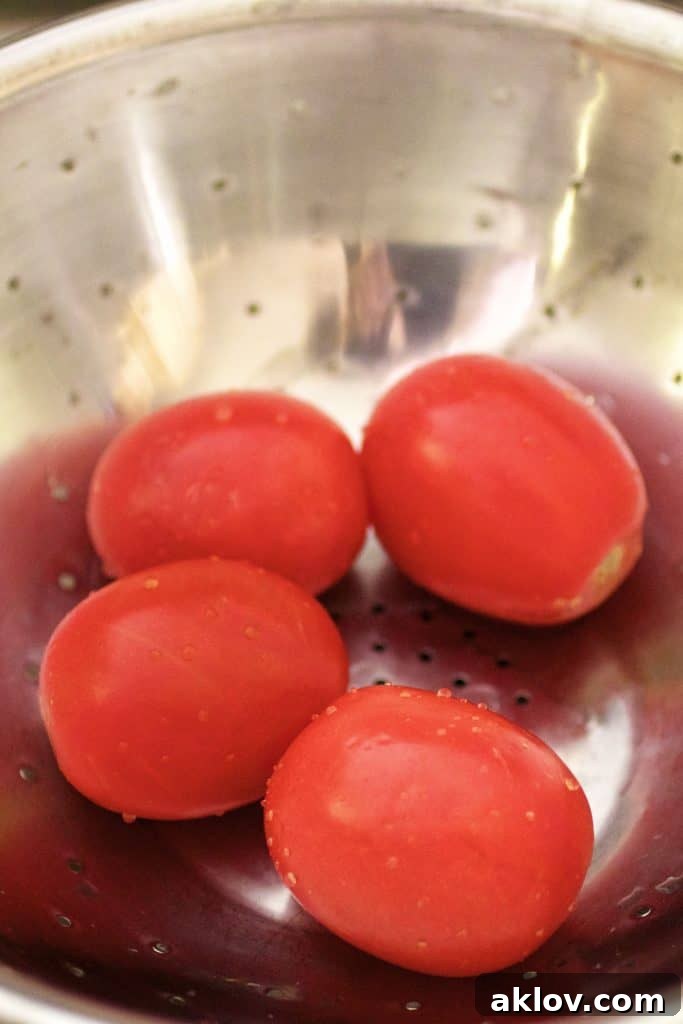
For this salsa, I highly recommend using plum (or Roma) tomatoes. Their firmer flesh holds up well when mixed with balsamic vinegar, preventing the salsa from becoming watery. Plum tomatoes are also a great choice because they tend to be of decent quality even outside the peak summer tomato season, ensuring you can enjoy this dish year-round. Dice them finely for the best texture.
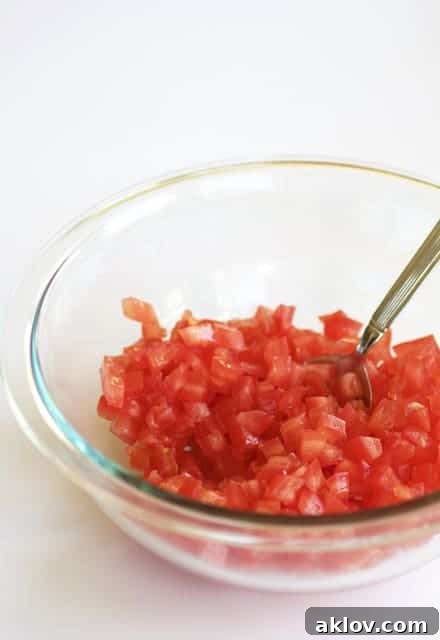
Combine the diced tomatoes with finely chopped red onion and good-quality balsamic vinegar. Season with salt and freshly ground black pepper to taste. The red onion adds a subtle bite and beautiful color, while the balsamic vinegar provides a crucial acidic counterpoint to the rich scallops.
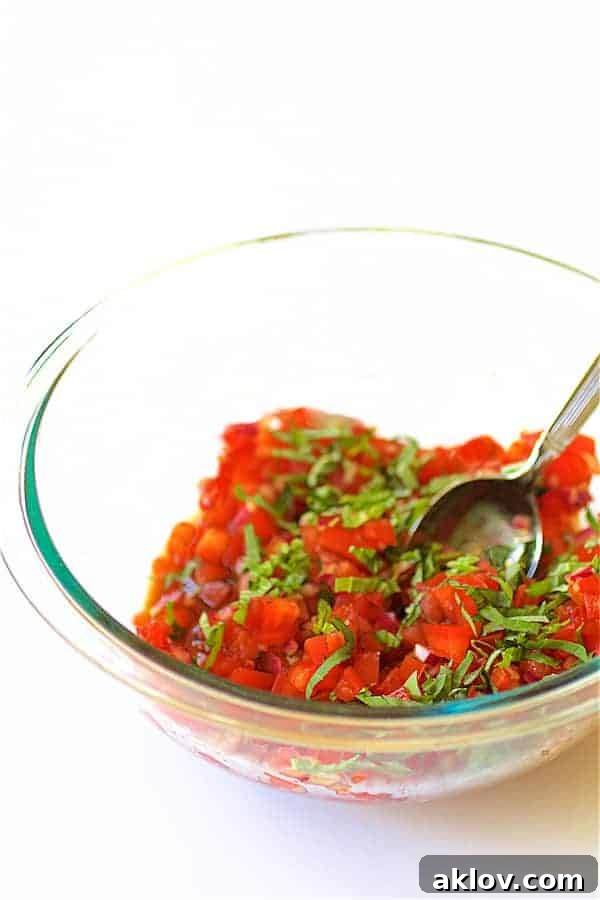
The salsa can be made ahead of time, allowing the flavors to meld beautifully. However, wait to stir in the fresh basil until just before serving. Fresh basil’s delicate aroma and vibrant color are best enjoyed immediately after being added, ensuring maximum freshness and visual appeal.
Serving Suggestions for an Unforgettable Meal
Scallops are incredibly versatile and pair beautifully with a variety of side dishes. For a light and summery meal, a quick sauté of fresh asparagus is a perfect accompaniment. Its crisp texture and gentle flavor complement the scallops without overpowering them.
However, don’t limit yourself! Here are a few other delightful ideas to serve alongside your seared sea scallops:
- Creamy Purees: Try a vibrant pea puree, a silky cauliflower puree, or even a comforting creamed corn. These offer a luxurious texture contrast to the firm scallops.
- Risotto: A lemon-herb risotto or a delicate parmesan risotto can create a truly upscale dining experience.
- Pasta: A light pasta dish with olive oil, garlic, and fresh herbs, or even a simple angel hair pasta, can absorb the delicious flavors.
- Fresh Salads: A crisp, peppery arugula salad with a light vinaigrette provides a refreshing balance.
- Roasted Vegetables: Beyond asparagus, roasted broccoli, green beans, or even small roasted potatoes can make a satisfying side.
With these suggestions, you’ll soon be as enamored with cooking and enjoying sea scallops at home as I am!
Frequently Asked Questions (FAQ) About Cooking Scallops
What kind of pan is best for searing scallops?
A heavy-bottomed pan, such as cast iron or stainless steel, is ideal for achieving a good sear. These pans retain heat well, which is crucial for creating a golden crust. While nonstick can work, the crust won’t be as deep or flavorful.
How can I tell if my scallops are fresh?
Fresh scallops should have a sweet, mild ocean scent, not a strong “fishy” odor. They should appear moist but not sitting in liquid, and have a firm, slightly off-white to beige color. Avoid scallops that look bright white or are swimming in milky liquid.
Can I use butter to sear scallops?
While butter adds great flavor, it has a low smoke point. It’s best to start with a high-smoke-point oil (like olive, grapeseed, or canola) and then add a knob of butter towards the end of cooking for flavor, basting the scallops as they finish.
My scallops are rubbery. What went wrong?
Rubbery scallops are almost always a sign of overcooking. Scallops cook very quickly, usually within 3-4 minutes total. They can also become rubbery if they are “wet-packed” (treated with phosphates) as the excess water makes them difficult to sear properly.
What if I don’t have fresh basil for the salsa?
While fresh basil offers the best flavor, you can substitute with a smaller amount of dried basil (about 1/2 teaspoon for every tablespoon of fresh). Alternatively, fresh parsley or even a pinch of dried oregano could provide a different but still complementary flavor.
More Scallops Recipes You’ll Love!
If you’re now feeling confident and excited about cooking scallops, here are a few other delicious recipes to explore:
- Seared Scallops with Smoky Sweet Corn Puree
- Seared Sea Scallops with Jalapeno Brown Butter
- Pistachio Encrusted Sea Scallops with Champagne Risotto
- Seared Sea Scallops with Spicy Alfredo Sauce
Seared Sea Scallops with Tomato Red Onion and Balsamic Salsa
By Carol | From A Chef’s Kitchen
Seared Sea Scallops with Tomato, Red Onion and Balsamic Salsa is a light, elegant, restaurant-quality dish for two that’s also super easy!
Equipment
- Wusthof Chef Knife
- Cutting Board
- Nonstick Skillet
- Glass Mixing Bowls
Ingredients
Salsa
- 4 medium plum tomatoes, about 1 pound, seeded and chopped
- 1/4 cup finely chopped red onion
- 2 tablespoons good-quality balsamic vinegar
- Salt and freshly ground black pepper, to taste
- 1 large sprig fresh basil, thinly sliced
Scallops
- 2 teaspoons olive oil
- Salt and freshly ground black pepper
- 8 large sea scallops, side muscle removed, rinsed and patted dry
Instructions
Salsa
- Combine tomatoes, onion, balsamic vinegar, salt and black pepper in a small bowl and mix well. Set aside.
- When ready to serve, stir in fresh basil.
Scallops
- Heat olive oil over medium-high heat until oil is hot, shimmering and ready to smoke.
- Generously season scallops with salt and black pepper.
- Place in the pan and cook 2-3 minutes on the first side or until a nice golden crust has formed.
- Turn the scallops over and cook 1 minute on the other side. Immediately remove from heat.
- Serve salsa with scallops.
Notes
SUBSTITUTIONS:
- The salsa is also great over grilled fish!
TIPS:
- Once you have the correct type of scallop, some minor prep is essential. Frozen scallops should be thawed uncovered overnight in the refrigerator on a plate lined with paper towels to wick away moisture.
- You may see a small side muscle still attached that runs against the grain of the scallop. If you do, remove it, as it can be tough and chewy when cooked. (No worries….it peels off easily.)
Nutrition
Serving: 2
Calories: 181 kcal
Carbohydrates: 20g
Protein: 15g
Fat: 6g
Saturated Fat: 1g
Polyunsaturated Fat: 4g
Cholesterol: 24mg
Sodium: 831mg
Fiber: 4g
Sugar: 11g
Nutritional values are automatically calculated using unbranded products and are estimates only. Actual results may vary based on ingredients used and portion sizes. Adjust as needed for dietary restrictions, allergies, or health concerns.
 Like this? Leave a comment below!
Conclusion: Elevate Your Home Cooking
You’ve now uncovered the secrets to preparing flawless, restaurant-quality seared sea scallops right in your own kitchen. From selecting the perfect dry-packed scallops to mastering the high-heat sear, and finally, crafting a bright and complementary balsamic salsa, every step contributes to an unforgettable culinary experience. This dish is not just a meal; it’s a testament to how simple techniques can yield extraordinary results. So, next time you’re craving something special, reach for those sea scallops and prepare to impress yourself and your loved ones. Happy cooking!