
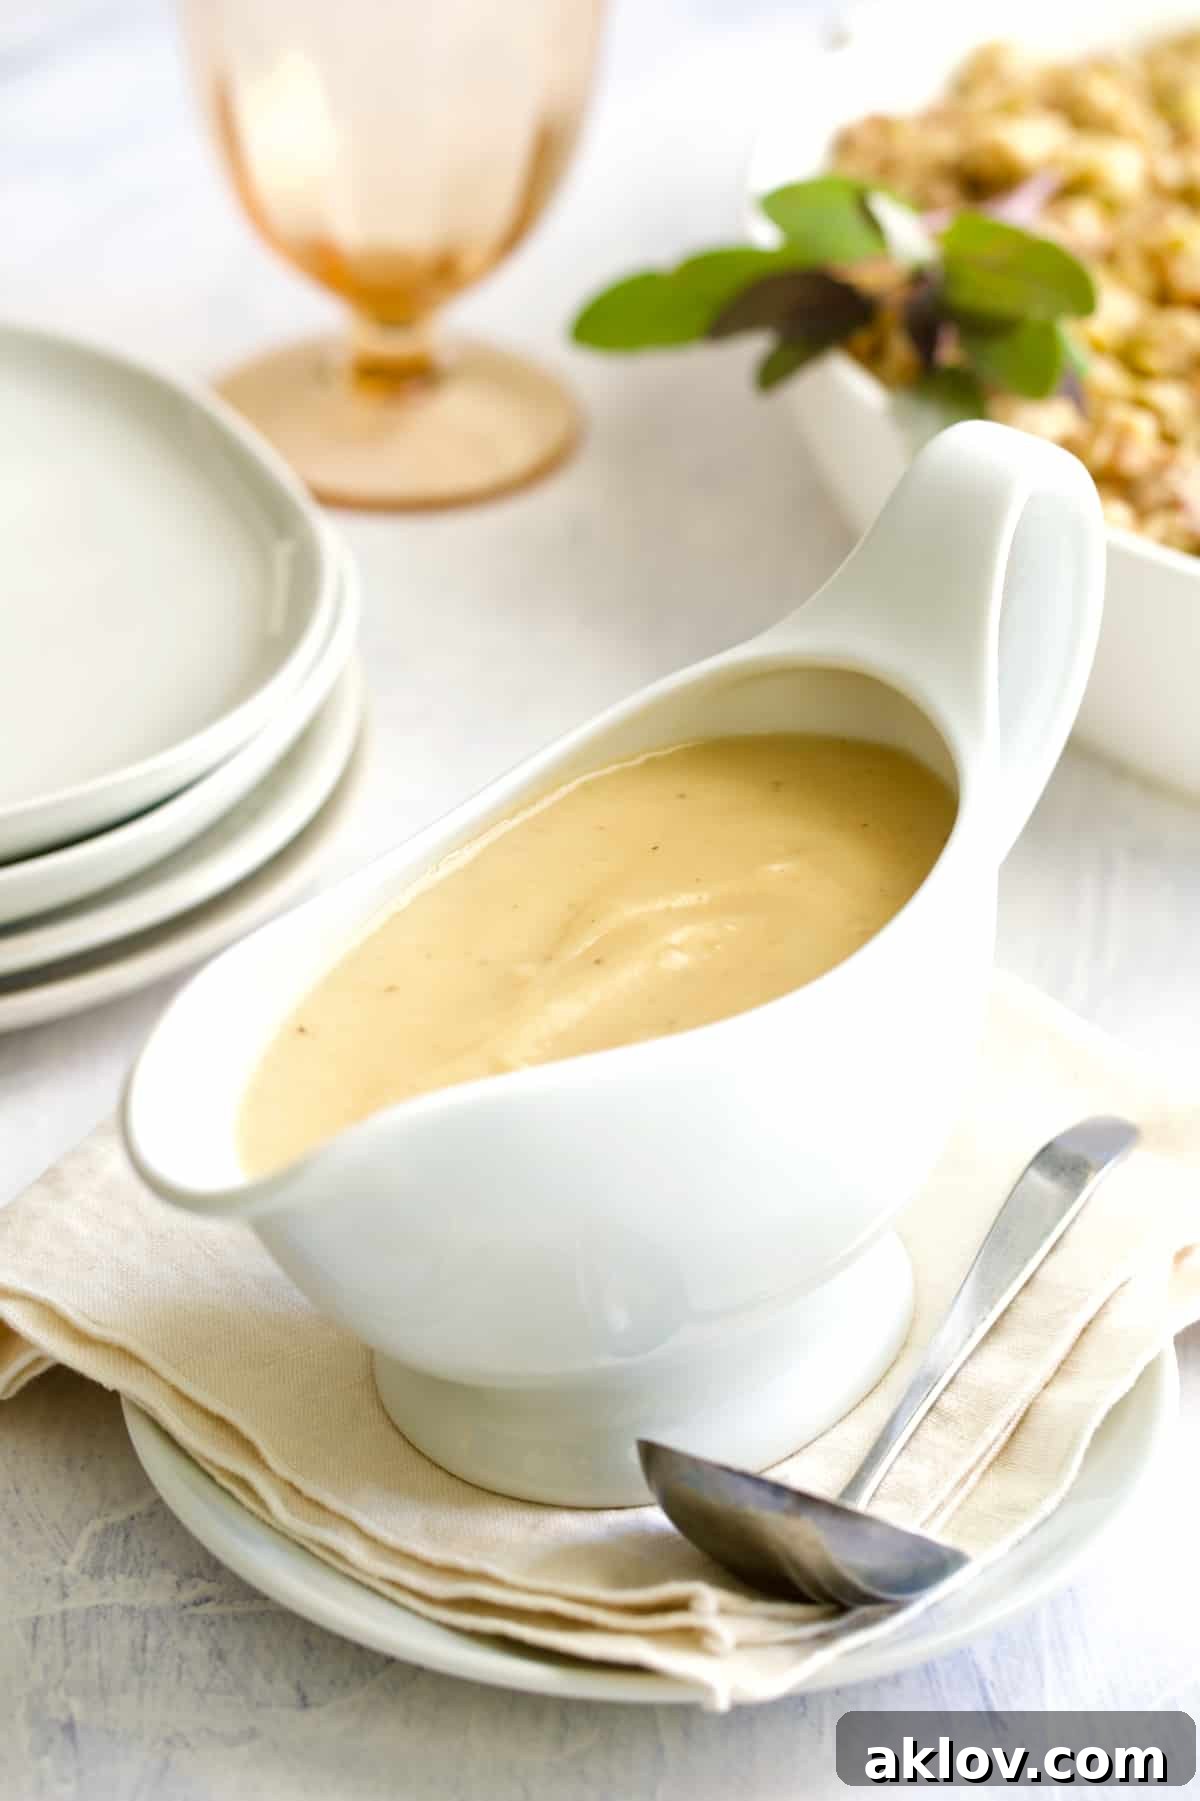
There are few culinary delights as comforting and essential as a rich, flavorful gravy. It’s the finishing touch that transforms a simple meal into a memorable feast, especially during the holidays or for a cozy Sunday dinner. But what happens when your cooking method—be it deep-frying a turkey, smoking a succulent brisket, or simply preparing a lean turkey breast—doesn’t yield those precious pan drippings? Historically, these flavorful remnants were the foundation of any good gravy. However, achieving that perfect, silky smooth gravy doesn’t require pan drippings, and this ingenious method is about to become your year-round secret weapon. With just five common ingredients, you can whip up an incredibly delicious gravy that rivals any made from scratch with drippings. This recipe, designed for simplicity and maximum flavor, will ensure you never have to resort to a lackluster store-bought mix again. Imagine serving this alongside a tender Roast Turkey Breast with Traditional Stuffing or pairing it with creamy Make-Ahead Mashed Potatoes – your guests will be amazed!
“This gravy turned out perfectly! It was so rich and savory, nobody could tell it didn’t start with drippings. A true game-changer for holiday meals and beyond!“
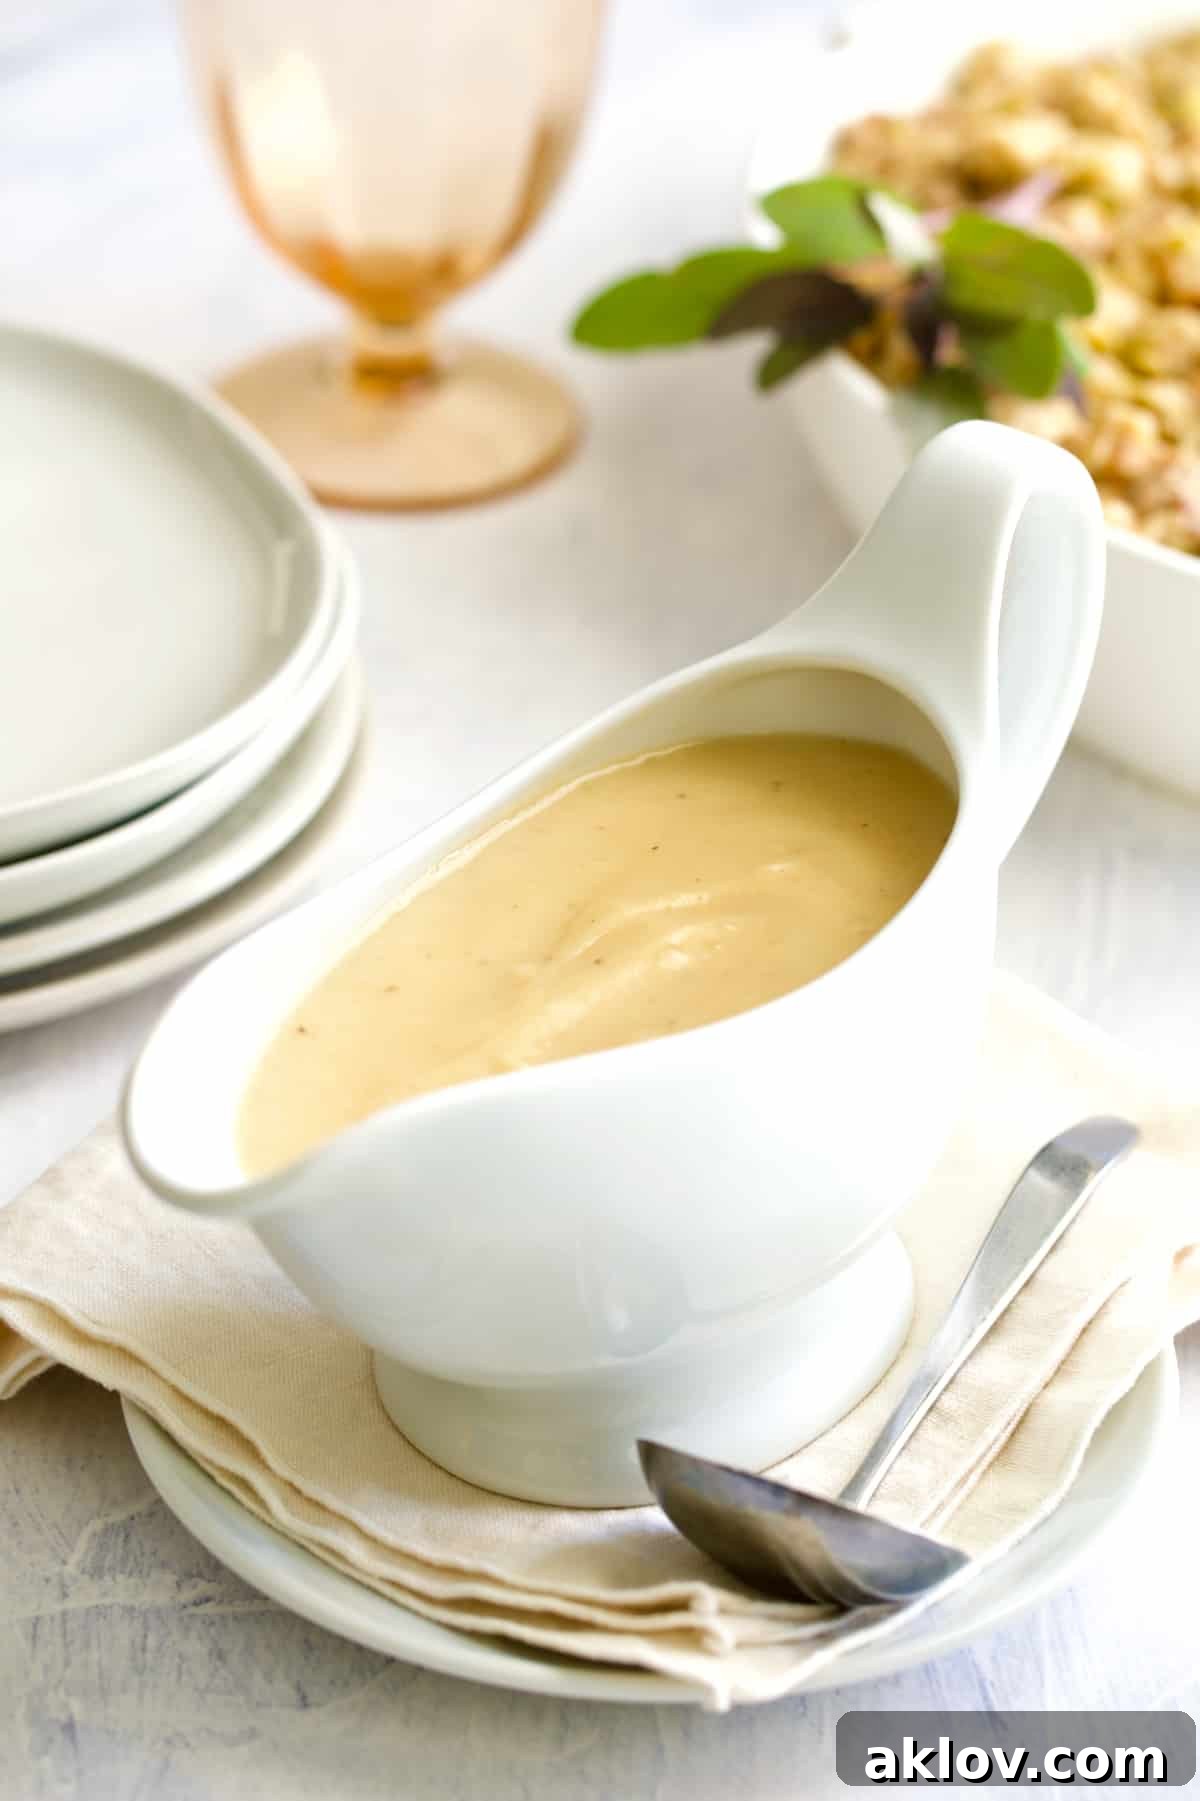
Why This Gravy Recipe is a Game-Changer
This recipe for homemade gravy without drippings isn’t just a backup plan; it’s a culinary triumph that deserves a permanent spot in your recipe collection. Its beauty lies in its elegant simplicity and unwavering reliability. Forget about the days of last-minute panic when you realize you don’t have enough pan juices. This method ensures you can create a luxurious, savory gravy anytime, anywhere, with minimal fuss and maximum flavor.
- Minimal Ingredients, Maximum Flavor: With only five core ingredients—including salt and pepper—this recipe proves that incredible flavor doesn’t require a long shopping list. The magic comes from a meticulous technique that concentrates rich savory notes.
- Intense Flavor Profile: The secret weapon here is the reduction of quality broth, stock, or bone broth. This crucial step intensifies the foundational flavors, creating a depth that rivals any gravy made with drippings. The resulting liquid forms the backbone of an exceptionally rich gravy.
- Perfect for Any Occasion: Whether you’re roasting a standalone turkey breast, preparing a smoked ham, or simply craving a classic accompaniment for mashed potatoes on a weeknight, this recipe delivers. It’s also ideal for those times when you want gravy but didn’t cook a whole bird that produces drippings.
- Make-Ahead Mastery: Planning ahead is a breeze with this gravy. The broth reduction can be prepared two to three days in advance, as can the finished gravy itself. This feature is particularly valuable for holiday cooking, allowing you to minimize stress on the big day.
- Effortless Reheating: When it’s time to serve, simply reheat your prepared gravy in the microwave or gently warm it on the stovetop. It maintains its smooth texture and rich flavor beautifully, making entertaining seamless.
- Dietary Versatility: This recipe is incredibly adaptable. Easily make it vegetarian or vegan by simply using a high-quality vegetable or mushroom broth and substituting butter with a plant-based alternative. It’s a crowd-pleaser for every diet!
- Avoid Processed Mixes: Say goodbye to powdery, artificial-tasting gravy packets or jars. This recipe offers a homemade solution that is fresh, flavorful, and free from unwanted additives, giving you complete control over what goes into your meal.
Here’s your ultimate guide to creating an unforgettable gravy without a single drop of pan drippings!
Crafting Perfect Gravy: The Essential Ingredients
Simple Ingredients for Exceptional Flavor:
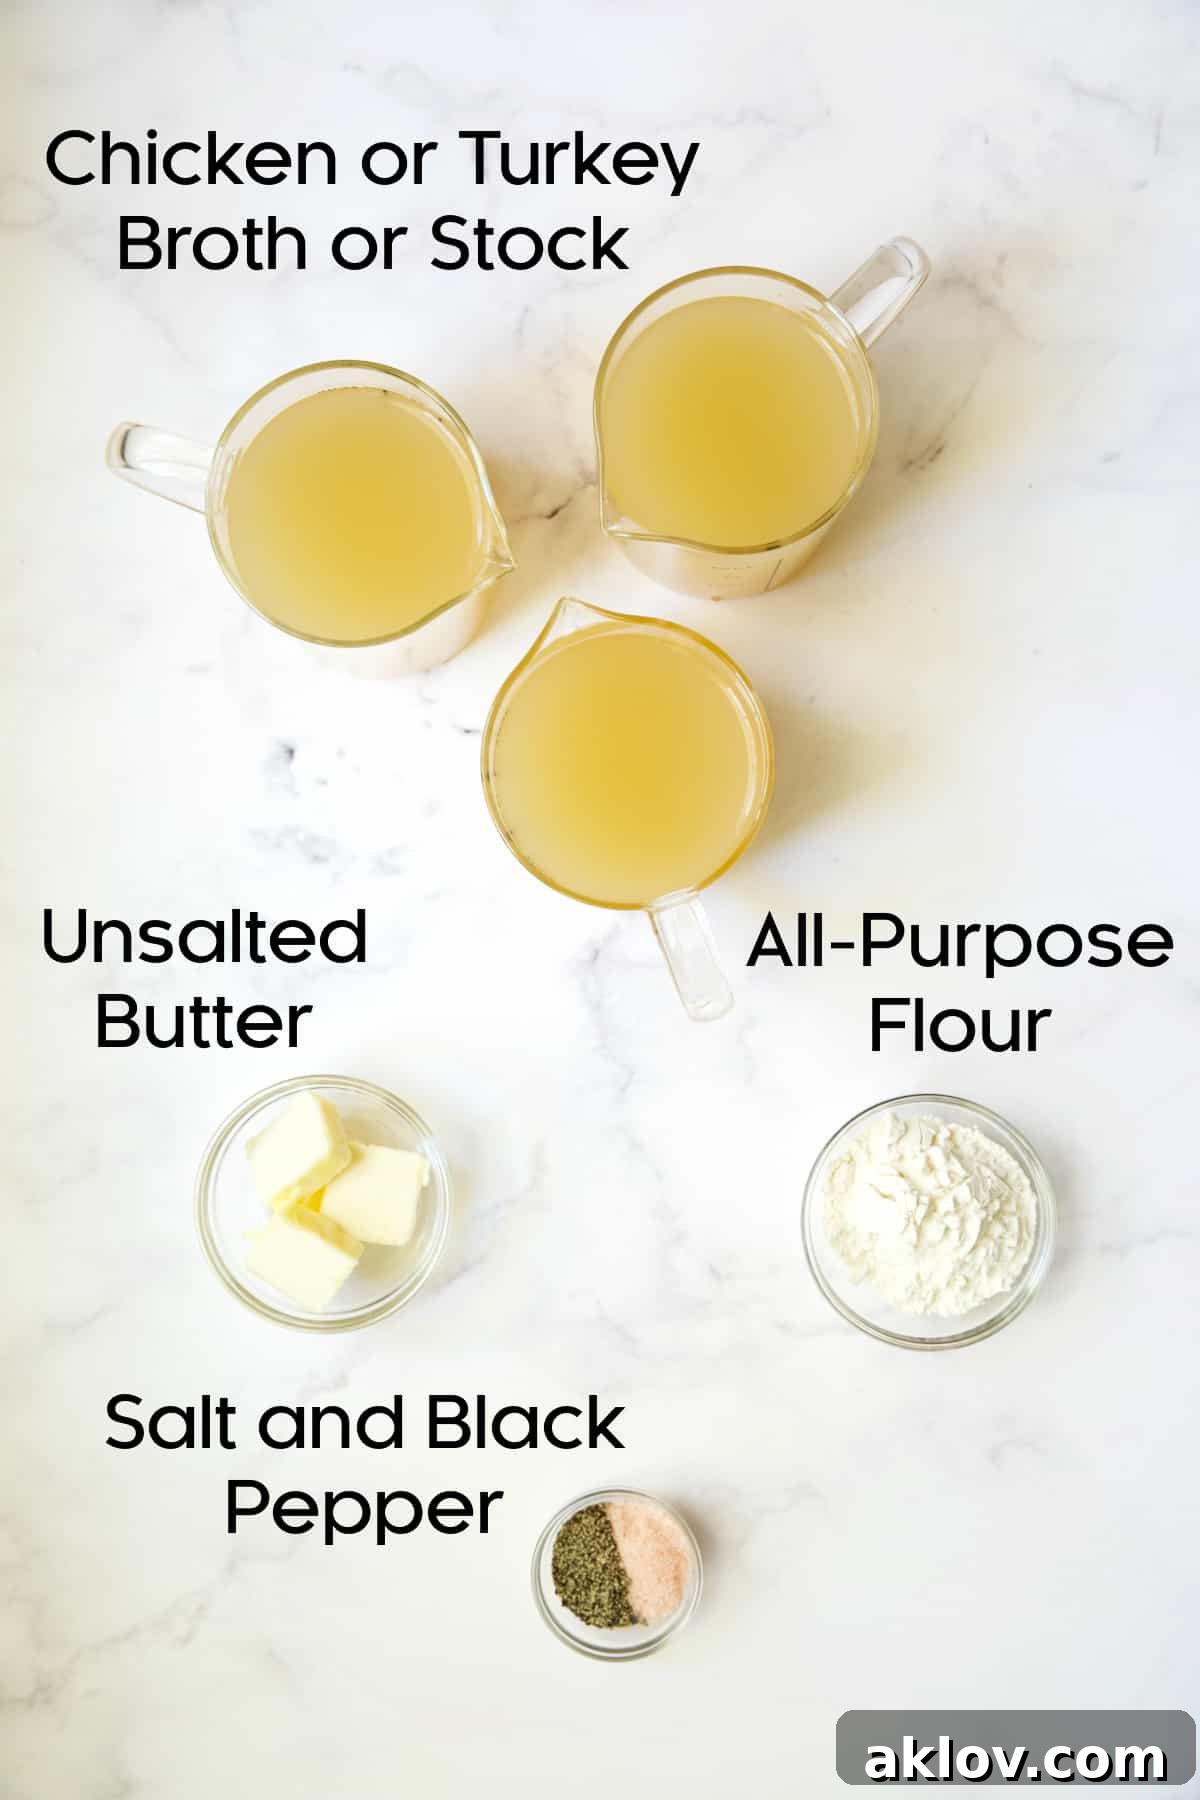
Achieving a gourmet-quality gravy doesn’t demand exotic ingredients. This recipe relies on a handful of pantry staples, each playing a vital role in creating a rich, flavorful, and perfectly textured sauce. Here’s a closer look at what you’ll need and why these choices matter:
Ingredient Deep Dive and Smart Substitutions:
- Broth or Stock: The quality of your broth is paramount, as it forms the very foundation of this gravy’s flavor. While homemade broth is always ideal for its unparalleled depth, a high-quality store-bought option works beautifully. Look for MSG-free and lower-sodium varieties, such as Swanson’s Natural Goodness Chicken Broth or a rich chicken bone broth. For holiday meals, a good turkey stock (often available around Thanksgiving) can enhance the festive flavor. Vegetable or mushroom broth are excellent choices for a vegetarian or vegan gravy. The lower-sodium recommendation is critical because as the broth reduces, its flavors concentrate, and so will the salt content. Starting with a less salty base allows you to adjust the seasoning perfectly at the end.
- Unsalted Butter: Butter provides richness, flavor, and is essential for creating the roux. Opting for unsalted butter gives you precise control over the overall saltiness of your gravy, allowing you to season it to your exact preference. If you’re out of unsalted butter, you can use salted butter but be very mindful when adding additional salt later. For a dairy-free or vegan option, a good quality plant-based butter substitute works wonderfully.
- All-Purpose Flour: All-purpose flour is the classic choice for thickening gravy, providing a smooth, stable consistency that reheats exceptionally well. It forms the roux, which is a key element in developing rich flavor and color. Unlike cornstarch, flour-based gravies tend to maintain their texture better after cooling and reheating.
- Gluten-Free Flour Alternatives: If you need to make your gravy gluten-free, there are several excellent options. Cornstarch is a readily available thickener, but it’s best added as a slurry (mixed with a little cold water) at the end of the cooking process. Arrowroot powder works similarly to cornstarch. For a more robust thickening and texture, consider a good quality gluten-free all-purpose flour blend or, a favorite in the personal chef industry, sweet rice flour (also known as Mochiko). Whichever gluten-free option you choose, ensure it is thoroughly mixed to avoid lumps.
- Salt and Freshly Ground Black Pepper: These are your final seasoning agents. Always taste your gravy towards the end of the cooking process, after it has thickened, and adjust the salt and pepper to your liking. A sprinkle of white pepper can also be used for a cleaner aesthetic if desired.
Mastering Gravy: Step-by-Step Perfection:
Creating a luscious, full-flavored gravy without drippings is an art, but it’s an accessible one with these clear, easy-to-follow steps. Precision in each stage ensures a smooth, rich, and delicious result every time.
- Step 1: Gather Your Ingredients and Equipment. Before you begin, ensure all your ingredients are measured and ready, and you have your saucepan, whisk, and measuring tools at hand. This mise en place will make the cooking process smooth and efficient.
- Step 2: Initiate the Broth Reduction. Carefully pour 6 cups of your chosen chicken, turkey, beef, vegetable, or bone broth into a heavy-bottomed saucepan. This initial quantity might seem generous, but the magic happens in the reduction process.
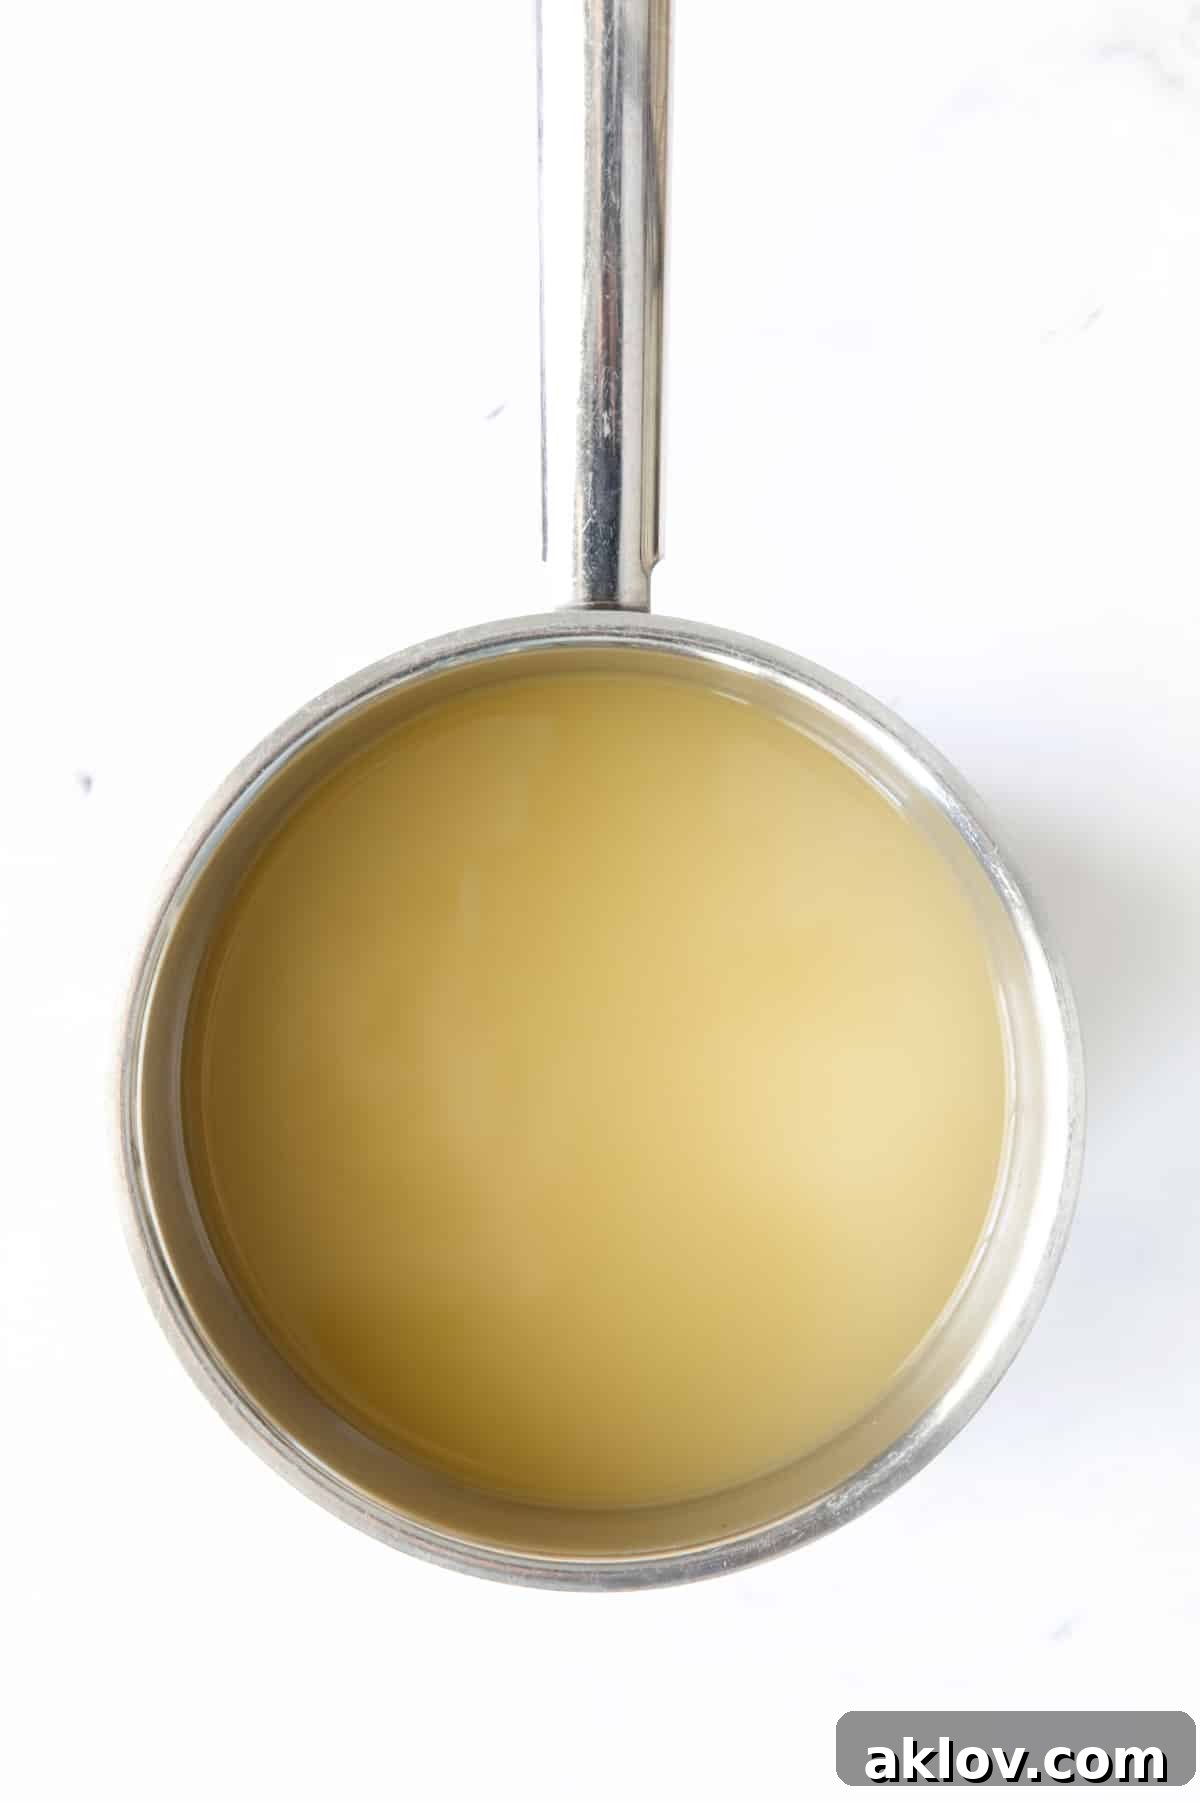
- Step 3: Simmer to Concentrate Flavor. Bring the broth to a rolling boil over high heat, then immediately reduce the heat to medium. Allow it to gently simmer, uncovered, for approximately 30-45 minutes, or until the liquid has reduced by about one-third, leaving you with roughly 4 cups of intensely flavored broth. This reduction is key to developing a deep, rich foundation for your gravy, concentrating all the savory notes.
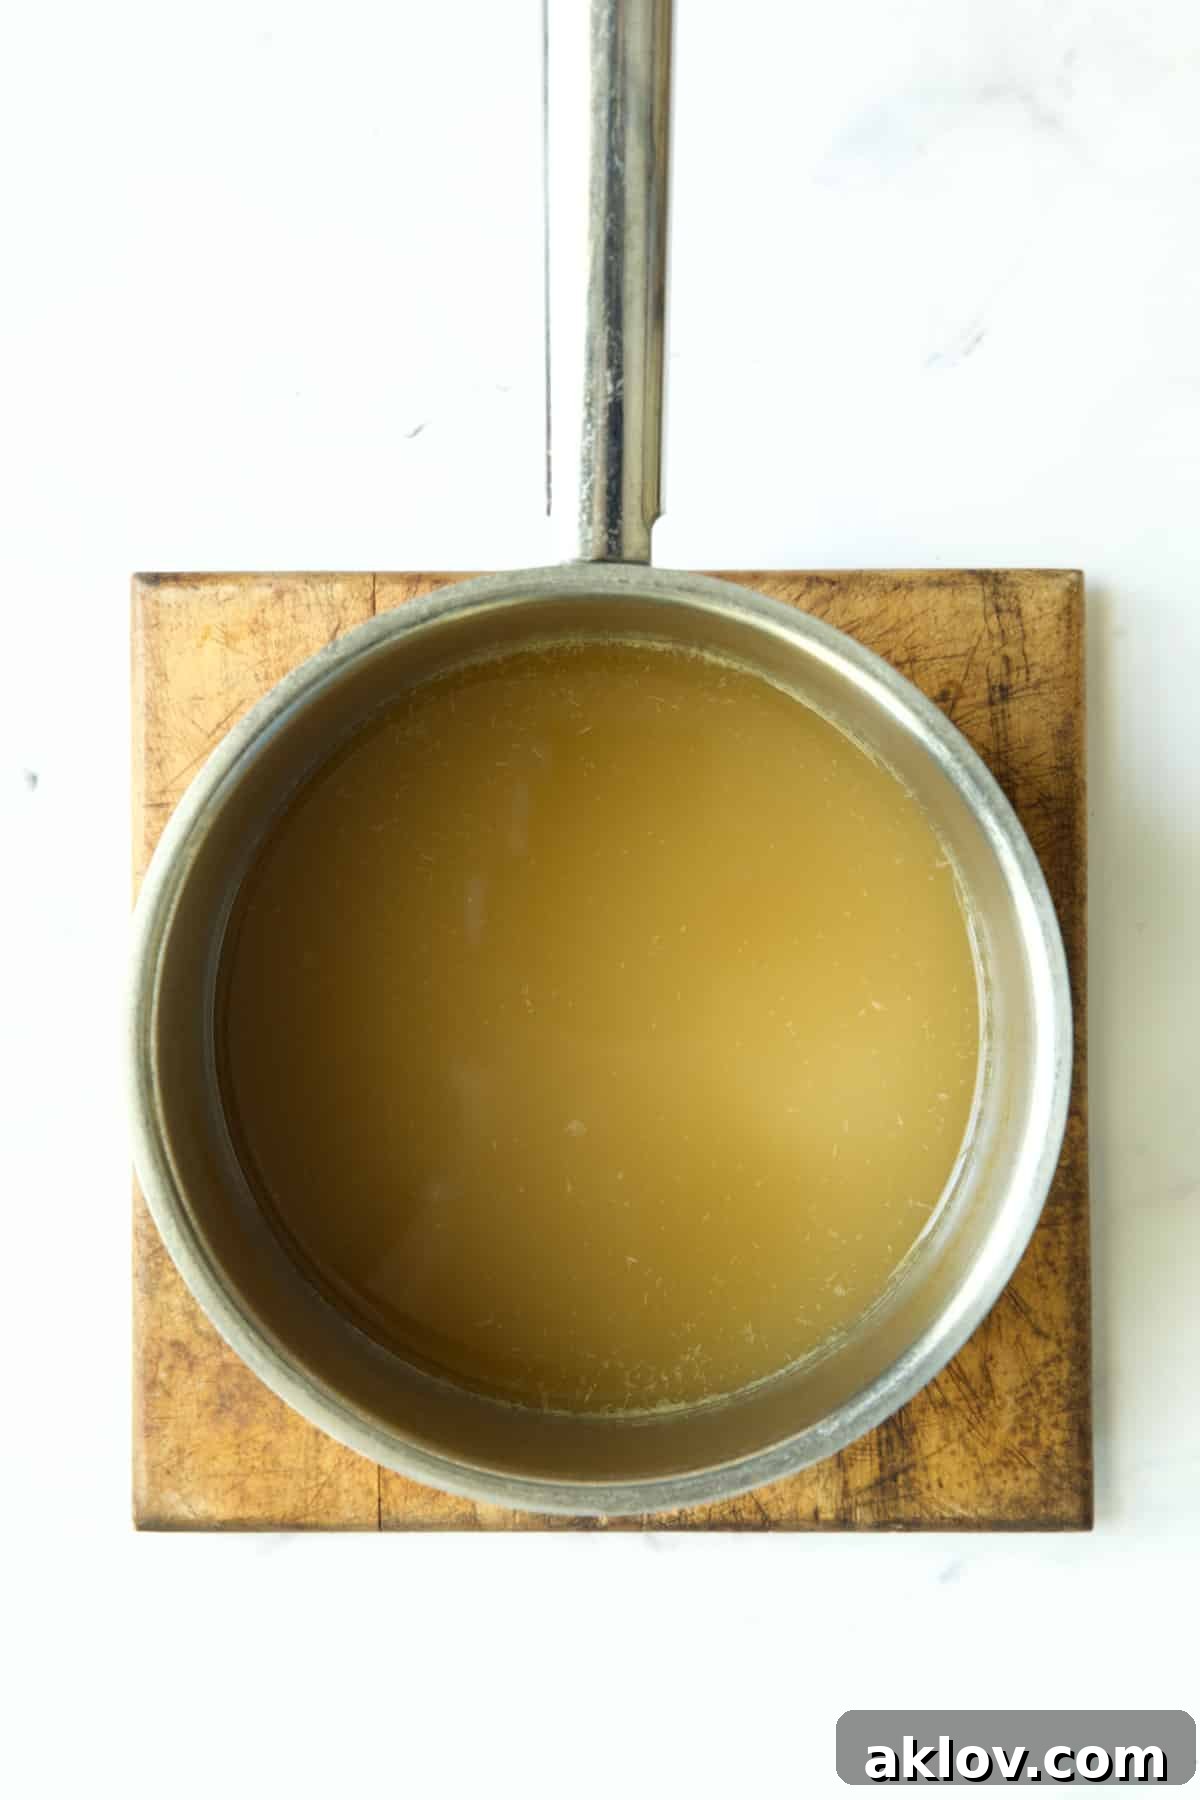
- Step 4: Prepare for the Roux. Once reduced, carefully pour the concentrated broth into a separate heat-proof container, such as a stainless steel bowl or another saucepan. Set it aside for a moment. This step clears your original saucepan for making the roux, preventing the broth from continuing to reduce.
- Step 5: Melt the Butter. Return the (now empty and clean) saucepan to medium-high heat. Add the unsalted butter and allow it to melt completely, ensuring it coats the bottom of the pan evenly.
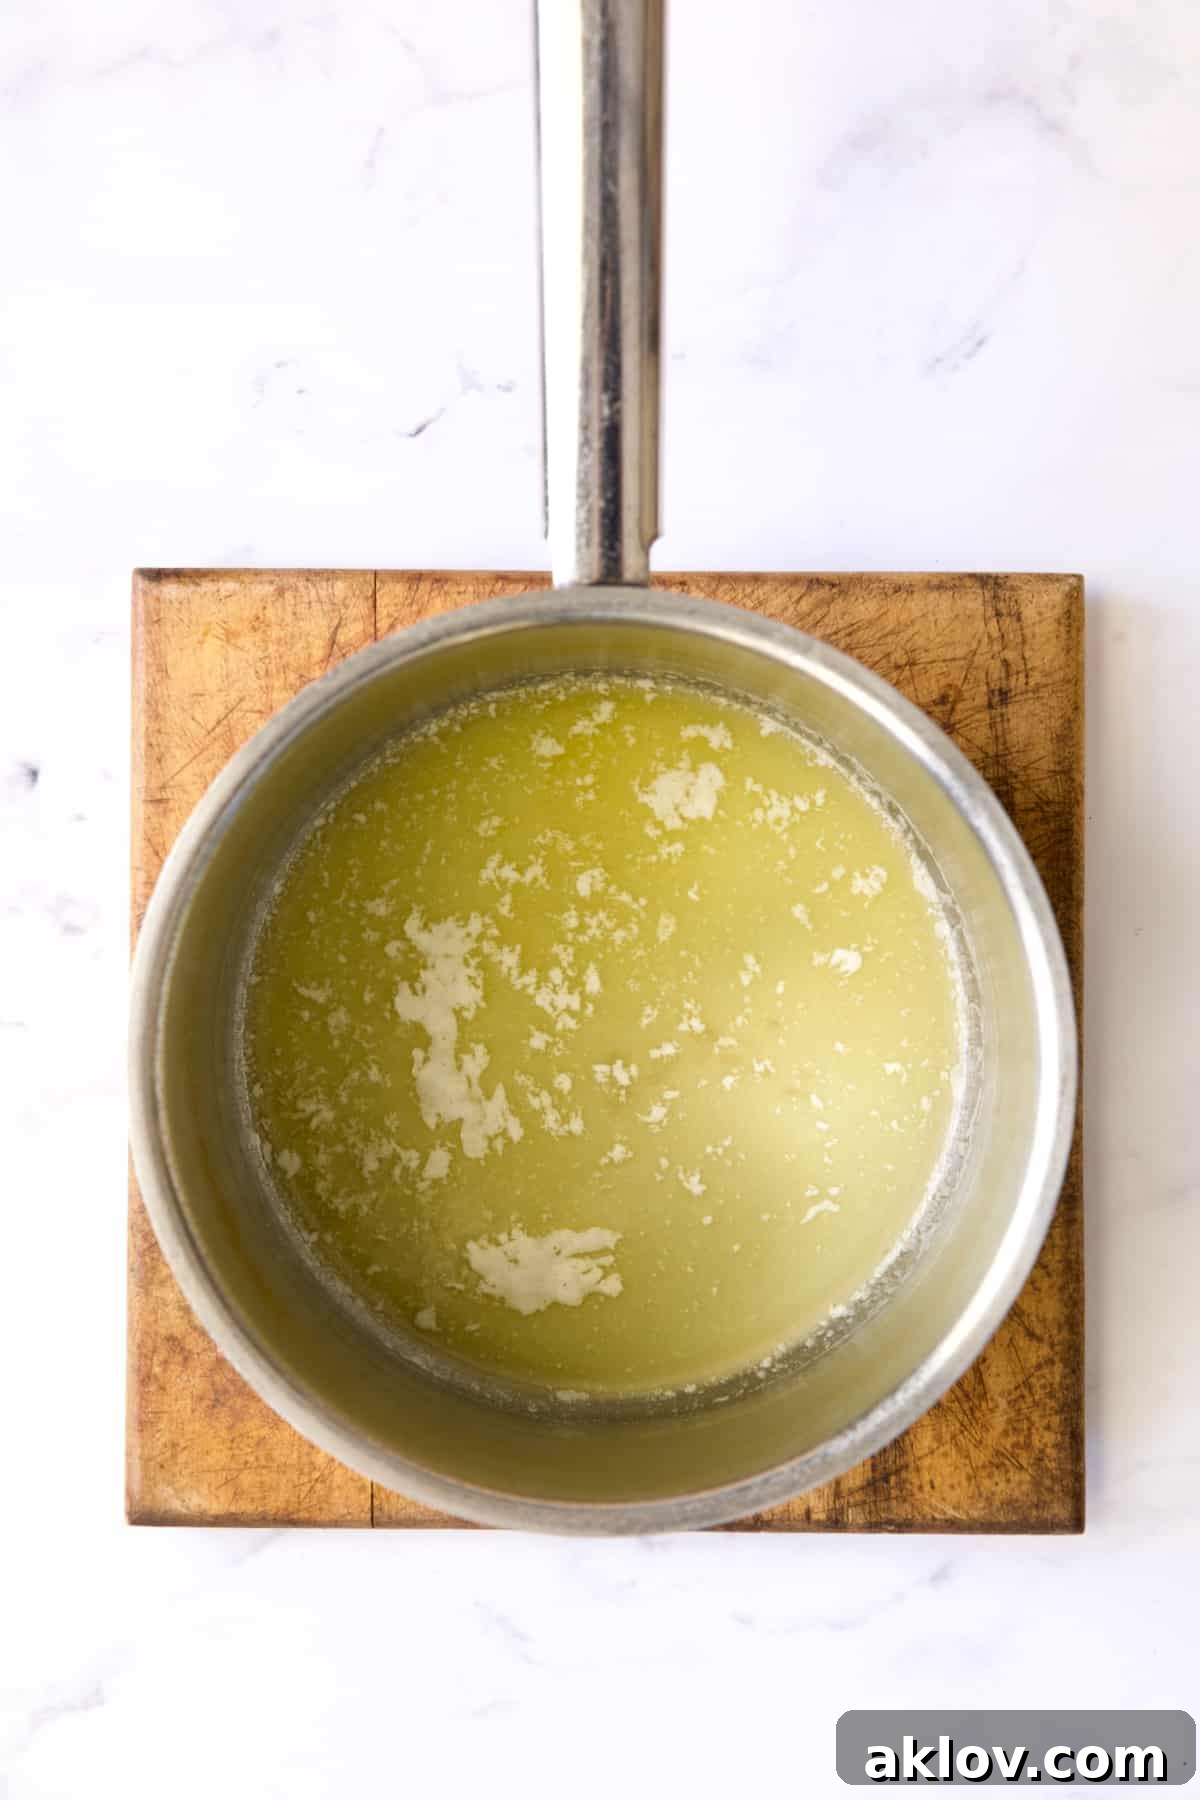
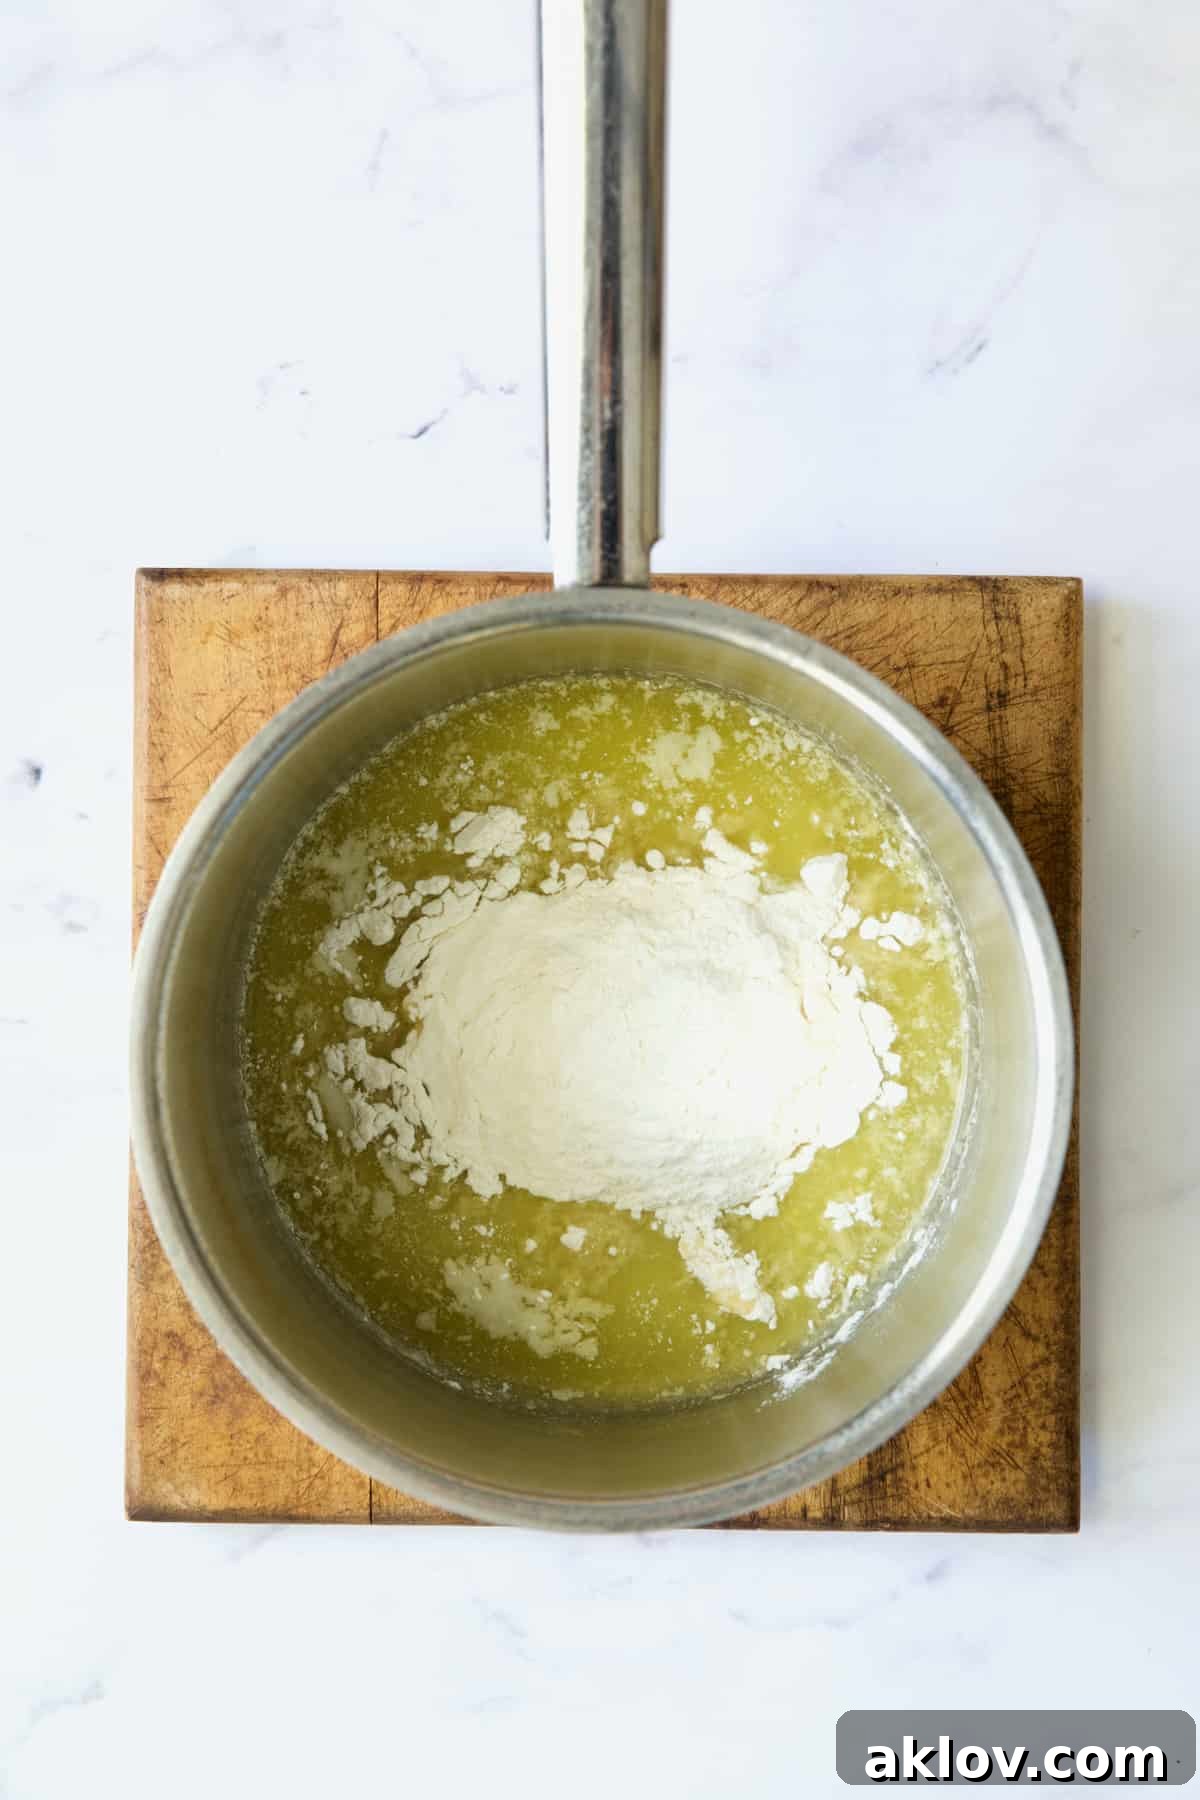
- Step 6: Create the Roux. Once the butter is fully melted and slightly shimmering, add the all-purpose flour. Immediately begin whisking continuously. Cook this mixture over medium heat for three to four minutes. The goal is to cook out the raw flour taste and allow it to just begin turning a deeper, golden-brown color, developing a lovely nutty aroma. Be vigilant and avoid over-browning it; you’re aiming for a light, golden roux, not a dark, “roasty-toasty” one, which could give your gravy an unintended gumbo-like flavor.
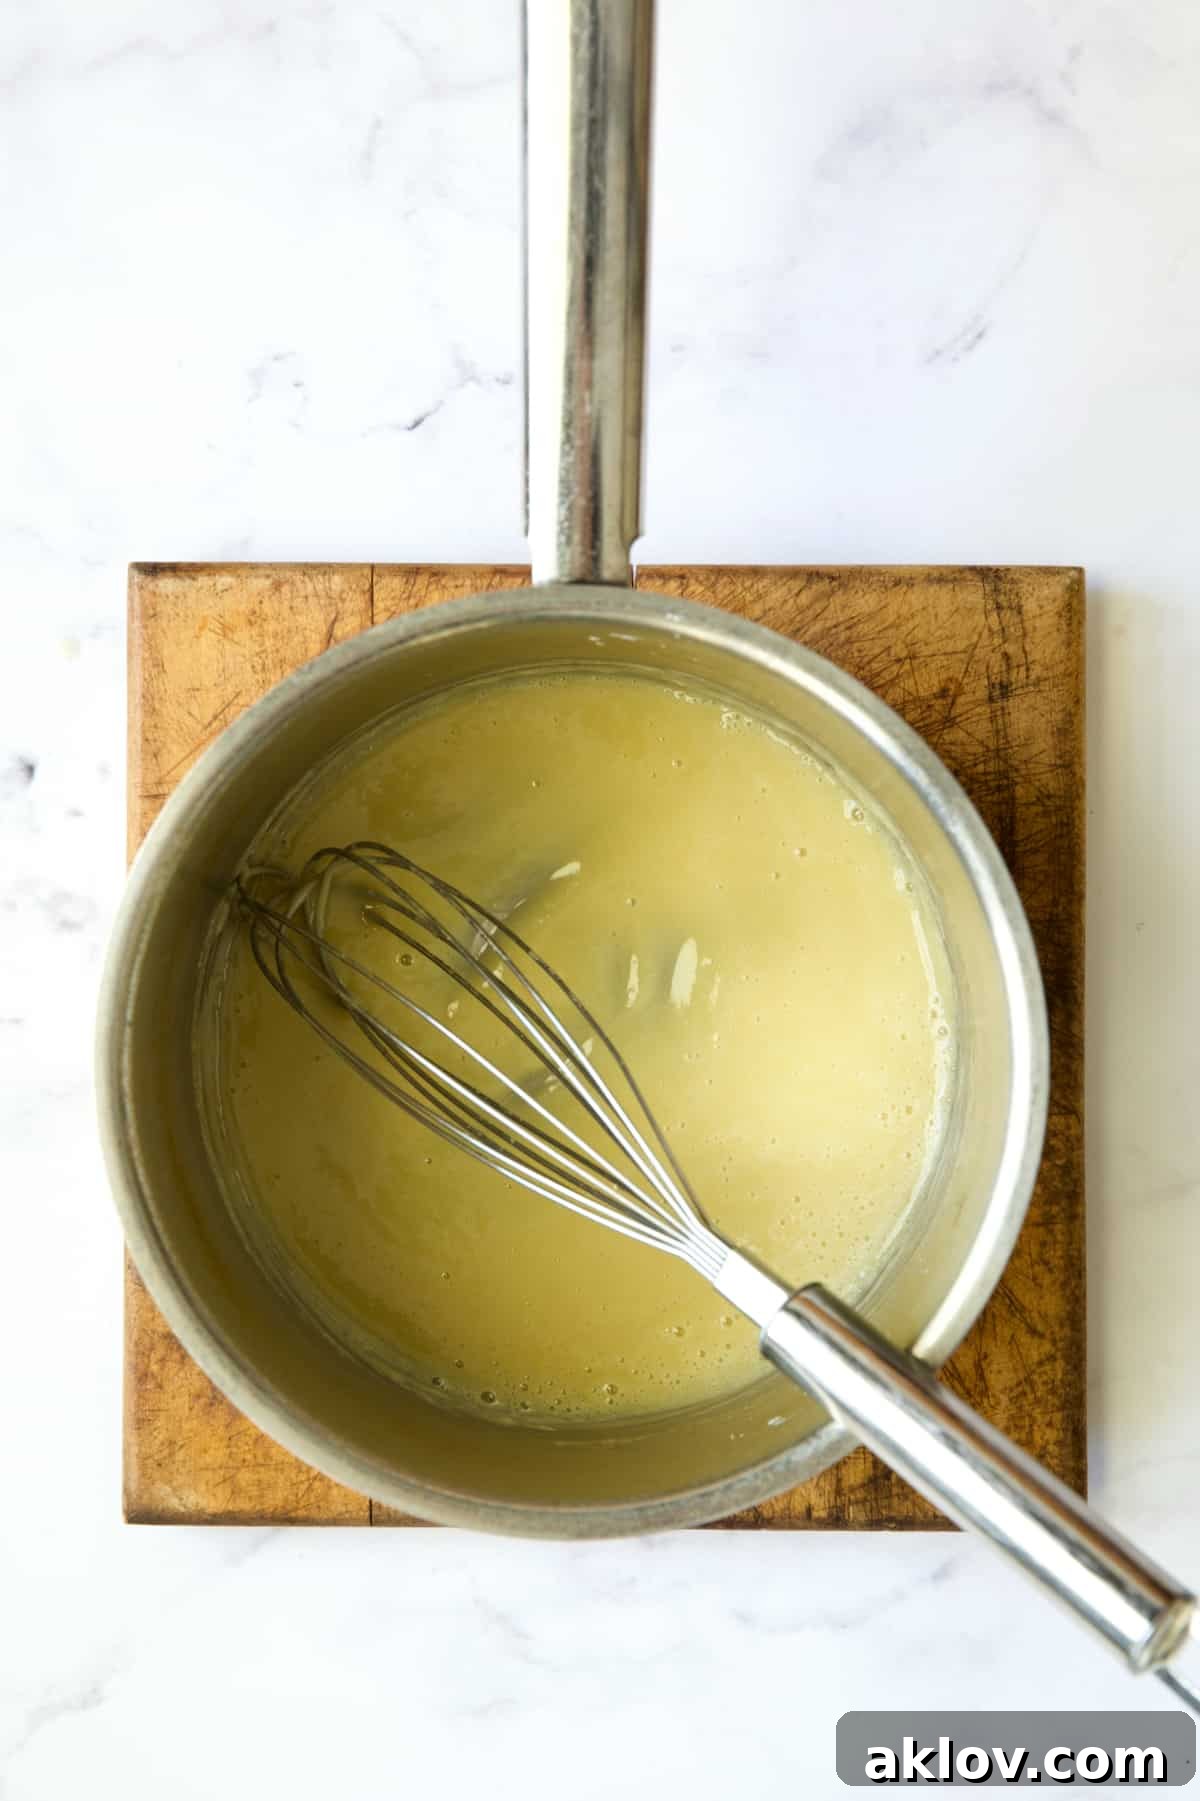
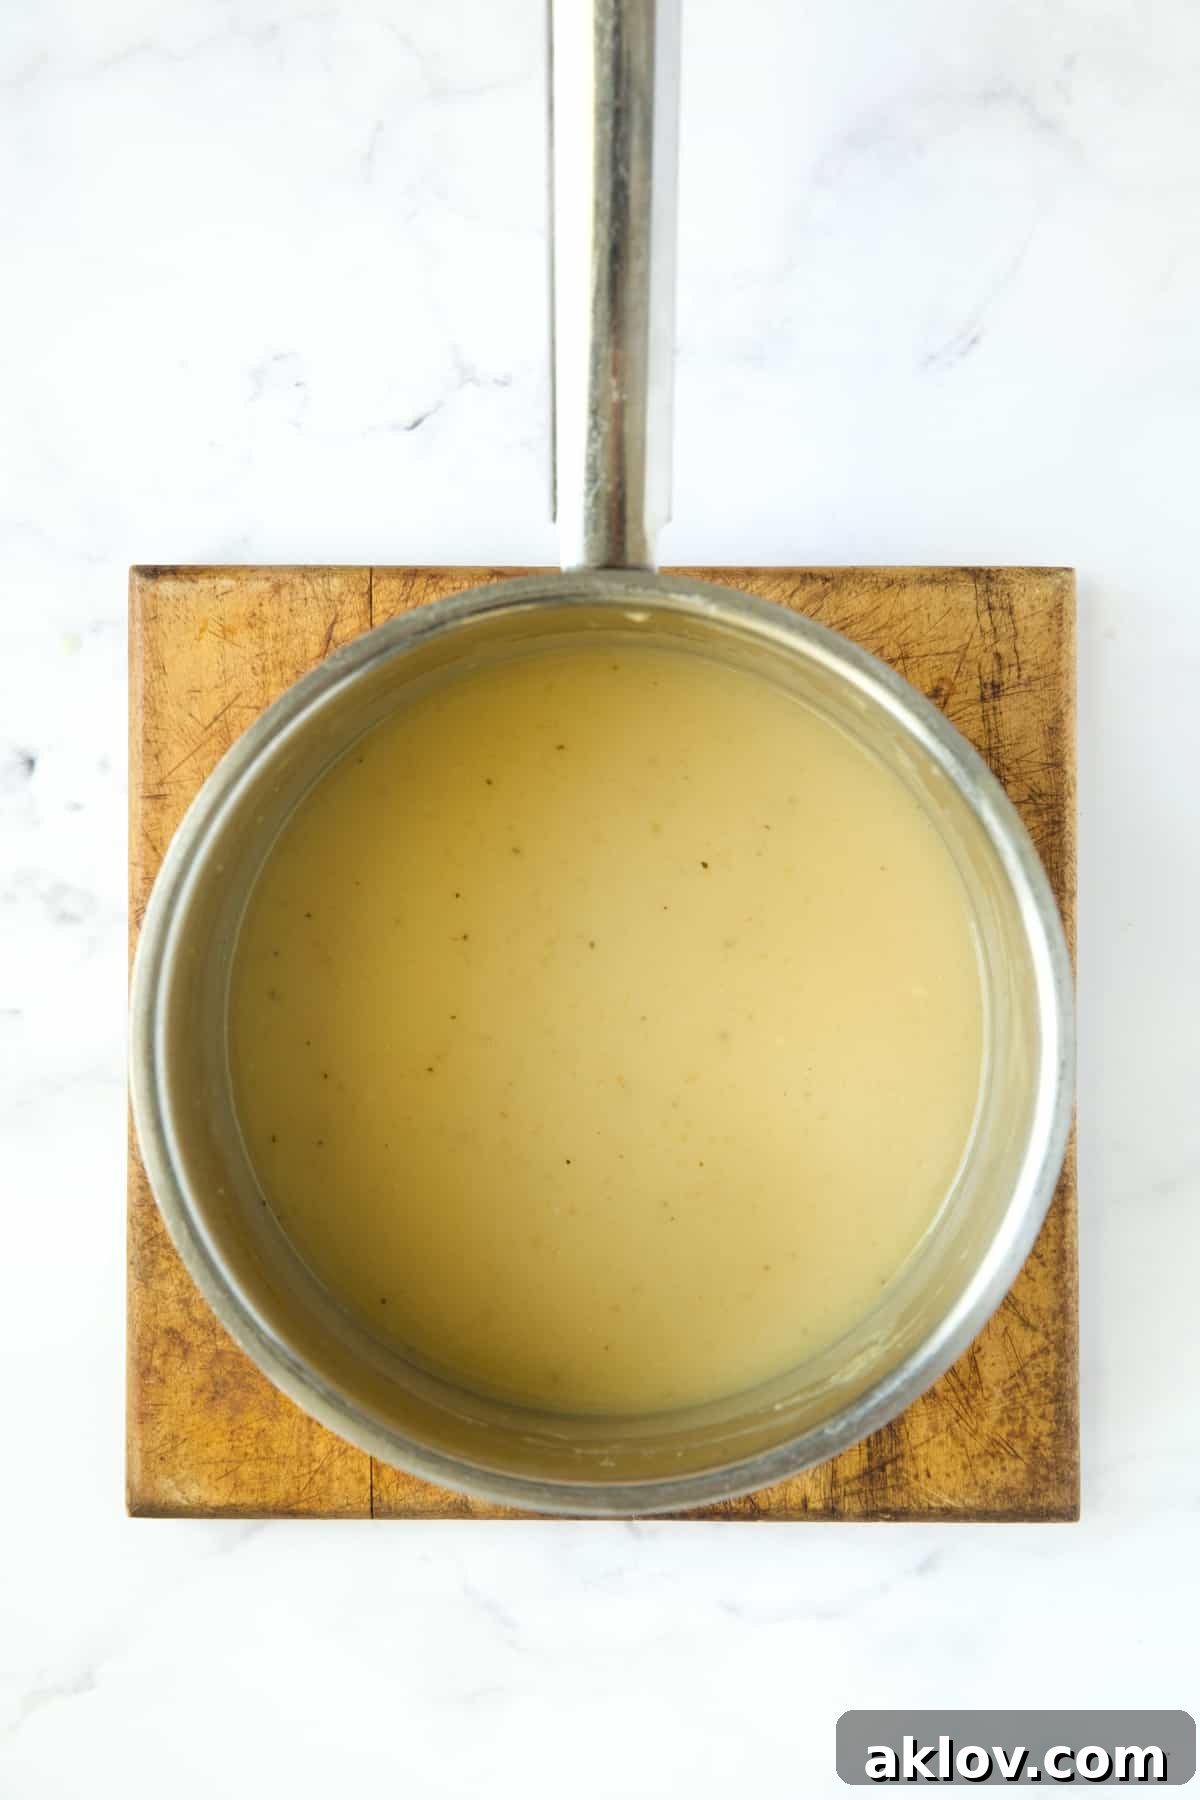
- Step 7: Whisk in the Broth. Gradually, in a slow, steady stream, pour the reduced broth into the hot roux while continuously whisking. This gradual addition and constant whisking are critical for preventing lumps and ensuring a perfectly smooth gravy. As the mixture heats, it will begin to thicken. Bring it to a boil, then immediately reduce the heat to a gentle simmer. Continue to simmer for four to five minutes, allowing the gravy to thicken to your desired consistency.
- Step 8: Rest and Thicken. Gravy continues to thicken as it cools. Remove the saucepan from the heat and let the gravy stand for 5 to 10 minutes. This resting period allows it to achieve its final thickness before you make any final adjustments.
- Step 9: Season to Perfection. After resting, taste the gravy. Now is the time to add salt and freshly ground black pepper as needed. Remember, you started with low-sodium broth, so you’ll likely need to add some seasoning to bring out the full flavor. Adjust until it’s perfectly balanced for your palate.
- That’s it! You’ve successfully mastered How to Make Gravy Without Drippings!
- MAKE AHEAD: This gravy is a fantastic make-ahead option. Prepare it up to 2 to 3 days in advance and store it in an airtight container in the refrigerator. To reheat, gently warm in the microwave on medium heat, stirring halfway through, or transfer to a saucepan and reheat slowly on the stovetop over low heat, stirring frequently until heated through.
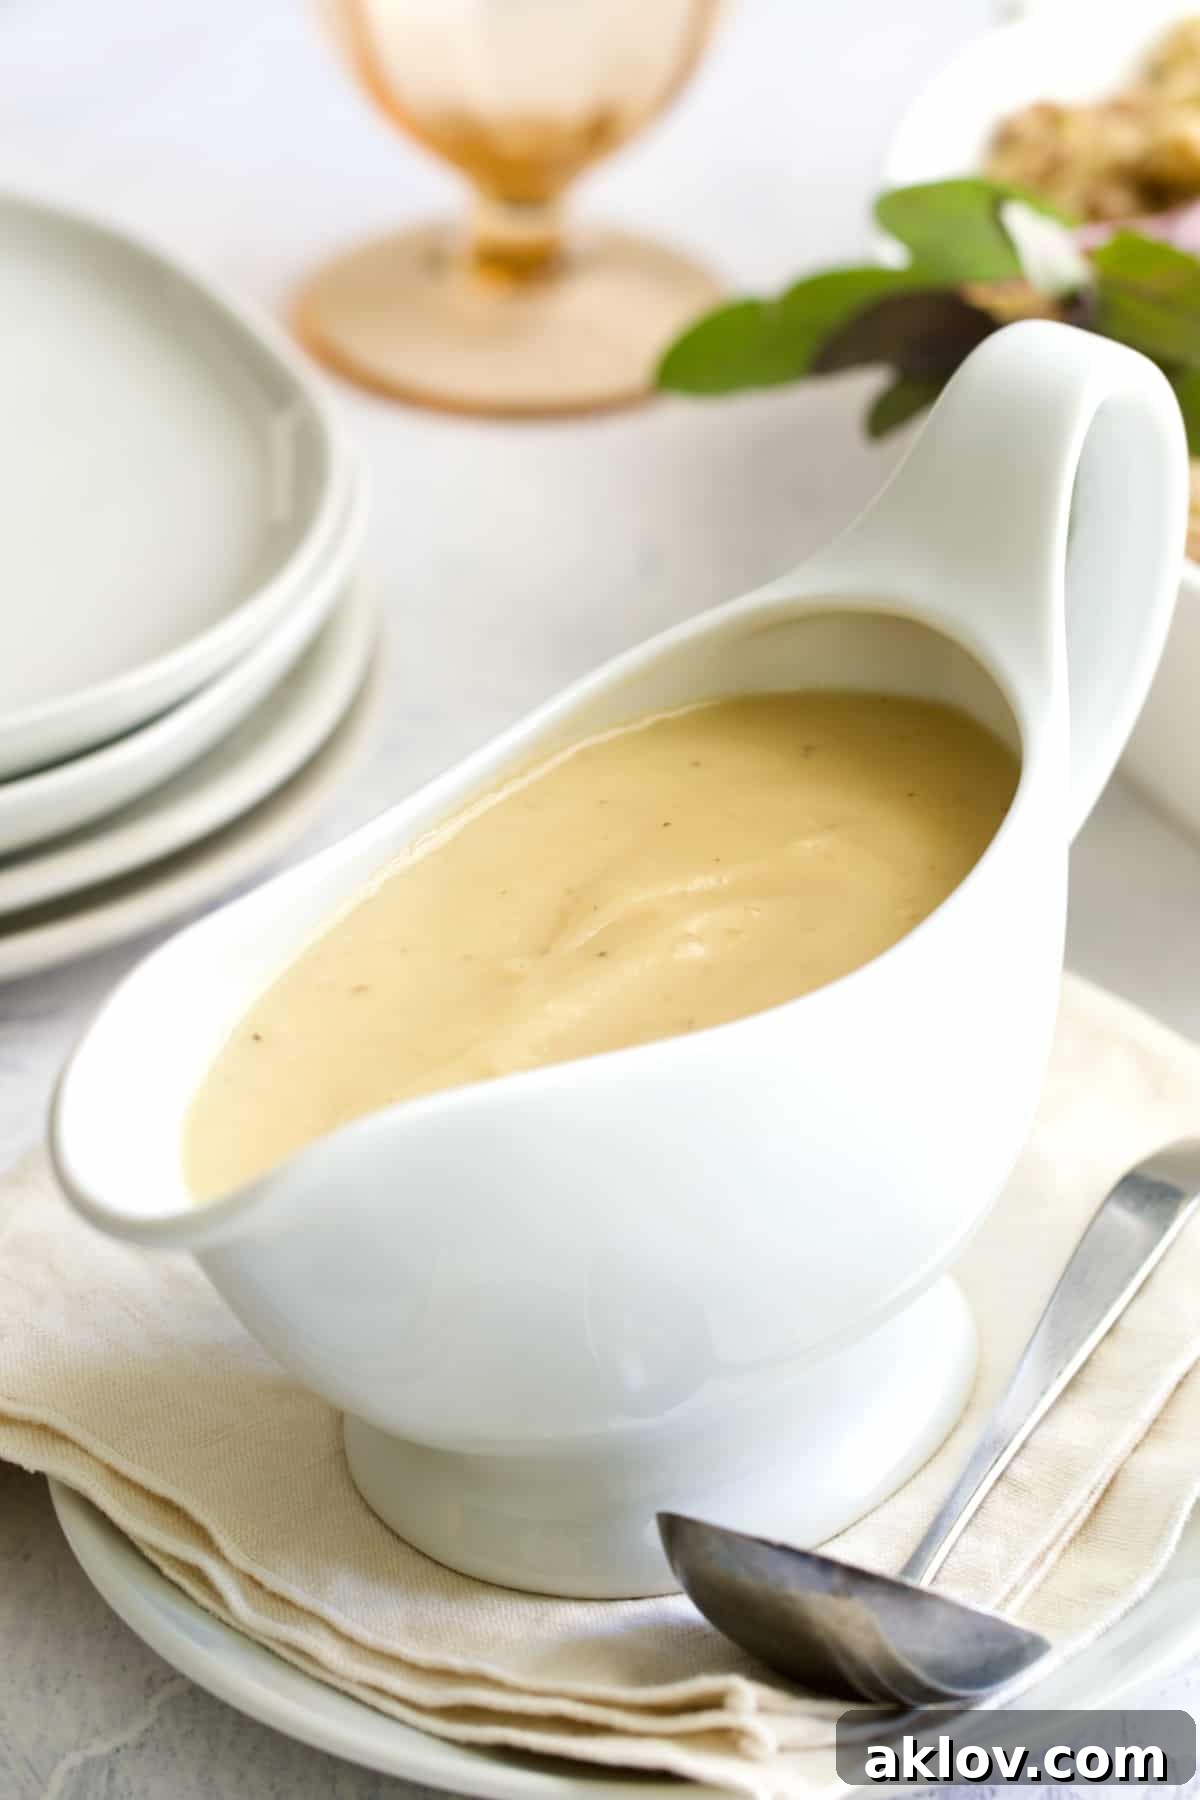
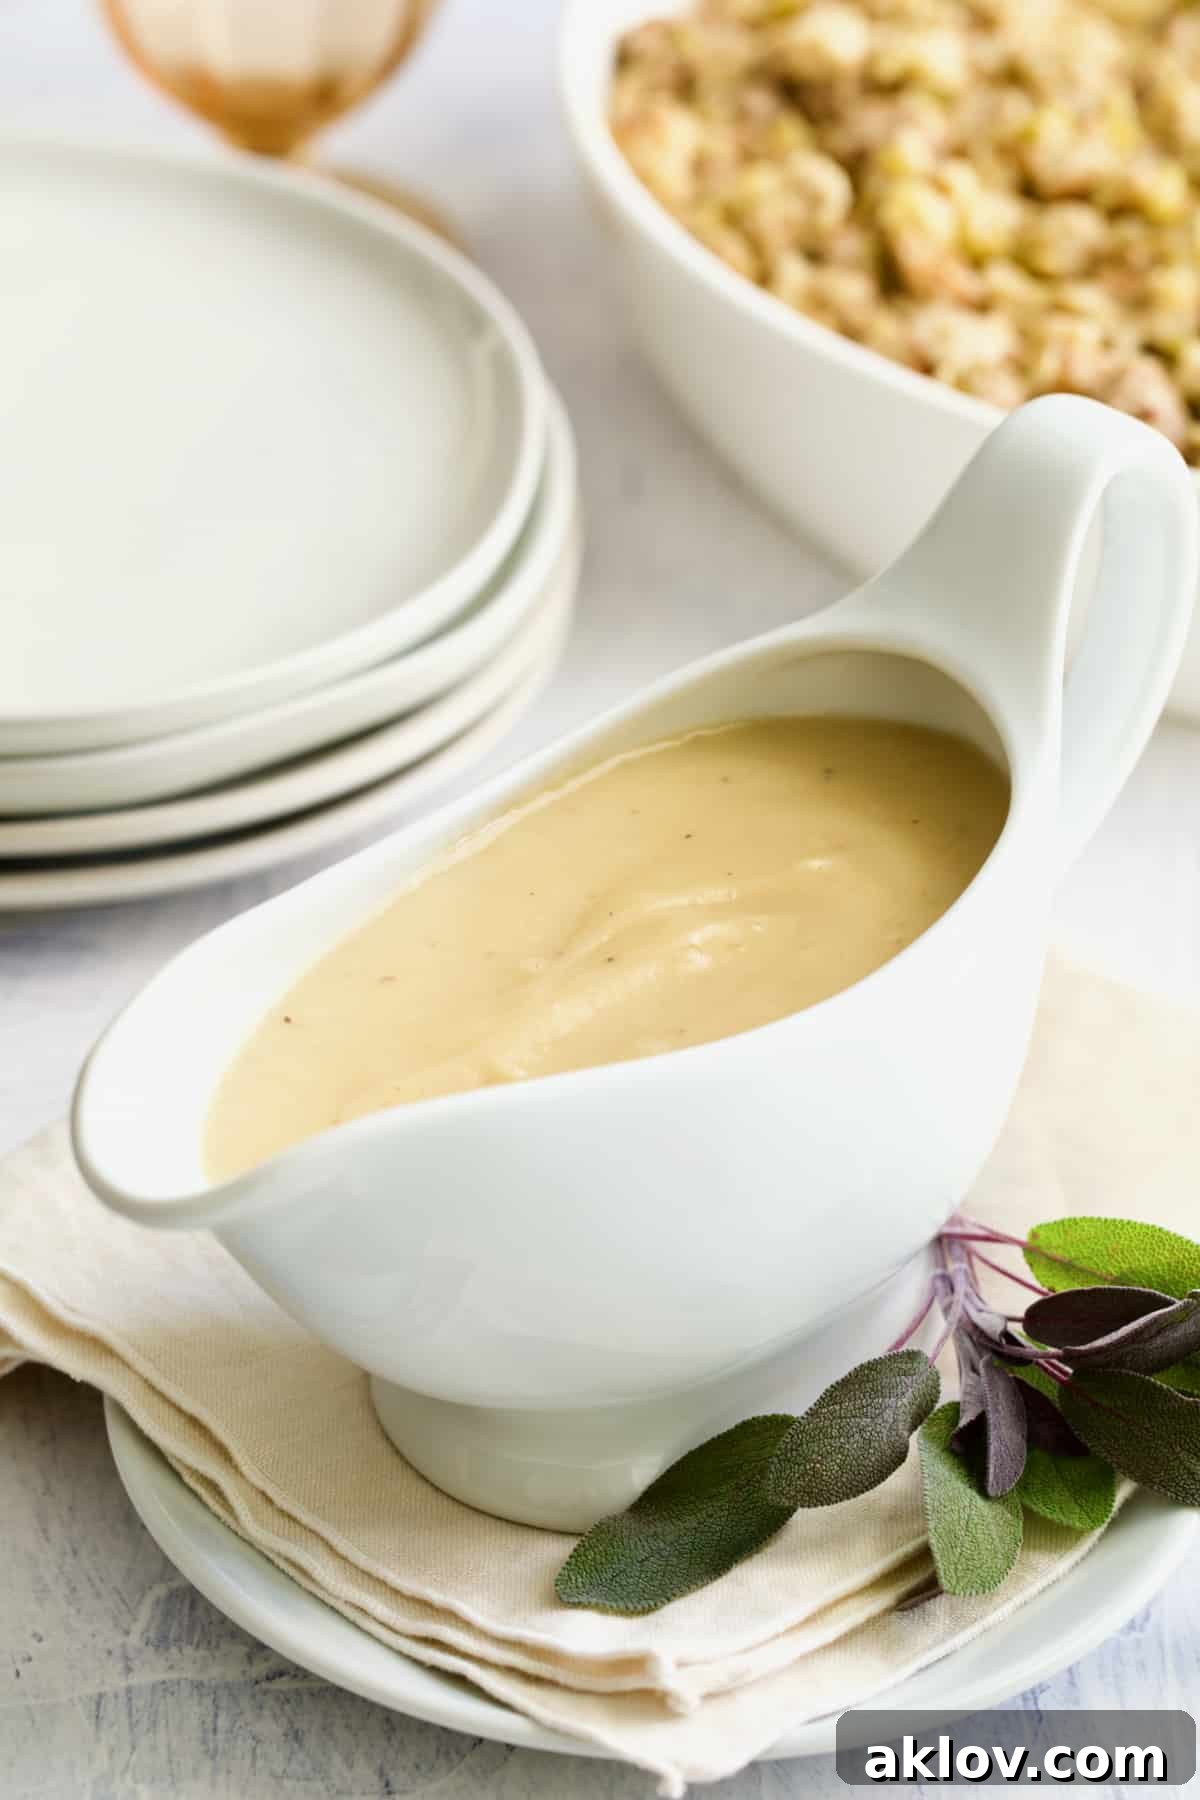
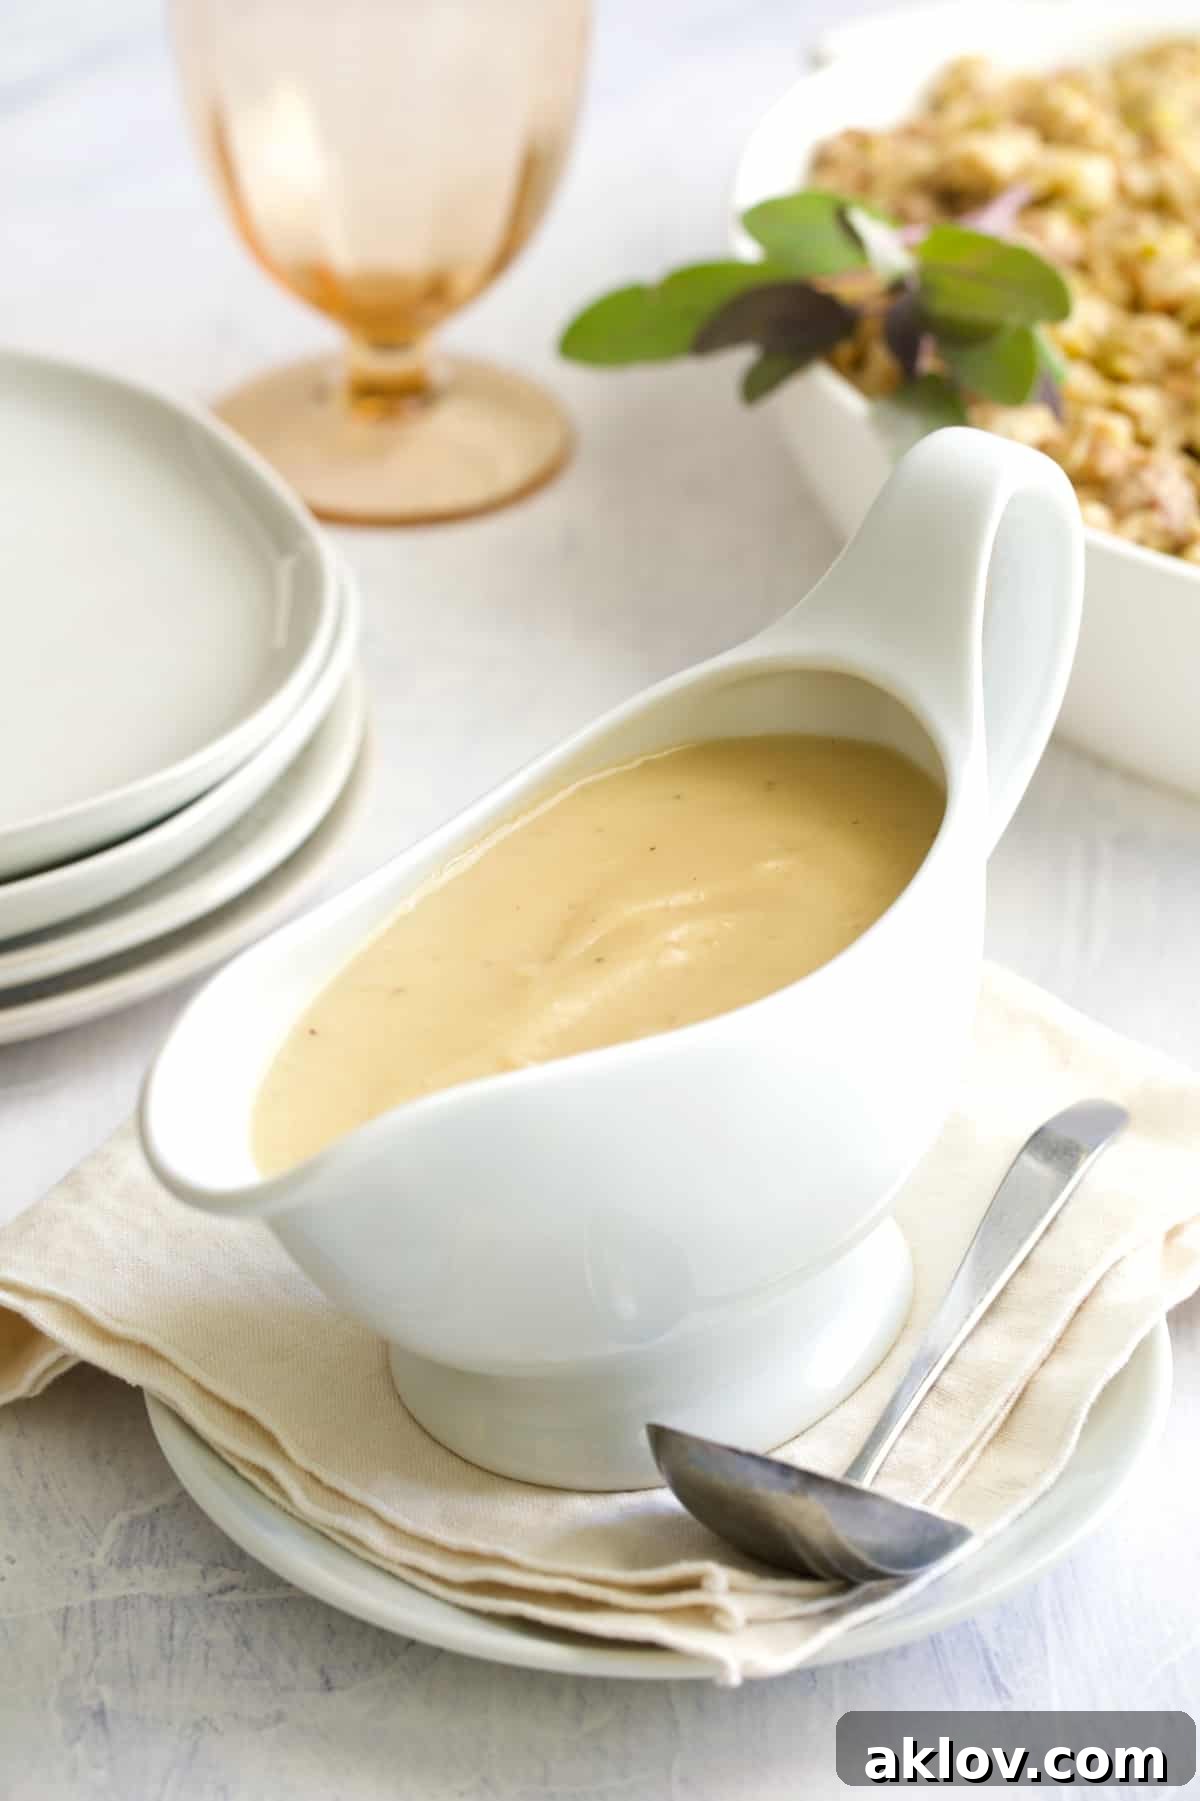
- Pour your beautifully crafted gravy into your fanciest gravy boat. Watch as everyone enjoys its rich flavor and creamy texture, never suspecting you didn’t have a single pan dripping. You truly are a magician in the kitchen!
Chef Tips and Tricks for Gravy Perfection:
Even with a straightforward recipe, a few professional insights can elevate your gravy from great to absolutely exceptional. These tips will help you fine-tune your technique and troubleshoot common issues, ensuring a consistently perfect result.
- Accurate Broth Reduction Measurement: To precisely track how much your broth is reducing, a chef’s trick is to use a simple wooden spoon or skewer. Before you begin simmering, insert the handle of an old wooden spoon into the broth and make a tiny, inconspicuous notch with a paring knife at the liquid level. As the broth reduces, you can periodically re-insert the spoon to see if it has reached your desired reduction level (approximately 4 cups in this recipe). If using a wooden skewer, mark it with a pen or marker, but remember to discard it after use for hygiene. This method ensures consistent flavor concentration every time.
- Adjusting Gravy Thickness (Too Thin): If your gravy isn’t as thick as you prefer after resting, don’t fret! In a small bowl, combine a tablespoon of all-purpose flour with a few tablespoons of the warm gravy to create a smooth slurry. Whisk this slurry back into the main pot of gravy and simmer gently for an additional few minutes, whisking constantly, until it reaches your desired thickness. Always remember to allow it to rest off the heat for 5-10 minutes, as gravy continues to thicken significantly upon standing.
- Adjusting Gravy Thickness (Too Thick): Should your gravy become too thick, whether from over-reduction or resting, simply whisk in a small amount of additional warm broth or water, one tablespoon at a time, until you achieve the ideal consistency. For an extra touch of richness and creaminess, you can also stir in a splash of heavy cream, half-and-half, or milk. This not only thins the gravy but also adds a luxurious mouthfeel.
- Ensuring Lump-Free Gravy: The key to a silky-smooth gravy is diligent whisking. When adding flour to melted butter for the roux, whisk constantly. Similarly, when gradually pouring the reduced broth into the roux, continue whisking without interruption. If, despite your best efforts, a few small lumps appear, you can easily remedy this by straining the finished gravy through a fine-mesh sieve before serving.
- Enhancing Flavor (Optional): For an even deeper, more complex flavor profile, especially since you’re not using drippings, consider adding a few subtle enhancements. A splash of dry white wine or sherry can be added to the reduced broth before thickening. A pinch of dried herbs like thyme or sage (added during the simmering phase) can also complement the savory notes.
Frequently Asked Questions About Homemade Gravy:
This fantastic gravy can be prepared two to three days in advance, making it an excellent choice for holiday meal prep or busy weeknights. Simply allow it to cool completely before transferring it to an airtight container and refrigerating. When ready to serve, reheat gently following the instructions in the “Make Ahead” section to maintain its perfect consistency.
Yes, absolutely! Gravy freezes wonderfully. Once completely cooled, pour the gravy into an airtight, freezer-safe container. It can be safely stored in the freezer for one to two months without significant loss of quality. To thaw, simply transfer it to the refrigerator overnight or use the defrost setting on your microwave. Reheat gently on the stovetop or in the microwave, stirring occasionally, until hot and smooth.
Making this gravy gluten-free is straightforward. Instead of all-purpose flour, you can use a gluten-free flour blend, cornstarch, arrowroot powder, or sweet rice flour (Mochiko). If using cornstarch or arrowroot, create a slurry by mixing one tablespoon of the thickener with two tablespoons of cold water before whisking it into the simmering gravy. This prevents lumps. Sweet rice flour is a personal chef favorite for its excellent thickening properties and smooth texture.
Absolutely! To make this gravy vegetarian, simply use a high-quality vegetable broth or mushroom broth instead of chicken, turkey, or beef stock. For a vegan version, in addition to using vegetable or mushroom broth, substitute the unsalted butter with a plant-based butter alternative or a neutral-flavored oil like olive oil or avocado oil. The reduction and roux steps remain the same, yielding a rich and satisfying plant-based gravy.
The Perfect Pairing: What to Serve with Your Amazing Gravy:
This versatile, delicious gravy is the ideal accompaniment to a wide array of dishes. Its rich, savory flavor complements many meals, making it a staple for both everyday dining and special occasions.
- Roast Turkey Breast with Traditional Stuffing: The classic pairing, enhanced by your homemade gravy.
- Roast Chicken Half with Fingerling Potatoes: A weeknight favorite that becomes extraordinary with a generous pour of gravy.
- Garlic Herb Butter Roast Chicken with Root Vegetables: The perfect complement to a deeply flavored roasted chicken.
- Creamy Mashed Potatoes or Twice-Baked Mashed Potatoes (Mashed Potato Casserole): An absolute essential, as gravy and mashed potatoes are a match made in culinary heaven.
- Meatloaf or Salisbury Steak: Transform these comfort food classics with a savory blanket of gravy.
- Pork Chops or Steak: A simple pan-seared pork chop or steak benefits immensely from a rich gravy.
- Biscuits and Gravy: A comforting breakfast or brunch option, especially with a vegetarian twist!
Are you sweet on sauces? Explore all my delicious Sauce, Dressing, and Marinade Recipes at Sauces, Dressings, and Marinades – From A Chef’s Kitchen for more culinary inspiration!
How to Make Gravy Without Drippings
By Carol | From A Chef’s Kitchen
With only five simple ingredients, this foolproof method for creating incredibly delicious gravy without drippings will become your most reliable recipe all year round. Perfect for holidays, weeknights, and whenever you crave rich, savory flavor!
Prep Time: 5 mins
Cook Time: 1 hr
Total Time: 1 hr 5 mins
Servings: 8
Equipment
- Saucepan
- Measuring Cups
- Whisk
- Gravy Boat
Ingredients
- 6 cups chicken broth or stock, or turkey or beef broth or stock
- 6 tablespoons unsalted butter
- 1/2 cup all-purpose flour
- Salt and freshly ground black pepper, to taste
Instructions
- Pour the chicken broth or stock into a saucepan. Bring to a boil, reduce heat to medium, and let simmer 30-45 minutes or until reduced by 1/3 (to approximately 4 cups).
- Transfer the reduced broth to a heat-proof bowl or use another saucepan to complete the recipe.
- Cut the butter into 3 or 4 pieces then place in a saucepan. Melt over medium heat.
- Add the flour and cook over medium heat for 3-4 minutes or until it JUST begins to turn darker in color and takes on a slightly nutty aroma.
- Slowly pour in the reduced broth/stock while whisking continuously. Bring to a boil, reduce heat and simmer for 4-5 minutes or until thickened. It will continue to thicken upon standing, so let it rest for 5-10 minutes before making any final adjustments.
- Taste to see if it needs salt. If so, add salt and freshly ground black pepper to taste.
Notes
SUBSTITUTIONS:
- To make it gluten-free, use cornstarch, arrowroot, a gluten-free flour blend, or sweet rice flour (Mochiko), which is a favorite gluten-free thickener in the personal chef industry.
- For a vegetarian or vegan version, use vegetable or mushroom broth and a plant-based butter substitute.
TIPS:
- To track broth reduction: Insert a wooden spoon handle into the broth, mark the liquid level with a paring knife, then check periodically until reduced as desired.
- If gravy is too thin: Combine 1 tablespoon flour with a little gravy to make a slurry, whisk it back into the pot, and simmer a bit longer. (Remember it thickens upon standing).
- If gravy is too thick: Add a little extra broth, or for creaminess, a touch of cream, half-and-half, or milk.
- For lump-free gravy: Always whisk continuously when adding flour to butter and when slowly pouring broth into the roux. If lumps occur, strain through a fine-mesh sieve.
MAKE AHEAD:
- Can be made 2-3 days ahead of time and refrigerated in an airtight container.
- Reheat in the microwave on MEDIUM until heated through, stirring halfway. Or, transfer to a saucepan and reheat on the stove over low heat, stirring frequently.
FREEZER-FRIENDLY:
- Cool completely, then place in an airtight, freezer-safe container. Freeze for one to two months.
- Thaw in the refrigerator or microwave. Reheat gently on the microwave or stovetop.
Nutrition
Calories: 113 kcal
Carbohydrates: 7g
Protein: 2g
Fat: 9g
Saturated Fat: 5g
Polyunsaturated Fat: 1g
Monounsaturated Fat: 2g
Trans Fat: 1g
Cholesterol: 23mg
Sodium: 720mg
Potassium: 152mg
Fiber: 1g
Sugar: 1g
Vitamin A: 266 IU
Vitamin C: 12mg
Calcium: 14mg
Iron: 1mg
Nutritional values are automatically calculated using unbranded products and are estimates only. Actual results may vary based on ingredients used and portion sizes. Adjust as needed for dietary restrictions, allergies, or health concerns.
 Did you enjoy this recipe? Leave a comment below and share your thoughts!